Love this? Save it for later!
Share the inspiration with your friends
It was 11:47 PM on a random Tuesday in early December, and I had a very specific, almost urgent craving for a Christmas sugar cookie. The kind with the soft, pillowy center and the slight crackle on the edges. The kind my grandma used to make, the ones that felt like a hug. But here’s the thing—I didn’t have any all-purpose flour. I’d used the last of it for a pie crust two days ago, and the stores were closed. What I did have was a bag of gluten-free flour blend I’d bought on a whim, a stick of butter that was perfectly softened, and a crazy idea that maybe, just maybe, the late-night quiet would let me figure this out. Honestly, I was skeptical. Gluten-free cookies can be a disaster—grainy, dry, or they spread into a flat, sad puddle. But I was desperate, and let me tell you, that desperation turned into something magical. These became the best gluten-free Christmas sugar cookies I’ve ever made, and I’ve been making them every holiday season since. They’re the kind of cookie that makes you forget they’re gluten-free. The kind that disappears from the platter before you can even say “Merry Christmas.” If you’ve been hunting for that perfect recipe to impress your holiday guests without the stress, I promise you’ve found it.
Why You’ll Love This Recipe
Look, I’ve tested a lot of sugar cookie recipes. Some were dry enough to use as building blocks. Others crumbled the second you tried to cut a star shape out of them. This one? It’s different. It’s the result of late-night trial and error, a few burnt batches, and one glorious success that made me actually text my sister at midnight. Here’s why this recipe works, and why it’s going to be your new holiday hero.
- Perfectly Soft & Tender: These cookies have that melt-in-your-mouth texture that sugar cookies are famous for. No grittiness, no dryness—just pure, buttery softness.
- Simple Ingredients: You don’t need a specialty grocery store run. Most of these are pantry staples, even for gluten-free bakers. A good all-purpose gluten-free flour blend, butter, sugar, eggs—done.
- Holds Its Shape: This is the big one for Christmas cookies. The dough doesn’t spread into a blob in the oven. Your stars, trees, and snowmen will look exactly like they should.
- Crowd-Pleaser: I’ve served these at three different holiday parties now, and not a single person guessed they were gluten-free. Not one. They just asked for the recipe.
- Make-Ahead Friendly: The dough chills beautifully for up to three days, and the baked cookies freeze like a dream. Perfect for when you’re hosting and need to get ahead.
This isn’t just another gluten-free cookie recipe that settles for “good enough.” It’s the one I bring to every potluck, the one my neighbor asked for twice, and the one that finally made me feel like I could host a holiday gathering without worrying about dietary restrictions. It’s comfort food, reimagined—and it’s absolutely worth the hype.
What Ingredients You Will Need
Before we get into the nitty-gritty, let’s talk about the ingredients. This recipe relies on a few key players to get that perfect texture and flavor. I’ve tested a few different gluten-free flour blends, and I’ll tell you right now—King Arthur Measure for Measure or Cup4Cup are my go-tos. They have the right balance of rice flours, starches, and xanthan gum to mimic wheat flour. If your blend doesn’t include xanthan gum, you’ll need to add a teaspoon yourself. Trust me on this one.
- For the Cookie Dough:
- 3 cups (420g) gluten-free all-purpose flour blend (with xanthan gum)
- 1 teaspoon baking powder
- 1/2 teaspoon salt
- 1 cup (226g) unsalted butter, softened to room temperature
- 1 cup (200g) granulated sugar
- 1 large egg, room temperature
- 2 teaspoons pure vanilla extract
- 1/2 teaspoon almond extract (optional, but it adds that classic bakery flavor)
- For the Royal Icing:
- 3 cups (360g) powdered sugar
- 2 tablespoons meringue powder (or 2 large egg whites, pasteurized)
- 4-6 tablespoons water, as needed
- 1/2 teaspoon vanilla extract
- Gel food coloring (optional, for decorating)
A quick note on the butter—make sure it’s truly softened. Not melted, not cold. You want it to be at room temperature so it creams properly with the sugar. If you’re in a rush, cut it into small cubes and let it sit for 15 minutes. The egg should also be at room temperature to emulsify properly into the dough. I’ve learned this the hard way—cold eggs can make the dough seize up and become crumbly.
For the gluten-free flour, I really do recommend sticking with a trusted brand. I’ve tried homemade blends, and while they work for some things, sugar cookies need the precision of a commercial blend to get that soft, non-gritty texture. If you’re using a blend without xanthan gum, add 1 teaspoon of it. You can find xanthan gum in the baking aisle or online—it’s a game-changer for gluten-free baking.
One more thing—the almond extract. It’s optional, but I never skip it. It gives the cookies that subtle, almost nostalgic flavor that reminds me of the bakery cookies from my childhood. If you have nut allergies in the family, just leave it out or replace it with more vanilla. The cookies will still be delicious.
Equipment Needed
You don’t need a fancy kitchen to make these cookies, but a few key tools will make your life a lot easier. Here’s what I use:
- Stand Mixer or Hand Mixer: Creaming the butter and sugar properly is crucial. A stand mixer with a paddle attachment is ideal, but a hand mixer works just fine. You just need something to get that light, fluffy texture.
- Rolling Pin: A standard rolling pin works, but I love using a French rolling pin for better control. If you don’t have one, a wine bottle works in a pinch—just wrap it in plastic wrap first.
- Cookie Cutters: Christmas shapes are a must—stars, trees, snowmen, candy canes. Go wild. I have a set of metal ones that I’ve had for years, and they still cut cleanly.
- Parchment Paper or Silicone Baking Mats: These prevent sticking and make cleanup a breeze. Plus, they help the cookies bake evenly.
- Cooling Rack: Absolutely essential for letting the cookies cool completely before icing. If you ice them while they’re warm, the icing will melt into a sticky mess.
- Piping Bags or Ziploc Bags: For the royal icing. I use disposable piping bags with a small round tip (#2 or #3). If you don’t have those, a ziploc bag with the tiniest corner snipped off works like a charm.
One tip—if you’re new to rolling out cookie dough, invest in a set of rolling pin rings. They snap onto the ends of your rolling pin and guarantee an even thickness every time. I use 1/4-inch rings for these cookies, and it makes a world of difference.
Preparation Method
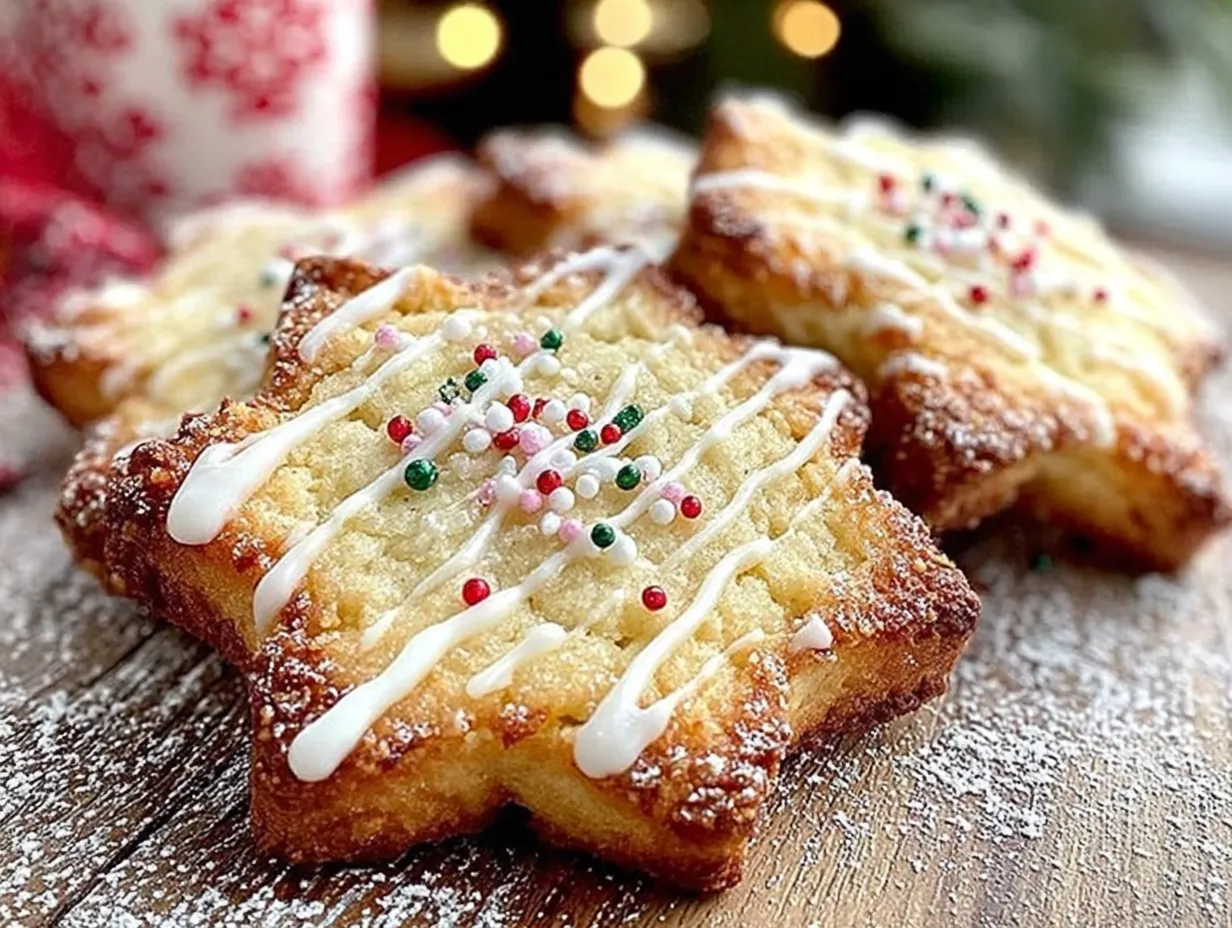
Alright, let’s get baking. This recipe is straightforward, but there are a few key steps that make all the difference. Follow these closely, and you’ll have perfect cookies every time.
- Cream the Butter and Sugar: In the bowl of your stand mixer (or a large bowl with a hand mixer), beat the softened butter and granulated sugar together on medium speed for 3-4 minutes until light and fluffy. Scrape down the sides and bottom of the bowl with a spatula halfway through. You want it to look pale and airy—this is where the tenderness of the cookie starts.
- Add the Wet Ingredients: Add the egg, vanilla extract, and almond extract (if using). Beat on medium speed until fully combined, about 1 minute. The mixture might look a little curdled at this point—that’s totally normal. Don’t panic.
- Mix the Dry Ingredients: In a separate bowl, whisk together the gluten-free flour, baking powder, and salt. This ensures the baking powder is evenly distributed so your cookies rise evenly.
- Combine Wet and Dry: With the mixer on low speed, gradually add the dry ingredients to the wet ingredients. Mix just until the dough comes together. It will be soft and slightly sticky—that’s what we want. Overmixing will make the cookies tough, so stop as soon as you don’t see any more streaks of flour.
- Chill the Dough: Divide the dough into two discs, wrap each tightly in plastic wrap, and refrigerate for at least 2 hours. I know, I know—it’s hard to wait. But this step is non-negotiable. Chilling the dough solidifies the butter, which prevents the cookies from spreading too much in the oven. It also makes the dough way easier to roll out.
- Preheat and Prep: When you’re ready to bake, preheat your oven to 350°F (175°C). Line two baking sheets with parchment paper or silicone mats.
- Roll and Cut: Lightly flour your work surface and rolling pin with more gluten-free flour. Roll one disc of dough to 1/4-inch thickness. Cut out your shapes and transfer them to the prepared baking sheets, leaving about 1 inch between each cookie. Gather the scraps, re-roll, and cut again.
- Bake: Bake for 8-10 minutes, or until the edges are just barely starting to turn golden. The centers should look set but still soft. They will continue to firm up as they cool. Let them cool on the baking sheet for 5 minutes, then transfer to a wire rack to cool completely.
- Make the Royal Icing: In a medium bowl, whisk together the powdered sugar and meringue powder (or pasteurized egg whites). Add 4 tablespoons of water and the vanilla extract, and whisk until smooth. The icing should be thick but flow easily off a spoon. If it’s too thick, add more water, 1 teaspoon at a time. If it’s too thin, add more powdered sugar.
- Decorate: Once the cookies are completely cool, pipe outlines with the royal icing, then flood the centers with a slightly thinner version. Add sprinkles or sanding sugar while the icing is still wet. Let the icing set for at least 2 hours before stacking or serving.
Cooking Tips & Techniques
I’ve made these cookies more times than I can count, and I’ve made every mistake in the book. Here are the things I wish I’d known from the start.
Don’t Skip the Chill. I know it’s tempting to rush, but if you try to roll out the dough right after mixing, it will be a sticky, unmanageable mess. The chill time allows the gluten-free flours to hydrate fully and the butter to firm up. Two hours is the minimum—overnight is even better. I’ve left it for up to three days in the fridge, and it was perfectly fine.
Watch the Bake Time. Gluten-free cookies can go from perfect to overdone in about 30 seconds. I set my timer for 8 minutes and check them. If the edges are just barely golden, they’re done. Remember, they’ll continue to bake on the hot pan for the first few minutes out of the oven. It’s better to underbake slightly than to overbake.
The Flouring Trick. When rolling out the dough, use a light dusting of the same gluten-free flour blend. Too much flour can make the cookies dry. I keep a small bowl of flour next to my rolling station and dip my rolling pin in it as needed. If the dough starts to stick, pop it back in the fridge for 10 minutes.
My Biggest Failure: The first time I made these, I forgot the xanthan gum. The cookies spread into thin, lacy discs that looked like alien pancakes. They tasted okay, but they were impossible to decorate. Now, I double-check my flour blend’s ingredient list before I start. If it doesn’t have xanthan gum, I add it. Lesson learned.
Multitasking Tip: While the dough is chilling, I prep my icing and get my decorating station ready. I also clean up the kitchen so I’m not surrounded by a disaster zone when I’m trying to roll and cut. It makes the whole process feel less chaotic, especially if you’re hosting and have a million other things to do.
Variations & Adaptations
One of the best things about this recipe is how adaptable it is. Here are a few ways I’ve changed it up over the years.
- Vegan Version: Swap the butter for a high-quality vegan butter (like Miyoko’s or Country Crock Plant Butter). Use a flax egg (1 tablespoon ground flaxseed mixed with 3 tablespoons water, let sit for 5 minutes) instead of the regular egg. The texture is slightly less tender, but still really good. For the royal icing, use aquafaba (the liquid from a can of chickpeas) instead of egg whites.
- Citrus Twist: Add 1 tablespoon of fresh lemon or orange zest to the dough along with the wet ingredients. It adds a bright, festive flavor that pairs beautifully with the vanilla. I did this for a Christmas brunch once, and everyone raved about it.
- Chocolate-Dipped: After the cookies are baked and cooled, dip half of each cookie in melted dark chocolate and let it set on parchment paper. It’s indulgent, gorgeous, and perfect for a holiday dessert table. I did this for a cookie exchange, and they were the first to disappear.
- Spiced Sugar: Mix 1/2 teaspoon of cinnamon and 1/4 teaspoon of nutmeg into the granulated sugar before creaming it with the butter. It gives the cookies a warm, cozy flavor that screams Christmas. I love this version for snowflake-shaped cookies.
- Nut-Free: Simply omit the almond extract and use only vanilla. The cookies are still delicious, and they’re safe for school parties or gatherings with nut allergies.
Serving & Storage Suggestions
These cookies are best served at room temperature, straight from the cooling rack. But if you’re hosting a party, here’s how to make them shine.
Presentation: Arrange the decorated cookies on a large platter or cake stand. I like to layer them with a doily or a festive napkin underneath. If you’re doing a cookie exchange, pack them in a tin or a pretty box lined with parchment paper. They look stunning when you can see the variety of shapes and colors.
What to Serve Alongside: These cookies pair beautifully with a cup of hot cocoa, mulled wine, or a spiced chai latte. For a dessert table, I serve them next to my fudgy gluten-free brownies and a plate of cranberry orange shortbread. The variety of textures and flavors is always a hit.
Storage: Store undecorated cookies in an airtight container at room temperature for up to 5 days. Decorated cookies (with royal icing) can be stored the same way, but let the icing set completely for at least 2 hours before stacking them. I usually layer them with parchment paper between each layer to prevent smudging.
Freezing: These cookies freeze like a dream. You can freeze the unbaked dough discs for up to 3 months—just thaw them in the fridge overnight before rolling and cutting. You can also freeze the baked, undecorated cookies for up to 3 months. Thaw them at room temperature, then decorate. I do this every year to get ahead on my holiday baking.
Reheating: Honestly, these cookies are best at room temperature, so I don’t usually reheat them. But if you want a warm cookie, pop one in a 300°F oven for 3-4 minutes. It’ll soften the center and make it taste fresh-baked.
Nutritional Information & Benefits
Let’s be real—these are sugar cookies. They’re a treat, not a health food. But here’s the good news: they’re gluten-free, which makes them accessible to anyone with celiac disease or gluten sensitivity. And by using a quality gluten-free flour blend, you’re getting a mix of whole grain flours (like brown rice flour) and starches that provide some fiber and nutrients.
Per cookie (based on a 2-inch star shape, without icing):
- Calories: 120
- Fat: 6g
- Carbohydrates: 16g
- Fiber: 1g
- Sugar: 8g
- Protein: 1.5g
If you add royal icing, count on an additional 20-30 calories per cookie, depending on how much you use. I always tell people to enjoy these in moderation—they’re meant to be a special holiday treat, not an everyday snack. But knowing they’re gluten-free means everyone at the party can have one (or two) without worry.
One more thing—if you’re watching your sugar intake, you can reduce the sugar in the dough to 3/4 cup without affecting the texture too much. The cookies will be slightly less sweet, but they’ll still be delicious, especially with a sweet royal icing on top.
Conclusion
I’m not going to lie—I’m pretty proud of this recipe. It took a few late-night baking sessions, a few burnt batches, and one triumphant success to get it right. But now, it’s the recipe I turn to every single Christmas. It’s the one that makes my kitchen smell like vanilla and butter, the one that brings my family running to the table, and the one that makes me feel like a holiday hero.
These cookies are more than just a gluten-free alternative. They’re a genuine, honest-to-goodness Christmas sugar cookie that happens to be gluten-free. They’re soft, buttery, and absolutely perfect for decorating with your kids, your friends, or just yourself on a quiet December evening.
So go ahead—give them a try. Customize them with your favorite shapes, colors, and flavors. Make a mess in your kitchen. Lick the beaters. And when you take that first bite of a perfectly baked, beautifully decorated cookie, I hope you feel the same joy I did that late Tuesday night when I accidentally stumbled onto something amazing.
I’d love to hear how they turn out for you! Drop a comment below and tell me your favorite cookie shape, or share a photo of your decorated creations. And if you loved this recipe, don’t forget to share it with a friend who needs a good gluten-free cookie in their life. Happy baking, and Merry Christmas!
Frequently Asked Questions
Can I use a different gluten-free flour blend?
Absolutely. I’ve had success with Bob’s Red Mill 1-to-1 Baking Flour and Pamela’s All-Purpose Flour. Just make sure your blend contains xanthan gum, or add 1 teaspoon to the dough. Without it, the cookies will be crumbly and won’t hold their shape.
Why did my cookies spread too much?
This usually happens if the dough wasn’t chilled long enough, or if the butter was too soft when you creamed it. Make sure you chill the dough for at least 2 hours. If your kitchen is warm, pop the shaped cookies in the fridge for 10 minutes before baking.
Can I make the dough ahead of time?
Yes! The dough can be refrigerated for up to 3 days, or frozen for up to 3 months. Just wrap it tightly in plastic wrap and then in foil. Thaw frozen dough in the fridge overnight before rolling.
How do I get the royal icing perfectly smooth?
The key is getting the right consistency. For outlining, the icing should hold a stiff peak. For flooding (filling in), it should be thin enough to spread on its own but not so thin that it runs off the cookie. Add water 1 teaspoon at a time until it flows like honey.
Can I make these cookies dairy-free?
Yes. Substitute the butter with a good quality vegan butter (I like Miyoko’s). Make sure it’s softened to room temperature. The texture will be slightly different, but still delicious. For the royal icing, you don’t need to change anything—it’s naturally dairy-free.
Pin This Recipe!
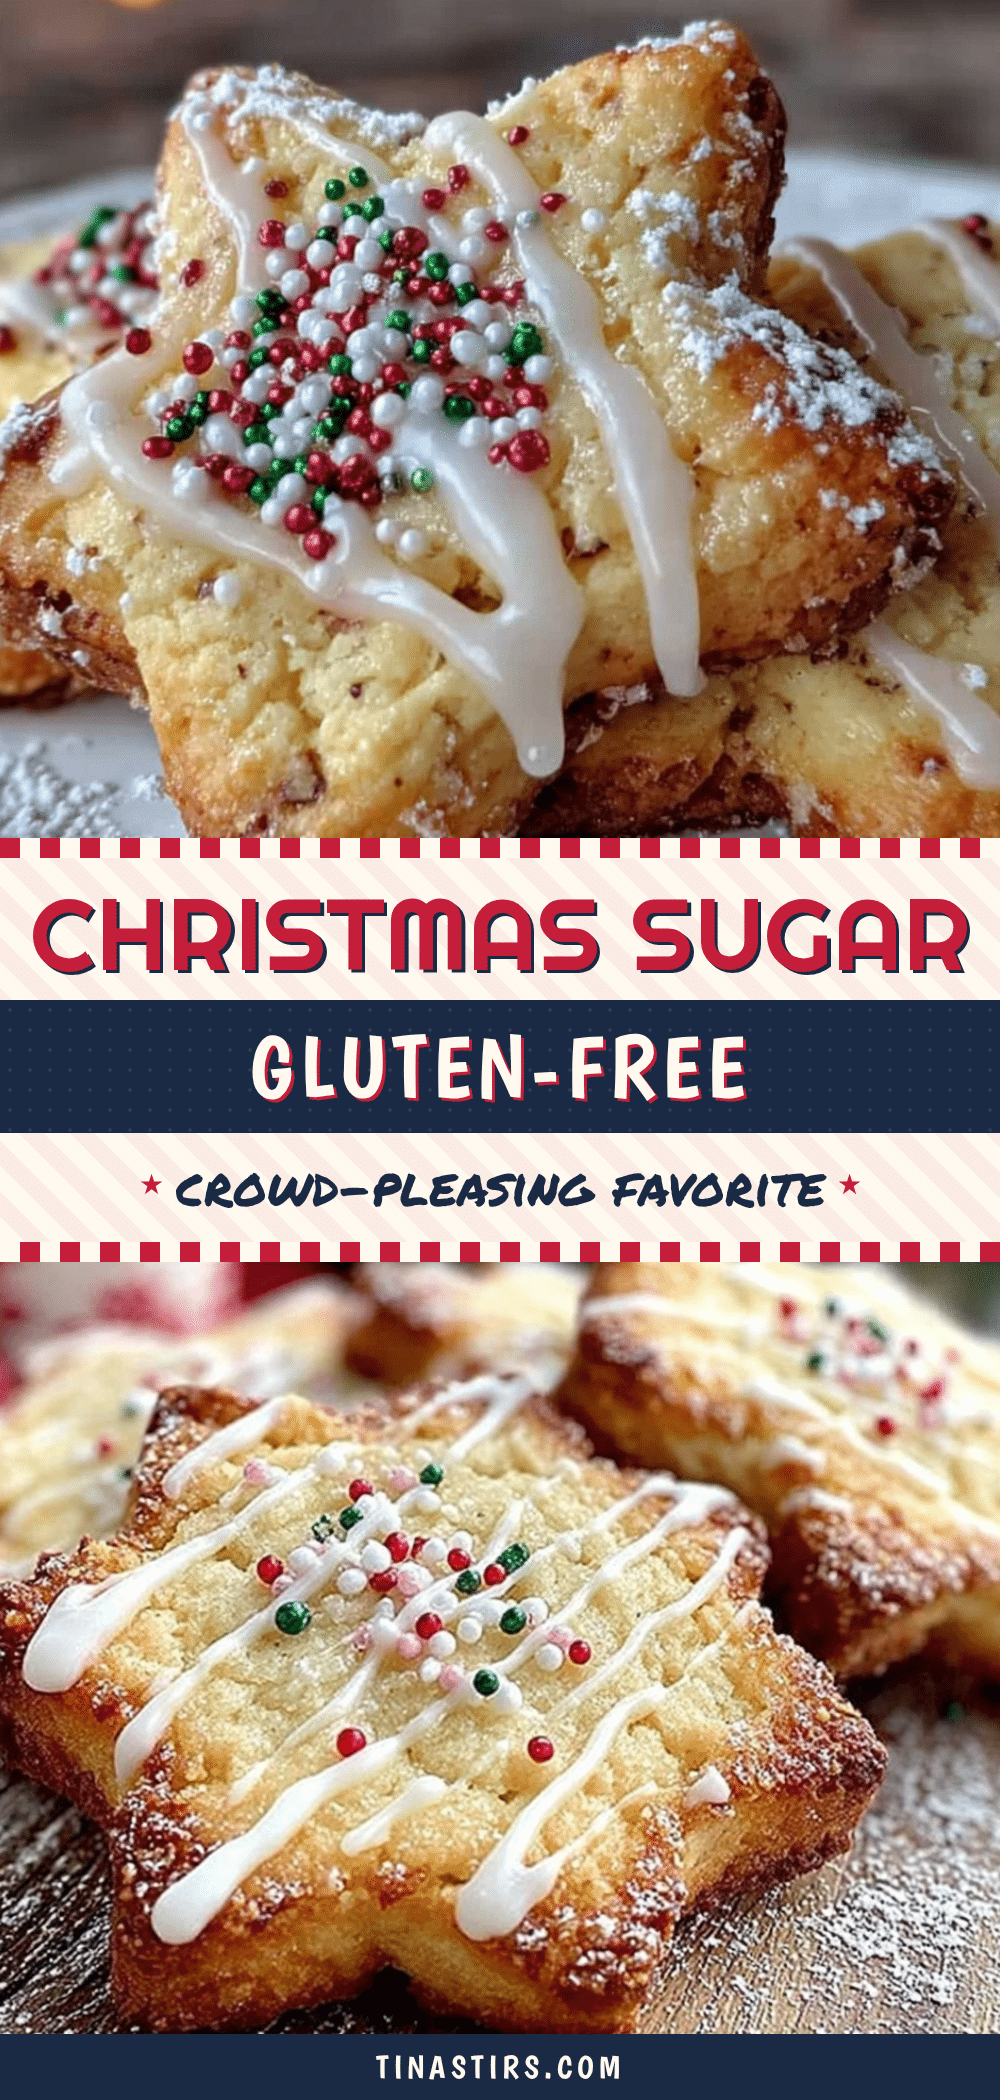
Best Gluten-Free Christmas Sugar Cookies Recipe
These gluten-free Christmas sugar cookies are soft, buttery, and hold their shape perfectly. They’re the kind of cookie that makes you forget they’re gluten-free, with a melt-in-your-mouth texture and simple ingredients.
- Prep Time: 20 minutes
- Cook Time: 10 minutes
- Total Time: 2 hours 30 minutes (includes chilling time)
- Yield: 24 cookies 1x
- Category: Dessert
- Cuisine: American
Ingredients
- 3 cups (420g) gluten-free all-purpose flour blend (with xanthan gum)
- 1 teaspoon baking powder
- 1/2 teaspoon salt
- 1 cup (226g) unsalted butter, softened to room temperature
- 1 cup (200g) granulated sugar
- 1 large egg, room temperature
- 2 teaspoons pure vanilla extract
- 1/2 teaspoon almond extract (optional)
- 3 cups (360g) powdered sugar
- 2 tablespoons meringue powder (or 2 large pasteurized egg whites)
- 4–6 tablespoons water, as needed
- 1/2 teaspoon vanilla extract
- Gel food coloring (optional, for decorating)
Instructions
- Cream the butter and sugar: In the bowl of a stand mixer (or a large bowl with a hand mixer), beat the softened butter and granulated sugar together on medium speed for 3-4 minutes until light and fluffy. Scrape down the sides and bottom of the bowl with a spatula halfway through.
- Add the wet ingredients: Add the egg, vanilla extract, and almond extract (if using). Beat on medium speed until fully combined, about 1 minute.
- Mix the dry ingredients: In a separate bowl, whisk together the gluten-free flour, baking powder, and salt.
- Combine wet and dry: With the mixer on low speed, gradually add the dry ingredients to the wet ingredients. Mix just until the dough comes together. It will be soft and slightly sticky.
- Chill the dough: Divide the dough into two discs, wrap each tightly in plastic wrap, and refrigerate for at least 2 hours.
- Preheat and prep: When ready to bake, preheat oven to 350°F (175°C). Line two baking sheets with parchment paper or silicone mats.
- Roll and cut: Lightly flour your work surface and rolling pin with more gluten-free flour. Roll one disc of dough to 1/4-inch thickness. Cut out shapes and transfer to prepared baking sheets, leaving about 1 inch between each cookie. Gather scraps, re-roll, and cut again.
- Bake: Bake for 8-10 minutes, or until edges are just barely starting to turn golden. Let cool on baking sheet for 5 minutes, then transfer to a wire rack to cool completely.
- Make the royal icing: In a medium bowl, whisk together powdered sugar and meringue powder (or pasteurized egg whites). Add 4 tablespoons of water and vanilla extract, and whisk until smooth. Adjust consistency as needed.
- Decorate: Once cookies are completely cool, pipe outlines with royal icing, then flood centers with a slightly thinner version. Add sprinkles while icing is wet. Let icing set for at least 2 hours before stacking or serving.
Notes
Chill the dough for at least 2 hours to prevent spreading. Use a gluten-free flour blend that contains xanthan gum, or add 1 teaspoon. For best results, use King Arthur Measure for Measure or Cup4Cup. Cookies can be frozen baked or unbaked for up to 3 months.
Nutrition
- Serving Size: 1 cookie (2-inch sta
- Calories: 120
- Sugar: 8
- Sodium: 75
- Fat: 6
- Saturated Fat: 3.5
- Carbohydrates: 16
- Fiber: 1
- Protein: 1.5
Keywords: gluten-free sugar cookies, Christmas cookies, gluten-free Christmas cookies, soft sugar cookies, royal icing cookies