Love this? Save it for later!
Share the inspiration with your friends
This was supposed to be a batch of classic peanut butter blossoms—you know, the ones with the chocolate kiss pressed in the middle. The kind my mom made for every school bake sale, the kind that disappear before they even cool down. But last Tuesday afternoon, with a three-year-old “helping” and a kitchen timer that I swear has a vendetta against me, things went sideways. I grabbed the salted caramel baking chips instead of the semi-sweet chocolate ones. The bag looked the same in my half-squinting, pre-coffee state. I didn’t even notice until I’d already stirred them into the dough.
My first thought was panic. I mean, these were supposed to be for my daughter’s preschool class party the next morning. The one where I promised “those cookies everyone loves.” The one where I was already running late because I’d spent twenty minutes looking for my car keys (they were in the fridge, don’t ask). I stared at the dough, flecked with golden bits of caramel, and honestly considered scooping them out one by one. But the toddler had already licked the spatula, and let’s face it—you can’t un-lick a spatula. So I pressed on. I baked them anyway, crossed my fingers, and hoped for the best.
What came out of the oven was nothing like the plan. The caramel chips melted into little pools of sticky, buttery sweetness. The peanut butter cookie base got this incredible chewy edge, and the salt from the caramel balanced everything perfectly. I pressed a few flakes of sea salt on top before they cooled—a last-minute, desperate move—and when I bit into one, I actually laughed out loud. It was better. Way better. My daughter, who usually picks the chocolate off first and leaves the cookie behind, ate three in a row. Maybe you’ve been there—the happy accident that turns a good recipe into a keeper. These salted caramel peanut butter blossom cookies are that accident, and I’ve been making them on purpose ever since.
Why You’ll Love This Recipe
Let me tell you, these cookies aren’t just another version of the classic. They’re the version that makes you wonder why you ever made them any other way. I’ve tested this recipe at least a dozen times—through rainy afternoons, rushed school mornings, and one particularly chaotic birthday party where I forgot the eggs (don’t ask). Every single time, the result is the same: soft, chewy, salty-sweet perfection that disappears in minutes.
- Quick & Easy: From start to finish, you’re looking at about 25 minutes. That’s less time than it takes to argue with a kid about homework. The dough comes together in one bowl, no stand mixer required, and the cookies bake in just 10 to 12 minutes.
- Simple Ingredients: You probably have most of these in your pantry right now. Peanut butter, butter, sugar, flour, eggs—the usual suspects. The only “special” ingredient is the salted caramel baking chips, and they’re available at any major grocery store for under four bucks.
- Perfect for Family Meals & School Events: These cookies are built for the family table. They’re sturdy enough to pack in lunchboxes, special enough for after-school treats, and affordable enough to make a double batch without wincing at the grocery bill.
- Crowd-Pleaser: I’ve served these to picky eaters, grown adults who claim they “don’t do sweets,” and my neighbor who’s a retired pastry chef. All of them reached for seconds. The combination of salty caramel and creamy peanut butter is basically magic.
- Unbelievably Delicious: The texture is what gets me every time. That soft, almost melt-in-your-mouth center with the slightly crisp edge, topped with a sprinkle of sea salt that makes everything pop. It’s comfort food at its finest.
This recipe is different because it doesn’t rely on a chocolate kiss for its wow factor. Don’t get me wrong—I love a good chocolate peanut butter combo. But the salted caramel brings something else entirely. It’s deeper, more complex, and somehow more satisfying. Plus, the caramel chips don’t melt into a puddle like a chocolate kiss does. They hold their shape just enough to give you little pockets of gooey goodness in every bite. It’s the kind of cookie that makes you close your eyes after the first bite, even if you’re standing over the kitchen counter in your pajamas.
What Ingredients You Will Need
This recipe uses simple, wholesome ingredients to deliver bold flavor and satisfying texture without the fuss. Most of these are pantry staples, so you probably won’t need a special trip to the store. Here’s what you’ll need:
For the Cookie Dough
- 1/2 cup unsalted butter, softened (1 stick) — I prefer using unsalted so I can control the salt level. If you only have salted butter, just reduce the added salt by 1/4 teaspoon. Let it sit out for about 30 minutes before starting—cold butter doesn’t cream properly and you’ll end up with dense cookies.
- 1/2 cup creamy peanut butter (not natural) — Natural peanut butter separates and has a different fat content that can make the cookies greasy. I use Jif or Skippy for consistent results. If you want a crunchier texture, chunky peanut butter works fine too.
- 1/2 cup granulated sugar (100g) — This adds sweetness and helps with spreading. Don’t substitute with a liquid sweetener like honey or maple syrup—it’ll change the texture completely.
- 1/2 cup packed light brown sugar (100g) — Brown sugar adds moisture and that chewy texture we’re after. Make sure it’s packed firmly into the measuring cup. Dark brown sugar works too, but the cookies will be slightly darker and have a deeper molasses flavor.
- 1 large egg, room temperature — A cold egg can seize the butter mixture and make the dough stiff. If you forgot to take it out of the fridge, place it in a bowl of warm water for 5 minutes.
- 1 teaspoon vanilla extract — Pure vanilla extract gives the best flavor, but imitation works in a pinch. I’ve used both and honestly, in a cookie this flavorful, you won’t notice a huge difference.
- 1 1/2 cups all-purpose flour (190g) — Spoon and level your flour—don’t scoop directly with the measuring cup. Scooping packs the flour down and you’ll end up with dry, crumbly cookies.
- 1 teaspoon baking soda — This helps the cookies spread and gives them a soft, tender crumb. Make sure your baking soda is fresh—test it by dropping a pinch into vinegar; if it fizzes, you’re good.
- 1/2 teaspoon salt — Salt balances the sweetness and enhances the peanut butter flavor. I use fine sea salt for the dough and flaky sea salt for topping.
For the Caramel Center & Topping
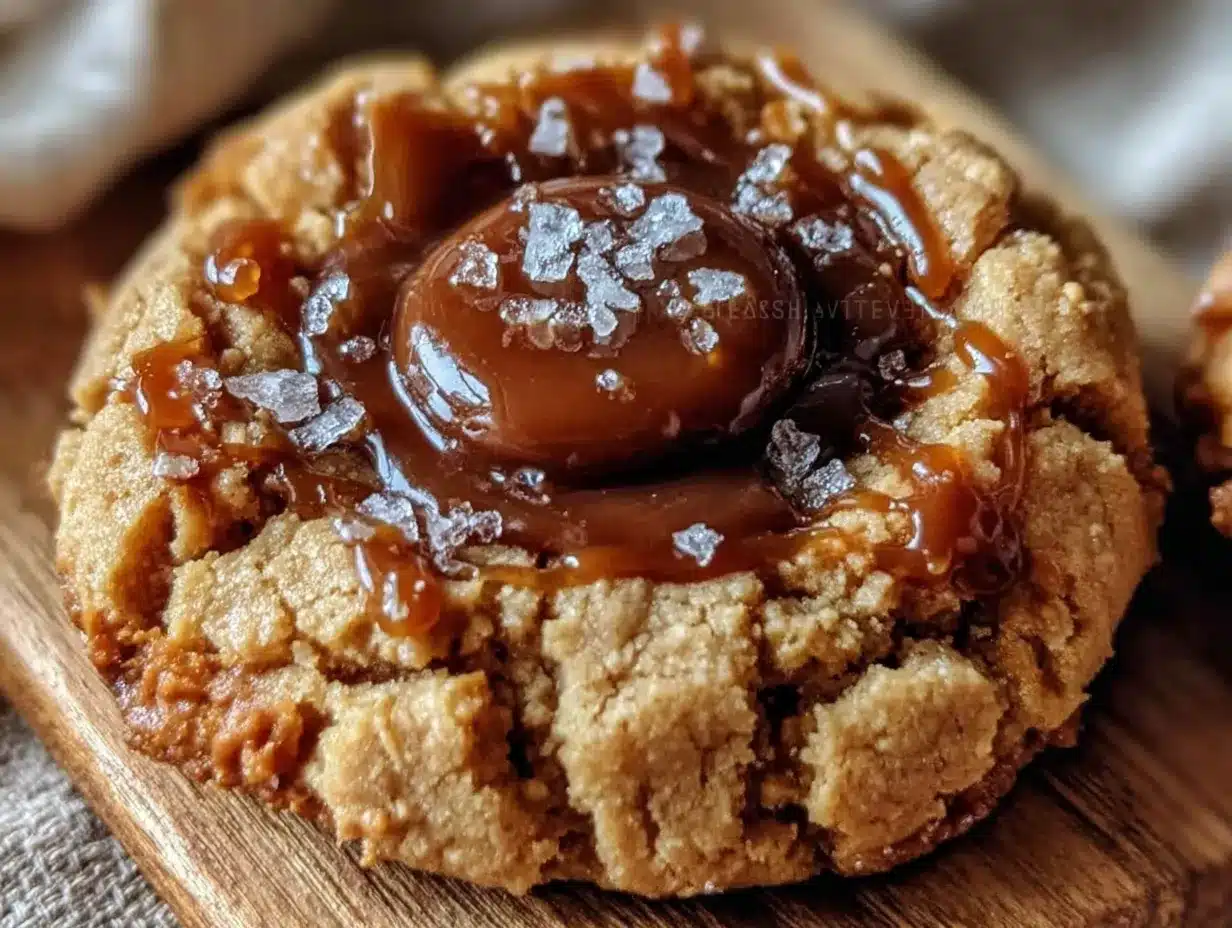
- 1 cup salted caramel baking chips (about 170g) — These are different from regular caramel chips. The salted variety has that perfect salty-sweet balance. I recommend Ghirardelli or Hershey’s—both brands have reliable melting properties. You can find them in the baking aisle near the chocolate chips.
- 1/4 cup granulated sugar (50g) — For rolling the dough balls before baking. This gives the cookies that classic crackled look on top.
- Flaky sea salt, for finishing (like Maldon or Fleur de Sel) — This is optional but highly recommended. That final sprinkle of salt on top makes the caramel flavor sing. Don’t use regular table salt—it’s too fine and will dissolve into the cookie.
Substitution Guidance
If you’re out of salted caramel chips, regular caramel chips work fine—just add an extra 1/4 teaspoon of flaky salt to the dough. For a nut-free version, use sunflower seed butter or WowButter instead of peanut butter. The texture will be slightly different, but the flavor is still amazing. And if you’re gluten-free, swap the all-purpose flour with a 1:1 gluten-free baking blend. I’ve tested this with Bob’s Red Mill 1:1 and it works beautifully—just don’t overmix the dough.
Equipment Needed
You don’t need a fancy kitchen to make these cookies. Here’s what I use every single time:
- Large mixing bowl — Any bowl will do, but I prefer a wide one so I can get my hands in there if needed. A glass or ceramic bowl works best because it doesn’t react with the ingredients.
- Electric hand mixer or stand mixer — A hand mixer is totally fine. I actually prefer it for small batches because there’s less cleanup. If you’re mixing by hand, make sure your butter is really soft and be prepared to put in some elbow grease.
- Measuring cups and spoons — For accuracy, I use dry measuring cups for dry ingredients and a liquid measuring cup for the vanilla. But honestly, if you’re using the same cup for everything, just level it off properly.
- Baking sheets — I use two rimmed baking sheets so I can bake one batch while the other cools. A light-colored sheet works best—dark sheets can cause the bottoms to brown too quickly.
- Parchment paper or silicone baking mat — Parchment paper is cheap and makes cleanup a breeze. Silicone mats are reusable and give you perfectly even browning. Either works.
- Cooling rack — Essential for letting the cookies cool evenly. If you leave them on the hot baking sheet, they’ll continue to cook and can get overdone.
- Small cookie scoop (about 1.5 tablespoons) — This is my secret weapon for evenly sized cookies. It’s cheap and saves so much time. If you don’t have one, use two spoons to portion the dough.
I got my cookie scoop at a dollar store three years ago, and it’s still going strong. Don’t feel like you need to spend a lot—a simple, sturdy one does the job. And if you’re just starting out, a regular spoon works fine. The cookies will still taste amazing, even if they’re not perfectly round.
Preparation Method
Alright, let’s get to the good part. Here’s how to make these cookies step by step. I’ve included all the little details that make the difference between a good cookie and a great one.
- Preheat your oven to 350°F (175°C). Line two baking sheets with parchment paper or silicone mats. Do this first so the oven is hot and ready when your dough is done. A cold oven means uneven baking and sad cookies.
- Cream the butter and sugars. In a large mixing bowl, beat the softened butter, granulated sugar, and brown sugar together until light and fluffy. This takes about 2 to 3 minutes with an electric mixer on medium speed. You’re looking for a pale, airy mixture that looks almost like frosting. Scrape down the sides of the bowl halfway through. Don’t rush this step—proper creaming is what gives the cookies their tender texture.
- Add the peanut butter, egg, and vanilla. Beat in the peanut butter until smooth, then add the egg and vanilla extract. Mix on low speed until just combined. The dough will look a little wet at this point—that’s normal. If the mixture looks curdled or separated, your butter was too cold. Don’t panic; just keep mixing and it’ll come together.
- Mix the dry ingredients separately. In a small bowl, whisk together the flour, baking soda, and salt. This ensures the baking soda is evenly distributed, so you don’t get one cookie that rises like a balloon and another that’s flat as a pancake. Trust me on this—I learned the hard way.
- Combine wet and dry ingredients. Gradually add the flour mixture to the wet ingredients, mixing on low speed. Stop as soon as the flour disappears—overmixing develops gluten and makes cookies tough. The dough should be soft and slightly sticky but not wet. If it’s too sticky to handle, chill it for 10 minutes.
- Fold in the caramel chips. Gently stir in the salted caramel baking chips with a spatula. Don’t overmix—just fold until they’re evenly distributed. You want those little pockets of caramel throughout, not all clumped together in one spot.
- Shape the dough balls. Using a small cookie scoop or two spoons, portion out rounded tablespoons of dough (about 1.5 tablespoons each). Roll each portion into a smooth ball between your palms. The dough should be soft but hold its shape. If it’s too sticky, wet your hands slightly—it helps prevent sticking.
- Roll in sugar. Place the 1/4 cup granulated sugar in a small bowl. Roll each dough ball in the sugar until fully coated. This isn’t just for looks—the sugar creates that slightly crispy exterior that contrasts with the soft center. Place the sugared balls about 2 inches apart on the prepared baking sheets.
- Bake. Bake for 10 to 12 minutes, or until the edges are lightly golden and the centers look slightly puffed and set. The cookies will look underdone in the middle—that’s what you want. They continue to cook on the hot baking sheet after you pull them out. For softer, chewier cookies, bake on the shorter end. For crispier edges, go a minute longer.
- Add the finishing touch. Remove the baking sheet from the oven. Immediately press a few extra caramel chips into the top of each warm cookie if you want a prettier presentation (optional). Then sprinkle a pinch of flaky sea salt over each cookie. The salt sticks better when the cookies are warm. Let them cool on the baking sheet for 5 minutes, then transfer to a wire rack to cool completely.
A note on timing: The total time from start to finish is about 25 minutes—10 minutes of prep, 12 minutes of baking, and a few minutes for cooling. That’s faster than ordering takeout, honestly. And the smell? It’ll fill your whole house with that warm, buttery, peanut-buttery aroma that makes everyone wander into the kitchen asking, “What’s baking?”
Cooking Tips & Techniques
I’ve made these cookies more times than I can count, and I’ve definitely had my share of failures. Here are the lessons I learned the hard way so you don’t have to.
Don’t overbake. This is the number one mistake. I used to leave cookies in the oven until they looked “done” all the way through. The result? Dry, crumbly cookies that crumbled when you bit into them. Pull them out when the edges are set but the centers still look soft and slightly underdone. They’ll firm up as they cool. Trust the process.
Chill the dough if needed. If your kitchen is warm or your butter was too soft, the dough might spread too much in the oven. Pop the shaped dough balls in the fridge for 15 minutes before baking. This firms up the butter and gives you thicker, chewier cookies. I do this on hot summer days when my kitchen feels like a sauna.
Use room temperature ingredients. I cannot stress this enough. Cold eggs and cold butter don’t cream properly. You’ll end up with a lumpy dough and uneven cookies. Take the egg and butter out of the fridge 30 minutes before you start. If you’re in a rush, cut the butter into small cubes—they soften faster.
Measure flour correctly. The biggest culprit in dry cookies is too much flour. Spoon the flour into your measuring cup and level it off with a knife. Don’t scoop directly with the cup—you’ll pack in up to 25% more flour than the recipe calls for. A kitchen scale is even better: 190 grams is the magic number.
Let them cool on the sheet. I know it’s tempting to move them to a rack immediately so you can bake the next batch. But those 5 minutes on the hot baking sheet are crucial. The cookies are still setting up inside. If you move them too soon, they’ll fall apart. Patience, my friend.
Make a test cookie first. Before baking an entire sheet, bake one cookie to check the spread and texture. If it spreads too much, chill the dough. If it doesn’t spread enough, press the dough balls down slightly before baking. This saves you from wasting an entire batch. I learned this trick from a professional baker, and it’s saved me countless times.
Variations & Adaptations
One of the best things about this recipe is how flexible it is. Here are some ways to make it your own:
Chocolate Lover’s Version: Swap half the caramel chips for dark chocolate chips or mini chocolate chips. The combination of chocolate and caramel with the peanut butter base is absolutely killer. I tried this for my husband, who claims he “doesn’t like caramel” (I know, I married him anyway), and he ate six.
Gluten-Free Adaptation: Use a 1:1 gluten-free baking flour blend. I’ve tested this with Bob’s Red Mill 1:1 and King Arthur Measure for Measure, and both work perfectly. The cookies might spread a tiny bit more, so I recommend chilling the dough for 20 minutes before baking. No one will know they’re gluten-free.
Nut-Free Option: Substitute the peanut butter with sunflower seed butter or a nut-free alternative like WowButter. The flavor will be different—more earthy, less sweet—but still delicious. Just be aware that sunflower seed butter can turn green when baked (it’s a chemical reaction, not mold). It’s safe to eat, but if you’re serving these at a party, you might want to warn people.
Extra Salty-Sweet: If you’re like me and love that salty-sweet contrast, add an extra 1/4 teaspoon of flaky sea salt to the dough and double the sprinkle on top. The salt really brings out the caramel flavor and balances the sweetness. My daughter calls these “the grown-up cookies” because they’re not as sweet as the original.
Stuffed Cookies: For a fun twist, press a whole caramel candy (like a soft caramel or Rolo) into the center of each dough ball before rolling in sugar. The caramel melts into a gooey center that’s absolutely decadent. Just make sure the caramel is fully enclosed in the dough, or it’ll leak out during baking. I learned this one after a particularly messy batch that looked like a caramel volcano erupted in my oven.
Serving & Storage Suggestions
These cookies are best served slightly warm, when the caramel chips are still soft and the edges are just a little crisp. Let them cool on the baking sheet for 5 minutes, then transfer to a wire rack. If you can wait that long, that is. I usually end up eating one straight off the sheet, burning my tongue in the process. Worth it.
For serving: Arrange the cookies on a pretty plate or in a cookie jar. They’re perfect with a cold glass of milk (obviously), a cup of coffee, or even a scoop of vanilla ice cream for dessert. For parties, I like to stack them on a wooden board with a sprinkle of extra flaky salt on top—it looks fancy without any effort.
For storage: Store the cookies in an airtight container at room temperature for up to 5 days. Place a slice of bread in the container to keep them soft—the cookies absorb the moisture from the bread. Replace the bread slice every couple of days. I know it sounds weird, but it works. My grandmother taught me that trick.
For freezing: These cookies freeze beautifully. You can freeze the baked cookies for up to 3 months. Layer them between sheets of parchment paper in a freezer-safe container. To thaw, just leave them at room temperature for about 30 minutes. Or, if you’re impatient like me, microwave one for 10 seconds—it’s like fresh from the oven.
For make-ahead: The dough itself freezes well too. Shape the dough balls, roll them in sugar, and place them on a baking sheet in the freezer until solid. Transfer to a freezer bag. When you’re ready to bake, just pop them straight from the freezer onto a baking sheet and add 2 to 3 minutes to the baking time. Fresh cookies in under 15 minutes—perfect for unexpected guests or late-night cravings.
Flavor development: Honestly, these cookies taste even better the next day. The flavors meld together overnight, and the texture softens just a bit. If you can resist eating them all on day one, you’re in for a treat on day two. I’ve tested this extensively, for science.
Nutritional Information & Benefits
Let’s be real—these are cookies, not health food. But they’re made with real ingredients, and that counts for something. Here’s the estimated nutritional breakdown per cookie (based on 24 cookies):
- Calories: Approximately 180
- Total Fat: 9g
- Saturated Fat: 4g
- Cholesterol: 20mg
- Sodium: 160mg
- Total Carbohydrates: 23g
- Dietary Fiber: 1g
- Sugars: 15g
- Protein: 4g
Health highlights: Peanut butter provides a good source of protein and healthy fats, which helps keep you full longer. The caramel chips add a touch of sweetness without being overwhelming. And the sea salt? It’s a natural source of essential minerals. Plus, making cookies from scratch means you control what goes in—no preservatives, no artificial flavors, no weird ingredients you can’t pronounce.
Dietary considerations: This recipe contains peanuts, dairy (butter), eggs, and gluten. For a nut-free version, use sunflower seed butter. For a dairy-free version, use vegan butter and check that your caramel chips are dairy-free. For a gluten-free version, use a 1:1 gluten-free flour blend. I’ve tested all these adaptations, and they work beautifully.
Personal perspective: I believe in balance. We eat healthy meals during the week—lots of vegetables, lean proteins, whole grains. But cookies? Cookies are for joy. They’re for after-school smiles, for bake sales, for lazy Sunday afternoons. These cookies bring joy without the guilt, because they’re made with love and real ingredients. And honestly, a little bit of joy is good for you.
Conclusion
These salted caramel peanut butter blossom cookies started as a mistake, but they’ve become one of my most-requested recipes. They’re the cookies I bring to potlucks, the ones I pack in lunchboxes, the ones I make when I need a little pick-me-up. They’re proof that sometimes the best things in life come from happy accidents.
I love this recipe because it’s forgiving. You can make it with your kids, you can double it without stress, and it always turns out delicious. The combination of creamy peanut butter, sweet caramel, and flaky salt is just perfect. It’s comfort food that feels special without being complicated.
So go ahead—make a batch. Or two. Customize them however you like. Add extra salt, swap in chocolate chips, stuff them with caramel. Make them your own. And when someone asks for the recipe (because they will), tell them the story. Tell them about the wrong bag of chips and the toddler with the spatula. Tell them that sometimes, the best recipes are the ones you never planned to make.
I’d love to hear how yours turn out. Drop a comment below and let me know what variations you tried, or tag me in your photos on social media. Happy baking, friends!
Frequently Asked Questions
Can I use natural peanut butter in this recipe?
I don’t recommend it. Natural peanut butter has a different fat content and can separate during baking, making the cookies greasy and crumbly. Stick with processed peanut butter like Jif or Skippy for the best texture. If you only have natural, stir it really well and expect the cookies to spread more—you might need to chill the dough for 20 minutes.
Why did my cookies spread too much?
This usually happens for one of three reasons: your butter was too soft, your dough was too warm, or you used too much sugar. Next time, chill the dough balls for 15 to 20 minutes before baking. Also, make sure you’re measuring your flour correctly—too little flour can cause excessive spreading. And if your kitchen is hot, pop the dough in the fridge for a bit.
Can I freeze the dough for later?
Absolutely! Shape the dough into balls, roll them in sugar, and place them on a baking sheet in the freezer until solid. Transfer to a freezer bag and store for up to 3 months. When you’re ready to bake, place the frozen dough balls on a baking sheet and add 2 to 3 minutes to the baking time. No need to thaw first.
Where can I find salted caramel baking chips?
Most major grocery stores carry them in the baking aisle. Look for Ghirardelli or Hershey’s brands—both are reliable. If you can’t find salted caramel chips, regular caramel chips work fine. Just add an extra 1/4 teaspoon of flaky sea salt to the dough to get that salty-sweet balance.
How do I keep the cookies soft?
Store them in an airtight container with a slice of bread. The cookies absorb the moisture from the bread, keeping them soft for days. Replace the bread slice every couple of days. Also, don’t overbake—pull the cookies out when the centers still look slightly underdone. They’ll continue to set as they cool.
Pin This Recipe!
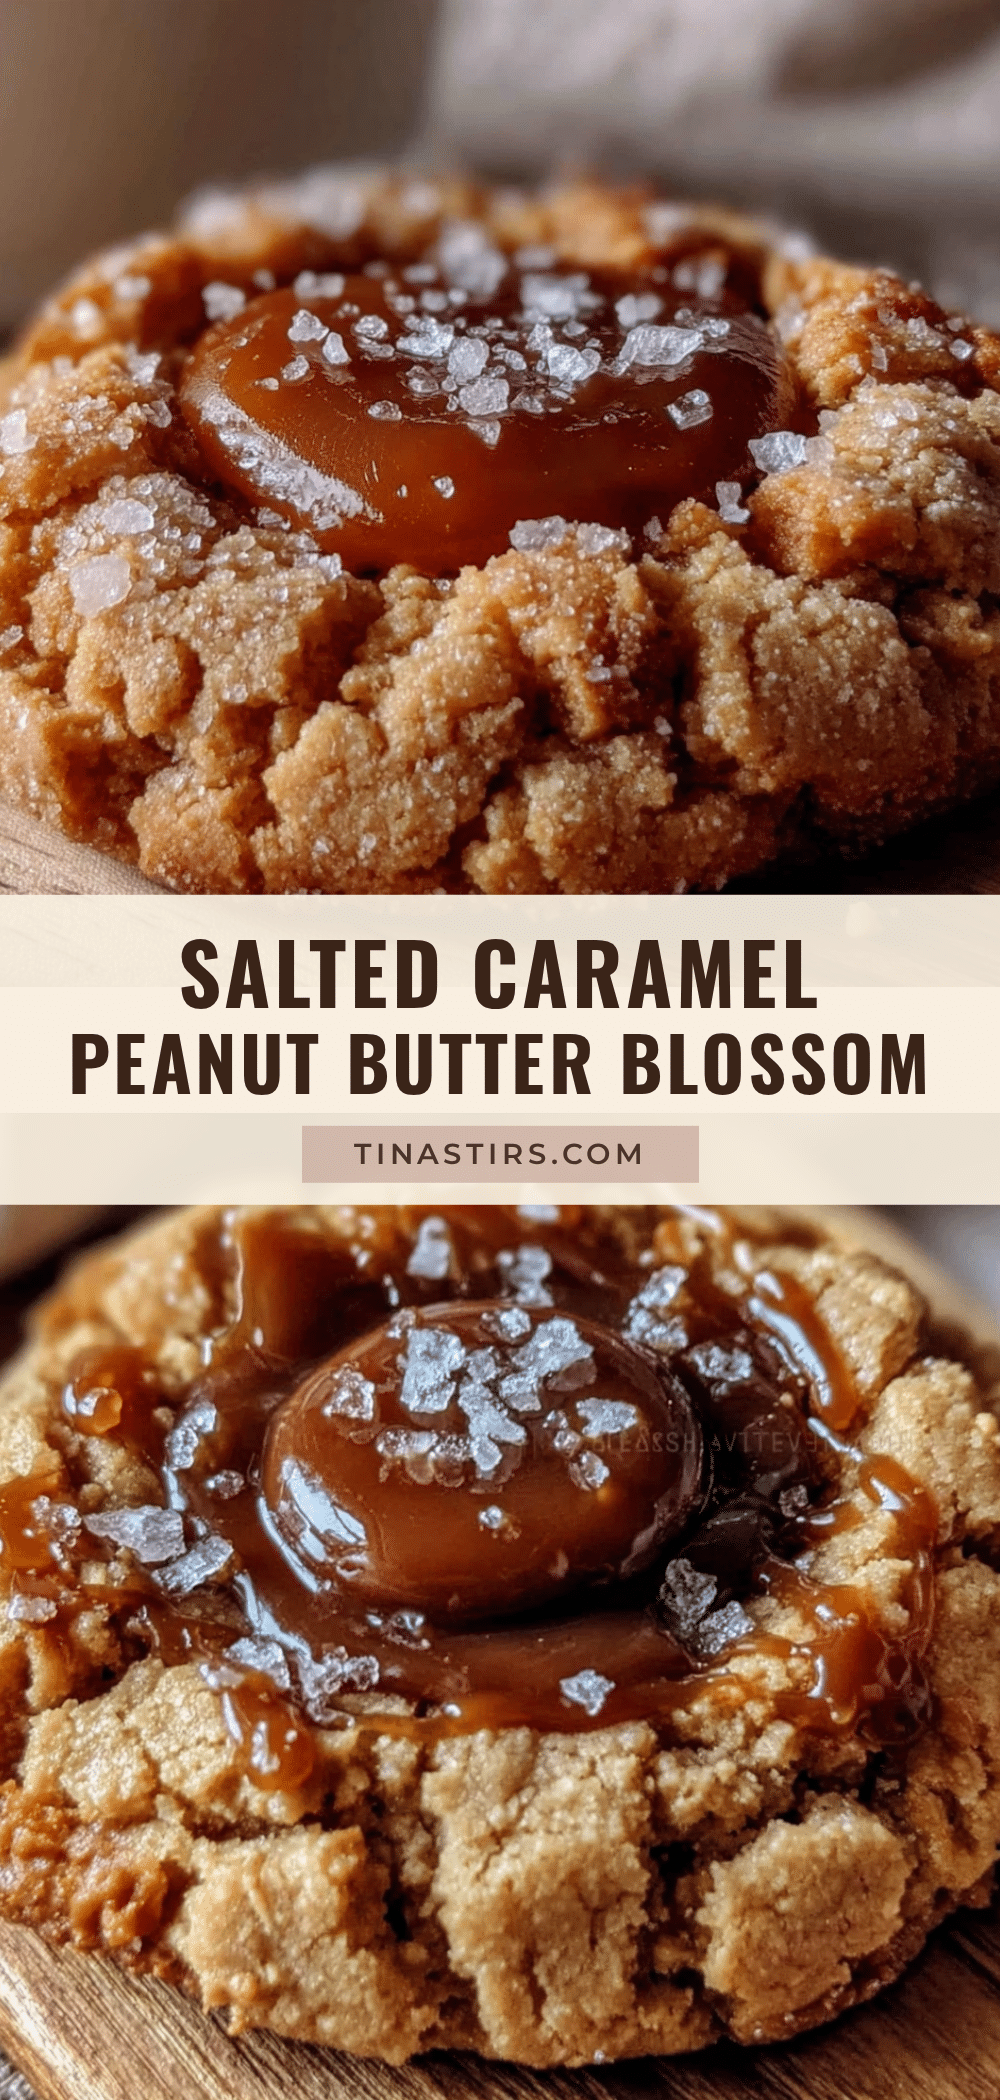
Salted Caramel Peanut Butter Blossom Cookies
A happy accident turned into a keeper: soft, chewy peanut butter cookies with salted caramel chips and a sprinkle of flaky sea salt. Perfect for bake sales, lunchboxes, or after-school treats.
- Prep Time: 10 minutes
- Cook Time: 12 minutes
- Total Time: 25 minutes
- Yield: 24 cookies 1x
- Category: Dessert
- Cuisine: American
Ingredients
- 1/2 cup unsalted butter, softened (1 stick)
- 1/2 cup creamy peanut butter (not natural)
- 1/2 cup granulated sugar (100g)
- 1/2 cup packed light brown sugar (100g)
- 1 large egg, room temperature
- 1 teaspoon vanilla extract
- 1 1/2 cups all-purpose flour (190g)
- 1 teaspoon baking soda
- 1/2 teaspoon salt
- 1 cup salted caramel baking chips (about 170g)
- 1/4 cup granulated sugar (50g), for rolling
- Flaky sea salt, for finishing
Instructions
- Preheat your oven to 350°F (175°C). Line two baking sheets with parchment paper or silicone mats.
- In a large mixing bowl, beat the softened butter, granulated sugar, and brown sugar together until light and fluffy, about 2 to 3 minutes with an electric mixer on medium speed. Scrape down the sides halfway through.
- Beat in the peanut butter until smooth, then add the egg and vanilla extract. Mix on low speed until just combined.
- In a small bowl, whisk together the flour, baking soda, and salt.
- Gradually add the flour mixture to the wet ingredients, mixing on low speed until just combined. Do not overmix.
- Gently fold in the salted caramel baking chips with a spatula until evenly distributed.
- Using a small cookie scoop or two spoons, portion out rounded tablespoons of dough (about 1.5 tablespoons each). Roll each portion into a smooth ball.
- Place the 1/4 cup granulated sugar in a small bowl. Roll each dough ball in the sugar until fully coated. Place the sugared balls about 2 inches apart on the prepared baking sheets.
- Bake for 10 to 12 minutes, or until the edges are lightly golden and the centers look slightly puffed and set.
- Remove the baking sheet from the oven. Immediately press a few extra caramel chips into the top of each warm cookie (optional). Then sprinkle a pinch of flaky sea salt over each cookie. Let them cool on the baking sheet for 5 minutes, then transfer to a wire rack to cool completely.
Notes
For softer cookies, bake on the shorter end. For crispier edges, bake a minute longer. If dough is too sticky, chill for 10 minutes. For a nut-free version, use sunflower seed butter or WowButter. For gluten-free, use a 1:1 gluten-free baking blend. Store in an airtight container at room temperature for up to 5 days; place a slice of bread in the container to keep them soft. Freeze baked cookies for up to 3 months.
Nutrition
- Serving Size: 1 cookie
- Calories: 180
- Sugar: 15
- Sodium: 160
- Fat: 9
- Saturated Fat: 4
- Carbohydrates: 23
- Fiber: 1
- Protein: 4
Keywords: peanut butter cookies, salted caramel, blossom cookies, easy cookies, kid-friendly, bake sale, after-school treat


