Love this? Save it for later!
Share the inspiration with your friends
The holiday cookie swap was in 48 hours and I’d completely forgotten. Everyone else would be bringing those elaborate, multi-day affairs—you know the ones. The kind with hand-piped royal icing, laminated doughs that require three separate rests, and fillings that need to be made a day ahead. I had a half-empty jar of molasses in my pantry, a bag of gluten-free flour I’d bought on a whim, and approximately 30 minutes before I needed to leave for my son’s school pickup.
“Just bring something simple,” my friend Sarah had said when I texted her in a panic. But simple felt like showing up empty-handed when faced with a table of bakery-level creations. I mean, I’ve been there—that moment when you’re the one bringing the store-bought platter while everyone else unpacks homemade masterpieces. It stings.
So I did what any reasonable person would do: I grabbed that molasses, the gluten-free flour blend I’d been meaning to test, and decided to throw together a batch of soft molasses gingerbread cookies. No chilling. No fuss. Honestly, I figured they’d be a decent backup plan—edible, at least, and maybe nobody would notice they weren’t the showstoppers everyone else brought.
The power went out halfway through mixing. Just my luck, right? I finished creaming the butter and sugar by the light of my phone flashlight, laughing at the absurdity of it all. When the power came back 20 minutes later, I baked them off quickly, let them cool on the counter, and packed them in a tin without even tasting one.
At the swap, Sarah took one bite and actually closed her eyes. “These are the best gingerbread cookies I’ve ever had,” she said. “Seriously. What’s your secret?” The other moms crowded around, asking for the recipe. My simple, no-chill, gluten-free cookies—the ones I’d thrown together in a panic—were the first to disappear from the table.
That’s the thing about these quick soft molasses gingerbread cookies. They don’t need fancy techniques or hours of chilling. They don’t need gluten to be incredibly soft and spiced just right. They just need a little molasses, a warm blend of spices, and about 20 minutes of your time. Maybe you’ve been there—scrambling for a last-minute treat that still feels special. These cookies are that recipe.
Why You’ll Love This Recipe
Let me tell you why these soft molasses gingerbread cookies have become my most-requested recipe, even among friends who don’t need to eat gluten-free.
- Quick & Easy: From mixing bowl to cooling rack in under 30 minutes. No chilling required—seriously, not even 10 minutes in the fridge. This is weeknight baking at its finest.
- Simple Ingredients: You probably have most of these in your pantry right now. Molasses, butter, sugar, eggs, and a gluten-free flour blend. No weird gums or hard-to-find specialty items.
- Perfect for Busy Holidays: Cookie swaps, classroom parties, last-minute guests—these cookies save the day when you need something homemade but have zero time to spare.
- Crowd-Pleaser: I’ve served these to gluten-eaters who had no idea they were gluten-free. They just asked for seconds. Kids love them, adults love them, everyone loves them.
- Unbelievably Soft: The texture is what gets people every time. These cookies stay soft for days—no dry, crumbly gluten-free texture here. They’re tender, chewy, and perfectly spiced.
What makes these different from every other gingerbread cookie recipe out there? It’s the technique—using melted butter instead of creamed, and a specific ratio of molasses to sugar that creates that signature soft texture without any chilling. I tested this recipe seven times before I got it right. Seven batches of cookies that my family happily ate, but I knew could be better. The eighth batch? That was the one. The cookies came out perfectly soft, with that deep molasses flavor and just the right amount of spice.
These aren’t just good “for gluten-free” cookies. They’re good cookies, period. The kind that makes you close your eyes after the first bite because the combination of warm spices and soft texture is pure comfort. Perfect for impressing guests without stress, or turning a regular Tuesday into something a little more special.
What Ingredients You Will Need
This recipe uses simple, wholesome ingredients to deliver bold flavor and satisfying texture without the fuss. Most of these are pantry staples, which means you can make these cookies anytime the craving strikes.
For the Cookies
- Unsalted butter, melted (½ cup / 113g) — I use Kerrygold for its rich flavor, but any good unsalted butter works. Melt it gently so it doesn’t separate.
- Dark brown sugar, packed (¾ cup / 150g) — Dark brown sugar has more molasses content than light, which adds depth. But light brown sugar works in a pinch.
- Unsulphured molasses (⅓ cup / 110g) — Grandma’s Original or Brer Rabbit are my go-to brands. Don’t use blackstrap molasses here—it’s too bitter and will make your cookies taste harsh.
- Large egg (1, room temperature) — A room-temperature egg incorporates more evenly into the melted butter mixture.
- Vanilla extract (1 teaspoon) — Pure vanilla makes a difference, but good-quality imitation vanilla works too.
- Gluten-free all-purpose flour blend (2 cups / 280g) — I recommend Bob’s Red Mill 1-to-1 Baking Flour or King Arthur Measure for Measure. These blends already contain xanthan gum, which provides structure. If your blend doesn’t include xanthan gum, add ½ teaspoon.
- Baking soda (1½ teaspoons) — This helps the cookies spread and gives them that soft, slightly puffy texture.
- Ground ginger (1½ teaspoons) — Freshly ground ginger from a spice jar is fine, but if you have whole ginger you grind yourself, the flavor is noticeably brighter.
- Ground cinnamon (1 teaspoon) — The warmth of cinnamon pairs perfectly with ginger.
- Ground cloves (½ teaspoon) — A little goes a long way. Cloves add that classic holiday spice depth.
- Salt (¼ teaspoon) — Just enough to balance the sweetness and enhance the spices.
For Rolling (Optional)
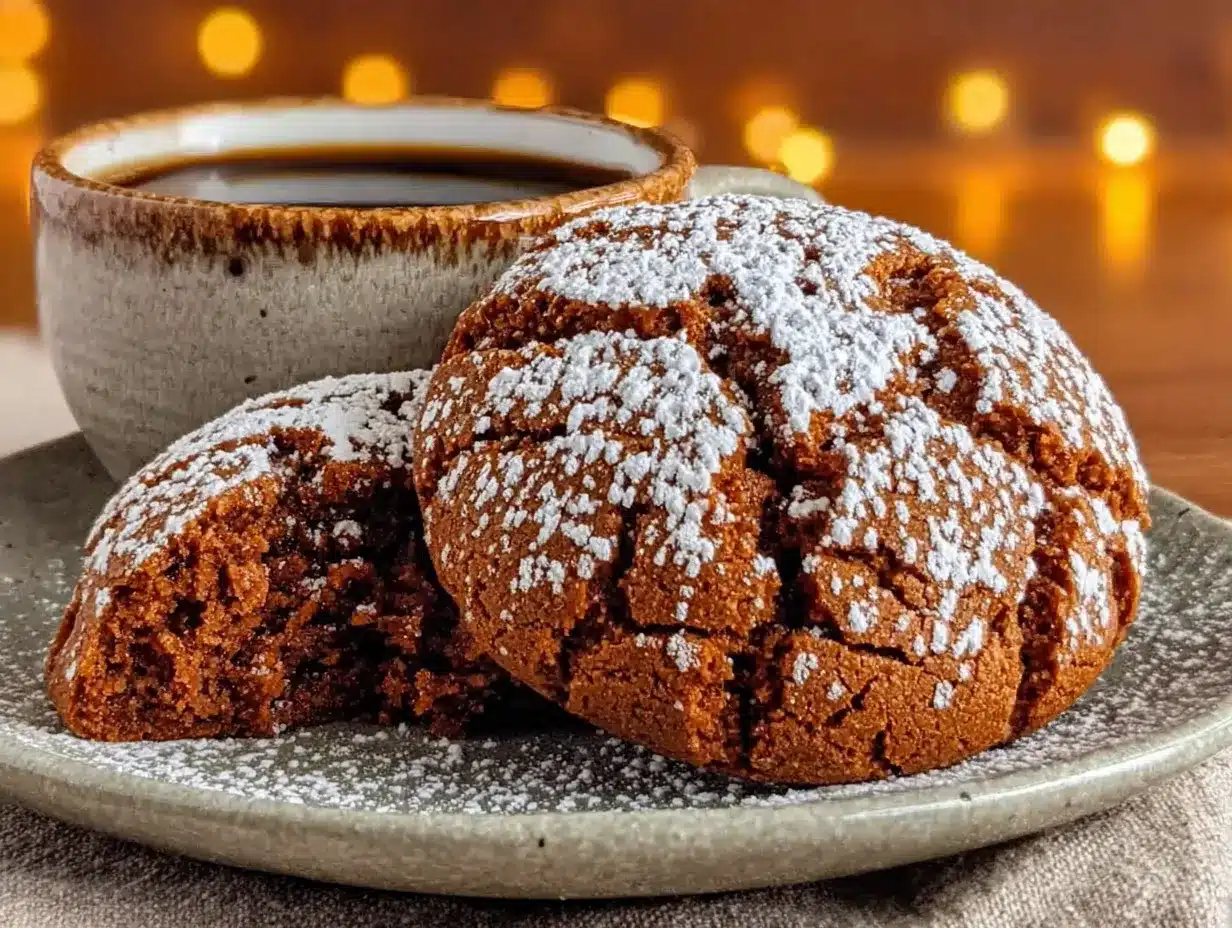
- Granulated sugar (¼ cup / 50g) — For rolling the cookie dough balls before baking. This gives them a slight crunch on the outside while staying soft inside. You can skip this if you prefer a softer exterior.
Ingredient Selection Tips: When shopping for molasses, look for “unsulphured” on the label. Sulphured molasses has a chemical处理后 flavor that you don’t want in your cookies. Also, check your gluten-free flour blend—if it’s primarily rice flour-based, the texture might be slightly grainier. I’ve found that blends with a mix of rice flour, tapioca starch, and potato starch produce the best texture for these cookies.
Substitution Guidance: For a dairy-free version, use vegan butter sticks (not tub margarine) in place of regular butter. For an egg-free version, try a flax egg (1 tablespoon ground flaxseed mixed with 3 tablespoons water, let sit for 5 minutes). The cookies will be slightly less tender but still delicious. You can also use coconut sugar in place of brown sugar for a less refined option, though the cookies will be slightly less soft.
Equipment Needed
You don’t need fancy equipment for these cookies, which is part of their charm. Here’s what you’ll need:
- Large mixing bowl — Any medium-to-large bowl works. I use a ceramic one because it doesn’t retain heat, but glass or stainless steel is fine.
- Whisk — For combining the wet ingredients and the dry ingredients separately.
- Rubber spatula — For folding the dry ingredients into the wet. A wooden spoon works too, but a spatula gives you better control.
- Cookie scoop or tablespoon — A 1½-tablespoon cookie scoop makes uniform cookies that bake evenly. If you don’t have one, use a regular tablespoon and your hands to form balls.
- Baking sheets — Two standard half-sheet pans work best. Line them with parchment paper for easy cleanup and even baking.
- Parchment paper — Non-stick and makes cleanup a breeze. Silicone baking mats work too, but I find parchment gives slightly better browning on the bottom.
- Cooling rack — Essential for letting cookies cool properly so they don’t continue baking on the hot pan.
- Measuring cups and spoons — For accurate measurements. I cannot stress this enough—baking is chemistry, and eyeballing ingredients leads to inconsistent results.
If you don’t have a cookie scoop, you can use two spoons to portion the dough, then roll it into balls with your hands. The dough is slightly sticky, so lightly wetting your hands helps. I’ve made these cookies in a friend’s kitchen with just a fork, a bowl, and a baking sheet—they still turned out great.
Preparation Method
Let me walk you through this step by step. I’ve made these cookies so many times that I could do it in my sleep, but I’ll share all the little tricks I’ve learned along the way.
- Preheat your oven to 350°F (175°C). Line two baking sheets with parchment paper. This is important—don’t skip the parchment, even if your pans are non-stick. The cookies spread slightly and parchment makes removal effortless.
- Melt the butter. In a small saucepan or microwave-safe bowl, melt ½ cup of butter until just liquid. Don’t let it boil or get too hot—you want it melted, not sizzling. Let it cool for 2-3 minutes while you gather your other ingredients. If it’s too hot when you add the egg, you’ll end up with scrambled egg bits in your dough. Trust me, I learned this the hard way.
- Combine the wet ingredients. In your large mixing bowl, whisk together the melted butter, packed dark brown sugar, molasses, egg, and vanilla extract. Whisk until smooth and well-combined. The mixture will look thick and glossy, almost like caramel sauce. Take a moment to smell it—that molasses-spice aroma is pure comfort.
- Whisk the dry ingredients separately. In a separate medium bowl, whisk together the gluten-free flour, baking soda, ground ginger, cinnamon, cloves, and salt. Whisking aerates the flour and ensures the spices are evenly distributed. Nobody wants a cookie that’s all ginger and no cinnamon.
- Combine wet and dry. Add the dry ingredients to the wet ingredients in two additions, folding gently with your rubber spatula after each addition. Mix just until no streaks of flour remain. Overmixing will make the cookies tough—gluten-free flour doesn’t develop gluten the same way wheat flour does, but overworking the dough can still lead to a denser texture.
- Let the dough rest for 5 minutes. This is a crucial step that I discovered through trial and error. Gluten-free flours need a few minutes to absorb the liquid and soften. The dough will look slightly sticky at first, but after resting, it will firm up to a scoopable consistency. If your dough seems too sticky after resting, add 1 tablespoon more flour.
- Portion the dough. Using your cookie scoop or a tablespoon, scoop out rounded portions of dough (about 1½ tablespoons each). Roll each portion into a smooth ball between your palms. If the dough sticks to your hands, lightly wet your fingers with cold water.
- Roll in sugar (optional but recommended). Pour the ¼ cup of granulated sugar into a small bowl. Roll each dough ball in the sugar until coated on all sides. This creates that slightly crackly, sparkly exterior that contrasts beautifully with the soft interior.
- Place on baking sheets. Arrange the dough balls on the prepared baking sheets, spacing them about 2 inches apart. These cookies spread moderately, so don’t crowd them. I fit 12 cookies per sheet (4 rows of 3).
- Bake for 10-12 minutes. Bake one sheet at a time on the center rack. The cookies are done when the edges are set and lightly browned, but the centers still look slightly soft and puffy. They will continue to set as they cool on the pan. For softer cookies, bake for 10 minutes. For slightly crispier edges, go for 12 minutes.
- Cool on the pan for 5 minutes. This is important—the cookies are very soft right out of the oven and need time to firm up before you move them. After 5 minutes, transfer them to a wire cooling rack to cool completely.
- Repeat with remaining dough. Let the baking sheets cool completely between batches, or use cool parchment on a second set of sheets. Warm pans cause the dough to spread too quickly.
Sensory Cue: When the cookies are done, your kitchen should smell like a holiday candle—warm ginger, cinnamon, and that deep, almost smoky molasses note. The cookies will look cracked on top, with the sugar coating giving them a subtle sparkle. Press gently on a cookie—it should feel firm at the edges but give slightly in the center.
Cooking Tips & Techniques
After making these cookies more times than I can count, I’ve collected a few tips that make a real difference. Some came from professional baking experience, others from spectacular failures.
Don’t skip the molasses measurement. I once tried to eyeball the molasses because I was in a hurry. The cookies came out flat and overly sweet. Molasses is thick and sticky, so spray your measuring cup with non-stick spray before measuring—it slides right out without leaving half the molasses stuck to the cup. This is one of those tips I wish someone had told me years ago.
The resting period matters. I know it’s tempting to skip the 5-minute rest and get the cookies in the oven faster. But gluten-free flours need time to hydrate properly. Without that rest, your cookies might spread too much or have a slightly gritty texture. Set a timer—it’s only 5 minutes, and it makes a noticeable difference.
Check your baking soda freshness. Baking soda loses its potency over time. If your cookies aren’t spreading or puffing up in the oven, your baking soda might be old. To test it: drop a teaspoon of baking soda into a small bowl of vinegar. If it fizzes vigorously, it’s still good. If it barely bubbles, get a new box.
Rotate your baking sheet halfway through. Ovens have hot spots, and rotating the pan ensures even baking. I rotate mine at the 5-minute mark. This is especially important if you’re baking two sheets at once—swap their positions and rotate each one.
Cool completely before storing. I made the mistake of stacking warm cookies once. They stuck together in a sad, sticky mess. Let them cool completely on a wire rack before transferring to an airtight container. If you’re in a hurry, spread them in a single layer on the counter for faster cooling.
My biggest failure: The time I forgot the baking soda entirely. The cookies came out flat, dense, and almost rock-like. My husband tried to be diplomatic about it, but even the dog turned up her nose. That’s when I learned to always double-check my ingredients before I start mixing.
Variations & Adaptations
One of the best things about this recipe is how adaptable it is. Here are some variations I’ve tried and loved:
Spiced Orange Gingerbread Cookies
Add 1 tablespoon of fresh orange zest to the wet ingredients along with the molasses. The citrus brightens the spices beautifully. I discovered this variation when I had an orange sitting on my counter and thought, “Why not?” It’s now my second-favorite version.
Vegan Soft Gingerbread Cookies
Replace the butter with vegan butter sticks (I like Miyoko’s or Earth Balance) and use a flax egg (1 tablespoon ground flaxseed + 3 tablespoons water, rested for 5 minutes). The cookies will be slightly less tender but still deliciously soft. I’ve served these to vegan friends who couldn’t believe they were plant-based.
Pumpkin Gingerbread Cookies
Reduce the butter to ¼ cup and add ¼ cup pumpkin puree. Increase the flour by 2 tablespoons to compensate for the extra moisture. This version is incredibly moist and has a beautiful orange tint. Perfect for fall baking when you have leftover pumpkin puree.
Spiced Icing Drizzle
For a fancier version, whisk together 1 cup powdered sugar, 2 tablespoons milk (any kind), and ¼ teaspoon vanilla extract. Drizzle over cooled cookies and sprinkle with a pinch of cinnamon. This turns them into bakery-worthy treats that look stunning on a cookie platter.
Different Flour Blends
If you’re not gluten-free, you can use regular all-purpose flour with the same measurements. The cookies will be slightly chewier but just as soft. For a lower-carb option, try almond flour—but note that the texture will be more delicate and the cookies will spread more, so chill the dough for 30 minutes before baking.
Serving & Storage Suggestions
These cookies are incredibly versatile when it comes to serving. Here’s how I recommend enjoying them:
Serving Temperature: These cookies are delicious at room temperature, but I actually prefer them slightly warm. Pop one in the microwave for 8-10 seconds, and the molasses flavor becomes even more pronounced. Serve them with a cold glass of milk, a hot cup of coffee, or a mug of spiced chai tea.
Presentation Ideas: Arrange them on a festive plate or in a vintage tin for gift-giving. Dust with powdered sugar for a snowy effect, or sandwich two cookies with a thin layer of cream cheese frosting for an indulgent treat. For holiday parties, I like to stack them on a tiered stand with other cookies for a beautiful dessert display.
Storage Instructions: Store the cookies in an airtight container at room temperature for up to 5 days. To keep them extra soft, add a slice of bread to the container—the cookies will absorb the moisture from the bread and stay tender. Replace the bread slice every 2 days if you’re storing them longer.
Freezer Instructions: These cookies freeze beautifully. Place cooled cookies in a single layer on a baking sheet and freeze for 1 hour, then transfer to a freezer-safe bag or container. They’ll keep for up to 3 months. Thaw at room temperature for about 30 minutes before serving. You can also freeze the unbaked dough balls—just place them on a baking sheet, freeze until solid, then transfer to a freezer bag. Bake from frozen, adding 2-3 minutes to the baking time.
Flavor Development: Here’s a secret—these cookies actually taste better the next day. The spices meld together overnight, creating a deeper, more complex flavor. So if you’re making them ahead for an event, bake them a day in advance. Just store them in an airtight container and they’ll be perfect.
Nutritional Information & Benefits
While these cookies are definitely a treat, they do offer some surprising nutritional benefits. Here’s the estimated nutritional breakdown per cookie (based on 24 cookies):
| Nutrient | Amount Per Cookie |
|---|---|
| Calories | 145 |
| Total Fat | 6g |
| Saturated Fat | 3.5g |
| Carbohydrates | 22g |
| Fiber | 1g |
| Sugar | 14g |
| Protein | 2g |
| Sodium | 95mg |
Health Highlights: Molasses is actually a good source of iron, calcium, and magnesium. A tablespoon of molasses contains about 3.5mg of iron—that’s about 20% of the daily recommended intake for women. The ginger in these cookies is known for its anti-inflammatory properties and can help with digestion. Cinnamon has been shown to help regulate blood sugar levels.
Dietary Considerations: This recipe is naturally gluten-free (when using a certified gluten-free flour blend) and can easily be made dairy-free or vegan with the substitutions mentioned above. These cookies are also nut-free, making them safe for school classrooms and parties where nut allergies are a concern. Always check your specific flour blend for any allergen warnings.
I like to think of these cookies as a way to enjoy a sweet treat while still getting a little nutritional boost. They’re not health food by any means, but they’re made with real ingredients that offer more than empty calories. And honestly, a cookie that makes you feel good while tasting amazing? That’s a win in my book.
Conclusion
These quick soft molasses gingerbread cookies have become a staple in my kitchen for good reason. They’re fast, forgiving, and absolutely delicious—everything you want in a cookie recipe. Whether you’re gluten-free by necessity or by choice, or you just want a foolproof gingerbread cookie that doesn’t require hours of chilling, this recipe delivers every time.
I love that I can make these cookies on a busy weeknight when a baking craving hits. I love that they make my house smell like the holidays without requiring me to spend all day in the kitchen. And I love that they’ve converted more than a few skeptics who thought gluten-free baking couldn’t possibly taste this good.
But most of all, I love that this recipe came from a moment of panic and imperfection. It’s proof that you don’t need the fanciest ingredients or the most elaborate techniques to create something truly special. Sometimes the best recipes are the ones you throw together when you least expect it.
So go ahead—preheat your oven, grab that jar of molasses, and make these cookies. I promise you won’t regret it. And when someone asks for the recipe (because they will), send them my way. I’d love to hear about your own cookie-making adventures in the comments below. Happy baking!
Frequently Asked Questions
Can I use blackstrap molasses instead of unsulphured molasses?
I wouldn’t recommend it. Blackstrap molasses has a much stronger, more bitter flavor that will overwhelm the spices. It also has a different sugar content, which can affect the texture of the cookies. Stick with unsulphured molasses for the best results. If that’s all you have, use half the amount and add an extra tablespoon of brown sugar to balance the bitterness.
Why didn’t my cookies spread in the oven?
This usually happens for one of three reasons: your butter wasn’t warm enough when you mixed it, your flour blend is too absorbent, or your baking soda is old. Make sure your melted butter is still liquid (not re-solidified) when you add it to the sugar. If your dough seems dry, add 1 tablespoon of milk. And always check your baking soda’s freshness before starting.
Can I make these cookies ahead of time for a party?
Absolutely! In fact, I recommend it. These cookies taste even better the next day as the spices meld together. Bake them up to 2 days in advance and store in an airtight container at room temperature. You can also freeze the baked cookies for up to 3 months—just thaw at room temperature before serving.
What’s the best gluten-free flour blend for this recipe?
I’ve tested this recipe with several blends, and Bob’s Red Mill 1-to-1 Baking Flour and King Arthur Measure for Measure work beautifully. These blends already contain xanthan gum, which helps mimic the structure of gluten. If you’re using a single-ingredient flour like almond or coconut flour, this recipe won’t work as written—you’d need a completely different ratio of ingredients.
Can I double this recipe?
Yes, this recipe doubles beautifully. Just make sure you have enough baking sheets to work in batches, or let your sheets cool completely between batches. The dough can sit at room temperature for up to 30 minutes while you bake the first batch, but if you’re taking longer, refrigerate the remaining dough to prevent it from spreading too much.
Pin This Recipe!
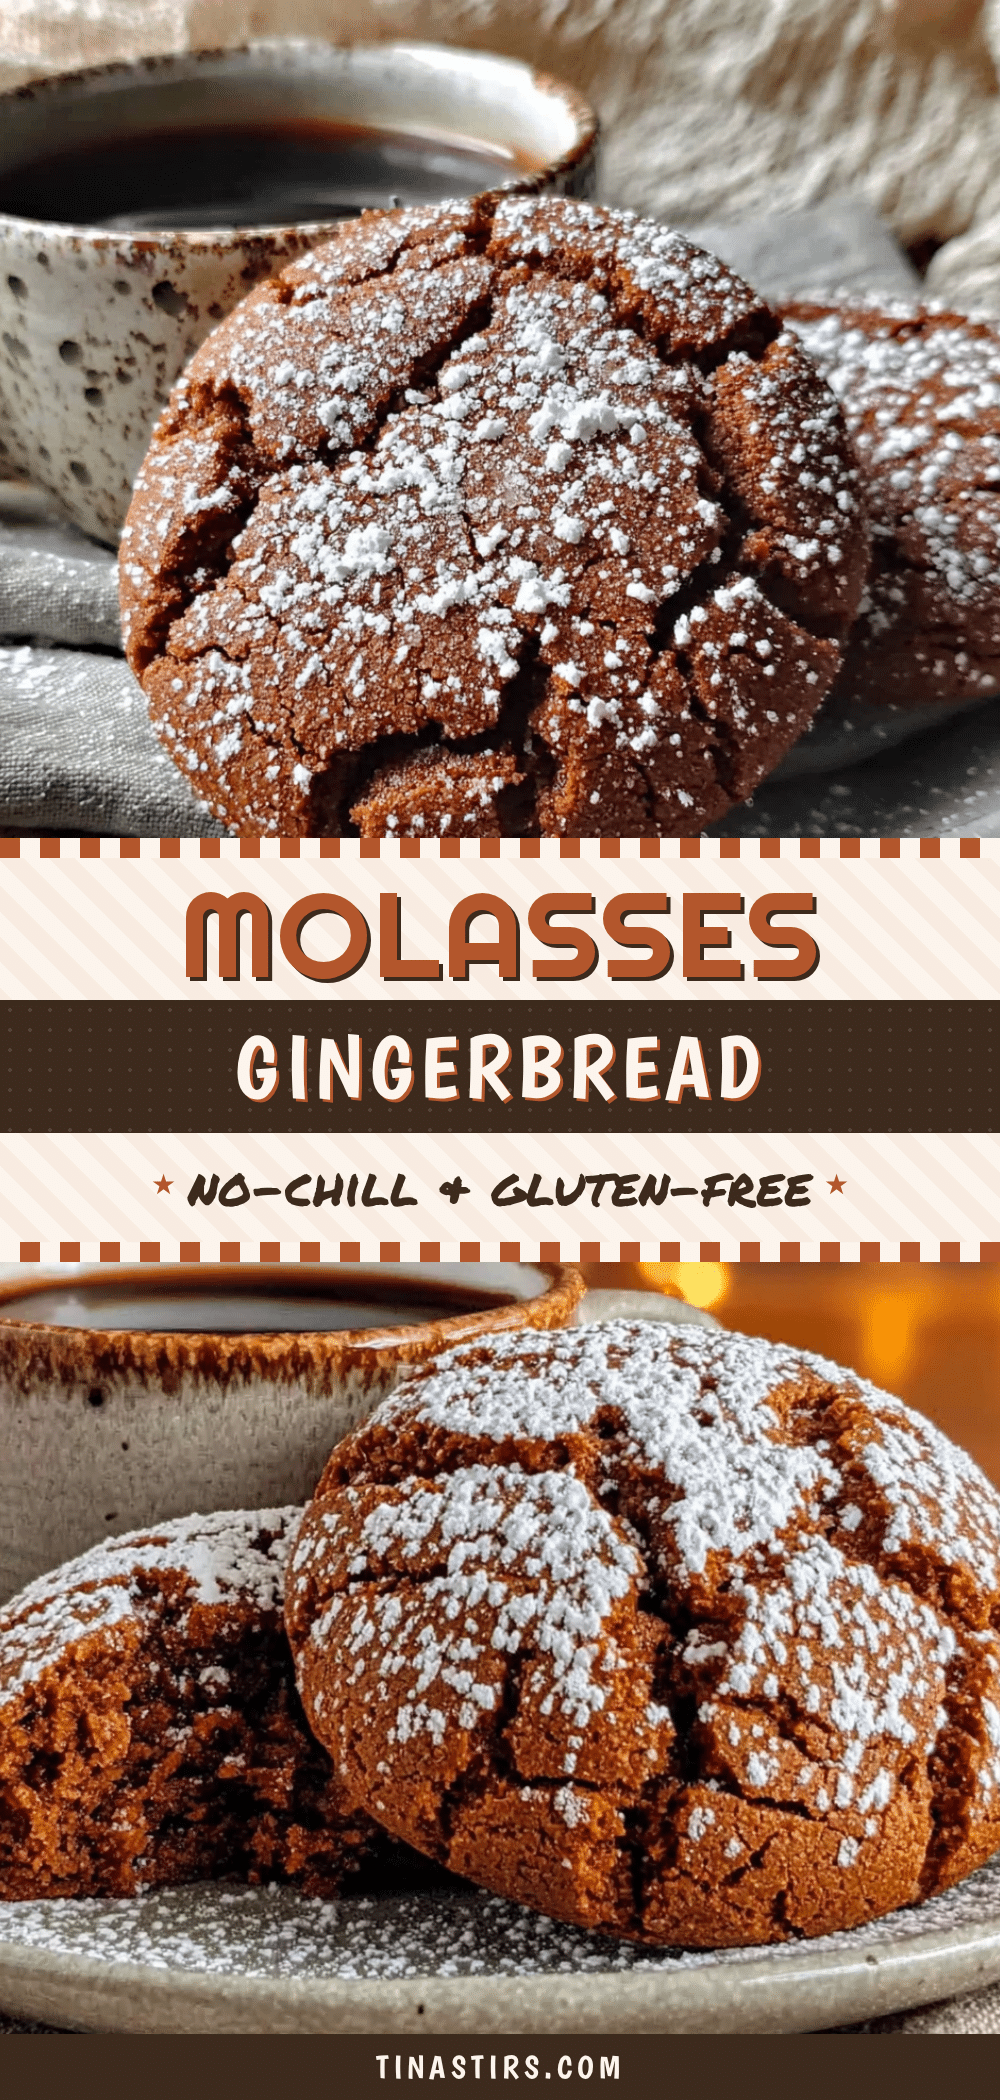
Best Easy Soft Molasses Gingerbread Cookies (No-Chill Gluten-Free)
These quick and easy soft molasses gingerbread cookies are gluten-free, require no chilling, and come together in under 30 minutes. Perfect for last-minute holiday treats, cookie swaps, or any time you need a delicious, crowd-pleasing cookie.
- Prep Time: 15 minutes
- Cook Time: 12 minutes
- Total Time: 27 minutes
- Yield: 24 cookies 1x
- Category: Dessert
- Cuisine: American
Ingredients
- ½ cup (113g) unsalted butter, melted
- ¾ cup (150g) dark brown sugar, packed
- ⅓ cup (110g) unsulphured molasses
- 1 large egg, room temperature
- 1 teaspoon vanilla extract
- 2 cups (280g) gluten-free all-purpose flour blend (e.g., Bob’s Red Mill 1-to-1 or King Arthur Measure for Measure)
- 1½ teaspoons baking soda
- 1½ teaspoons ground ginger
- 1 teaspoon ground cinnamon
- ½ teaspoon ground cloves
- ¼ teaspoon salt
- ¼ cup (50g) granulated sugar (for rolling, optional)
Instructions
- Preheat oven to 350°F (175°C). Line two baking sheets with parchment paper.
- Melt ½ cup butter in a small saucepan or microwave-safe bowl until just liquid. Let cool for 2-3 minutes.
- In a large mixing bowl, whisk together melted butter, dark brown sugar, molasses, egg, and vanilla extract until smooth and glossy.
- In a separate medium bowl, whisk together gluten-free flour, baking soda, ginger, cinnamon, cloves, and salt.
- Add dry ingredients to wet ingredients in two additions, folding gently with a rubber spatula until no streaks of flour remain. Do not overmix.
- Let dough rest for 5 minutes to allow gluten-free flour to absorb liquid. Dough should be scoopable but slightly sticky.
- Using a cookie scoop or tablespoon, portion dough into 1½-tablespoon balls. Roll each ball between palms to smooth.
- Optional: Roll each dough ball in granulated sugar until coated.
- Place dough balls on prepared baking sheets, spacing 2 inches apart. Fit 12 cookies per sheet.
- Bake one sheet at a time on center rack for 10-12 minutes, until edges are set and lightly browned but centers still soft and puffy.
- Cool cookies on baking sheet for 5 minutes, then transfer to a wire rack to cool completely.
- Repeat with remaining dough, ensuring baking sheets are cool between batches.
Notes
For best results, use unsulphured molasses (not blackstrap). Let dough rest 5 minutes for proper hydration. Cookies taste even better the next day. Store in airtight container at room temperature for up to 5 days; freeze for up to 3 months.
Nutrition
- Serving Size: 1 cookie
- Calories: 145
- Sugar: 14
- Sodium: 95
- Fat: 6
- Saturated Fat: 3.5
- Carbohydrates: 22
- Fiber: 1
- Protein: 2
Keywords: gluten-free gingerbread cookies, soft molasses cookies, no-chill cookies, easy holiday cookies, gluten-free baking