Love this? Save it for later!
Share the inspiration with your friends
I wasn’t expecting cooking advice from my accountant, but there I was, stuck in his office waiting for him to finish a phone call, listening to him describe exactly how to make the best hot chocolate from scratch. He was this quiet guy named Steve who always wore cardigans and never said much beyond “sign here.” But that day, someone had brought him a sad, watery hot chocolate from a chain coffee shop, and he just snapped. “This isn’t hot chocolate,” he said, hanging up the phone. “This is warm milk that hurt a cocoa bean’s feelings.” And then, out of nowhere, he started telling me about his grandmother’s recipe. The one she made every single Christmas Eve. The one that took five minutes and changed everything.
Honestly, I almost laughed. Steve? The guy who files my taxes? Giving me a hot chocolate recipe? But let me tell you, I was desperate. I had tried every powdered mix on the market, and they all left this weird, chalky aftertaste. I had tried the fancy “sipping chocolates” that cost a fortune and required a chemistry degree to prepare. Nothing worked. So, I grabbed a pen and scribbled his instructions on the back of a tax receipt. “Two parts milk, one part heavy cream,” he said. “Real chocolate, not chips. And a pinch of salt. That’s the secret nobody tells you.”
I went home that night, slightly skeptical, and made it. The first sip was, and I’m not exaggerating, a genuine moment. The power went out halfway through my second attempt the next week (classic me, forgot to pay the electric bill), but I finished it on the gas stove by flashlight. It was still perfect. That’s when I knew this recipe was the one. It’s the kind of hot chocolate that makes you close your eyes after the first sip. It’s rich, it’s smooth, and it’s ready before you even finish picking out your mug. Maybe you’ve been there—staring at a box of mix, knowing there has to be something better. Trust me, there is. Steve’s grandmother knew what she was doing.
Why You’ll Love This Recipe
This isn’t just another hot chocolate recipe. After testing this dozens of times for dinner parties and holiday gatherings, I can tell you it’s the one that steals the show. I’ve brought it to potlucks in a slow cooker and served it at sit-down dinners in fancy mugs. It always gets the same reaction: silence, followed by someone asking for the recipe.
- Quick & Easy: Comes together in under 5 minutes. No whisking over a double boiler. No complicated steps. Perfect for when guests show up early or you need a last-minute dessert.
- Simple Ingredients: You likely already have milk, cream, cocoa powder, and sugar in your kitchen. The only “fancy” thing is a good quality chocolate bar, and I promise it’s worth it.
- Perfect for Hosting: This is made for gatherings. You can scale it up for a crowd, keep it warm in a slow cooker, and let guests serve themselves. It’s impressive without being stressful.
- Crowd-Pleaser: Kids love it, adults love it, and even the pickiest relatives at your holiday dinner will ask for seconds. I’ve never had leftovers.
- Unbelievably Delicious: The texture is velvety, not watery. The flavor is deep and chocolatey, not artificial. It’s the kind of comfort that makes people linger at the table a little longer.
What makes this recipe different from the rest is the technique. Most recipes just melt chocolate into milk and call it a day. But blending a small amount of cream into the milk creates that luxurious mouthfeel without making it too heavy. And that pinch of salt? It’s not just for flavor—it balances the sweetness and makes the chocolate taste more like itself. I’ve tested this with cheap cocoa powder and expensive Belgian chocolate, and it works every single time.
This recipe is the kind that makes you close your eyes after the first bite—sip, I mean. It’s comfort food reimagined: faster, richer, and with the same soul-soothing satisfaction. Perfect for impressing guests without stress, or turning a simple weeknight into something memorable.
What Ingredients You Will Need
This recipe uses simple, wholesome ingredients to deliver bold chocolate flavor and a silky-smooth texture. Most of these are pantry staples, but I’ve included a few notes to help you choose the best options for your gathering.
For the Hot Chocolate Base
- 2 cups whole milk (480 ml) – Whole milk gives the richest texture. For a lighter version, use 2% milk, but avoid skim milk—it will taste thin.
- 1/2 cup heavy cream (120 ml) – This is the secret to that velvety mouthfeel. You can substitute half-and-half in a pinch, but the texture won’t be as luxurious.
- 2 tablespoons unsweetened cocoa powder (12 g) – I recommend Ghirardelli or Valrhona for the deepest flavor. Dutch-processed cocoa works best here—it’s smoother and less acidic.
- 3 ounces semi-sweet chocolate, finely chopped (85 g) – Use a good quality chocolate bar, not chocolate chips. Chips have stabilizers that prevent them from melting smoothly. I like Lindt or Guittard.
- 2 tablespoons granulated sugar (25 g) – Adjust to your taste. If you’re using a sweeter chocolate bar, you might want less sugar.
- 1/4 teaspoon vanilla extract – Pure vanilla extract adds warmth and depth. Avoid imitation vanilla if you can.
- 1 pinch of sea salt – This is non-negotiable. It balances the sweetness and enhances the chocolate flavor. I use Maldon sea salt flakes.
For Serving (Optional but Recommended)
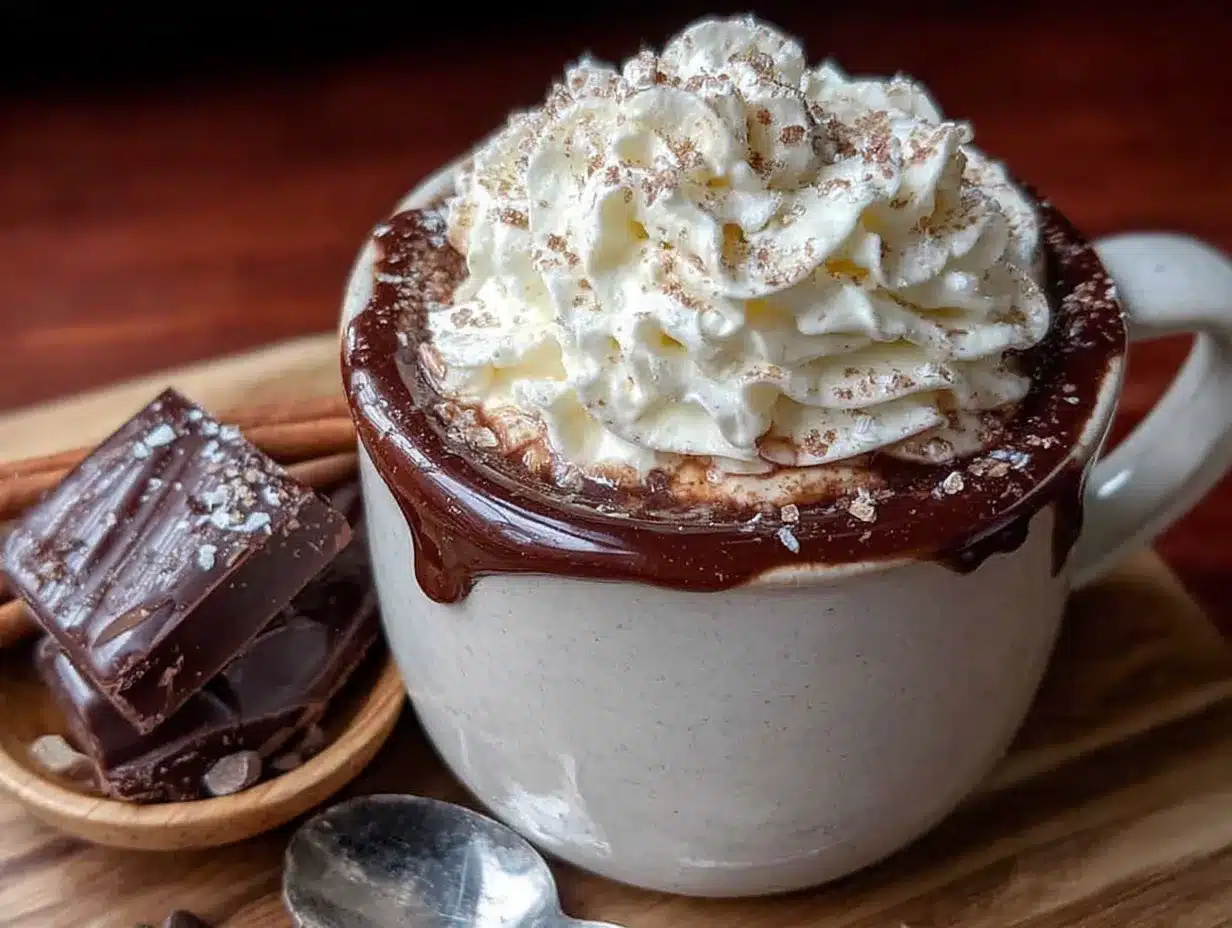
- Marshmallows or whipped cream – Homemade whipped cream is easy and impressive. Just whip 1/2 cup heavy cream with 1 tablespoon powdered sugar until soft peaks form.
- Chocolate shavings or cocoa powder dusting – For a decorative touch that makes guests feel special.
- Cinnamon stick or peppermint stirrer – Adds a festive flavor for holiday gatherings.
Ingredient Selection Tips: For the best results, use fresh milk and cream. I’ve noticed that milk nearing its expiration date can sometimes curdle when heated with cocoa powder. Also, if you’re hosting a crowd, buy an extra chocolate bar—someone will inevitably want to snack on it while you’re cooking.
Substitution Guidance: For a dairy-free version, use full-fat oat milk and coconut cream. The coconut cream adds a slight coconut flavor, but it’s delicious. For a lower-sugar option, use a sugar-free chocolate bar and swap the sugar for monk fruit sweetener.
Equipment Needed
You don’t need a lot of fancy tools for this recipe, which is part of its charm. Here’s what you’ll need:
- Medium saucepan (2-3 quart) – A heavy-bottomed saucepan works best for even heating and prevents scorching. I use a Le Creuset, but any sturdy pan will do.
- Whisk – A balloon whisk is ideal for incorporating the cocoa powder without lumps. A flat whisk works too, but it takes a bit more effort.
- Wooden spoon or silicone spatula – For stirring the chocolate as it melts. Silicone is great because it won’t scratch your pan.
- Measuring cups and spoons – Precision matters here, especially with the cocoa powder and salt.
- Chef’s knife and cutting board – For chopping the chocolate bar into small, even pieces. The smaller the pieces, the faster they melt.
- Mugs – Warm your mugs before serving by rinsing them with hot water. It keeps the hot chocolate hot longer.
Budget-Friendly Alternatives: If you don’t have a whisk, use a fork. It takes a little more elbow grease, but it works. No saucepan? Use a microwave-safe bowl and heat in 30-second bursts, whisking between each. I’ve done this in a pinch, and it still turns out great.
Maintenance Tip: After making hot chocolate, soak your pan immediately with warm soapy water. Cocoa residue can be stubborn if it dries. A quick soak makes cleanup a breeze.
Preparation Method
This recipe comes together in about 5 minutes, but I’ve broken it down into detailed steps to ensure success every time. Trust the process, and don’t rush the whisking.
- Combine the dry ingredients. In your medium saucepan, whisk together the cocoa powder, sugar, and salt. Make sure there are no lumps. This step might seem unnecessary, but it prevents clumps later when you add the liquid. It takes about 30 seconds.
- Add a splash of milk. Pour in about 1/4 cup (60 ml) of the milk and whisk it into the dry ingredients until you have a smooth, thick paste. This is called a “slurry,” and it’s the key to a lump-free hot chocolate. The paste should be the consistency of pancake batter. If it’s too thick, add another tablespoon of milk.
- Add the remaining milk and cream. Pour in the rest of the milk and the heavy cream. Whisk everything together until the mixture is uniform. Don’t worry if you see a few tiny bubbles—that’s normal.
- Heat gently. Place the saucepan over medium-low heat. Do not turn the heat up to high, or the milk will scorch and you’ll get a burnt, bitter flavor. Whisk occasionally as the mixture warms up. You should see steam rising after about 2 minutes.
- Add the chocolate. Once the milk mixture is hot but not boiling (about 160°F or 70°C—you should see small bubbles around the edge), add the chopped chocolate. Whisk constantly until the chocolate is completely melted and the mixture is smooth. This takes about 1-2 minutes. The hot chocolate should look glossy and feel silky on the whisk.
- Add the vanilla. Remove the saucepan from the heat and stir in the vanilla extract. Give it one final whisk to combine. Taste it here and adjust sweetness if needed. If it’s too rich, add another splash of milk.
- Serve immediately. Pour the hot chocolate into warmed mugs. Top with marshmallows, whipped cream, or a dusting of cocoa powder. Serve right away while it’s hot and velvety.
Troubleshooting Tips:
- Lumpy hot chocolate? You probably added the cocoa powder directly to the hot milk without making a slurry first. No worries—strain it through a fine-mesh sieve into a clean saucepan and reheat gently.
- Chocolate not melting? Your milk might not have been hot enough. Return the saucepan to low heat and whisk constantly until the chocolate melts.
- Too thick? Stir in an extra splash of milk until it reaches your desired consistency.
- Skin forming on top? That’s from overheating. Next time, keep the heat low and whisk more frequently. You can also whisk the skin back into the liquid.
Sensory Cues: At step 4, you should smell the cocoa and sugar warming—it’s a comforting, almost toasty aroma. At step 5, the chocolate should melt into ribbons as you whisk, and the mixture should look like dark, liquid velvet. When it’s ready, the hot chocolate should coat the back of a spoon and leave a clear trail when you run your finger through it.
Cooking Tips & Techniques
I’ve made this recipe more times than I can count, and I’ve learned a few things the hard way. Here are my best tips for perfect hot chocolate every time.
Low and slow is the way to go. I once cranked the heat to high because guests were arriving in 10 minutes. The milk scorched in under 2 minutes, and I had to start over. The whole kitchen smelled like burnt dairy. Lesson learned: medium-low heat only. Patience pays off.
Chop your chocolate finely. I used to just break the chocolate bar into chunks and toss them in. They took forever to melt, and I ended up with uneven texture. Now I take 30 seconds to chop it into small, uniform pieces. They melt in seconds and create a smoother result.
Make a slurry every time. This is the most important technique in the recipe. Mixing the cocoa powder with a small amount of cold milk before adding the rest of the liquid prevents lumps. I’ve skipped this step when I was in a hurry, and I always regretted it. Don’t be like me.
Use a timer for the chocolate. Chocolate can go from melted to grainy if overheated. Once you add it to the hot milk, whisk for exactly 90 seconds, then remove from heat. If it’s not fully melted, return it to low heat for another 30 seconds. Better to under-melt than overheat.
Prep everything before you start. This recipe is fast, so you don’t want to be chopping chocolate while your milk is heating. Measure out all ingredients, chop the chocolate, and have your mugs ready. It makes the process feel effortless, especially when you’re hosting.
Double the batch for a crowd. This recipe scales beautifully. For a party, I make a quadruple batch in a large pot and keep it warm in a slow cooker on the “warm” setting. I set out a tray of toppings—marshmallows, crushed candy canes, chocolate shavings—and let guests customize their own mugs. It’s always a hit.
Variations & Adaptations
One of the best things about this recipe is how adaptable it is. I’ve tried several variations over the years, and each one has its own charm.
Spiced Mexican Hot Chocolate: Add 1/2 teaspoon of ground cinnamon, a pinch of cayenne pepper, and a tiny pinch of nutmeg to the dry ingredients. The warmth of the spices complements the chocolate beautifully. I serve this at my annual holiday open house, and it’s always the first thing to disappear.
Peppermint Hot Chocolate: Stir in 1/4 teaspoon of peppermint extract along with the vanilla. Top with crushed candy canes for a festive crunch. This is perfect for Christmas gatherings or a cozy winter movie night.
Dairy-Free Version: Substitute the whole milk with full-fat oat milk and the heavy cream with coconut cream (the thick part from a can of full-fat coconut milk). The coconut cream adds a subtle tropical note, but it’s still rich and satisfying. I tested this for a friend with a dairy allergy, and she said it was the best dairy-free hot chocolate she’d ever had.
Mocha Twist: Add 1 teaspoon of instant espresso powder or instant coffee granules along with the cocoa powder. The coffee doesn’t make it taste like coffee—it just deepens the chocolate flavor. I love this version for adult gatherings, especially if I’m serving it after dinner.
White Hot Chocolate: Omit the cocoa powder and use 6 ounces of good quality white chocolate instead of the semi-sweet. Follow the same method, but reduce the sugar to 1 tablespoon since white chocolate is sweeter. This version is dangerously good—creamy, vanilla-forward, and completely decadent.
Serving & Storage Suggestions
This hot chocolate is best served fresh, but I’ve got tips for making it work for your gathering.
Serving Temperature: Serve it piping hot, but not boiling. Around 160°F (70°C) is ideal—warm enough to be comforting, but not so hot that it burns your tongue. I always warm my mugs by filling them with hot water for a minute before pouring the hot chocolate.
Presentation Ideas: For a dinner party, serve the hot chocolate in small, elegant cups or demitasse glasses. Top each with a dollop of homemade whipped cream and a few chocolate shavings. For a casual gathering, use large mugs and let guests add their own toppings from a self-serve bar. I like to include marshmallows, crushed peppermint, cinnamon sticks, and a bowl of chocolate chips.
What to Serve Alongside: This hot chocolate pairs beautifully with buttery shortbread cookies, biscotti, or a slice of pound cake. For a more indulgent spread, serve it with chocolate-dipped strawberries or a cheese board with aged gouda and brie. The richness of the hot chocolate balances the saltiness of the cheese perfectly.
Storage Instructions: If you have leftovers (unlikely, but possible), let the hot chocolate cool completely, then transfer it to an airtight container. Store it in the refrigerator for up to 3 days. The texture will thicken slightly as it sits, but it’s still delicious.
Reheating Tips: Reheat gently on the stovetop over low heat, whisking frequently. You can also reheat it in the microwave in 30-second bursts, stirring between each. If it’s too thick after refrigeration, stir in a splash of milk to thin it out. The flavor actually deepens overnight, so leftovers can be even better the next day.
Nutritional Information & Benefits
This recipe makes about 2 servings (approximately 1 cup each). Here are the estimated nutritional values per serving:
| Nutrient | Amount Per Serving |
|---|---|
| Calories | 420 |
| Total Fat | 28g |
| Saturated Fat | 17g |
| Cholesterol | 85mg |
| Sodium | 180mg |
| Total Carbohydrates | 38g |
| Dietary Fiber | 3g |
| Sugars | 32g |
| Protein | 8g |
| Calcium | 280mg |
| Iron | 3mg |
Health Benefits: This hot chocolate isn’t health food, but it does offer some surprising benefits. Cocoa powder is rich in flavonoids, which are antioxidants that support heart health and improve blood flow. The milk and cream provide calcium and vitamin D for bone health. And honestly, the mental health benefit of a warm, comforting drink on a cold day is real. I always feel a little calmer after a cup.
Dietary Considerations: This recipe contains dairy and is not suitable for vegans unless you use the dairy-free adaptations. It’s naturally gluten-free, but always check your chocolate bar for any gluten-containing additives. For a lower-sugar option, use a sugar-free chocolate bar and reduce the granulated sugar to 1 tablespoon.
Allergens: Dairy (milk, cream, chocolate). Some chocolate bars may contain soy lecithin, so check labels if you have a soy allergy.
Conclusion
This homemade hot chocolate from scratch has become my go-to recipe for every gathering, from holiday parties to casual Sunday afternoons. It’s proof that the best recipes often come from the most unexpected places—in my case, from a quiet accountant named Steve who just wanted to save the world from bad hot chocolate, one cup at a time.
What I love most about this recipe is how it makes people feel. When you hand someone a warm mug of this, they don’t just drink it—they experience it. They pause. They smile. They ask for the recipe. And you get to tell them the story of how you found it, which is almost as good as the drink itself.
I encourage you to make this recipe your own. Add a sprinkle of cinnamon, a dash of peppermint, or a mountain of marshmallows. Serve it at your next dinner party or keep it all for yourself on a quiet evening. However you make it, I hope it brings you the same warmth and joy it’s brought me.
I’d love to hear how it turns out for you! Drop a comment below and let me know your favorite variation, or tag me in your photos if you share them online. Happy sipping!
Frequently Asked Questions
Can I make this hot chocolate ahead of time for a party?
Absolutely! You can make the hot chocolate up to 2 days in advance. Let it cool, store it in the refrigerator, and reheat it gently on the stovetop or in a slow cooker. I often make a double batch the night before a party and keep it warm in a slow cooker on the “warm” setting. Just give it a good whisk before serving.
Why does my hot chocolate sometimes taste grainy?
Grainy texture usually comes from overheating the chocolate or using chocolate that isn’t finely chopped. When chocolate gets too hot, the cocoa solids separate from the cocoa butter, creating a gritty texture. To avoid this, keep the heat low and remove the saucepan from the heat as soon as the chocolate is melted. Also, make sure to chop your chocolate into small, uniform pieces so it melts evenly.
Can I use milk chocolate instead of semi-sweet?
Yes, but the result will be much sweeter. If you use milk chocolate, I recommend reducing the granulated sugar to 1 tablespoon or even omitting it entirely. The texture will also be slightly thinner since milk chocolate has more milk solids. It’s still delicious, just different.
What’s the best way to reheat leftover hot chocolate?
The best method is on the stovetop over low heat, whisking frequently. This prevents scorching and helps re-incorporate any separated fats. If you’re in a hurry, you can use the microwave—heat in 30-second bursts, stirring well between each. Add a splash of milk if it’s too thick after refrigeration.
Can I freeze this hot chocolate?
Yes, you can freeze it for up to 2 months. Let it cool completely, then pour it into a freezer-safe container, leaving about an inch of headspace for expansion. Thaw it overnight in the refrigerator, then reheat gently on the stovetop. The texture might be slightly less smooth after freezing, but it’s still a great option for meal prep or last-minute cravings.
Pin This Recipe!
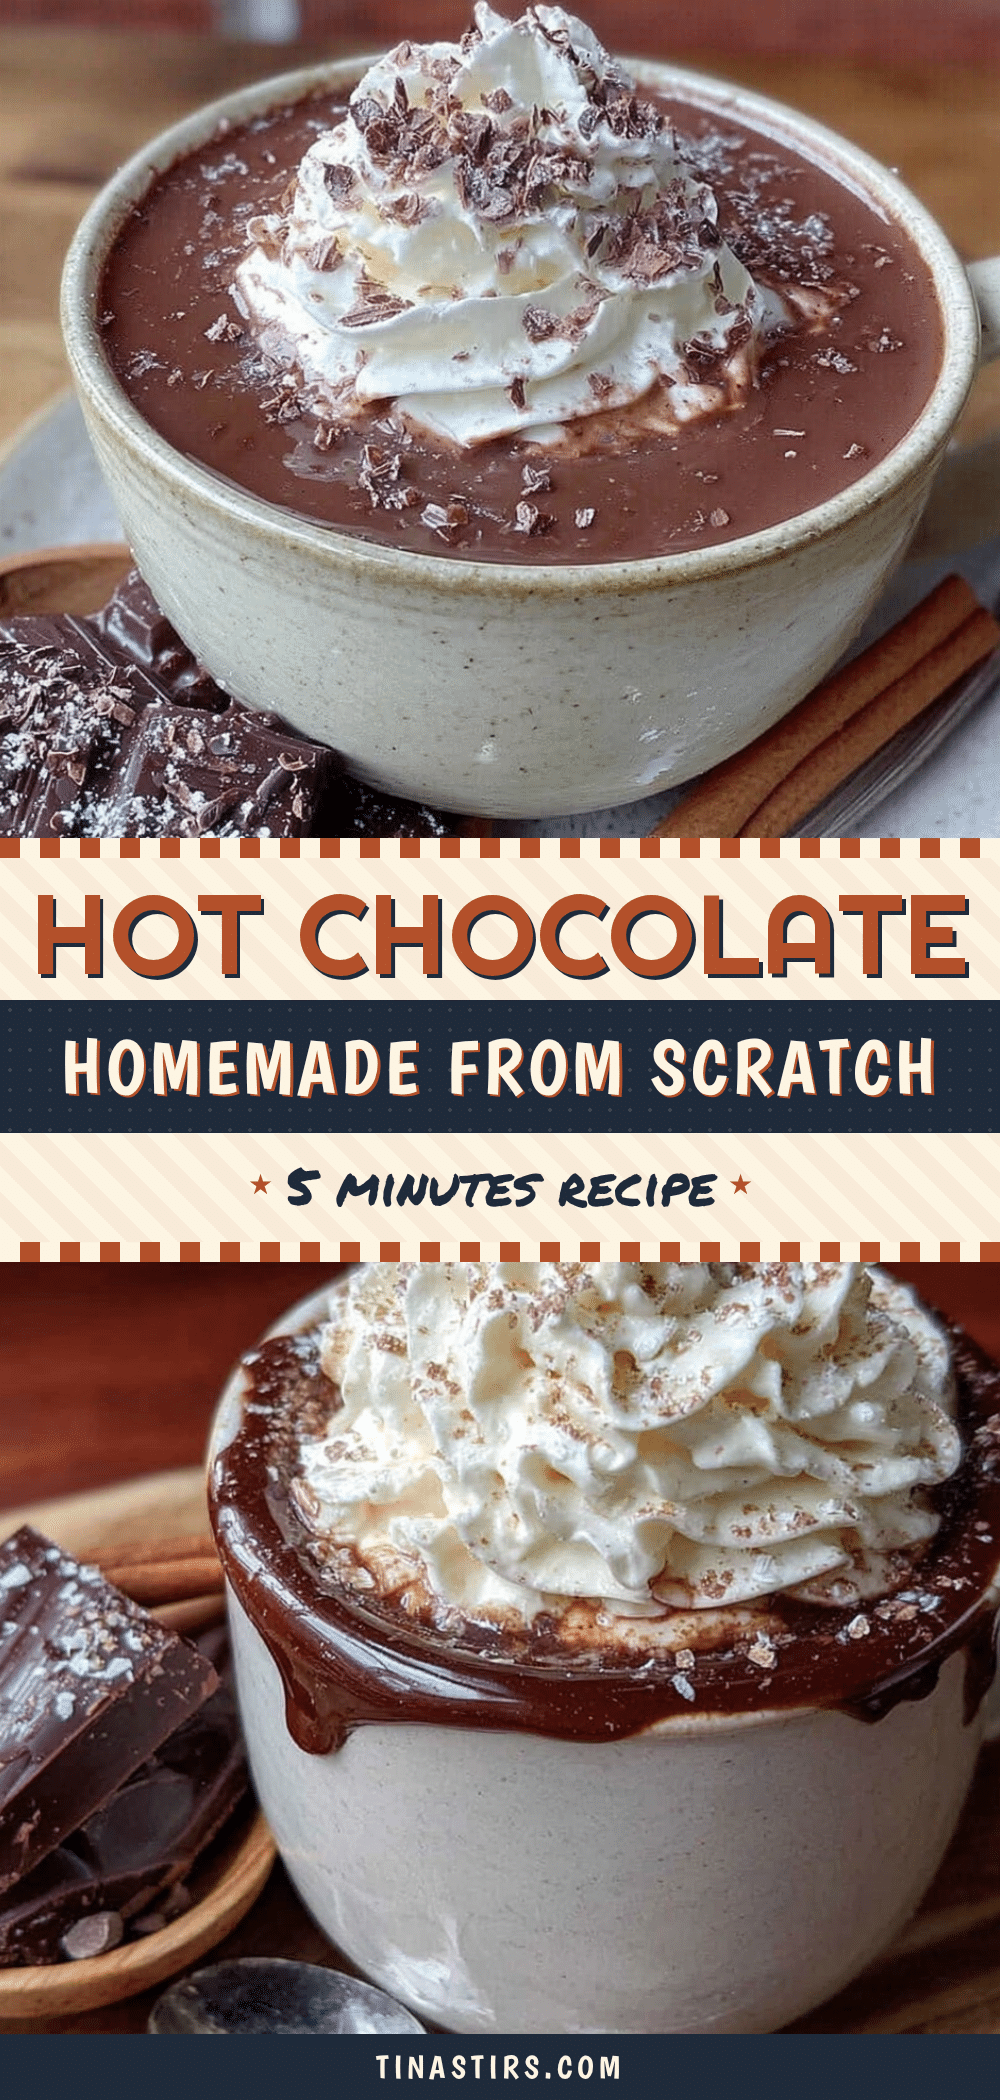
The Best Homemade Hot Chocolate from Scratch in 5 Minutes
This rich, velvety hot chocolate comes together in under 5 minutes using simple ingredients. A pinch of salt and a splash of cream make it luxuriously smooth and deeply chocolatey.
- Prep Time: 2 minutes
- Cook Time: 3 minutes
- Total Time: 5 minutes
- Yield: 2 servings 1x
- Category: Beverage
- Cuisine: American
Ingredients
- 2 cups whole milk (480 ml)
- 1/2 cup heavy cream (120 ml)
- 2 tablespoons unsweetened cocoa powder (12 g)
- 3 ounces semi-sweet chocolate, finely chopped (85 g)
- 2 tablespoons granulated sugar (25 g)
- 1/4 teaspoon vanilla extract
- 1 pinch sea salt
- Marshmallows or whipped cream (for serving, optional)
- Chocolate shavings or cocoa powder dusting (for serving, optional)
- Cinnamon stick or peppermint stirrer (for serving, optional)
Instructions
- In a medium saucepan, whisk together the cocoa powder, sugar, and salt until no lumps remain.
- Add about 1/4 cup (60 ml) of the milk and whisk into the dry ingredients to form a smooth, thick paste (slurry).
- Pour in the remaining milk and heavy cream, whisking until uniform.
- Place the saucepan over medium-low heat and heat gently, whisking occasionally, until steam rises (about 2 minutes). Do not boil.
- Once the milk mixture is hot (about 160°F / 70°C), add the chopped chocolate and whisk constantly until completely melted and smooth (1-2 minutes).
- Remove from heat and stir in the vanilla extract. Taste and adjust sweetness if needed.
- Pour into warmed mugs and serve immediately with desired toppings.
Notes
For best results, use a good quality chocolate bar (not chips) and chop it finely. Make a slurry with cocoa powder and a little milk to prevent lumps. Keep heat low to avoid scorching. Warm mugs before serving to keep the drink hot longer.
Nutrition
- Serving Size: 1 cup
- Calories: 420
- Sugar: 32
- Sodium: 180
- Fat: 28
- Saturated Fat: 17
- Carbohydrates: 38
- Fiber: 3
- Protein: 8
Keywords: hot chocolate, homemade hot chocolate, easy hot chocolate, 5 minute hot chocolate, best hot chocolate, hot cocoa, winter drink, holiday drink


