Love this? Save it for later!
Share the inspiration with your friends
“Why can’t you just brown the butter in the same bowl you’re going to mix the batter in?” my neighbor Jen asked, peering over my shoulder as I pulled out a second bowl. I started to explain why that wouldn’t work—something about hot butter and eggs scrambling, about the order of operations I’d learned in my early recipe-testing days. Then I stopped. I honestly had no good reason. I was just doing it the way I’d always done it, which is a terrible reason to do anything in the kitchen. So I poured the melted brown butter into my big mixing bowl, let it cool for a few minutes while I mashed the bananas with a fork, and held my breath as I cracked in the first egg. It worked. Completely. The butter had cooled just enough from sitting in the bowl, and the whole thing came together in one single vessel. I felt a little sheepish, honestly—here I was, the one who’s supposed to know what she’s doing, and a beginner’s simple question had just made my whole process better. That moment changed how I make this easy one-bowl banana bread forever, and now I can’t imagine doing it any other way.
You know that feeling when a recipe you’ve made a hundred times suddenly gets simpler? That’s this banana bread. The brown butter adds this nutty, almost caramel depth that makes the whole kitchen smell like a bakery, and the walnuts give it that satisfying crunch. But the real magic is that you’re only dirtying one bowl. I mean, let’s face it—when you’re making banana bread on a Tuesday night because the bananas on your counter have gone from spotty to practically begging to be used, the last thing you want is a sink full of dishes. This kid-approved one-bowl banana bread solves that problem without sacrificing an ounce of flavor. It’s the kind of recipe that makes you wonder why you ever made it any other way.
Why You’ll Love This Recipe
I’ve tested this recipe more times than I can count, tweaking the brown butter timing and the banana ripeness until it was absolutely foolproof. Here’s why it’s become my go-to for family breakfasts, after-school snacks, and even last-minute gifts for neighbors:
- One Bowl, No Fuss: You brown the butter, let it cool slightly, and mix everything in the same bowl. That’s it. Less cleanup means more time actually enjoying the bread.
- Simple Ingredients: You probably have everything already—bananas, butter, sugar, eggs, flour, baking soda, salt, and walnuts. No fancy extracts or hard-to-find flours.
- Perfect for Busy Families: This comes together in about 10 minutes of active time. While it bakes, you can help with homework, fold laundry, or just sit down for five minutes.
- Crowd-Pleaser: My kids devour it, my husband takes slices to work, and even my picky-eating niece asked for seconds. The brown butter makes it feel special without being weird.
- Unbelievably Moist: The brown butter adds richness, and the bananas keep it tender for days. It’s not dry or crumbly—it’s the kind of bread that stays good on the counter for three days (if it lasts that long).
What makes this different from every other banana bread recipe out there? It’s the brown butter, plain and simple. That one extra step—browning the butter until it smells nutty and turns golden—transforms the whole loaf. It adds a depth of flavor that makes people say, “What did you put in this?” without overwhelming the banana taste. Plus, the one-bowl method means you’re not sacrificing convenience for flavor. It’s the best of both worlds, and honestly, it’s the only banana bread recipe I use anymore.
This recipe isn’t just good—it’s the kind that makes you close your eyes after the first bite. It’s comfort food that feels a little bit fancy, but it’s still just banana bread. The kind your grandma might have made, but with a little extra love from the brown butter. Perfect for impressing guests without any stress, or turning a regular Tuesday into something memorable.
What Ingredients You Will Need
This easy one-bowl banana bread uses simple, everyday ingredients to deliver big flavor. The brown butter is the star, but the rest of the ingredients are pantry staples you probably already have on hand. Here’s what you’ll need and why each one matters:
- Unsalted butter (½ cup / 113 grams): You’ll brown this first, which gives the bread its nutty, toasty flavor. I recommend using unsalted so you can control the salt level. If you only have salted butter, just reduce the added salt to ¼ teaspoon.
- Overripe bananas (3 medium / about 1½ cups mashed): The darker and spottier, the better. Really ripe bananas are sweeter and easier to mash, which means better flavor and texture. If your bananas aren’t quite there yet, you can speed things up by baking them at 300°F for 15 minutes—just let them cool before mashing.
- Granulated sugar (¾ cup / 150 grams): This adds sweetness and helps create that tender crumb. You can reduce it to ½ cup if you prefer a less sweet bread, but don’t go lower than that or the texture will suffer.
- Large egg (1): It binds everything together and adds structure. Make sure it’s at room temperature so it mixes smoothly with the brown butter. If you forgot to take it out of the fridge, place it in a bowl of warm water for 5 minutes.
- Vanilla extract (1 teaspoon): It enhances the sweetness and rounds out the flavors. Pure vanilla is best, but imitation works fine too.
- All-purpose flour (1½ cups / 180 grams): This gives the bread its structure. Spoon it into your measuring cup and level it off—don’t scoop directly from the bag, or you’ll end up with too much flour and a dry loaf.
- Baking soda (1 teaspoon): This is the leavening agent that helps the bread rise. Make sure it’s fresh—if it doesn’t fizz when you mix it with a little vinegar, it’s time to buy a new box.
- Salt (½ teaspoon): It balances the sweetness and brings out the banana flavor. I use fine sea salt, but table salt works too.
- Chopped walnuts (½ cup / 60 grams): They add crunch and a slightly bitter note that contrasts beautifully with the sweet bread. Toast them lightly in the oven or a dry skillet for extra flavor, but it’s not required.
That’s it. No buttermilk, no sour cream, no complicated steps. Just honest ingredients that come together to make something truly special.
Equipment Needed
One of the best things about this recipe is how little equipment you need. Here’s what you’ll need to have on hand:
- A large mixing bowl: This is the star of the show. Use a heat-safe bowl if possible, since you’ll be browning the butter in it. A glass or ceramic bowl works perfectly. I use a 4-quart Pyrex bowl and it’s never let me down.
- A whisk and a rubber spatula: The whisk gets everything smooth, and the spatula helps you scrape down the sides and fold in the walnuts. A wooden spoon works too, but the spatula makes cleanup easier.
- A 9×5-inch loaf pan: This is the standard size for banana bread. If you only have an 8×4-inch pan, the bread will be taller and可能需要 bake for an extra 5-10 minutes. Grease it well with butter or nonstick spray.
- A microwave or small saucepan: You can brown the butter in the microwave (it’s faster and requires less attention) or in a small saucepan on the stove. Both methods work equally well.
- Parchment paper (optional but helpful): Lining the pan with parchment paper makes lifting the bread out super easy. Cut a strip that hangs over the long sides of the pan for handles.
- A cooling rack: This lets air circulate around the bread so it cools evenly and doesn’t get soggy on the bottom.
If you don’t have a loaf pan, you can bake this in an 8×8-inch square pan—just reduce the baking time to about 35-40 minutes. I’ve also made it as muffins (about 18-20 minutes at 350°F), and they’re perfect for lunchboxes.
Preparation Method
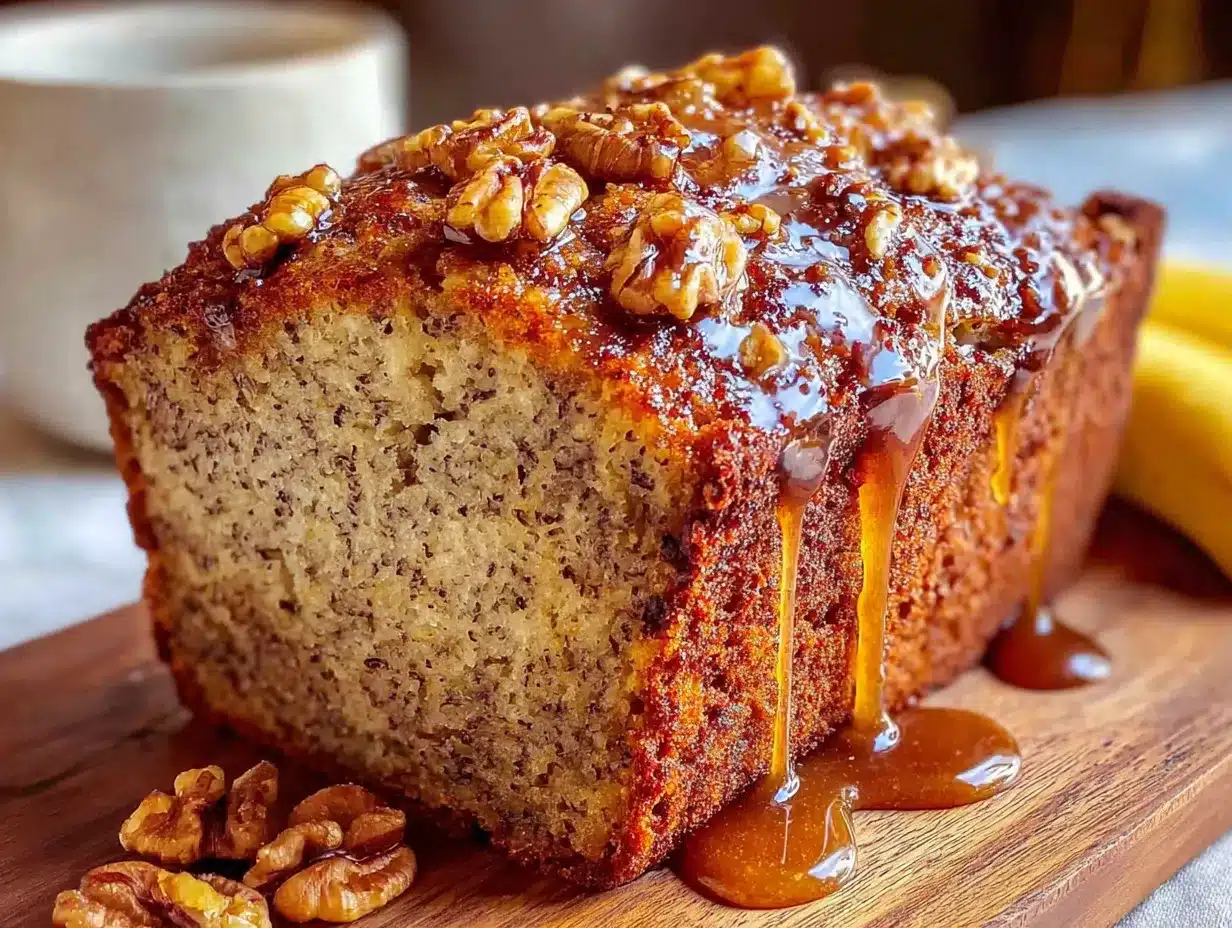
This is where the magic happens. Follow these steps, and you’ll have the most delicious, kid-approved one-bowl banana bread with minimal effort.
Step 1: Preheat and prep. Preheat your oven to 350°F (175°C). Grease your 9×5-inch loaf pan with butter or nonstick spray, or line it with parchment paper. Set it aside while you make the batter.
Step 2: Brown the butter. Place the ½ cup of butter in your large mixing bowl. Microwave it in 30-second intervals, stirring between each, until it melts and starts to foam. Keep going until you see golden brown specks forming at the bottom and it smells nutty—this usually takes about 3-4 minutes total. If you’re using the stove, melt the butter in a small saucepan over medium heat, swirling occasionally, until it turns golden brown and smells toasty. Pour it into your mixing bowl immediately to stop the cooking. Let it cool for 5 minutes. Sensory cue: The butter should look like liquid gold with tiny brown flecks, and it should smell like toasted nuts.
Step 3: Mash the bananas. While the butter cools, peel your bananas and place them in the bowl with the brown butter. Use a fork to mash them until they’re mostly smooth, with a few small lumps remaining. Troubleshooting tip: If your bananas are too firm to mash easily, they’re not ripe enough. Microwave them for 20 seconds to soften them up.
Step 4: Mix in the wet ingredients. Add the granulated sugar, egg, and vanilla extract to the bowl. Whisk everything together until it’s smooth and well combined. The mixture should look glossy and smell amazing. Personal tip: I always scrape the bottom of the bowl with my spatula here to make sure the butter is fully incorporated.
Step 5: Add the dry ingredients. Sprinkle the flour, baking soda, and salt over the wet mixture. Use your spatula to fold everything together gently, just until no streaks of flour remain. Don’t overmix—this is the most common mistake. Overmixing develops the gluten and makes the bread tough. Visual cue: The batter should look thick and slightly lumpy, like a muffin batter.
Step 6: Fold in the walnuts. Add the chopped walnuts and fold them in with a few gentle strokes. If you’re making this for kids who don’t love nuts, you can leave them out or replace them with chocolate chips. Warning: Don’t add the walnuts before the flour is fully mixed in, or they won’t distribute evenly.
Step 7: Bake. Pour the batter into your prepared loaf pan and spread it into an even layer. Bake for 50-60 minutes, or until a toothpick inserted in the center comes out clean or with just a few moist crumbs. Sensory cue: The top should be deep golden brown, and the bread should feel firm when you gently press the center. If the top is browning too quickly (after about 35 minutes), tent it loosely with aluminum foil.
Step 8: Cool and enjoy. Let the bread cool in the pan for 10 minutes, then transfer it to a wire rack to cool completely. I know it’s tempting to slice into it right away, but letting it cool fully helps the texture set. If you can’t wait (and honestly, who can?), warm slices are absolutely delicious.
Cooking Tips & Techniques
After making this easy one-bowl banana bread more times than I can count, I’ve picked up a few tricks that make a real difference. Here’s what I’ve learned the hard way so you don’t have to.
Don’t skip the brown butter step. I know it seems like an extra step, but it’s what makes this bread so special. The nutty flavor from the browned butter is completely different from regular melted butter, and it adds a depth that plain butter just can’t match. If you’re short on time, you can use regular melted butter, but honestly, the 3 extra minutes are worth it.
Watch the butter carefully. Brown butter can go from perfect to burnt in seconds. When you see golden brown specks forming and it smells nutty, take it off the heat immediately. If it smells burnt, start over—burnt butter will ruin the flavor of your bread.
Measure your flour correctly. This is the number one reason banana bread turns out dry. Spoon the flour into your measuring cup and level it off with a knife. Don’t scoop directly from the bag, because you’ll end up with too much flour. If you have a kitchen scale, use it—180 grams is the sweet spot.
Let the brown butter cool. I made the mistake of adding the egg to hot butter once, and it started to scramble. Let the butter cool for at least 5 minutes after browning before you add the other ingredients. If you’re in a hurry, stir it gently to help it cool faster.
Use really ripe bananas. The spottier, the better. Greenish bananas won’t give you the same sweetness or moisture. If your bananas are barely ripe, you can roast them in the oven at 300°F for 15 minutes to concentrate the sugars.
Don’t overmix the batter. This is the hardest habit to break. Mix just until the flour disappears, then stop. A few lumps are fine. Overmixing makes the bread tough and dense, and nobody wants that.
I once forgot to add the sugar until after I’d already poured the batter into the pan. I had to scrape it back into the bowl, mix in the sugar, and pour it back. The bread still turned out fine, but it was a good reminder to double-check my ingredients before I start mixing!
Variations & Adaptations
This recipe is incredibly forgiving, which is one of the reasons I love it. Here are some ways to make it your own:
Chocolate Chip Banana Bread: Swap the walnuts for ½ cup of semi-sweet or dark chocolate chips. The chocolate pairs beautifully with the brown butter. My kids prefer this version, and honestly, so do I sometimes.
Gluten-Free Version: Replace the all-purpose flour with a 1:1 gluten-free baking flour blend. I’ve tested this with Bob’s Red Mill and King Arthur brands, and both work well. Don’t use almond flour or coconut flour—they’ll change the texture completely.
Dairy-Free Version: Use vegan butter or coconut oil instead of regular butter. If you’re using coconut oil, you won’t get the brown butter flavor, but the bread will still be moist and delicious. Just make sure the coconut oil is melted and cooled slightly before mixing.
Nut-Free Version: Skip the walnuts entirely, or replace them with sunflower seeds or pumpkin seeds for a bit of crunch. You can also add dried fruit like raisins or chopped dates.
Spiced Banana Bread: Add 1 teaspoon of cinnamon, ½ teaspoon of nutmeg, and ¼ teaspoon of ground ginger to the dry ingredients. This gives the bread a warm, cozy flavor that’s perfect for fall.
Blueberry Banana Bread: Gently fold in ½ cup of fresh or frozen blueberries (don’t thaw them if frozen) along with the walnuts. The berries burst as the bread bakes, adding little pockets of tart sweetness.
I’ve tried all of these variations at one point or another, and my personal favorite is the chocolate chip version with a sprinkle of flaky sea salt on top before baking. It’s sweet, salty, and utterly irresistible.
Serving & Storage Suggestions
This easy one-bowl banana bread is delicious in so many ways. Here’s how to serve it and keep it fresh:
Serving temperature: It’s best at room temperature or slightly warm. If you’re serving it fresh out of the oven, let it cool for at least 20 minutes so the slices hold together. A pat of butter on a warm slice is pure heaven.
Presentation ideas: Slice it thick and arrange it on a wooden board for a casual breakfast spread. For a more polished look, dust the top with powdered sugar or drizzle with a simple glaze made from ½ cup powdered sugar mixed with 2 tablespoons of milk.
What to serve with it: A cup of coffee or tea is the obvious choice, but it’s also great with a glass of cold milk (especially for the kids). For a more substantial breakfast, serve it alongside scrambled eggs and fresh fruit.
Storage: Keep the bread wrapped tightly in plastic wrap or aluminum foil at room temperature for up to 3 days. If your kitchen is warm, you can store it in the refrigerator, but let it come to room temperature before serving for the best texture.
Freezing: This bread freezes beautifully. Wrap the cooled loaf tightly in plastic wrap, then in aluminum foil, and freeze for up to 3 months. To thaw, leave it on the counter overnight, or microwave individual slices for 20-30 seconds. You can also freeze slices separately for grab-and-go snacks.
Reheating: Pop a slice in the toaster or microwave for 10-15 seconds to bring back that fresh-from-the-oven warmth. If you’re reheating the whole loaf, wrap it in foil and warm it in a 300°F oven for 10-15 minutes.
The flavors actually get better on the second day, so don’t worry if you don’t finish it right away. The brown butter flavor deepens, and the bread becomes even more moist.
Nutritional Information & Benefits
Here’s the approximate nutritional breakdown for one slice (assuming 10 slices per loaf):
- Calories: 245
- Fat: 12g (6g saturated)
- Carbohydrates: 32g
- Fiber: 2g
- Sugar: 16g
- Protein: 4g
- Sodium: 220mg
This bread has some surprising health benefits, thanks to its simple ingredients:
- Bananas: They’re packed with potassium, which helps regulate blood pressure, and vitamin B6, which supports brain health. They also provide natural sweetness, which means you can use less refined sugar.
- Walnuts: These little powerhouses are rich in omega-3 fatty acids, which are great for heart health. They also add protein and fiber, making the bread more satisfying.
- Brown butter: While it’s still butter (so enjoy in moderation), the browning process creates compounds that add flavor without any extra ingredients.
This recipe is vegetarian and can be made dairy-free or gluten-free with simple substitutions. It contains nuts (walnuts) and gluten (flour), so keep that in mind if you’re serving it to someone with allergies. I personally love that this bread feels like a treat but isn’t loaded with unnecessary additives or preservatives. It’s real food, made from real ingredients, and that’s something I can feel good about serving my family.
Conclusion
This easy one-bowl banana bread with brown butter and walnuts is the kind of recipe that earns a permanent spot in your rotation. It’s simple enough for a Tuesday night, special enough for a weekend brunch, and forgiving enough that even a beginner can make it successfully. The brown butter adds a nutty depth that makes it feel fancy, but the one-bowl method keeps it practical for real life.
I love that this recipe came from a moment of being wrong. Jen’s simple question—“why can’t you just brown the butter in the same bowl?”—taught me that sometimes the best improvements come from questioning the way we’ve always done things. Now, every time I make this bread, I think of that afternoon in my kitchen, and I smile.
I’d love to hear how this recipe turns out for you! Did you add chocolate chips instead of walnuts? Did your kids ask for seconds? Leave a comment below and let me know—I read every single one. And if you share a photo on Pinterest or Instagram, tag me so I can see your beautiful loaf. Happy baking, friend!
Frequently Asked Questions
Can I use frozen bananas for this recipe?
Absolutely! Thaw them completely, then drain off any excess liquid before mashing. Frozen bananas are often even sweeter than fresh ones, so your bread will be extra delicious.
Why did my banana bread sink in the middle?
This usually happens if the bread is underbaked or if you opened the oven door too early. Make sure a toothpick inserted in the center comes out clean before you take it out. Also, avoid opening the oven for the first 35 minutes of baking.
Can I make this recipe without walnuts?
Yes, just leave them out or replace them with chocolate chips, dried fruit, or seeds. The bread will still be moist and delicious without them.
How do I know when the butter is properly browned?
You’ll see golden brown specks forming at the bottom of the bowl or pan, and it will smell nutty and toasty. Swirl the butter gently to check the color. If it looks like amber and smells like toasted nuts, it’s ready.
Can I double this recipe?
Yes, you can double all the ingredients and bake in two loaf pans. The baking time will stay about the same, but start checking at 45 minutes to be safe. You can also bake the batter in muffin tins for individual portions.
Pin This Recipe!
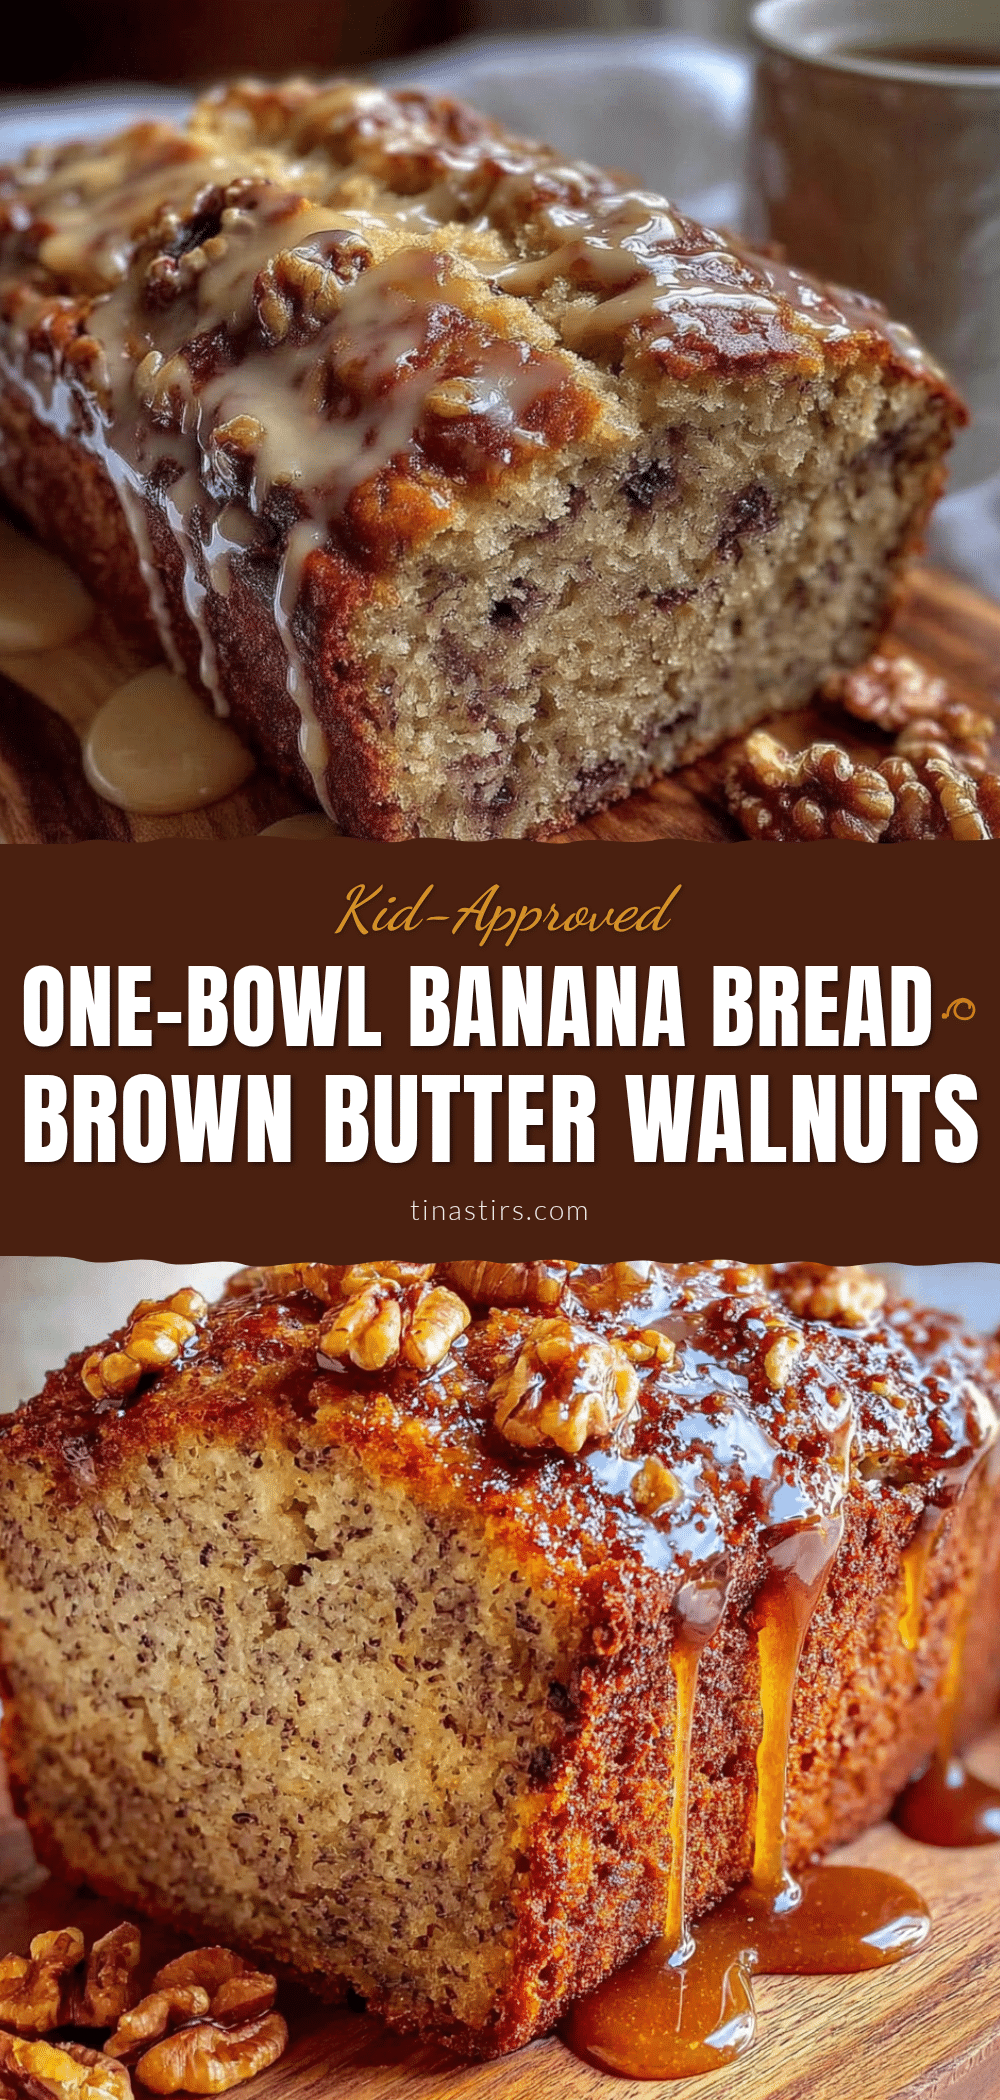
Easy One-Bowl Banana Bread with Brown Butter & Walnuts
This easy one-bowl banana bread with brown butter and walnuts is simple enough for a Tuesday night, special enough for a weekend brunch, and forgiving enough that even a beginner can make it successfully. The brown butter adds a nutty depth that makes it feel fancy, but the one-bowl method keeps it practical for real life.
- Prep Time: 10 minutes
- Cook Time: 55 minutes
- Total Time: 1 hour 5 minutes
- Yield: 10 servings 1x
- Category: Dessert
- Cuisine: American
Ingredients
- ½ cup (113 grams) unsalted butter
- 3 medium overripe bananas (about 1½ cups mashed)
- ¾ cup (150 grams) granulated sugar
- 1 large egg, at room temperature
- 1 teaspoon vanilla extract
- 1½ cups (180 grams) all-purpose flour
- 1 teaspoon baking soda
- ½ teaspoon fine sea salt
- ½ cup (60 grams) chopped walnuts
Instructions
- Preheat your oven to 350°F (175°C). Grease a 9×5-inch loaf pan with butter or nonstick spray, or line it with parchment paper.
- Place the ½ cup of butter in your large mixing bowl. Microwave it in 30-second intervals, stirring between each, until it melts and starts to foam. Continue until you see golden brown specks forming at the bottom and it smells nutty (about 3-4 minutes total). Alternatively, melt the butter in a small saucepan over medium heat, swirling occasionally, until it turns golden brown and smells toasty. Pour it into your mixing bowl immediately. Let it cool for 5 minutes.
- While the butter cools, peel your bananas and place them in the bowl with the brown butter. Use a fork to mash them until mostly smooth, with a few small lumps remaining.
- Add the granulated sugar, egg, and vanilla extract to the bowl. Whisk everything together until smooth and well combined.
- Sprinkle the flour, baking soda, and salt over the wet mixture. Use a spatula to fold everything together gently, just until no streaks of flour remain. Do not overmix.
- Add the chopped walnuts and fold them in with a few gentle strokes.
- Pour the batter into the prepared loaf pan and spread it into an even layer. Bake for 50-60 minutes, or until a toothpick inserted in the center comes out clean or with just a few moist crumbs. If the top is browning too quickly (after about 35 minutes), tent it loosely with aluminum foil.
- Let the bread cool in the pan for 10 minutes, then transfer it to a wire rack to cool completely before slicing.
Notes
Don’t skip the brown butter step—it adds a nutty depth that makes this bread special. Watch the butter carefully as it can go from perfect to burnt in seconds. Measure flour correctly by spooning it into the measuring cup and leveling off. Let the brown butter cool for at least 5 minutes before adding the egg to prevent scrambling. Use really ripe bananas (the spottier, the better). Do not overmix the batter; mix just until the flour disappears. The bread can be stored wrapped tightly at room temperature for up to 3 days, or frozen for up to 3 months.
Nutrition
- Serving Size: 1 slice
- Calories: 245
- Sugar: 16
- Sodium: 220
- Fat: 12
- Saturated Fat: 6
- Carbohydrates: 32
- Fiber: 2
- Protein: 4
Keywords: banana bread, brown butter, one-bowl, walnuts, easy banana bread, kid-friendly, moist banana bread


