Love this? Save it for later!
Share the inspiration with your friends
I wasn’t expecting cookie advice from a plumber, but there I was, ankle-deep in a puddle under my kitchen sink, listening to Gary describe exactly how to make the perfect cutout sugar cookie. The pipe had burst on a Tuesday. The coldest Tuesday of the year, actually. And Gary, bless his heart, had fixed the leak in about twelve minutes flat. But then he stood up, wiped his hands on his jeans, and noticed the sad, flattened bag of flour on my counter. “You making cookies?” he asked. I admitted I was trying, but the dough needed to chill for hours and I was losing patience. He laughed. “My wife makes the best cutout cookies in town,” he said, “and she hasn’t chilled dough in fifteen years.”
Now, I don’t usually take cooking advice from people who spend their days knee-deep in other people’s drain water. But honestly? Gary’s wife, Karen, turned out to be a retired pastry chef. She had scribbled her no-chill sugar cookie recipe on a scrap of receipt paper that Gary pulled from his truck. The paper was greasy and barely legible. I mean, it looked like someone had written it with a buttered finger. But I tried it that same afternoon—no chilling, no waiting, just roll, cut, and bake. And let me tell you, those cookies came out of the oven looking like they belonged in a bakery window. Perfect edges. Soft centers. That slight crackle on top that catches the light.
I’ve tweaked Karen’s recipe a little over the years, mostly to get the almond icing just right. But the core trick—the no-chill method—that’s all her. And Gary. And a very inconvenient plumbing emergency. Maybe you’ve been there, staring at a bowl of sticky dough with a timer ticking down and guests showing up in an hour. That’s exactly why this recipe became my go-to. It’s the kind of happy accident you keep coming back to, year after year, because it just works.
Why You’ll Love This Recipe
Let me tell you why these no-chill cutout sugar cookies with almond icing have earned a permanent spot in my recipe box. I’ve tested this recipe more times than I can count—probably twenty batches in the last year alone—and it delivers consistent, beautiful results every single time. No chilling, no waiting, no fighting with rock-hard dough.
- Quick & Easy : From mixing to decorated cookies in under 45 minutes. Perfect for when the kids decide they want to bake cookies at 8 PM on a school night.
- Simple Ingredients : Butter, sugar, flour, eggs, vanilla, and almond extract. That’s it. Nothing fancy that requires a special trip to the store.
- Perfect for Holidays & Birthdays : These cookies hold their shape beautifully, making them ideal for Christmas cutouts, Valentine’s hearts, or birthday numbers.
- Crowd-Pleaser : The almond icing has this subtle, sophisticated flavor that makes people ask, “What’s in this? It’s amazing!”
- Unbelievably Delicious : The texture is that perfect middle ground—crisp on the edges, soft and tender in the center, with just enough sweetness to satisfy without being overwhelming.
What makes this recipe different from all the other sugar cookie recipes out there? It’s the no-chill method combined with that almond icing. Most sugar cookie recipes require at least two hours of chilling time. Some even say overnight. But this dough is ready to roll the second you finish mixing it. And the almond icing? It’s not your typical royal icing that hardens like cement. It’s silky, slightly glossy, and has this warm, nutty flavor that pairs perfectly with the buttery cookie base.
This recipe isn’t just good—it’s the kind that makes you close your eyes after the first bite. It’s comfort food reimagined: faster, simpler, but with the same soul-soothing satisfaction of a classic homemade cookie. Perfect for impressing guests without stress, or turning a regular Tuesday into something memorable.
What Ingredients You Will Need
This recipe uses simple, wholesome ingredients to deliver bold flavor and satisfying texture without the fuss. Most of these are pantry staples, which means you can whip up a batch anytime the craving hits.
For the Sugar Cookies
- 1 cup (226g) unsalted butter, softened to room temperature (I prefer Kerrygold for its rich flavor)
- 1 cup (200g) granulated sugar
- 1 large egg, room temperature
- 1 teaspoon vanilla extract (use pure, not imitation, for best flavor)
- 1/2 teaspoon almond extract (this is the secret ingredient that makes these cookies special)
- 2 1/2 cups (312g) all-purpose flour, spooned and leveled
- 1/2 teaspoon baking powder
- 1/4 teaspoon salt
For the Almond Icing
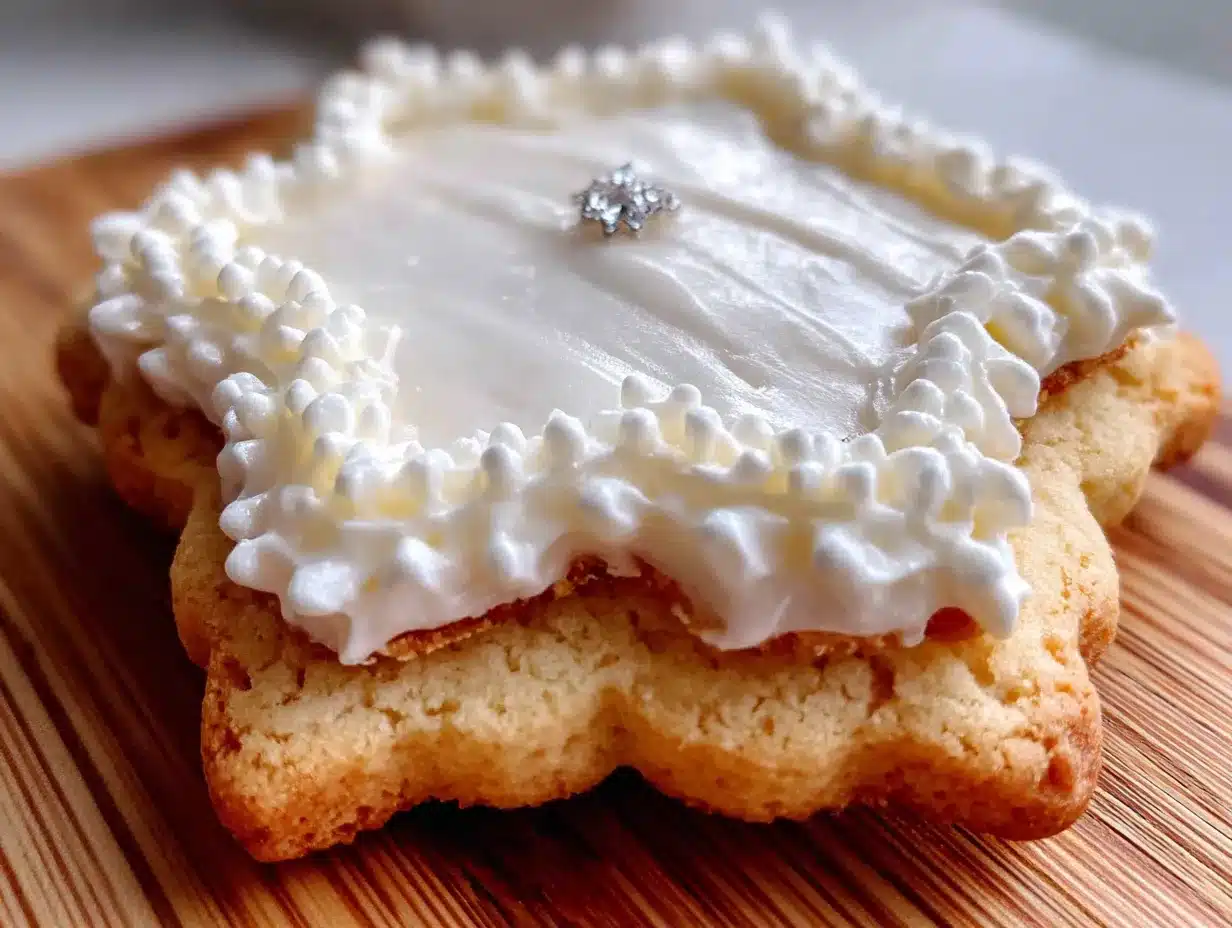
- 1 1/2 cups (180g) powdered sugar, sifted
- 2-3 tablespoons whole milk (add more if needed for consistency)
- 1/2 teaspoon almond extract
- 1/4 teaspoon vanilla extract
- Food coloring (optional, for decorating)
Ingredient Selection Tips: For the butter, make sure it’s truly softened but not melted. You want it to give slightly when pressed, but still hold its shape. If you forget to take it out of the fridge, cut it into small cubes and let it sit for 15 minutes. Don’t microwave it—I’ve ruined so many batches that way. The butter gets too soft and the cookies spread like crazy.
For the flour, always spoon it into your measuring cup and level it off with a knife. Scooping directly from the bag packs the flour down, and you’ll end up with dry, crumbly dough. Trust me, I learned this the hard way after a batch of cookies that tasted more like flour than cookie.
Substitution Guidance: If you’re out of almond extract, you can use all vanilla extract—just increase it to 1 1/2 teaspoons. For a dairy-free version, use vegan butter and almond milk in the icing. The cookies won’t be quite as tender, but they’ll still be delicious. And if you want a gluten-free option, swap the all-purpose flour for a 1:1 gluten-free baking blend. I’ve tested this with Bob’s Red Mill, and it works great.
Equipment Needed
You don’t need a fancy bakery setup for these cookies. Here’s what I use, along with some alternatives if you’re working with a minimal kitchen.
- Stand mixer or hand mixer : A stand mixer makes creaming the butter and sugar effortless, but a hand mixer works just as well. You could even do it by hand with a wooden spoon—it’s a good arm workout!
- Rolling pin : I use a French rolling pin without handles because I like the control, but any rolling pin will do. If you don’t have one, a wine bottle works in a pinch. Just wrap it in plastic wrap first.
- Cookie cutters : Any shape you like. I have a collection of vintage copper cutters I found at an antique shop, but basic metal or plastic ones work perfectly.
- Baking sheets : Light-colored, rimmed baking sheets are best. Dark sheets can cause the bottoms to brown too quickly.
- Parchment paper or silicone baking mats : Essential for preventing sticking and ensuring even baking.
- Cooling rack : For cooling cookies completely before icing. A wire rack is ideal, but you can use a clean kitchen towel in a pinch.
- Piping bags or zip-top bags : For decorating with icing. I use disposable piping bags with a small round tip, but a zip-top bag with the corner snipped off works just as well.
Budget-Friendly Options: Skip the fancy rolling pin and use a smooth water bottle. Use regular baking sheets instead of insulated ones. And instead of buying piping tips, just snip a tiny corner off a zip-top bag. I’ve done all of these, and the cookies still turn out beautifully.
Preparation Method
Here’s the step-by-step process for making these no-chill cutout sugar cookies with almond icing. Follow these steps, and you’ll have perfect cookies every time.
- Cream the butter and sugar. In a large mixing bowl, beat the softened butter and granulated sugar together on medium speed until light and fluffy, about 2-3 minutes. You’re looking for a pale, creamy texture. Scrape down the sides of the bowl halfway through. This step is crucial—proper creaming incorporates air into the dough, which gives the cookies their tender texture.
- Add the wet ingredients. Beat in the egg, vanilla extract, and almond extract until fully combined. The mixture might look slightly curdled at this point—that’s okay. It’ll come together when you add the flour. Make sure to scrape the bottom of the bowl to catch any hidden streaks of butter.
- Mix the dry ingredients. In a separate bowl, whisk together the all-purpose flour, baking powder, and salt. This ensures the leavening agent is evenly distributed. I learned this trick after a batch where some cookies puffed up like balloons and others stayed flat as pancakes.
- Combine wet and dry. Gradually add the flour mixture to the butter mixture, mixing on low speed until just combined. Stop as soon as you don’t see any more streaks of flour. Overmixing at this stage develops gluten, which makes the cookies tough. The dough should be soft but not sticky. If it feels too sticky, add a tablespoon more flour. If it’s too dry, add a teaspoon of milk.
- Preheat the oven. Set your oven to 350°F (175°C). Line your baking sheets with parchment paper or silicone mats. Don’t skip this step—ungreased sheets will cause the cookies to spread and stick.
- Roll out the dough. Lightly flour your work surface and rolling pin. Place the dough on the floured surface and roll it out to about 1/4-inch thickness. Here’s the key: roll evenly. If some parts are thinner than others, those cookies will burn while the thicker ones are still underbaked. I use two 1/4-inch thick wooden dowels as guides on either side of the dough to ensure even thickness. You can also use two stacked popsicle sticks.
- Cut out the shapes. Dip your cookie cutters in flour before each cut to prevent sticking. Press straight down without twisting—twisting seals the edges and prevents the cookies from rising evenly. Place the cut cookies on the prepared baking sheets, spacing them about 1 inch apart. They don’t spread much, so you can fit quite a few on one sheet.
- Bake. Bake for 8-10 minutes, or until the edges are just barely golden. The centers should look set but not brown. For softer cookies, bake for 8 minutes. For slightly crisper cookies, go to 10 minutes. I usually start checking at 7 minutes because every oven runs differently. Let the cookies cool on the baking sheet for 5 minutes, then transfer them to a cooling rack to cool completely. Don’t skip this resting time—the cookies are fragile when hot and need to firm up.
- Make the almond icing. While the cookies cool, whisk together the sifted powdered sugar, 2 tablespoons of milk, almond extract, and vanilla extract in a small bowl. The icing should be thick but pourable—think of it like slightly thinned-out glue. If it’s too thick, add more milk a teaspoon at a time. If it’s too thin, add more powdered sugar. I like my icing to hold its shape for about 10 seconds before it starts to smooth out.
- Decorate the cookies. Once the cookies are completely cool, spoon the icing into a piping bag or zip-top bag. Snip a tiny corner off the bag and pipe the icing onto the cookies. You can outline the shapes and fill them in, or just drizzle the icing in a decorative pattern. Add sprinkles or sanding sugar immediately before the icing sets. Let the iced cookies sit at room temperature for about 30 minutes until the icing hardens slightly.
Cooking Tips & Techniques
After making these cookies dozens of times, I’ve collected a few tips that make the process smoother and the results more consistent.
Don’t overwork the dough. This is the number one mistake I see people make. When you reroll the scraps, handle them gently. Overworked dough becomes tough and the cookies lose their tender texture. I reroll the scraps only once, then bake whatever’s left as “chef’s treats” that I snack on while decorating. They might not be pretty, but they taste just as good.
Use room temperature ingredients. Cold eggs can cause the butter to seize up, creating a lumpy dough. I set my egg out on the counter about 30 minutes before I start baking. If I forget, I place the egg in a bowl of warm water for 5 minutes. It’s a simple step that makes a big difference.
Chill the cut cookies if you have time. I know this is a no-chill recipe, but here’s a little secret: if you pop the cut cookies in the freezer for 10 minutes before baking, they hold their shape even better. This is especially helpful for intricate shapes like Christmas trees or snowflakes. I do this when I’m making cookies for a special occasion and want them to look perfect.
Watch the baking time like a hawk. Sugar cookies go from perfectly baked to overdone in about 30 seconds. The edges should be just barely golden. If you see any browning on the bottom, you’ve gone too far. I set a timer for 7 minutes and then check every minute after that. It’s better to underbake slightly—the cookies continue to cook on the hot baking sheet after you take them out of the oven.
My biggest failure: I once tried to double the batch and forgot to adjust the baking powder. The cookies puffed up into little domes and lost all their shape. Now I always write down my measurements, even for recipes I’ve made a hundred times. It’s the little things that trip you up.
Variations & Adaptations
One of the best things about this recipe is how versatile it is. Here are some variations I’ve tried and loved.
Lemon Sugar Cookies: Replace the almond extract with lemon extract and add 1 tablespoon of lemon zest to the dough. For the icing, use lemon juice instead of milk. The bright, citrusy flavor is perfect for spring and summer. I made these for a baby shower last year, and they disappeared in minutes.
Chocolate Cutout Cookies: Replace 1/4 cup of the flour with 1/4 cup of unsweetened cocoa powder. Reduce the vanilla extract to 1/2 teaspoon and skip the almond extract. These are rich and chocolatey, perfect for Valentine’s Day or any chocolate lover. The dough is slightly more delicate, so handle it gently.
Spiced Holiday Cookies: Add 1 teaspoon of cinnamon, 1/2 teaspoon of nutmeg, and 1/4 teaspoon of cloves to the flour mixture. These are my go-to for Christmas baking. The warm spices fill the kitchen with the most incredible aroma. I sometimes add a pinch of cardamom for a more complex flavor.
Vegan Version: Use vegan butter and a flax egg (1 tablespoon ground flaxseed mixed with 3 tablespoons water, let sit for 5 minutes). For the icing, use almond milk instead of dairy milk. The texture is slightly different—a bit more crumbly—but the taste is still wonderful. I’ve tested this for my vegan friends, and they always ask for the recipe.
Gluten-Free Version: Swap the all-purpose flour for a 1:1 gluten-free baking blend that contains xanthan gum. I’ve had the best results with Bob’s Red Mill. The dough will be a bit more delicate, so roll it between two sheets of parchment paper to prevent sticking. Bake for the same amount of time, but check a minute or two early.
Serving & Storage Suggestions
These cookies are best served at room temperature, with the icing fully set. I like to arrange them on a platter or cake stand for a beautiful presentation. They’re perfect for cookie exchanges, holiday parties, or just as a treat with a cup of tea or coffee.
Storage: Store undecorated cookies in an airtight container at room temperature for up to 1 week. I layer them between sheets of parchment paper to prevent them from sticking together. Decorated cookies should be stored in a single layer, or with parchment between layers, once the icing has fully hardened (about 2 hours).
Freezing: These cookies freeze beautifully. You can freeze the unbaked dough in a disk wrapped tightly in plastic wrap for up to 3 months. Thaw overnight in the refrigerator before rolling and cutting. Or freeze the baked, undecorated cookies in an airtight container for up to 3 months. Thaw at room temperature, then decorate. I always keep a batch of baked cookies in the freezer for unexpected guests—just thaw, ice, and serve.
Reheating: If you want that just-baked warmth, pop the cookies in a 300°F (150°C) oven for 3-5 minutes. But honestly, these cookies are delicious at room temperature, and the icing holds up better when it’s not reheated.
Flavor Development: Here’s something interesting—the cookies actually taste better the next day. The flavors meld together and the texture softens slightly. If you can resist eating them all on day one, you’ll be rewarded with even better cookies on day two.
Nutritional Information & Benefits
Let’s be real—these are cookies, not health food. But that doesn’t mean they can’t be part of a balanced lifestyle. Here’s the approximate nutritional breakdown for one cookie (based on a 2-inch cutout with icing, makes about 30 cookies).
| Nutrient | Amount Per Cookie |
|---|---|
| Calories | 135 |
| Total Fat | 7g |
| Saturated Fat | 4g |
| Carbohydrates | 18g |
| Sugar | 11g |
| Protein | 1.5g |
| Sodium | 45mg |
Health Benefits of Key Ingredients: Butter provides vitamin A and healthy fats. Almond extract, while used in small amounts, comes from almonds which are rich in vitamin E and magnesium. And the act of baking itself? That’s good for the soul. There’s something therapeutic about measuring, mixing, and creating something beautiful with your hands.
Dietary Considerations: This recipe contains gluten, dairy, and eggs. For allergen-friendly alternatives, see the variations section above. These cookies are not low-carb or keto-friendly, but they’re perfect for an occasional treat. I believe in balance—enjoy the cookie, savor every bite, and don’t feel guilty about it.
Conclusion
These no-chill cutout sugar cookies with almond icing have become a staple in my kitchen for good reason. They’re quick, they’re forgiving, and they taste absolutely wonderful. Whether you’re a seasoned baker or someone who’s never rolled out a cookie in your life, this recipe is designed for success. No chilling, no waiting, no complicated techniques—just delicious, beautiful cookies that taste like they came from a bakery.
I encourage you to make this recipe your own. Add sprinkles, change up the extracts, experiment with different shapes and colors. That’s the beauty of a good base recipe—it’s a starting point for your own creativity. And if you try it, I’d love to hear how it goes. Leave a comment below, share a photo of your cookies, or let me know what variations you tried. Baking is meant to be shared, and I can’t wait to see what you create.
So go ahead, preheat that oven, and make some cookies. Your kitchen is about to smell amazing, and your taste buds are in for a treat. Happy baking!
Frequently Asked Questions
Can I really skip chilling the dough?
Yes! That’s the whole point of this recipe. The dough is designed to be rolled and cut immediately. The key is using room temperature butter and not overworking the dough. If you find the dough too sticky to handle, dust your work surface with a little extra flour. But honestly, you shouldn’t need to chill it at all.
Why did my cookies spread while baking?
If your cookies spread too much, it’s usually because the butter was too soft or the dough was overworked. Make sure your butter is softened but not melted. Also, check that your baking powder is fresh—expired leavening can cause spreading. If you’re still having trouble, pop the cut cookies in the freezer for 10 minutes before baking.
Can I use margarine instead of butter?
I don’t recommend it. Margarine has a higher water content than butter, which can cause the cookies to spread and become greasy. Stick with real butter for the best texture and flavor. If you need a dairy-free option, use a high-quality vegan butter stick, not the spreadable kind in a tub.
How do I get clean, sharp edges on my cutouts?
Dip your cookie cutters in flour before each cut, and press straight down without twisting. Twisting seals the edges and prevents the cookies from rising evenly. Also, make sure your dough is rolled to an even thickness—use those wooden dowel guides I mentioned earlier.
Can I make the icing ahead of time?
Absolutely! You can make the almond icing up to 3 days in advance. Store it in an airtight container in the refrigerator. When you’re ready to use it, let it come to room temperature and whisk it well. You might need to add a teaspoon of milk to thin it out again. Just don’t add the food coloring until you’re ready to decorate.
Pin This Recipe!
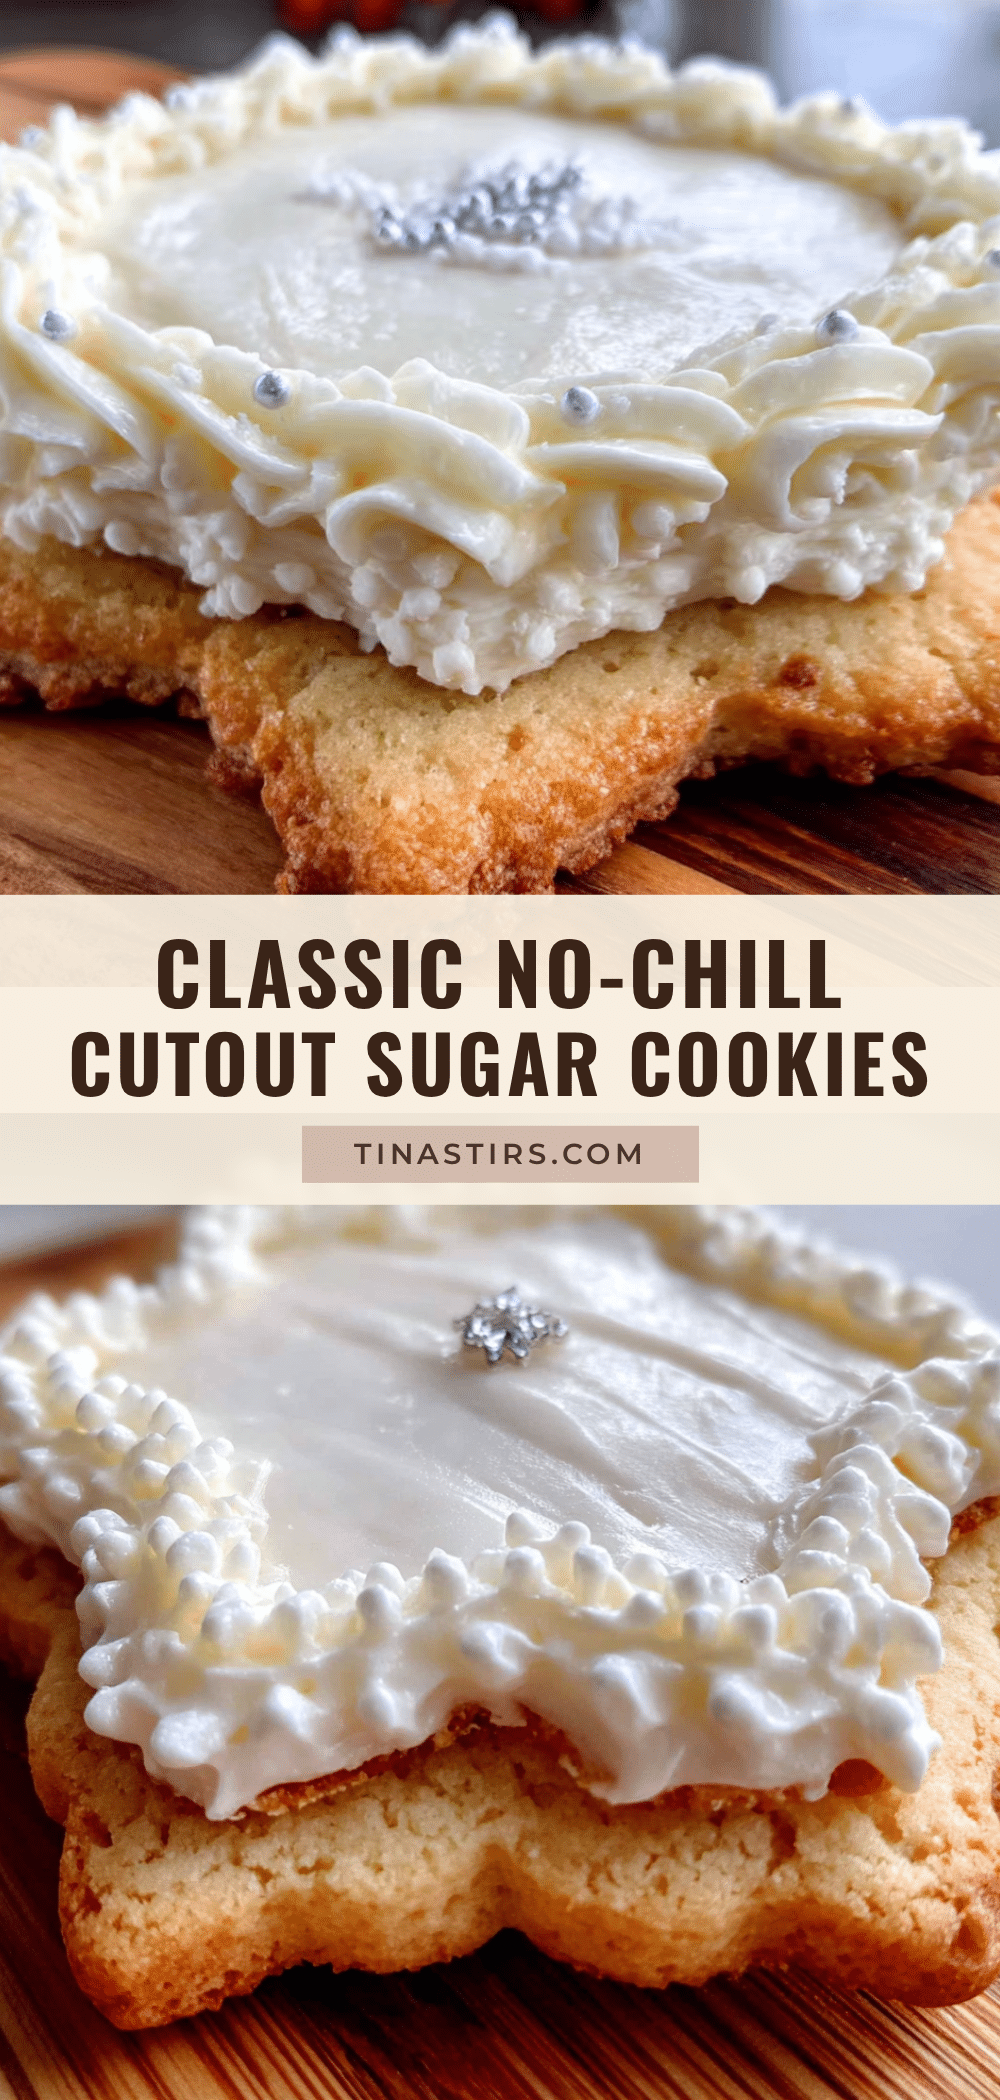
Easy No-Chill Cutout Sugar Cookies with Almond Icing

These no-chill cutout sugar cookies with almond icing are quick, easy, and perfect for any occasion. From mixing to decorated cookies in under 45 minutes, they hold their shape beautifully and have a perfect texture—crisp edges with soft, tender centers.
- Prep Time: 15 minutes
- Cook Time: 10 minutes
- Total Time: 45 minutes
- Yield: 30 cookies 1x
- Category: Dessert
- Cuisine: American
Ingredients
- 1 cup (226g) unsalted butter, softened to room temperature
- 1 cup (200g) granulated sugar
- 1 large egg, room temperature
- 1 teaspoon vanilla extract (pure, not imitation)
- 1/2 teaspoon almond extract
- 2 1/2 cups (312g) all-purpose flour, spooned and leveled
- 1/2 teaspoon baking powder
- 1/4 teaspoon salt
- 1 1/2 cups (180g) powdered sugar, sifted
- 2–3 tablespoons whole milk
- 1/2 teaspoon almond extract (for icing)
- 1/4 teaspoon vanilla extract (for icing)
- Food coloring (optional, for decorating)
Instructions
- Cream the butter and sugar: In a large mixing bowl, beat the softened butter and granulated sugar together on medium speed until light and fluffy, about 2-3 minutes. Scrape down the sides of the bowl halfway through.
- Add the wet ingredients: Beat in the egg, vanilla extract, and almond extract until fully combined. The mixture might look slightly curdled—that’s okay.
- Mix the dry ingredients: In a separate bowl, whisk together the all-purpose flour, baking powder, and salt.
- Combine wet and dry: Gradually add the flour mixture to the butter mixture, mixing on low speed until just combined. Stop as soon as you don’t see any more streaks of flour. The dough should be soft but not sticky.
- Preheat the oven to 350°F (175°C). Line baking sheets with parchment paper or silicone mats.
- Roll out the dough: Lightly flour your work surface and rolling pin. Roll the dough to about 1/4-inch thickness. Use two 1/4-inch thick wooden dowels as guides for even thickness.
- Cut out the shapes: Dip cookie cutters in flour before each cut. Press straight down without twisting. Place cut cookies on prepared baking sheets, spacing them about 1 inch apart.
- Bake for 8-10 minutes, or until the edges are just barely golden. Let cookies cool on the baking sheet for 5 minutes, then transfer to a cooling rack to cool completely.
- Make the almond icing: Whisk together the sifted powdered sugar, 2 tablespoons of milk, almond extract, and vanilla extract in a small bowl. The icing should be thick but pourable. Adjust consistency with more milk or powdered sugar as needed.
- Decorate the cookies: Once cookies are completely cool, spoon icing into a piping bag or zip-top bag. Snip a tiny corner off the bag and pipe icing onto cookies. Add sprinkles immediately before icing sets. Let iced cookies sit at room temperature for about 30 minutes until icing hardens slightly.
Notes
For best results, use room temperature ingredients. If dough is too sticky, add a tablespoon more flour. For cleaner edges, chill cut cookies in the freezer for 10 minutes before baking. Cookies taste even better the next day.
Nutrition
- Serving Size: 1 cookie
- Calories: 135
- Sugar: 11
- Sodium: 45
- Fat: 7
- Saturated Fat: 4
- Carbohydrates: 18
- Protein: 1.5
Keywords: no-chill sugar cookies, cutout cookies, almond icing, easy sugar cookies, holiday cookies, birthday cookies