Love this? Save it for later!
Share the inspiration with your friends
The school bake sale was in twelve hours and I’d completely forgotten. My daughter reminded me at 8 PM, right after I’d settled onto the couch. Everyone else would be bringing those Pinterest-perfect cake pops and those fancy layered bars that take all weekend. I had a half-empty jar of peanut butter, some sugar, and one egg. Honestly, I almost just sent her with a note. But she looked at me with those eyes, you know the ones. So I pulled out a mixing bowl, praying this wasn’t going to be a total disaster.
I’d seen this recipe floating around—just three ingredients, no flour, no butter, no fuss. It felt too simple to actually work. I mean, cookies without flour? That’s not baking, that’s a science experiment waiting to fail. But we were out of options. I let her dump everything in, and she got peanut butter on the counter, the floor, and somehow the ceiling fan. It was a beautiful mess. We scooped them onto a tray, crossed our fingers, and slid them into the oven.
When the timer went off, the whole kitchen smelled like a warm hug. They came out golden, crinkly on top, and absolutely perfect. She ate one right off the tray, burnt her tongue, and declared them “the best ever.” The next day, her classmate’s mom texted me for the recipe. The bake sale sold out in an hour. I never expected a pantry-hail-mary to become our go-to treat, but here we are. Maybe you’ve been there—scrambling for a last-minute solution. This one works. It really, really works.
Why You’ll Love This Recipe
Let’s be real for a second. Not every cookie recipe needs a trip to the specialty grocery store or a stand mixer that costs more than your rent. This one is the opposite of fussy, and that’s exactly why it works so well for busy families.
- Quick & Easy: From start to finish, you’re looking at about 20 minutes. That includes mixing, baking, and trying to stop your kids from eating the raw dough.
- Simple Ingredients: You probably have all three in your pantry right now. No eggs? Wait, you do need one egg. But no flour, no vanilla, no baking soda. Just peanut butter, sugar, and an egg.
- Perfect for Busy Weeknights: When the after-school chaos hits and someone needs a treat for tomorrow’s class party, this is your hero. No planning ahead required.
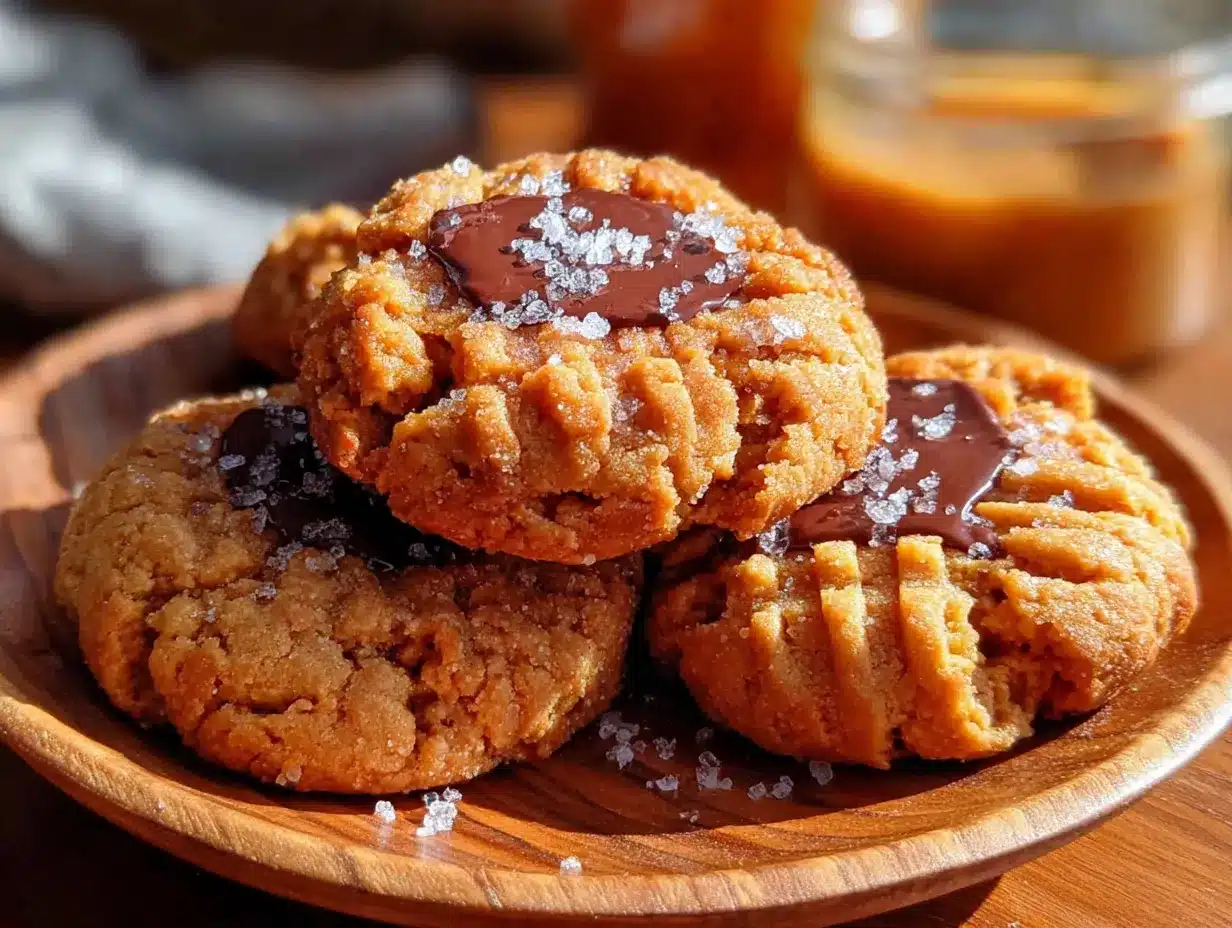
- Crowd-Pleaser: I’ve served these to picky toddlers, gluten-free friends, and cookie snobs. They disappear every single time. The texture is chewy in the middle and slightly crisp on the edges—exactly what a peanut butter cookie should be.
- Unbelievably Delicious: You wouldn’t think three ingredients could create something this satisfying, but the peanut butter does all the heavy lifting. It’s rich, nutty, and just sweet enough without being cloying.
What makes this recipe different from every other peanut butter cookie out there? It’s the texture. Without flour, these cookies stay incredibly tender and almost fudgy in the center. The crisscross fork marks aren’t just for looks—they help the cookies bake evenly and give them that classic diner-style appearance. This isn’t just another version; it’s the version that makes you wonder why you ever bothered with complicated cookie recipes.
It’s comfort food stripped down to its bare essentials. Faster, simpler, but with the same soul-soothing satisfaction. Perfect for impressing your kid’s teacher without stressing yourself out, or turning a random Tuesday into something a little bit special.
What Ingredients You Will Need
This recipe uses three humble ingredients to deliver big flavor and that perfect chewy texture. No fancy shopping list here—just pantry staples that work together beautifully.
- 1 cup creamy peanut butter (I prefer Skippy or Jif for best texture; natural peanut butter that separates can make the cookies too oily and crumbly. Look for a no-stir variety if possible.)
- 1 cup granulated sugar (Regular white sugar works best here. Brown sugar will change the texture and make them too soft. You can use a sugar substitute like monk fruit sweetener for a lower-sugar version, but the texture will be slightly different.)
- 1 large egg (Room temperature is ideal, but honestly, I’ve used a cold egg straight from the fridge and it worked fine. The egg is what binds everything together since there’s no flour.)
That’s it. No butter, no vanilla, no baking soda, no flour. The peanut butter provides the fat, the sugar provides the sweetness and structure, and the egg holds it all together. It’s almost magical how these three simple things transform into a proper cookie.
If you’re using a natural peanut butter that’s been sitting in the pantry for a while, give it a really good stir before measuring. The oil separation can mess with the ratio and leave you with greasy cookies. I learned that the hard way after a batch spread into one giant cookie pancake. Still tasted good, but it wasn’t pretty.
For a fun twist, you can use crunchy peanut butter instead of creamy. The little bits of peanut add texture and make the cookies even more satisfying. Just keep in mind that the dough will be a bit stiffer, so you might need to press the fork marks a little harder.
Equipment Needed
You don’t need a fancy kitchen to make these cookies. In fact, you probably already own everything required.
- Mixing bowl – Any medium-sized bowl will do. I use a glass one because I can see if everything is combined, but metal or ceramic works just fine.
- Wooden spoon or spatula – For mixing the dough. A sturdy spoon works better than a whisk since the dough gets thick.
- Measuring cups – A 1-cup measure for the peanut butter and sugar. Pack the peanut butter firmly into the cup for an accurate measurement.
- Baking sheet – A standard half-sheet pan works perfectly. No need to grease it unless your baking sheet is very old and sticky.
- Parchment paper or silicone baking mat – This isn’t strictly necessary, but it makes cleanup so much easier. The cookies can stick slightly to an unlined pan.
- Fork – For making those classic crisscross marks on top. A dinner fork with even tines works best.
- Cooling rack – Optional, but helps the cookies cool evenly without getting soggy on the bottom.
If you don’t have a silicone baking mat, don’t sweat it. I’ve made these on a bare baking sheet more times than I can count. Just let them cool on the pan for a few minutes before moving them, and they’ll release just fine.
Preparation Method
Preheat your oven to 350°F (175°C). Line a baking sheet with parchment paper or a silicone mat. This step saves you from scrubbing later, trust me.
- Combine the ingredients: In a medium mixing bowl, add 1 cup creamy peanut butter, 1 cup granulated sugar, and 1 large egg. Stir everything together with a wooden spoon or spatula until fully combined. The dough will be thick and slightly sticky, but it should hold together when pressed. If it seems too dry, your peanut butter might be a bit old. Add a teaspoon of water and mix again.
- Shape the cookies: Scoop out about 1 tablespoon of dough (roughly the size of a walnut) and roll it into a ball between your palms. Place the balls on the prepared baking sheet, spacing them about 2 inches apart. They will spread a little, but not too much. You should get about 16 to 18 cookies from this batch.
- Make the crisscross marks: Dip a fork in granulated sugar (this prevents sticking) and press down gently on each dough ball to flatten it slightly. Press once in one direction, then press again in the opposite direction to create that classic crisscross pattern. Don’t press too hard or the cookies will be too thin and crispy. Just a gentle push until the fork marks are visible.
- Bake: Place the baking sheet in the preheated oven and bake for 8 to 10 minutes. The cookies will look puffy and slightly cracked on top when they’re done. The edges should be just barely golden. They will look underdone in the center—that’s exactly what you want. Overbaking makes them dry and crumbly.
- Cool: Remove the baking sheet from the oven and let the cookies cool on the pan for 5 minutes. They will be very soft and fragile right out of the oven. After 5 minutes, transfer them to a wire cooling rack to cool completely. They will firm up as they cool.
A quick note: If your cookies spread too much and turn into flat discs, your peanut butter might be too oily. Next time, try a thicker brand or reduce the sugar by a tablespoon. If they’re too dry and crumbly, you might have overbaked them or used a natural peanut butter that’s too thick. Adjust and try again—it’s still edible, I promise.
The dough will feel a bit greasy from the peanut butter, but that’s normal. Don’t be tempted to add flour to fix it. Just roll and press, and trust the process.
Cooking Tips & Techniques
I’ve made these cookies probably fifty times, and I’ve definitely had my share of failures. Here’s what I’ve learned so you don’t have to repeat my mistakes.
Don’t overmix the dough. I know it’s tempting to keep stirring until everything is perfectly smooth, but overmixing can make the cookies tough. Just stir until the egg is fully incorporated and no streaks of sugar remain. A few lumps are fine.
Use a cookie scoop for even sizing. If you have a small cookie scoop (about 1 tablespoon), use it. It makes the cookies uniform, so they bake at the same rate. If you’re rolling by hand, try to keep the balls roughly the same size. Nobody wants one burnt cookie and one underdone cookie on the same tray.
Chill the dough if you have time. This isn’t required, but if you refrigerate the dough balls for 15 to 20 minutes before baking, the cookies will be thicker and chewier. The cold fat from the peanut butter takes longer to melt in the oven, which means less spreading. I do this when I want a more bakery-style cookie.
Watch the oven like a hawk. These cookies go from perfect to overdone in about 60 seconds. Set a timer for 8 minutes and check them. The tops should look set and slightly cracked. If they look wet or shiny, they need another minute. But if the edges are dark brown, you’ve gone too far.
Let them cool completely before storing. I know it’s hard to wait, but warm cookies in an airtight container will steam and become soggy. Let them cool fully on a wire rack, then store them in a sealed container at room temperature for up to a week. They actually get softer and more flavorful after a day.
One time I forgot to set the timer and ended up with cookies that were more like peanut butter crackers. My kids still ate them, but they were definitely not the chewy, tender cookies I was going for. Learn from my absent-mindedness—set that timer.
Variations & Adaptations
This recipe is a blank canvas. Once you’ve mastered the basic version, try these fun twists.
- Chocolate Chip Peanut Butter Cookies: Add 1/3 cup of mini chocolate chips to the dough before rolling. The chocolate melts into little pockets of sweetness that pair perfectly with the peanut butter. Use mini chips so they don’t overwhelm the delicate texture.
- Gluten-Free Friendly: This recipe is naturally gluten-free since there’s no flour. Just make sure your peanut butter is certified gluten-free if you’re serving someone with celiac disease. Some brands process peanut butter on shared equipment with wheat.
- Vegan Option: Replace the egg with a flax egg (1 tablespoon ground flaxseed mixed with 3 tablespoons water, let sit for 5 minutes). The texture will be slightly more crumbly, but still delicious. Use a vegan-friendly sugar to keep it fully plant-based.
- Spiced Version: Add 1/2 teaspoon of cinnamon and a pinch of nutmeg to the sugar before mixing. The warm spices make these taste like a cozy fall treat. I made these for a Halloween party and they were gone before the cupcakes.
- Peanut Butter Sandwich Cookies: Bake the cookies without the crisscross marks (just flatten them slightly with your hand). Once cooled, spread a thin layer of chocolate frosting or jam between two cookies. Instant sandwich cookies that taste like a childhood memory.
My personal favorite variation is the chocolate chip one. I add a sprinkle of flaky sea salt on top right after they come out of the oven. The salty-sweet combo is absolutely addictive. Just don’t tell my kids I sneak salt onto their cookies—they think it’s magic.
Serving & Storage Suggestions
These cookies are best served at room temperature with a tall glass of cold milk. There’s something about that combination that feels like a hug from your childhood. They’re also fantastic crumbled over vanilla ice cream for a quick dessert sundae.
For storage, keep the cookies in an airtight container at room temperature. They’ll stay fresh for up to a week, though I doubt they’ll last that long. Place a slice of bread in the container to keep them extra soft—the cookies will absorb the moisture from the bread. Replace the bread slice every couple of days if the cookies are still around.
You can freeze the baked cookies for up to three months. Layer them between sheets of parchment paper in a freezer-safe container. To thaw, just leave them on the counter for 15 minutes. They taste almost as good as fresh.
For make-ahead convenience, freeze the unbaked dough balls. Roll them into balls, place them on a baking sheet, and freeze until solid. Transfer the frozen dough balls to a zip-top bag. When you’re ready to bake, just place them on a lined baking sheet, add the fork marks (they’ll be a bit harder to press), and bake for an extra 2 to 3 minutes. Fresh cookies in 15 minutes, anytime you want them.
The flavors actually develop over time. Day-old cookies are often softer and more cohesive than fresh ones. So don’t be disappointed if they don’t disappear immediately—they’re just getting better.
Nutritional Information & Benefits
Per cookie (based on 18 cookies per batch): approximately 120 calories, 7g fat, 12g carbohydrates, 4g protein, 8g sugar. These numbers are estimates and will vary based on your specific ingredients.
The main nutritional highlight here is the protein from the peanut butter. Each cookie provides about 4 grams of protein, which is decent for a treat. Peanut butter also contains healthy monounsaturated fats and a good amount of vitamin E, magnesium, and potassium. It’s not health food, but it’s certainly not empty calories either.
This recipe is naturally gluten-free, egg-free if you use the flax egg variation, and can be made vegan with a simple swap. It contains peanuts and eggs (in the standard version), so it’s not suitable for those with allergies to those ingredients. Always check your peanut butter label for cross-contamination warnings if serving someone with severe allergies.
From a wellness perspective, I love that this recipe doesn’t rely on processed ingredients or artificial flavors. It’s real food, made simple. That feels good, even when you’re eating dessert.
Conclusion
These 3-ingredient peanut butter cookies are proof that you don’t need a long ingredient list or hours in the kitchen to make something truly wonderful. They’re the kind of recipe that saves you on a chaotic weeknight, impresses at a bake sale, and makes your kids think you’re a kitchen wizard. Honestly, what more could you want from a cookie?
I hope you give them a try and make them your own. Add chocolate chips, sprinkle on some sea salt, or just keep them classic. However you make them, they’re going to be delicious. And if your kitchen ends up covered in peanut butter and your kid eats one straight off the tray, well, that’s just part of the fun.
Have you tried these cookies? What’s your favorite variation? Drop a comment below and let me know—I love hearing how these recipes work in your kitchen. And if you share a photo on social media, tag me so I can see your beautiful (and probably slightly messy) creations. Happy baking, friends.
Frequently Asked Questions
Can I use natural peanut butter for this recipe?
You can, but it might change the texture. Natural peanut butter that separates can make the cookies greasy and crumbly. If you use it, stir it really well and consider reducing the sugar by a tablespoon to help with structure. For best results, stick with a no-stir commercial peanut butter like Skippy or Jif.
Why did my cookies turn out too dry?
Dry cookies usually mean one of two things: you overbaked them, or your peanut butter was too thick. Bake them for only 8 to 10 minutes, and pull them out when the centers still look slightly underdone. If your peanut butter was very stiff, add a teaspoon of water to the dough next time.
Can I make these cookies without sugar?
You can substitute granulated sugar with a 1:1 sugar replacement like monk fruit sweetener or erythritol. The texture will be slightly different—often a bit more crumbly—but they’ll still taste good. Avoid liquid sweeteners like honey or maple syrup, as they will change the consistency completely.
How do I prevent the cookies from sticking to the fork?
Dip the fork tines in granulated sugar before pressing down on each cookie. This creates a non-stick barrier and adds a tiny bit of sparkle to the tops. If the fork still sticks, try greasing it lightly with cooking spray instead.
Can I double this recipe?
Absolutely. This recipe doubles beautifully. Just use 2 cups peanut butter, 2 cups sugar, and 2 eggs. Mix in a larger bowl and bake in batches. The baking time stays the same, but you might need to rotate the baking sheets halfway through if your oven has hot spots.
Pin This Recipe!
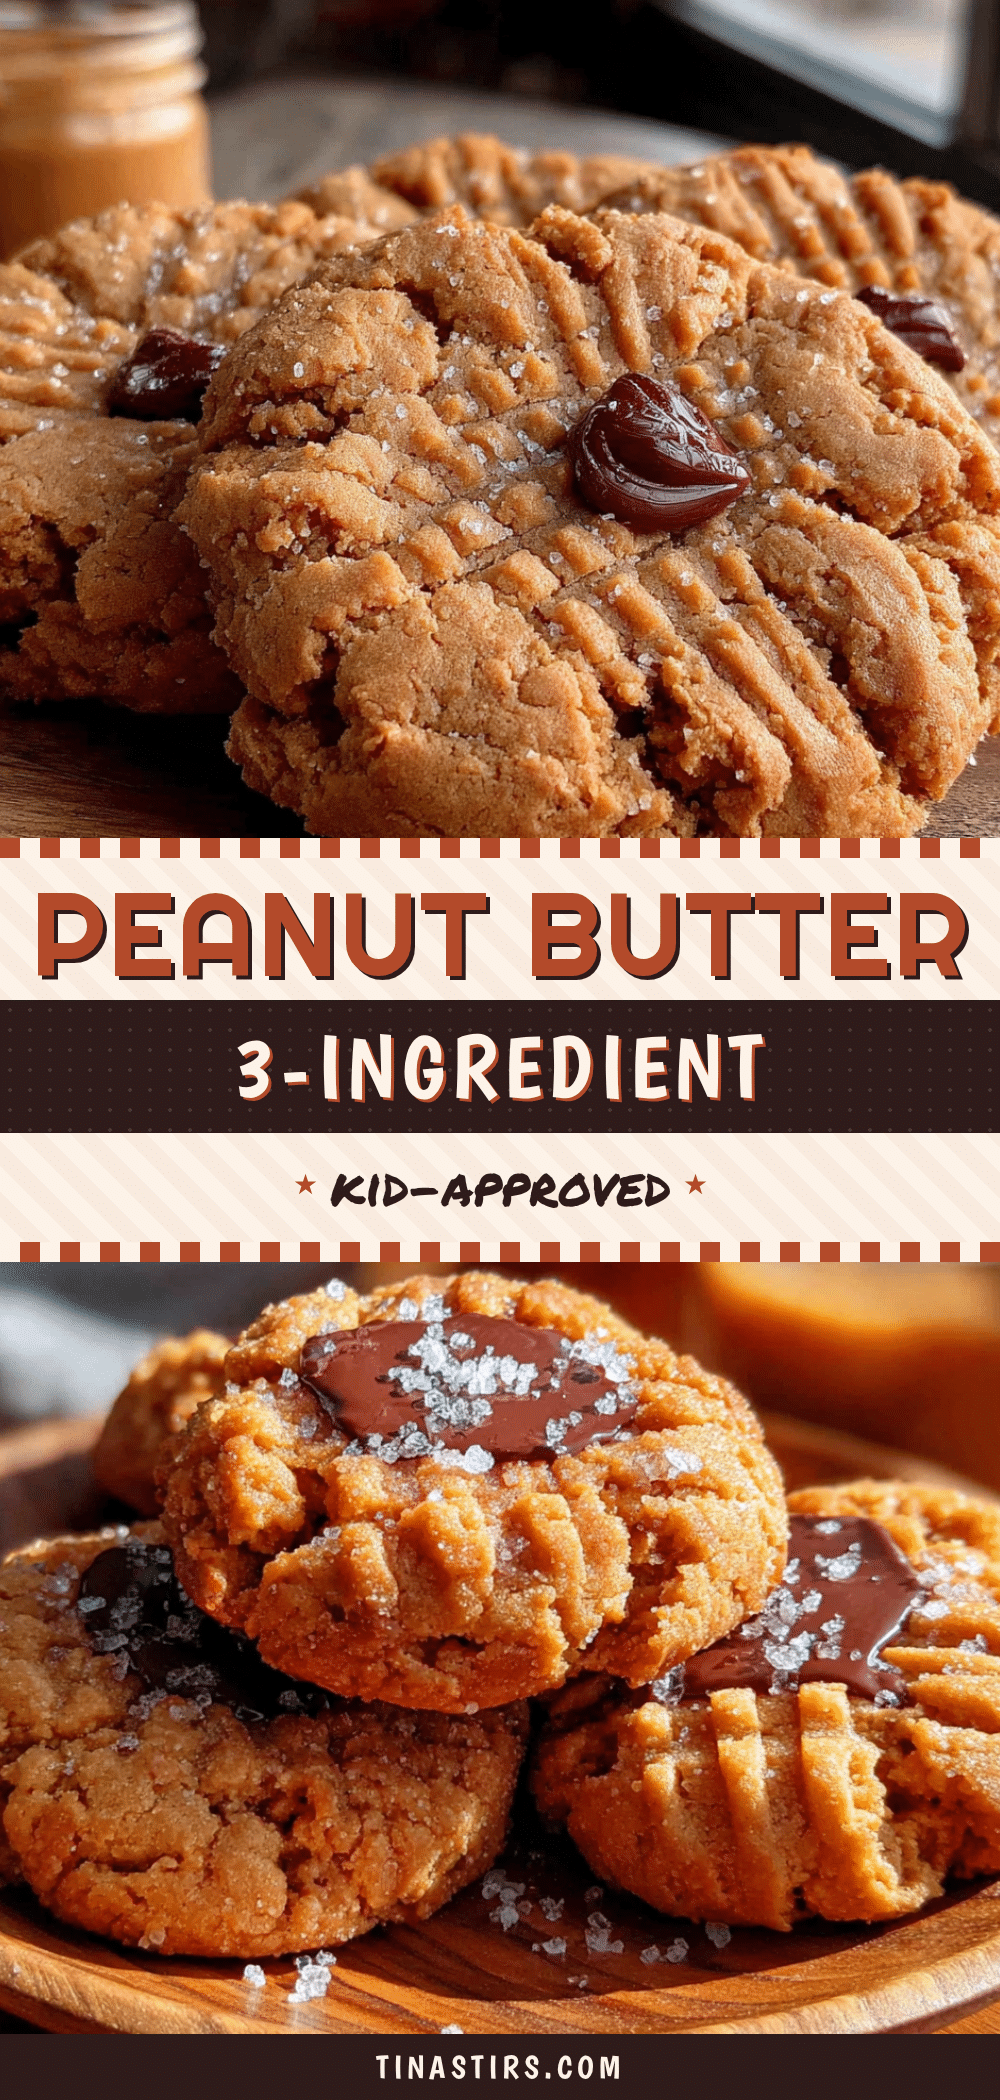
3-Ingredient Peanut Butter Cookies: Easy Kid-Approved Recipe
These 3-ingredient peanut butter cookies are proof that you don’t need a long ingredient list or hours in the kitchen to make something truly wonderful. They’re the kind of recipe that saves you on a chaotic weeknight, impresses at a bake sale, and makes your kids think you’re a kitchen wizard.
- Prep Time: 10 minutes
- Cook Time: 10 minutes
- Total Time: 20 minutes
- Yield: 16-18 cookies 1x
- Category: Dessert
- Cuisine: American
Ingredients
- 1 cup creamy peanut butter (Skippy or Jif recommended)
- 1 cup granulated sugar
- 1 large egg (room temperature preferred)
Instructions
- Preheat your oven to 350°F (175°C). Line a baking sheet with parchment paper or a silicone mat.
- In a medium mixing bowl, add 1 cup creamy peanut butter, 1 cup granulated sugar, and 1 large egg. Stir everything together with a wooden spoon or spatula until fully combined. The dough will be thick and slightly sticky.
- Scoop out about 1 tablespoon of dough (roughly the size of a walnut) and roll it into a ball between your palms. Place the balls on the prepared baking sheet, spacing them about 2 inches apart. You should get about 16 to 18 cookies.
- Dip a fork in granulated sugar and press down gently on each dough ball to flatten it slightly. Press once in one direction, then press again in the opposite direction to create a crisscross pattern.
- Bake for 8 to 10 minutes. The cookies will look puffy and slightly cracked on top when done. The edges should be just barely golden.
- Remove the baking sheet from the oven and let the cookies cool on the pan for 5 minutes. Then transfer them to a wire cooling rack to cool completely.
Notes
For best results, use a no-stir commercial peanut butter like Skippy or Jif. Natural peanut butter can make the cookies too oily and crumbly. If the dough seems too dry, add a teaspoon of water. Chilling the dough balls for 15-20 minutes before baking will result in thicker, chewier cookies. Watch the oven closely as these cookies can go from perfect to overdone quickly.
Nutrition
- Serving Size: 1 cookie
- Calories: 120
- Sugar: 8
- Sodium: 95
- Fat: 7
- Saturated Fat: 1.5
- Carbohydrates: 12
- Fiber: 1
- Protein: 4
Keywords: 3-ingredient peanut butter cookies, easy peanut butter cookies, flourless peanut butter cookies, kid-friendly cookies, quick cookies


