Love this? Save it for later!
Share the inspiration with your friends
Introduction
“You won’t believe what happened when I tried to surprise my neighbors last Fourth of July,” my friend Jake told me as he handed over a slightly cracked, yet colorful cake box. It was his first attempt at making an epic firework cake with an exploding center, something he’d seen on a late-night cooking show and thought, “Hey, why not?” Honestly, I was skeptical. A cake that bursts with candy fireworks inside? It sounded a bit over-the-top for a backyard BBQ.
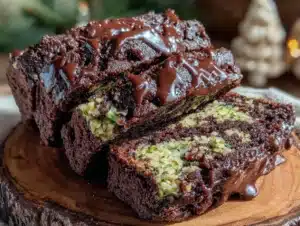
But when we finally sliced into that cake, the room lit up—literally. Red, white, and blue candies spilled out like a mini celebration, sending everyone into a cheer. The texture was moist, the flavors balanced just right, and that surprise center? It made the whole evening unforgettable. The messy kitchen, the slight panic about whether the center would hold, and the laughter when a few candies escaped prematurely—all of it made this cake a Fourth of July staple in our circle.
Maybe you’ve been there too—wanting something festive and fun but not wanting to fuss for hours. This Epic Firework Cake with Exploding Center is that sweet spot. It’s showy without the stress, perfect for those summer nights when the air smells of charcoal and freedom. Let me tell you, once you try this recipe, it’ll be hard not to make it every year.
Why You’ll Love This Recipe
This Epic Firework Cake isn’t your everyday dessert. After testing dozens of variations in my kitchen, I’ve landed on a version that’s as reliable as it is impressive. Here’s why it’s a must-make:
- Quick & Easy: You can whip this up in under 90 minutes, ideal for last-minute holiday plans or impromptu celebrations.
- Simple Ingredients: No weird specialty items here—just pantry staples and familiar candies that bring the surprise factor.
- Perfect for 4th of July: The red, white, and blue theme is spot on for Independence Day parties, barbecues, or even neighborhood potlucks.
- Crowd-Pleaser: Kids and adults alike go wild for the candy explosion. Honestly, it’s like a party right in the cake.
- Unbelievably Delicious: The moist vanilla sponge with a hint of almond pairs beautifully with the sweet surprise inside—comfort food with a twist.
What makes this cake different? I’ve found that lining the center cavity with parchment before filling it with a mix of colorful candies keeps everything intact until the big reveal. Plus, the batter is perfectly balanced—not too sweet and just dense enough to hold the treasures. I’ve tried other recipes that either collapsed or leaked, but this one holds up beautifully every time. It’s like fireworks for your taste buds!
And honestly, the joy it brings—seeing faces light up as that candy burst out—is why I keep making it. You know that feeling when a dessert isn’t just food but a moment? This cake delivers exactly that.
What Ingredients You Will Need
This recipe uses simple, wholesome ingredients to deliver bold flavor and that satisfying texture without the fuss. Most items are kitchen staples, and the candy filling can be customized to your liking.
- For the Cake Batter:
- 2 ½ cups (312g) all-purpose flour, sifted
- 2 ½ tsp baking powder
- ½ tsp salt
- 1 cup (226g) unsalted butter, softened (I prefer Kerrygold for a rich flavor)
- 1 ¾ cups (350g) granulated sugar
- 4 large eggs, room temperature
- 1 tbsp pure vanilla extract
- ½ tsp almond extract (optional but adds a nice depth)
- 1 cup (240ml) whole milk, warmed
- For the Exploding Center:
- 1 ½ cups assorted red, white, and blue candies (think mini M&Ms, red hots, white chocolate chips, blue jelly beans)
- About 12-15 red, white, and blue sparklers or edible glitter (optional, for decorating after baking)
- For the Frosting:
- 1 cup (227g) unsalted butter, softened
- 4 cups (480g) powdered sugar, sifted
- 2 tsp vanilla extract
- 2-3 tbsp whole milk or cream
- Food coloring (red and blue gel colors recommended)
Pro tip: I usually grab my candies at the local candy shop downtown; they always have the best selection for seasonal colors. If you want a gluten-free option, feel free to swap the all-purpose flour with a 1:1 gluten-free baking blend—results are great! And if you’re dairy-free, use coconut oil instead of butter and almond milk for the milk.
Equipment Needed
- Two 9-inch (23 cm) round cake pans (non-stick or greased and floured)
- Mixing bowls (medium and large)
- Electric mixer or stand mixer (a hand whisk works but will take longer)
- Measuring cups and spoons (accuracy is key, trust me on this one)
- Rubber spatula for folding and scraping
- Large spoon or ice cream scoop (for batter)
- Serrated knife (to cut the cake layers and hollow out the center)
- Offset spatula or bench scraper for frosting
- Cooling racks to let the cakes rest
- Parchment paper (to line cake pans and the cavity for the candy)
If you don’t have a serrated knife, a thin bread knife works fine, just be careful to cut evenly. I once tried using a paring knife and, well, let’s say it was a bit messier than planned. For frosting, an offset spatula really makes spreading smooth, but a butter knife can do in a pinch. And if you’re on a budget, you can find decent cake pans at discount stores that work just as well as pricier brands.
Preparation Method
- Preheat and prep: Preheat your oven to 350°F (175°C). Grease two 9-inch cake pans and line the bottoms with parchment paper. This prevents sticking and helps with easy removal.
- Mix dry ingredients: In a medium bowl, sift together the flour, baking powder, and salt. Set aside.
- Cream butter and sugar: In a large bowl, beat the softened butter and sugar on medium speed for about 4-5 minutes until light and fluffy. This step is crucial for that tender crumb, so don’t rush it.
- Add eggs: Add eggs one at a time, beating well after each addition. Scrape down the sides to keep everything incorporated evenly.
- Flavor extracts: Mix in the vanilla and almond extract (if using). The almond gives it a subtle nutty flavor that pairs beautifully with the vanilla.
- Combine wet and dry: Alternately add the dry ingredients and warm milk to the butter mixture, starting and ending with the dry. Mix on low speed just until combined. Overmixing can make the cake tough, so be gentle here.
- Divide batter: Pour batter evenly into the two prepared pans. Smooth the tops with a spatula for even baking.
- Bake: Bake for 30-35 minutes or until a toothpick inserted in the center comes out clean. Ovens vary, so start checking at 28 minutes. The cake should be golden and spring back when lightly touched.
- Cool: Let cakes cool in pans for 10 minutes, then transfer to cooling racks to cool completely. This step is key—you don’t want to frost a warm cake or the frosting will melt.
- Create the cavity: Once cooled, use a serrated knife or cake leveler to cut a 2-inch (5 cm) circle out of the center of one cake layer. I like to use a small bowl as a guide for a neat circle.
- Line the cavity: Place a round of parchment paper inside the hollowed center to prevent candy from leaking through the cake.
- Fill with candies: Fill the cavity with your chosen red, white, and blue candies. Pack them snugly but don’t overfill.
- Assemble the cake: Place the second cake layer on top, pressing down gently to sandwich the candies inside.
- Frost: Prepare your frosting by beating softened butter until creamy, then gradually add powdered sugar. Mix in vanilla and milk, adjusting consistency as needed. Divide frosting into three bowls and tint with red and blue gel colors, leaving one bowl white.
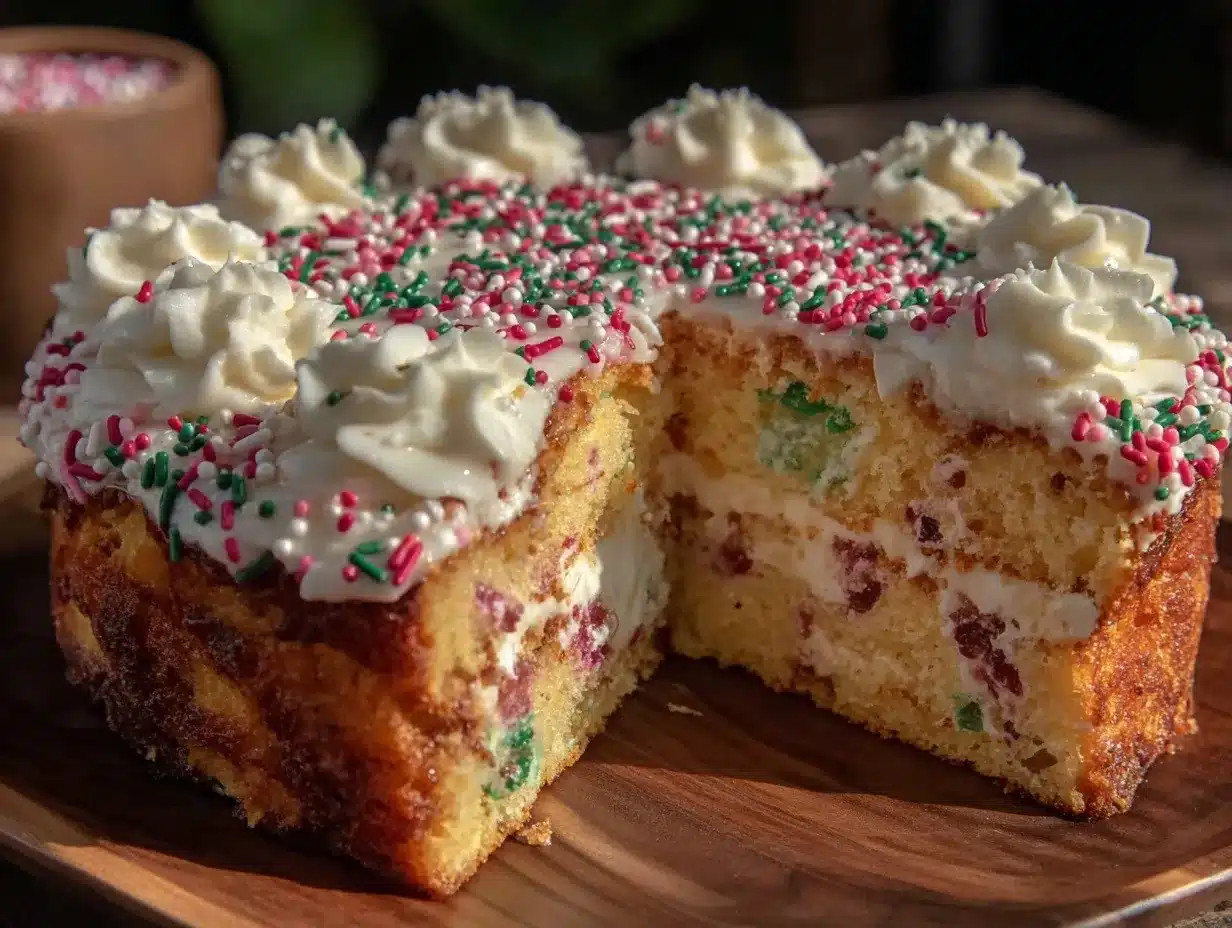
- Decorate: Frost the cake with a base layer of white, then use red and blue frosting for stripes or swirls to mimic fireworks. Feel free to add edible glitter or sparklers just before serving for that wow factor.
Pro tip: When cutting the cake later, use a sharp knife and slice slowly to avoid candies flying everywhere prematurely. Also, if you notice the cake sinking slightly after adding the candy, try chilling it for 20 minutes before frosting to firm it up.
Cooking Tips & Techniques
Making an exploding center cake sounds fancy, but there are a few tricks I’ve picked up that make it easier and more foolproof.
- Don’t skip warming the milk: It helps the batter mix smoothly and gives a tender crumb. Cold milk can cause lumps.
- Use room temperature eggs and butter: This ensures better aeration and smoother batter. Cold ingredients can lead to a dense cake.
- Line the candy cavity well: I learned the hard way—without parchment lining, candies leaked and made a mess. It’s worth the extra step.
- Be gentle with frosting: Overworking the frosting can make it too soft or greasy. Beat just until fluffy and spreadable.
- Multitask smartly: While the cakes bake, prep the frosting and candies to save time. I usually prep my candy mix and parchment lining during the last 10 minutes of baking.
- Watch your oven temperature: An oven that’s too hot can dry out the cake or cause uneven rising. An oven thermometer can be a helpful investment.
- Practice patience: Letting the cake cool completely is tempting, but rushing leads to frosting meltdowns. Cold cake + warm frosting = disaster.
One time, I forgot to line the cavity and ended up with a sticky candy mess that took forever to clean up—lesson learned! Also, if you want a smoother frosting finish, chill the cake for 10 minutes between layers of frosting.
Variations & Adaptations
This firework cake recipe is surprisingly versatile—here are a few ways to make it your own:
- Dietary swaps: Use almond or oat flour for a gluten-free version, and swap butter for coconut oil or vegan butter for dairy-free. I’ve tested these swaps, and the cake holds up well.
- Seasonal flavors: For a summer twist, add fresh blueberries and strawberries inside the cavity alongside candies. The fruit adds a fresh burst against the sweet candies.
- Chocolate version: Replace ½ cup of flour with cocoa powder and add mini chocolate chips to the cavity for a rich, indulgent spin. I made this for a friend’s birthday and it was a hit.
- Flavorful frosting: Try cream cheese frosting instead of buttercream for tanginess that balances the sweetness.
- Alternative fillings: Swap candy for sprinkles, mini marshmallows, or even small fruit pieces for a less sweet but equally surprising center.
One personal favorite is the chocolate version with a mix of dark chocolate candies inside—pure decadence. Whatever you choose, just keep the cavity lined to keep things neat!
Serving & Storage Suggestions
This cake is best served at room temperature so the frosting is soft and the cake moist. When you slice into it, have a napkin handy—candies can scatter with excitement!
Pair this cake with classic summer beverages like lemonade, iced tea, or even a scoop of vanilla ice cream for extra indulgence. It’s a perfect finale after grilled favorites like ribs or burgers.
Store any leftovers covered at room temperature for up to 2 days or refrigerate for up to 4 days. If refrigerated, let the cake sit out for 30 minutes before serving to soften. You can freeze unfrosted layers wrapped tightly in plastic wrap and foil for up to 3 months.
Reheat refrigerated cake slices gently in the microwave for 10-15 seconds to revive freshness. The candy center will hold its charm but might get a tiny bit softer over time—still delicious!
Nutritional Information & Benefits
Per slice (assuming 12 servings), this cake contains approximately:
| Calories | 350 kcal |
|---|---|
| Fat | 18g |
| Carbohydrates | 45g |
| Protein | 4g |
| Sugar | 30g |
This cake is a festive treat rather than a health food, but using quality ingredients like real butter and fresh eggs means you’re getting wholesome basics. The almond extract adds a touch of antioxidants from natural sources, and the candies provide that fun burst of energy—perfect for celebrations.
If you’re mindful of allergens, this recipe contains gluten, dairy, and eggs, but as mentioned, substitutions can make it friendly for many diets. Personally, I enjoy this cake as an occasional indulgence that brings joy and connection to summer gatherings.
Conclusion
If you’re looking for a showstopper dessert that’s actually doable, this Epic Firework Cake with Exploding Center fits the bill perfectly. It’s fun, festive, and a guaranteed crowd-pleaser that turns any 4th of July celebration into something memorable.
Feel free to tweak the candies, colors, and frosting to match your style. I love how this cake brings people together—there’s just something about the surprise inside that sparks joy every time. I hope it becomes a tradition in your home like it did in mine.
Give it a try, and don’t be shy about sharing your own twists or stories in the comments—I’d love to hear how your fireworks cake lights up your holiday!
FAQs
How do I prevent the candy center from leaking out?
Line the cavity with parchment paper before filling it with candies. This creates a barrier that holds everything in place and keeps the cake neat.
Can I use different candies for the exploding center?
Absolutely! Mini M&Ms, jelly beans, gummies, or even small chocolates work well. Just avoid anything that melts too easily during baking.
How far in advance can I make this cake?
You can bake and assemble the cake a day ahead. Store it covered in the fridge and bring it to room temperature before serving.
Can I make this cake gluten-free?
Yes, swap the all-purpose flour with a gluten-free baking blend. The texture might be slightly different but still delicious.
What’s the best way to cut the cake without spilling candies everywhere?
Use a sharp serrated knife and cut slowly and carefully. Slicing straight down rather than sawing reduces candy spillage.
For a fun twist on patriotic desserts, you might also enjoy the vibrant red, white, and blue layer cake or the crowd-pleasing crispy garlic chicken for your 4th of July feast.
Pin This Recipe!
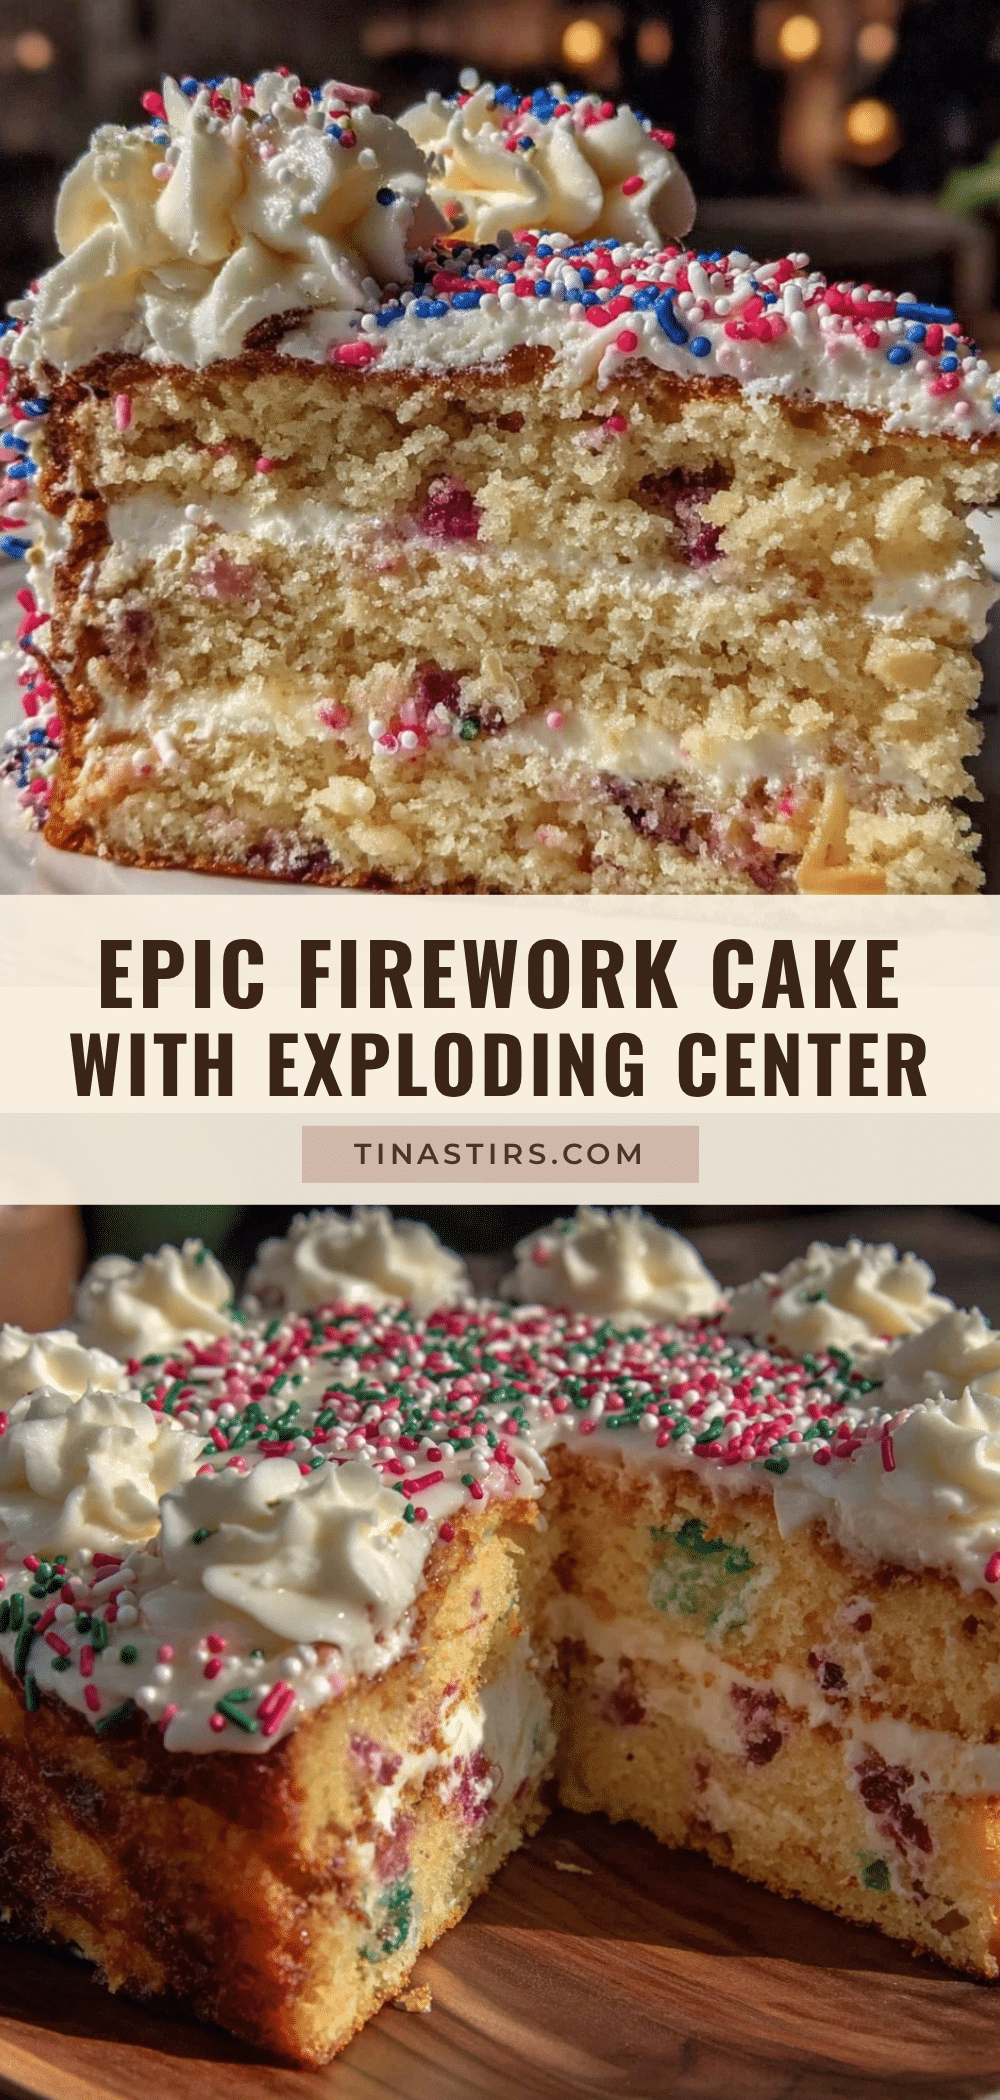
Epic Firework Cake Recipe Easy Exploding Center for 4th of July Celebration
A festive and fun vanilla sponge cake with a surprise exploding center filled with red, white, and blue candies, perfect for 4th of July celebrations. Moist, flavorful, and easy to make, this cake is a guaranteed crowd-pleaser.
- Prep Time: 20 minutes
- Cook Time: 30-35 minutes
- Total Time: 55-60 minutes
- Yield: 12 servings 1x
- Category: Dessert
- Cuisine: American
Ingredients
- 2 ½ cups (312g) all-purpose flour, sifted
- 2 ½ tsp baking powder
- ½ tsp salt
- 1 cup (226g) unsalted butter, softened
- 1 ¾ cups (350g) granulated sugar
- 4 large eggs, room temperature
- 1 tbsp pure vanilla extract
- ½ tsp almond extract (optional)
- 1 cup (240ml) whole milk, warmed
- 1 ½ cups assorted red, white, and blue candies (mini M&Ms, red hots, white chocolate chips, blue jelly beans)
- 12–15 red, white, and blue sparklers or edible glitter (optional, for decorating)
- 1 cup (227g) unsalted butter, softened (for frosting)
- 4 cups (480g) powdered sugar, sifted
- 2 tsp vanilla extract (for frosting)
- 2–3 tbsp whole milk or cream (for frosting)
- Food coloring (red and blue gel colors recommended)
Instructions
- Preheat oven to 350°F (175°C). Grease two 9-inch cake pans and line bottoms with parchment paper.
- In a medium bowl, sift together flour, baking powder, and salt. Set aside.
- In a large bowl, beat softened butter and sugar on medium speed for 4-5 minutes until light and fluffy.
- Add eggs one at a time, beating well after each addition and scraping down sides.
- Mix in vanilla and almond extract (if using).
- Alternately add dry ingredients and warm milk to butter mixture, starting and ending with dry ingredients. Mix on low speed just until combined.
- Pour batter evenly into prepared pans and smooth tops.
- Bake for 30-35 minutes or until a toothpick inserted in the center comes out clean. Let cool in pans for 10 minutes, then transfer to cooling racks to cool completely.
- Cut a 2-inch circle out of the center of one cake layer using a serrated knife or cake leveler.
- Line the cavity with parchment paper to prevent candy leakage.
- Fill the cavity with red, white, and blue candies, packing snugly but not overfilling.
- Place the second cake layer on top, pressing down gently to sandwich the candies inside.
- Prepare frosting by beating softened butter until creamy, gradually adding powdered sugar, vanilla, and milk until desired consistency is reached.
- Divide frosting into three bowls and tint with red and blue gel colors, leaving one bowl white.
- Frost the cake with a base layer of white, then decorate with red and blue frosting stripes or swirls to mimic fireworks.
- Optionally, add edible glitter or sparklers just before serving.
Notes
Line the candy cavity with parchment paper to prevent leakage. Use room temperature eggs and butter for better batter aeration. Warm the milk before mixing to avoid lumps. Chill the cake for 20 minutes before frosting if it sinks slightly after adding candy. Cut the cake slowly with a sharp serrated knife to avoid candy spillage. For gluten-free, substitute flour with a 1:1 gluten-free baking blend; for dairy-free, use coconut oil and almond milk.
Nutrition
- Serving Size: 1 slice (1/12th of c
- Calories: 350
- Sugar: 30
- Fat: 18
- Carbohydrates: 45
- Protein: 4
Keywords: firework cake, exploding center cake, 4th of July cake, patriotic cake, vanilla sponge cake, candy surprise cake, easy celebration dessert