Love this? Save it for later!
Share the inspiration with your friends
Introduction
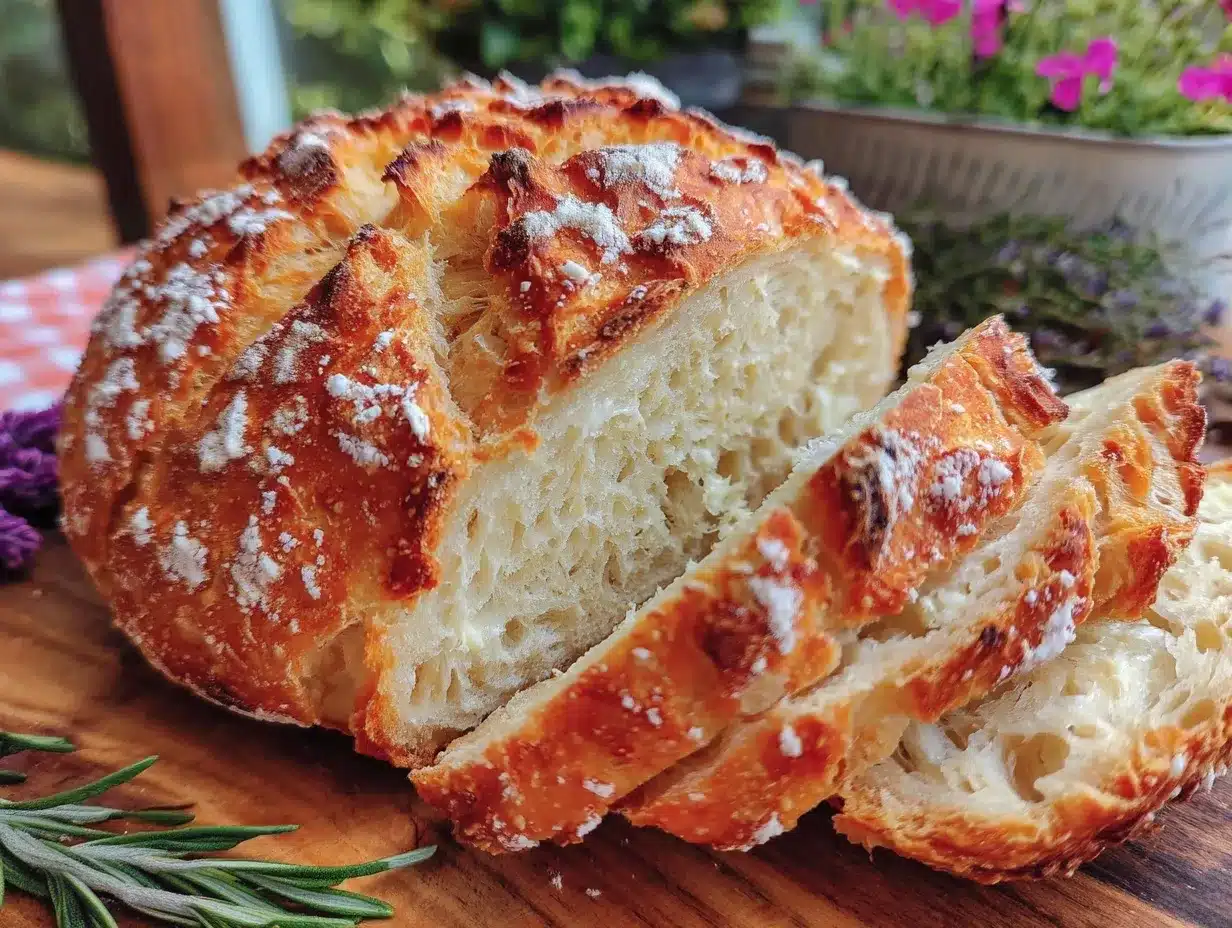
“The sun was just dipping behind the wildflower meadow when I realized I’d forgotten to buy bread for our little afternoon picnic. Honestly, I was a bit panicked—nothing quite says summer like fresh bread with homemade jam and a cool breeze. So, I decided to try baking something right then and there, with the simple ingredients I had on hand. It was a bit of a mess at first (flour everywhere, a cracked mixing bowl that added character), but that rustic, warm aroma filling the kitchen? Pure magic. This cozy rustic homemade cottagecore summer bread was born out of that impromptu moment, and I haven’t looked back since.”
Maybe you’ve been there—needing something comforting and effortless, with a touch of countryside charm. This bread feels like a slow summer afternoon wrapped in a loaf, perfect for sharing or savoring solo with a dab of butter. Let me tell you, this recipe isn’t just about bread; it’s about capturing that easygoing, whimsical cottagecore vibe that makes summer days feel extra special.
And yes, it’s as simple as it sounds. No fancy equipment, no complicated steps—just honest bread with a golden crust and tender crumb that’s perfect for picnic baskets, lazy breakfasts, or cozying up with a good book. This recipe has stuck with me because it’s that rare combination of rustic charm and everyday ease, a little baking adventure you can pull off even if you’re juggling a million things.
Why You’ll Love This Recipe
- Quick & Easy: Ready in just about 2 hours from start to finish, including rising time—ideal for busy summer days.
- Simple Ingredients: Uses pantry staples like all-purpose flour, yeast, and a touch of honey—no need for specialty stores.
- Perfect for Summer Picnics: Rustic texture and mellow flavor pair beautifully with fresh cheeses, seasonal fruits, and homemade preserves.
- Crowd-Pleaser: Always gets compliments for its crusty exterior and soft, airy inside—kids and adults alike can’t resist it.
- Unbelievably Delicious: The subtle honey sweetness and hint of herbs (if you choose) make it a little different without overcomplicating things.
This isn’t just another loaf—it’s my go-to when I want bread that feels like a warm hug with a sun-soaked afternoon. I usually blend in a bit of whole wheat or sprinkle in fresh rosemary from the garden, which takes it to another level. Honestly, the charm is in its simplicity and the way it reminds me of slow, peaceful moments outside the usual kitchen rush. This bread is comfort food, cottagecore style, without any fuss.
What Ingredients You Will Need
This recipe uses simple, wholesome ingredients to deliver bold flavor and satisfying texture without the fuss. Most are probably already in your pantry, and seasonal touches can make it even more special.
- All-purpose flour – 3 1/2 cups (440 g), the base for that rustic crumb. I prefer King Arthur for consistent results.
- Instant yeast – 2 1/4 teaspoons (one packet), for a reliable rise.
- Warm water – 1 3/4 cups (420 ml), just warm to the touch (about 105°F/40°C) to activate the yeast.
- Honey – 2 tablespoons, adds gentle sweetness and helps with browning.
- Sea salt – 1 1/2 teaspoons, enhances the flavor without overpowering.
- Olive oil – 2 tablespoons, for a tender crumb and a hint of richness.
- Optional fresh herbs (like rosemary or thyme) – 1 tablespoon chopped, if you want a touch of garden freshness.
- Cornmeal or flour for dusting – to keep the bread from sticking and add rustic texture.
For a seasonal twist, try swapping honey with maple syrup or adding a handful of dried summer fruits like apricots or cherries. If you need a gluten-free option, almond or oat flour can work but expect a denser texture. For dairy-free diets, olive oil keeps it moist without any butter or milk.
Equipment Needed
- Large mixing bowl: For combining and proofing the dough. A glass or stainless steel bowl works best.
- Dough scraper or spatula: Handy for mixing and folding the dough without too much mess.
- Kitchen towel or plastic wrap: To cover the dough while it rises and keep it cozy.
- Baking sheet or cast-iron skillet: Either works for baking your rustic loaf. I love the skillet for a thicker crust.
- Cooling rack: Essential so the bread breathes and stays crisp on the outside after baking.
- Optional: A stand mixer with a dough hook if you want to save your arms, though hand mixing is totally fine here.
If you don’t have a kitchen scale, measuring cups will do just fine—just be sure to spoon flour lightly and level it for accuracy. Also, I keep a spray bottle handy to mist the oven during baking. It adds a nice crisp to the crust without fuss.
Preparation Method
- Activate the yeast: In your large mixing bowl, stir together the warm water and honey until combined. Sprinkle the instant yeast over the top and let it sit for about 5 minutes. You should see bubbles or foam forming—this means your yeast is alive and kicking.
- Mix the dry ingredients: While the yeast activates, whisk the flour and sea salt together in a separate bowl to distribute the salt evenly.
- Combine wet and dry: Pour the flour mixture into the bowl with the yeast mixture. Add olive oil and, if using, the chopped fresh herbs. Stir with your dough scraper until a shaggy dough forms.
- Knead the dough: Turn the dough onto a lightly floured surface and knead for about 8-10 minutes until smooth and elastic. If the dough feels sticky, dust with a bit more flour, but try not to add too much—it should be slightly tacky but manageable.
- First rise: Shape the dough into a ball and place it back in the oiled bowl. Cover with a clean kitchen towel or plastic wrap. Let it rise in a warm spot for about 1 to 1 1/2 hours, or until it has doubled in size. (I usually put mine near the sunny kitchen window.)
- Shape the loaf: Gently deflate the dough and transfer it to a baking sheet dusted with cornmeal or flour. Shape it into a rustic round or oval loaf. Let it rest uncovered for 30 minutes to puff up a bit more.
- Preheat the oven: While the dough rests, preheat your oven to 425°F (220°C). Place an empty metal tray on the lowest rack—you’ll use it to create steam later.
- Score and bake: Using a sharp knife or bread lame, make a few shallow slashes across the loaf. This helps the bread expand beautifully. Pour a cup of hot water into the metal tray to create steam and quickly close the oven door. Bake for 25-30 minutes until the crust is deeply golden and sounds hollow when tapped.
- Cool down: Remove the bread from the oven and transfer it to a cooling rack. Resist the urge to slice it too soon! Let it cool completely—this sets the crumb and keeps it from getting gummy.
If the crust seems too hard after cooling, wrap the bread loosely in a clean kitchen towel to soften it slightly without losing the rich rustic feel. The smell while baking is one of those things that makes the whole kitchen feel like a summer cottage retreat.
Cooking Tips & Techniques
One of my favorite secrets is to use instant yeast—no proofing needed, just sprinkle and stir. It speeds things up without any sacrifice in flavor or texture. Also, don’t be afraid of a slightly sticky dough. It means your bread will be lighter and airier inside.
Timing is crucial with the rising—too cold and it’ll take forever, too warm and the dough might overproof and collapse. I usually let it rise near my stove or on top of the fridge where it’s just warm enough. If you’re in a hurry, a warm (not hot!) oven with the light on works wonders.
When it comes to baking, adding steam by pouring water in a hot tray creates that signature crackly crust we all love. But be careful opening the oven after; the steam escapes fast, and your crust might dry out if you leave the door open too long.
After baking, patience is key. Let the bread cool fully to develop the best texture. I’ve learned the hard way that slicing too early makes for a gummy crumb and a sad bread experience. Trust me on this one!
Variations & Adaptations
Feel free to adapt this cozy rustic homemade cottagecore summer bread to suit your tastes or dietary needs.
- Herbed Variation: Add 2 tablespoons of fresh chopped basil or dill for a summery herbal twist that pairs well with cheeses.
- Whole Wheat Swap: Substitute half the all-purpose flour with whole wheat for a nuttier, heartier loaf—just increase water by 2 tablespoons to keep moisture.
- Sweet Summer Bread: Toss in 1/2 cup dried apricots or cherries with the flour for a touch of natural sweetness that feels perfect with morning tea.
- Gluten-Free Version: Use a gluten-free flour blend like Bob’s Red Mill 1-to-1 Baking Flour and add 1 teaspoon xanthan gum if your blend doesn’t have it.
- Dairy-Free Adaptation: Stick with olive oil and water—no dairy needed here, making it friendly for those avoiding milk or butter.
I once tried a version with lavender honey from the farmer’s market—just a drizzle in place of regular honey. It was a fragrant surprise and really captured that cottagecore essence!
Serving & Storage Suggestions
This bread shines best served slightly warm or at room temperature. I love slicing it thick and slathering with fresh butter or homemade berry jam during lazy summer mornings. It’s also a fantastic base for open-faced sandwiches or alongside a chilled cucumber salad.
Store leftover bread wrapped in a clean kitchen towel or a paper bag at room temperature for up to 2 days. For longer storage, slice and freeze in airtight bags—toast slices straight from the freezer for a fresh-baked feel.
Reheating in a 350°F (175°C) oven for 5-7 minutes refreshes the crust nicely without drying out the crumb. Over time, the flavors mellow and the crumb softens, making it even more comforting in the days after baking.
Nutritional Information & Benefits
This cozy rustic homemade cottagecore summer bread offers a wholesome balance of carbohydrates and healthy fats, courtesy of the olive oil. The honey adds natural sweetness without refined sugar spikes. With basic pantry ingredients, it fits well into a balanced diet.
If you choose to add whole wheat or herbs, you’ll boost fiber and antioxidants, making each slice a little more nourishing. This recipe is naturally dairy-free and can be made gluten-free with the right flour swaps. Just watch for yeast allergies, which are rare but possible.
Personally, I appreciate this bread as a wellness-friendly comfort food—satisfying and grounding without overindulgence. It’s a reminder that simple, thoughtful cooking can nourish both body and soul.
Conclusion
This cozy rustic homemade cottagecore summer bread really is a little slice of sunshine you can bake in your own kitchen. Its simplicity, warmth, and gentle sweetness make it a perfect companion for those slow summer afternoons or cozy evenings. I love how it invites you to slow down, enjoy the process, and savor something truly homemade.
Feel free to tweak it—add your favorite herbs, swap flours, or fold in summer fruits to make it your own. I’d love to hear how you personalize this bread, so please share your thoughts or adaptations in the comments. Let’s keep baking and sharing these cozy, heartfelt recipes together!
Happy baking, and may your kitchen always smell like sunshine and fresh bread.
FAQs
Can I make this bread without a stand mixer?
Absolutely! This recipe is designed for hand mixing and kneading, so no stand mixer needed. Just knead on a floured surface for about 8-10 minutes until smooth.
How do I know if the yeast is still good?
If your yeast bubbles and foams when mixed with warm water and a bit of honey, it’s active. If nothing happens after 5-10 minutes, it’s time to get fresh yeast.
Can I use active dry yeast instead of instant yeast?
Yes, but you’ll need to proof it first by dissolving it in warm water with honey and letting it sit for about 10 minutes until foamy before mixing with the flour.
What’s the best way to store leftover bread?
Keep it wrapped in a kitchen towel or paper bag at room temperature for up to 2 days, or slice and freeze for longer storage. Toast frozen slices to refresh.
Can I add seeds or nuts to this bread?
Definitely! Toasted sunflower seeds, pumpkin seeds, or chopped nuts fold in nicely and add great texture and flavor. Add about 1/3 cup during mixing.
Pin This Recipe!
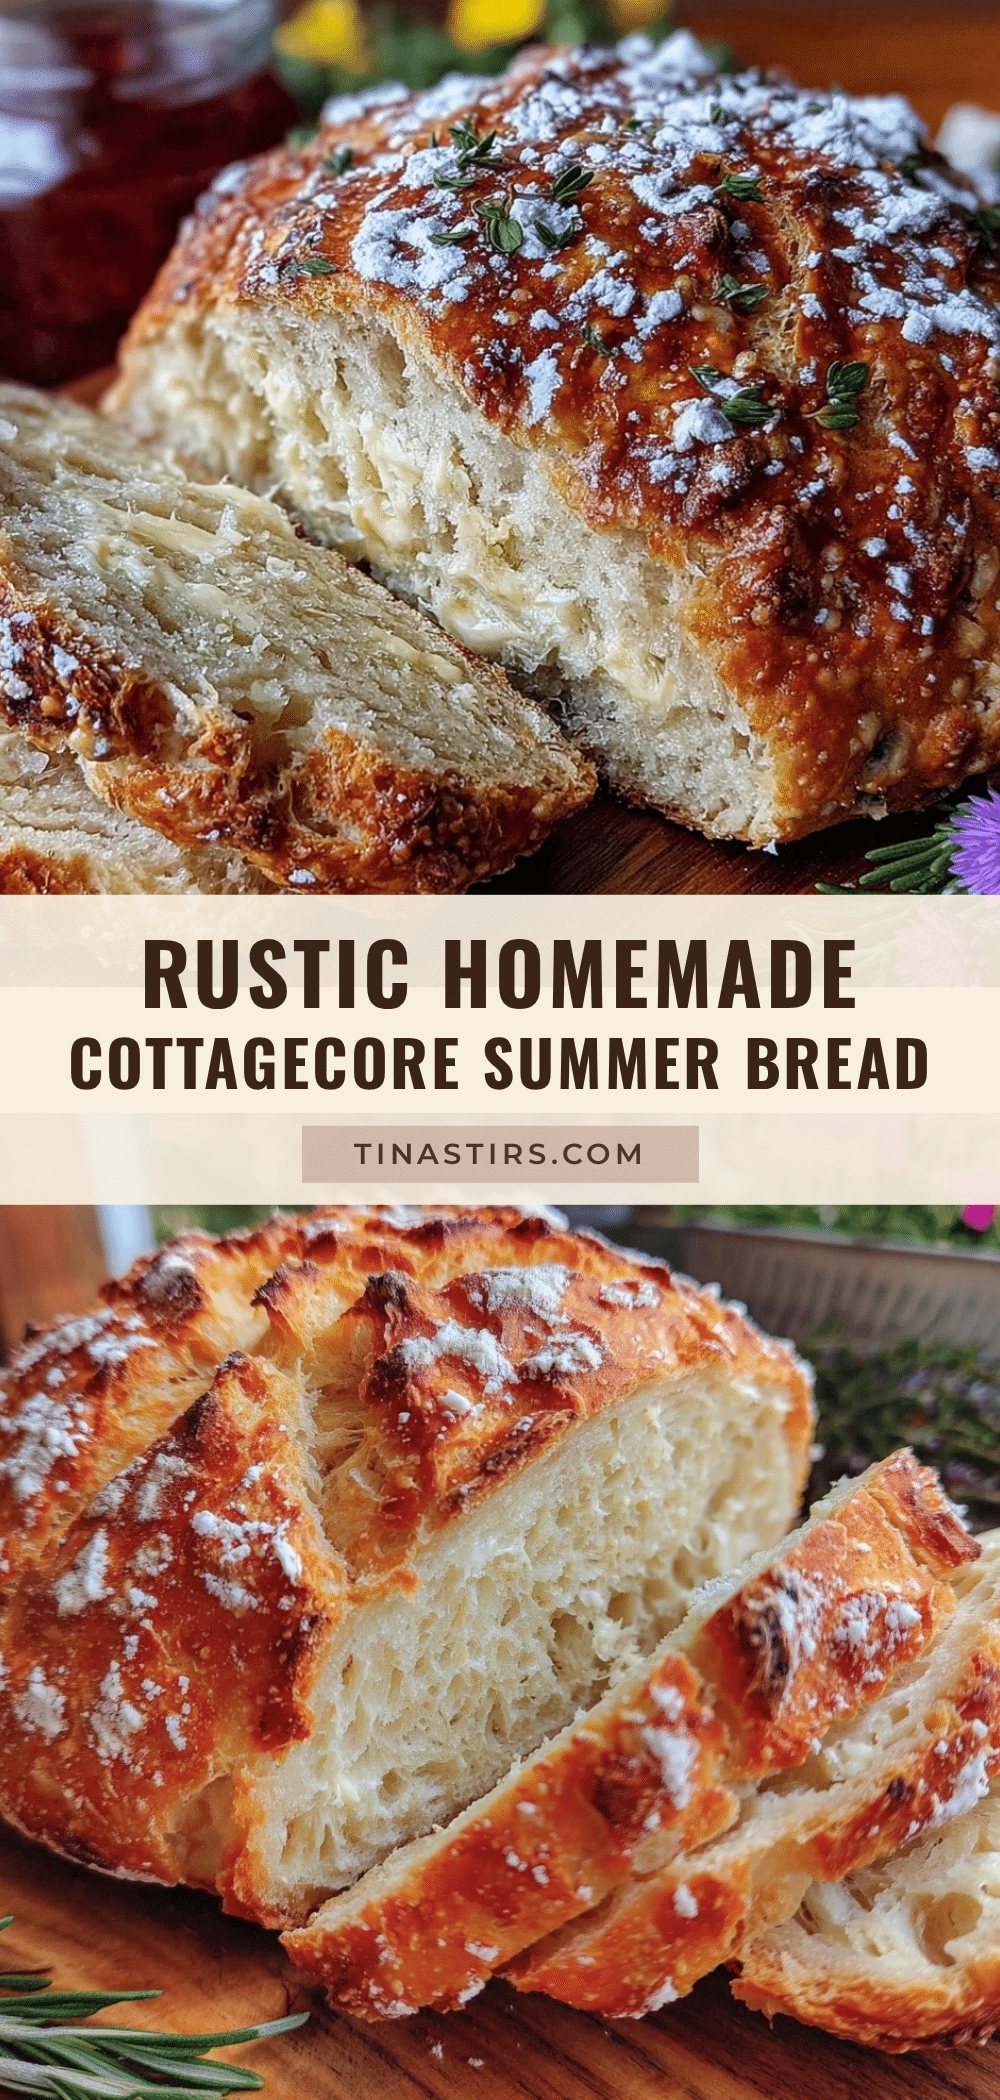
Cozy Rustic Homemade Cottagecore Summer Bread

A simple, rustic bread recipe perfect for summer picnics, featuring a golden crust and tender crumb with a subtle honey sweetness and optional herbs.
- Prep Time: 20 minutes
- Cook Time: 30 minutes
- Total Time: 2 hours
- Yield: 1 loaf (about 8 servings) 1x
- Category: Bread
- Cuisine: American
Ingredients
- 3 1/2 cups (440 g) all-purpose flour
- 2 1/4 teaspoons instant yeast (one packet)
- 1 3/4 cups (420 ml) warm water (about 105°F/40°C)
- 2 tablespoons honey
- 1 1/2 teaspoons sea salt
- 2 tablespoons olive oil
- 1 tablespoon chopped fresh herbs (optional, like rosemary or thyme)
- Cornmeal or flour for dusting
Instructions
- In a large mixing bowl, stir together warm water and honey until combined. Sprinkle instant yeast over the top and let sit for about 5 minutes until bubbles or foam form.
- Whisk flour and sea salt together in a separate bowl to distribute salt evenly.
- Pour flour mixture into the yeast mixture. Add olive oil and optional chopped herbs. Stir with a dough scraper until a shaggy dough forms.
- Turn dough onto a lightly floured surface and knead for 8-10 minutes until smooth and elastic. Dust with flour if sticky but keep dough slightly tacky.
- Shape dough into a ball and place in an oiled bowl. Cover with kitchen towel or plastic wrap and let rise in a warm spot for 1 to 1 1/2 hours until doubled in size.
- Gently deflate dough and transfer to a baking sheet dusted with cornmeal or flour. Shape into a rustic round or oval loaf. Let rest uncovered for 30 minutes.
- Preheat oven to 425°F (220°C). Place an empty metal tray on the lowest rack to create steam.
- Score the loaf with shallow slashes using a sharp knife or bread lame. Pour 1 cup hot water into the metal tray to create steam and quickly close oven door.
- Bake for 25-30 minutes until crust is deeply golden and sounds hollow when tapped.
- Remove bread from oven and transfer to a cooling rack. Let cool completely before slicing.
Notes
Use instant yeast for quick activation without proofing. Keep dough slightly sticky for lighter crumb. Create steam in oven by pouring hot water into a tray for a crackly crust. Let bread cool completely before slicing to avoid gummy texture. Wrap cooled bread loosely in a kitchen towel if crust is too hard.
Nutrition
- Serving Size: 1 slice (about 1/8 o
- Calories: 180
- Sugar: 3
- Sodium: 280
- Fat: 5
- Saturated Fat: 0.7
- Carbohydrates: 30
- Fiber: 1.5
- Protein: 5
Keywords: rustic bread, summer bread, homemade bread, cottagecore bread, easy bread recipe, picnic bread, honey bread, olive oil bread