Love this? Save it for later!
Share the inspiration with your friends
Last Tuesday, my neighbor Marcy watched me fumbling with a jar of store-bought pickles, trying to pry it open without much luck. She didn’t say anything at first. Then, without missing a beat, she shuffled over with a mason jar in hand and a knowing smile. “You want to try making your own?” she asked, casually tossing me a recipe scribbled on an old notepad. What followed was less a formal lesson and more the kind of kitchen chat that happens when someone genuinely shares a small piece of their world. This Easy Crispy Garlic Dill Refrigerator Pickles recipe came to me wrapped in stories about late summer harvests and backyard barbecues, not as a fancy culinary challenge but as a simple, satisfying way to keep good things on hand.
I mean, maybe you’ve been there — staring at a jar of pickles and wondering if homemade could really be that easy. Honestly, it’s the kind of recipe that sticks with you because it’s forgiving, fast, and tastes like a crunchy hug. I still remember the little crack in Marcy’s old mixing bowl when I accidentally dropped it mid-story (classic me), but somehow, that pickle jar never left her fridge for long. I keep making these crisp garlic dill pickles because they bring a little fresh zing to ordinary snacks, and they remind me of that gentle invitation to slow down and savor simple moments shared over kitchen counters.
Why You’ll Love This Recipe
This Easy Crispy Garlic Dill Refrigerator Pickles recipe has been tested more times than I can count, and each batch feels like a little victory. Here’s why it might just become your go-to for homemade pickles:
- Quick & Easy: Ready to eat in as little as 24 hours, perfect for when you want crunchy pickles without the weeks-long wait.
- Simple Ingredients: Uses pantry staples and fresh cucumbers — no weird additives or hard-to-find stuff.
- Perfect for Snacks & Sandwiches: Adds a satisfying crunch and garlicky punch to sandwiches, burgers, or just straight from the jar.
- Crowd-Pleaser: Family, friends, and even picky eaters rave about these — the texture is just right, not mushy or too soft.
- Unbelievably Delicious: The balance between fresh dill, garlic, and a hint of spice creates a bright, tangy flavor that wakes up your taste buds.
What sets this recipe apart? It’s the little tweaks I picked up from Marcy, like the exact garlic-to-cucumber ratio and a pinch of dill seed that makes the flavor pop without overpowering. I also recommend using Kirby cucumbers for that perfect crunch, and you’ll notice how the vinegar brine stays crisp without turning the pickles soggy. Honestly, it’s not just a recipe — it’s a way to turn a simple jar of cucumbers into something that feels like a small celebration every time you open it.
What Ingredients You Will Need
This recipe uses simple, wholesome ingredients to deliver a bold flavor and satisfying texture without the fuss. Most of these are pantry staples, and if you don’t have fresh dill on hand, dried works too (though fresh is best). Here’s what you’ll need:
- For the pickles:
- Kirby cucumbers, washed and sliced into spears or rounds (about 6 medium-sized)
- Fresh dill sprigs (4-5 sprigs; use more if you love that herbaceous kick)
- Garlic cloves, peeled and smashed (4-5 cloves for a strong garlicky flavor)
- For the brine:
- White vinegar (2 cups / 480 ml) — I like Heinz for its clean acidity
- Water (2 cups / 480 ml) — filtered if possible for best taste
- Kosher salt (3 tablespoons / about 45 grams) — Diamond Crystal salt preferred for its texture
- Granulated sugar (1 tablespoon / 12 grams) — balances the acidity just right
- Dill seeds (1 teaspoon) — adds a subtle earthy note
- Black peppercorns (1 teaspoon) — whole for a gentle peppery warmth
- Red pepper flakes (optional, 1/2 teaspoon) — for a mild kick
Substitution tips: You can swap white vinegar for apple cider vinegar if you want a slightly fruitier note. If you need a gluten-free version, all ingredients here are naturally gluten-free. For a lower sodium option, reduce the salt to 2 tablespoons but be aware it might affect the crispness slightly. If fresh dill isn’t available, dried dill weed can be used but add less — about 1 teaspoon.
Equipment Needed
To make these crispy garlic dill pickles, you don’t need fancy tools. Here’s what worked best in my kitchen:
- Mason jars or any glass jars with tight-fitting lids — I use quart-sized jars (about 1 liter) for easy storage and portion control.
- A large mixing bowl — perfect for tossing cucumbers with the brine before packing the jars.
- A small saucepan — to warm the brine ingredients just enough to dissolve salt and sugar.
- A sharp knife and cutting board — to cut those cucumbers into perfect spears or rounds.
- Measuring cups and spoons — for precise brine ratios.
If you don’t have mason jars, any clean, food-safe glass container with a sealable lid will do, but glass is best to avoid any off-flavors. I once tried a plastic container, and the pickles didn’t keep as crisp, so glass is my go-to. Also, keep your jars and lids well-maintained by washing them in hot soapy water and drying thoroughly to prevent any unwanted mold or bacteria.
Preparation Method
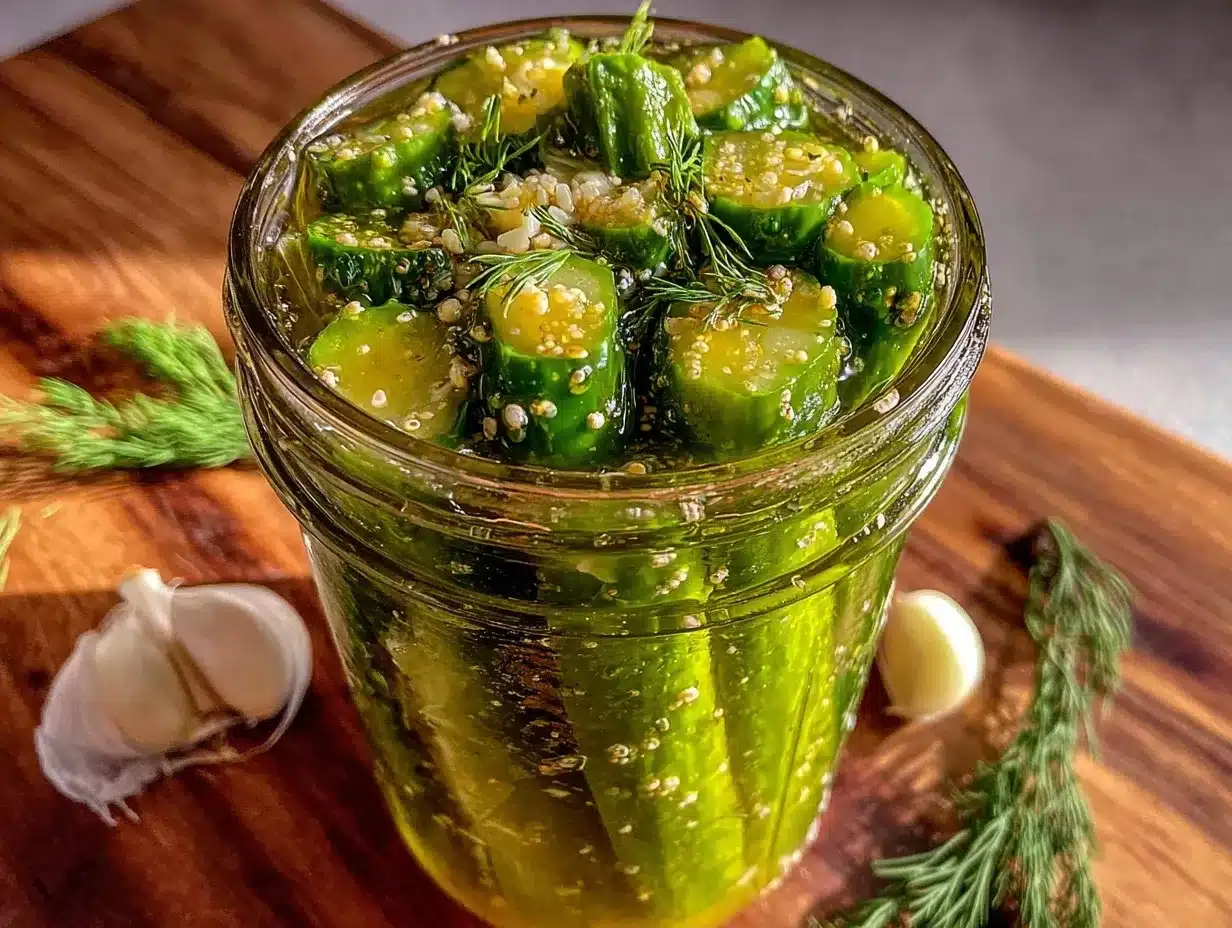
- Prepare the cucumbers: Wash and dry about 6 medium Kirby cucumbers. Cut off the blossom ends (they can cause softness) and slice into spears or rounds, whichever you prefer. This should take about 10 minutes.
- Make the brine: In a small saucepan, combine 2 cups (480 ml) white vinegar, 2 cups (480 ml) water, 3 tablespoons (45 grams) kosher salt, and 1 tablespoon (12 grams) granulated sugar. Warm over medium heat, stirring occasionally until salt and sugar dissolve completely — about 5 minutes. Do not boil; just warm enough to dissolve the solids.
- Pack the jars: Place fresh dill sprigs, 4-5 smashed garlic cloves, 1 teaspoon dill seeds, 1 teaspoon black peppercorns, and optional 1/2 teaspoon red pepper flakes into each cleaned quart jar. Pack the cucumber spears tightly but without crushing. Leave about 1/2 inch (1.3 cm) headspace at the top.
- Pour the brine: Carefully pour the warm brine over the cucumbers, covering them completely. Tap the jar gently to release air bubbles. Wipe rims clean and seal with lids.
- Refrigerate and wait: Place the jars in the fridge. The pickles will be ready to enjoy after 24 hours but taste best after 48 hours. They keep well up to 3 weeks.
Troubleshooting tip: If your pickles turn out soft, it might be due to overripe cucumbers or not removing blossom ends properly. Also, make sure your salt is kosher or pickling salt — table salt can make pickles cloudy or too salty. The smell of garlic and dill as the pickles sit in the fridge is honestly the best part — that fresh, tangy aroma hints at the crisp bite to come.
Cooking Tips & Techniques
Making refrigerator pickles is pretty straightforward, but a few tips can really improve your results:
- Choose the right cucumber: Kirby cucumbers are your friends here. Their firm, bumpy skin helps keep the pickles crunchy. Avoid slicing cucumbers too thin — about 1/4 to 1/2 inch thick works best.
- Don’t skip the blossom end removal: That little blossom end contains enzymes that can make pickles mushy, so slice it off before cutting your cucumbers.
- Warm the brine but don’t boil: Boiling vinegar can alter the flavor and reduce crispness. Just warm enough to dissolve salt and sugar.
- Packing matters: Pack cucumbers snugly but don’t crush them. Air pockets can cause uneven pickling.
- Patience pays: Although you can nibble after 24 hours, waiting 2-3 days deepens flavor and crunch. I learned this the hard way—rushing always led to bland pickles!
- Keep jars cold: Store pickles in the fridge at all times to maintain crispness and prevent spoilage.
One time, I forgot to add dill seeds, and while the pickles were still tasty, that subtle earthiness was missing. Now, dill seeds are a must-have in my pickling arsenal. Timing is everything, too — multitasking with other meal prep while the pickles chill in the fridge is a perfect way to maximize kitchen efficiency.
Variations & Adaptations
This recipe is super flexible, so you can make it your own depending on your mood or dietary needs:
- Spicy Pickles: Add more red pepper flakes or a few sliced jalapeños to the jar for a fiery kick.
- Low-Sodium: Cut the salt by a third and increase soaking time to 48 hours to let flavors develop gently.
- Herb Swaps: Try swapping dill for fresh tarragon or adding fresh thyme for a different herbal twist.
- Vinegar Variations: Apple cider vinegar adds a fruitier, mellow tang compared to white vinegar.
- Garlic-Free: Omit garlic and add a teaspoon of mustard seeds for a milder brine.
Personally, I once experimented with adding a splash of liquid smoke for a smoky undertone. It was unexpected but surprisingly delicious. You can also adjust thickness of cucumber slices for different textures — thicker for crunch, thinner for a more pickle-chip style.
Serving & Storage Suggestions
These garlic dill refrigerator pickles shine when served cold and crisp right from the fridge. They’re perfect alongside crispy garlic chicken or tossed into a sandwich for an extra pop of flavor. I love pairing them with creamy spreads or even sharp cheeses for snack boards.
Store the pickles in their brine in sealed glass jars in the refrigerator. They keep well for up to three weeks, but honestly, they rarely last that long in my house. When reheating isn’t necessary, just bring them to room temp for five minutes if you want to dial down the chill without losing crunch.
Flavors tend to deepen over time, so if you can wait, 2-3 days in the fridge brings out a perfect balance of tang, garlic, and dill. Just remember to always keep them submerged in brine to avoid spoilage.
Nutritional Information & Benefits
These pickles are low in calories (about 10-15 calories per spear), fat-free, and naturally gluten-free. The cucumbers provide hydration and fiber, while garlic offers immune-boosting compounds and antioxidants. Dill adds vitamin C and calcium, making this snack not only tasty but mildly nourishing.
Because these are refrigerator pickles, they don’t undergo fermentation, so they have less probiotic benefit than traditional fermented pickles but are still a wholesome, fresh-flavored alternative to store-bought versions loaded with preservatives.
For those watching sodium intake, adjusting salt levels is easy here, and using fresh ingredients means you control what goes into your food — something I always appreciate when thinking about everyday wellness.
Conclusion
If you’ve been curious about making your own pickles but worried about fuss or time, this Easy Crispy Garlic Dill Refrigerator Pickles recipe is just the ticket. It’s approachable, fast, and results in crunchy, flavorful pickles that add something special to any snack or meal. I love how this recipe feels like a little gift each time I open the fridge, reminding me of that quiet kitchen exchange with Marcy and the joy of simple, shared food.
Feel free to tweak the garlic, spice, or herb levels to suit your taste — that’s part of the fun. And if you try this recipe, I’d love to hear your variations or how you like to enjoy your pickles. Drop a comment, share your pics, or tell me about your first crunchy bite. Here’s to making your kitchen a place of discovery and deliciousness, one jar at a time.
FAQs
- How long do refrigerator pickles last? They typically stay fresh for up to 3 weeks when kept refrigerated and submerged in brine.
- Can I use regular cucumbers instead of Kirby cucumbers? You can, but Kirby cucumbers hold crunch better. Regular cucumbers may yield softer pickles.
- Do I need to boil the brine? No need to boil—just warm enough to dissolve salt and sugar, then pour warm over the cucumbers.
- Can I make these pickles spicy? Yes! Adding red pepper flakes or sliced jalapeños boosts heat nicely.
- Are these pickles fermented? No, these are quick refrigerator pickles made with vinegar, so they don’t ferment or develop probiotics like traditional fermented pickles.
Pin This Recipe!
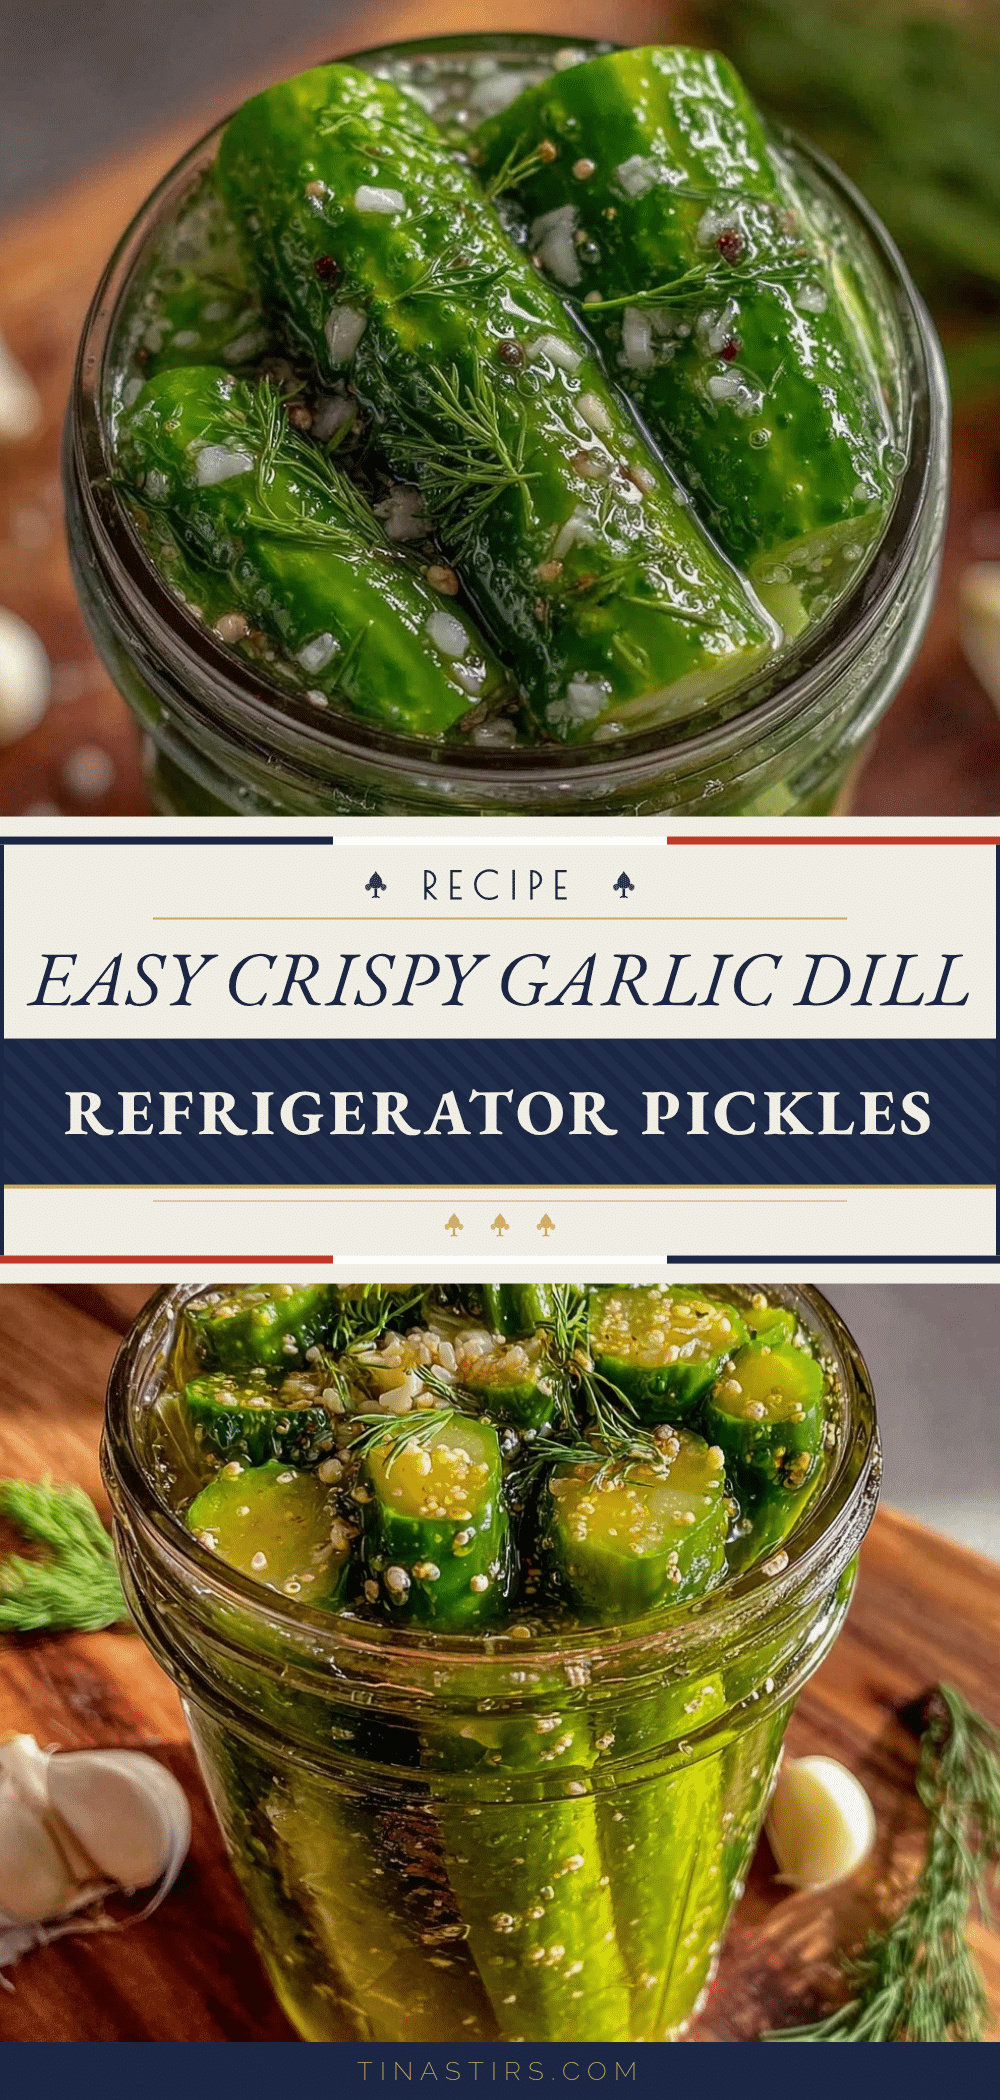
Easy Crispy Garlic Dill Refrigerator Pickles

A quick and easy recipe for crunchy, garlicky dill pickles that are ready in as little as 24 hours. Perfect for snacks, sandwiches, and adding a fresh zing to your meals.
- Prep Time: 15 minutes
- Cook Time: 5 minutes
- Total Time: 24 hours (including refrigeration time)
- Yield: 4 servings 1x
- Category: Snack
- Cuisine: American
Ingredients
- 6 medium Kirby cucumbers, washed and sliced into spears or rounds
- 4–5 fresh dill sprigs
- 4–5 garlic cloves, peeled and smashed
- 2 cups (16 fl oz) white vinegar
- 2 cups (16 fl oz) water
- 3 tablespoons kosher salt
- 1 tablespoon granulated sugar
- 1 teaspoon dill seeds
- 1 teaspoon black peppercorns
- 1/2 teaspoon red pepper flakes (optional)
Instructions
- Wash and dry about 6 medium Kirby cucumbers. Cut off the blossom ends and slice into spears or rounds.
- In a small saucepan, combine 2 cups white vinegar, 2 cups water, 3 tablespoons kosher salt, and 1 tablespoon granulated sugar. Warm over medium heat, stirring occasionally until salt and sugar dissolve completely, about 5 minutes. Do not boil.
- Place fresh dill sprigs, 4-5 smashed garlic cloves, 1 teaspoon dill seeds, 1 teaspoon black peppercorns, and optional 1/2 teaspoon red pepper flakes into each cleaned quart jar.
- Pack the cucumber spears tightly into the jars without crushing, leaving about 1/2 inch headspace at the top.
- Pour the warm brine over the cucumbers, covering them completely. Tap the jar gently to release air bubbles. Wipe rims clean and seal with lids.
- Place the jars in the refrigerator. Pickles will be ready after 24 hours but taste best after 48 hours. Keep refrigerated and consume within 3 weeks.
Notes
Use Kirby cucumbers for best crunch. Remove blossom ends to prevent softness. Warm brine just enough to dissolve salt and sugar; do not boil. Pack cucumbers snugly but do not crush. Store pickles submerged in brine in the refrigerator. For lower sodium, reduce salt to 2 tablespoons and increase soaking time to 48 hours. Fresh dill is preferred but dried dill weed can be used in smaller amounts.
Nutrition
- Serving Size: About 1 spear or 2-3
- Calories: 1015
- Sugar: 1
- Sodium: 900
- Carbohydrates: 2
- Fiber: 0.5
Keywords: refrigerator pickles, garlic dill pickles, quick pickles, homemade pickles, crunchy pickles, easy pickles, snack, dill, garlic


