Love this? Save it for later!
Share the inspiration with your friends
My neighbor Carla asked why I couldn’t just roast the chiles under the broiler instead of firing up the grill in November. I started to explain why that wouldn’t work—then stopped. I had no good reason. The truth is, I’d always done it the same way because that’s how my grandmother taught me. But Carla wasn’t wrong. She was just practical. So I shrugged, tossed the Hatch chiles on a baking sheet, and slid them under the broiler. Ten minutes later, the skins were blistered perfectly, the kitchen smelled like a New Mexican fall, and I felt a little silly for being such a traditionalist about something so simple. That moment changed how I approach this dish entirely. Honestly, it also made me wonder what else I’ve been overcomplicating for no reason.
That first batch of creamy roasted Hatch chile chicken enchiladas came out better than any version I’d made before. Maybe it was the slightly smokier char from the broiler. Maybe it was the fact that I wasn’t rushing around trying to manage a hot grill while also shredding chicken. Or maybe it was just the lesson in letting go of stubborn habits. Either way, I’ve been making them this way ever since. Let me tell you—once you try roasting the chiles this way, you won’t go back.
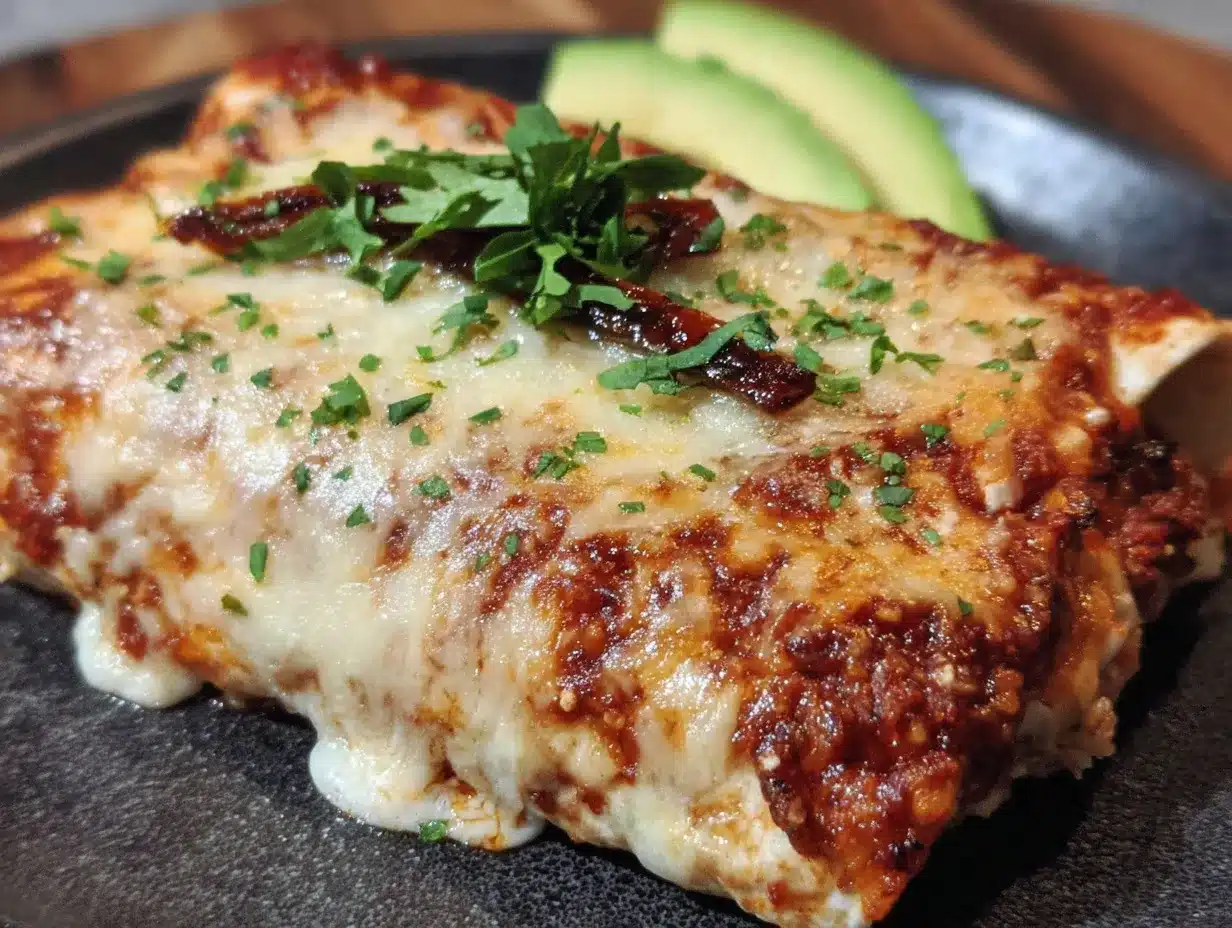
I mean, there’s something about a pan of enchiladas that just feels like home. The way the cheese bubbles up around the edges, the creamy sauce soaking into every tortilla, that first forkful where the heat from the chiles hits just after the richness of the cream. It’s comfort food that actually delivers on its promise. And you know that feeling when you find a recipe that works every single time, no drama, no fuss? Yeah, this is that recipe.
Why You’ll Love This Recipe
I’ve tested this recipe more times than I care to admit. I’ve made it with fresh-roasted chiles, jarred ones when I’m in a pinch, different cheeses, even different tortillas. This version is the one that stuck. It’s the one my friends request for game days and the one I bring to new neighbors. Here’s why it works:
- Quick & Easy: From start to table in about 45 minutes. Perfect for a Tuesday night when you want something that feels special but doesn’t require all-day effort.
- Simple Ingredients: You probably have most of this in your kitchen right now. The only specialty item is the Hatch chiles, and those are worth hunting down.
- Perfect for Crowds: This recipe doubles beautifully. I’ve made it for potlucks, family dinners, and casual get-togethers. It always disappears.
- Crowd-Pleaser: Even folks who say they don’t love spicy food go back for seconds. The creaminess balances the heat perfectly.
- Unbelievably Delicious: That moment when the cream sauce mingles with the roasted chile flavor and the melty cheese—it’s honestly hard to stop eating.
What makes this different from the other enchilada recipes out there? It’s the sauce. Most recipes use a tomato-based red or green sauce. This one uses a creamy base that lets the Hatch chiles shine without competing with acidity. The result is richer, smoother, and honestly more satisfying. It’s not just another enchilada recipe—it’s the one that makes you close your eyes after the first bite.
This is comfort food reimagined. It’s faster than traditional enchiladas, but it has the same soul-soothing satisfaction. Perfect for impressing guests without stress, or turning a simple Wednesday into something memorable.
What Ingredients You Will Need
This recipe uses simple, wholesome ingredients to deliver bold flavor and satisfying texture without the fuss. Most of these are pantry staples, but the Hatch chiles are the star—so get the good ones.
For the Filling
- 3 cups cooked chicken, shredded (rotisserie chicken works great here—I use it all the time)
- 1 cup roasted Hatch chiles, peeled and chopped (about 4-5 medium chiles; I prefer medium heat level)
- 8 oz cream cheese, softened (full-fat gives the best texture, but Neufchâtel works too)
- 1/2 cup sour cream (adds tanginess and helps bind the filling)
- 1 cup shredded Monterey Jack cheese (I recommend Tillamook for best melt)
- 1/2 cup shredded sharp cheddar (adds color and sharper flavor)
- 1 teaspoon ground cumin
- 1/2 teaspoon garlic powder
- Salt and pepper to taste
For the Cream Sauce
- 2 tablespoons unsalted butter
- 2 tablespoons all-purpose flour
- 1 1/2 cups chicken broth (low-sodium so you can control the salt)
- 1 cup heavy cream (half-and-half works in a pinch, but the sauce won’t be as rich)
- 1/2 cup sour cream
- 1/2 cup roasted Hatch chiles, finely diced (reserve from your roasted batch)
- Salt to taste
For Assembly
- 10-12 flour tortillas (6-inch size; corn tortillas work too but need to be softened first)
- 2 cups shredded Monterey Jack cheese (for topping)
- Fresh cilantro, chopped (for garnish)
- 1/2 cup diced white onion (optional, for garnish)
Ingredient Tips: When choosing Hatch chiles, look for ones that are firm and have a bit of give when gently squeezed. If you can’t find fresh Hatch chiles, jarred ones work surprisingly well—just drain them well before using. I’ve used the 505 Southwestern brand in a pinch and it’s solid. For the chicken, rotisserie chicken from the grocery store saves so much time. Just remove the skin and shred it while it’s still warm.
Substitution Guidance: For a gluten-free version, use corn tortillas and swap the all-purpose flour for a 1:1 gluten-free flour blend. For a lighter version, use reduced-fat cream cheese and sour cream—the texture will be slightly less creamy but still delicious. If you can’t find Hatch chiles, Anaheim chiles are the closest substitute, though they’re milder.
Equipment Needed
- 9×13-inch baking dish (glass or ceramic works best for even heating)
- Large skillet (for making the cream sauce)
- Mixing bowls (one large for filling, one medium for sauce)
- Baking sheet (for roasting chiles under the broiler)
- Tongs (for turning chiles while roasting)
- Chef’s knife and cutting board
- Whisk (for smooth sauce)
- Measuring cups and spoons
- Aluminum foil (for covering during baking)
If you don’t have a broiler, you can roast the chiles directly over a gas flame on the stovetop using tongs. I’ve done it that way too—it works great, just watch them closely so they don’t burn all the way through. A cast iron skillet also works for roasting if you heat it until smoking and press the chiles down. For the baking dish, honestly any 9×13 pan will do, but I prefer glass because I can see when the bottom layer is bubbling.
Preparation Method
- Roast the Hatch chiles. Preheat your broiler to high. Place the chiles on a baking sheet lined with foil. Broil for 4-5 minutes per side, turning with tongs, until the skin is blackened and blistered all over. Transfer the chiles to a bowl, cover with plastic wrap, and let steam for 10 minutes. This makes the skins peel off easily. Once cool enough to handle, peel off the skins, remove the stems and seeds, and chop. Set aside about 1/2 cup of finely diced chiles for the sauce.
- Preheat the oven. Set your oven to 375°F (190°C). Lightly grease your 9×13-inch baking dish with butter or nonstick spray.
- Make the filling. In a large bowl, combine the shredded chicken, chopped Hatch chiles (the larger pieces), softened cream cheese, sour cream, 1 cup Monterey Jack, 1/2 cup cheddar, cumin, garlic powder, salt, and pepper. Mix until everything is well combined. The cream cheese should be soft enough that it blends in smoothly—if it’s too cold, you’ll get lumps. Let it sit at room temperature for 15 minutes if needed.
- Make the cream sauce. In a large skillet over medium heat, melt the butter. Whisk in the flour and cook for 1 minute, stirring constantly—this gets rid of the raw flour taste. Slowly pour in the chicken broth while whisking to prevent lumps. Add the heavy cream and bring to a gentle simmer. Cook for 3-4 minutes until the sauce thickens enough to coat the back of a spoon. Remove from heat and stir in the sour cream and the reserved finely diced Hatch chiles. Season with salt to taste. The sauce should be smooth and slightly thick—if it’s too thin, simmer another minute.
- Assemble the enchiladas. Spoon about 1/2 cup of the cream sauce into the bottom of the prepared baking dish, spreading it evenly. Take a tortilla, place about 1/3 cup of the chicken filling down the center, and roll it up tightly. Place seam-side down in the dish. Repeat with the remaining tortillas and filling. You should fit about 10 enchiladas snugly in the dish—if they’re too crowded, use a second smaller dish.
- Top with sauce and cheese. Pour the remaining cream sauce evenly over the enchiladas, making sure to cover the ends so they don’t dry out. Sprinkle the remaining 2 cups of Monterey Jack cheese over the top. If you like extra color, add a sprinkle of paprika or a little more cumin on top—I do this sometimes for looks.
- Bake. Cover the dish with foil and bake for 20 minutes. Remove the foil and bake for another 10-15 minutes until the cheese is bubbly and golden brown around the edges. Let the enchiladas rest for 5 minutes before serving—this helps them hold their shape when you cut into them.
- Garnish and serve. Sprinkle fresh cilantro and diced white onion over the top if using. Serve hot, with extra sour cream or hot sauce on the side if you like.
Prep Note: The filling will look a little loose before baking—that’s fine. The cream cheese and sour cream melt into the chicken as it bakes, creating that creamy texture. If your filling seems dry, add a tablespoon of chicken broth or milk.
Cooking Tips & Techniques
I’ve made this recipe enough times to know where things can go wrong. Here’s what I’ve learned the hard way so you don’t have to.
Don’t overfill the tortillas. I know it’s tempting to stuff them, but too much filling makes them burst open during baking. About 1/3 cup per tortilla is the sweet spot. If you have leftover filling, just spoon it between the enchiladas before adding the sauce—it bakes up nicely.
Warm your tortillas before rolling. Cold tortillas crack and tear. Wrap them in a damp paper towel and microwave for 30 seconds, or warm them one by one in a dry skillet for about 10 seconds per side. This makes them pliable and easier to roll. I forgot to do this once and ended up with a mess of torn tortillas and filling everywhere. Learn from my mistake.
Let the sauce thicken properly. The cream sauce should coat the back of a spoon before you pour it over the enchiladas. If it’s too thin, it’ll make the tortillas soggy. If it’s too thick, it won’t spread evenly. The right consistency is like a thick gravy—it should flow slowly off the spoon.
Timing tip: Roast the chiles and make the filling while the sauce simmers. This multitasking saves about 15 minutes. I usually start the sauce first, then prep the filling while it thickens. Everything comes together at the same time.
Consistency trick: If you’re making this for a crowd, assemble the enchiladas the night before, cover, and refrigerate. Add 10 minutes to the covered baking time to account for the cold dish. The flavors actually meld together better overnight—I’ve done this for holiday potlucks and it works beautifully.
Variations & Adaptations
This recipe is flexible. Here are a few ways I’ve changed it up depending on what I have on hand or who I’m feeding.
Vegetarian Version: Swap the chicken for 3 cups of black beans and roasted sweet potatoes. Use vegetable broth instead of chicken broth. The creaminess of the sauce works perfectly with the sweetness of the potatoes. I made this for a vegetarian friend and she asked for the recipe before she finished her plate.
Spicier Version: Use hot Hatch chiles instead of medium, and add a diced jalapeño to the filling. You can also stir a teaspoon of chipotle powder into the cream sauce for smokier heat. My brother-in-law loves this version—he says it’s the only enchilada recipe that actually makes him sweat.
Cheese Swap: If you don’t have Monterey Jack, use a mix of mozzarella and provolone. Pepper Jack adds a nice kick if you want more heat. I’ve even used crumbled queso fresco on top after baking for a more authentic Mexican touch.
Different Protein: Shredded pork or beef work great here. Leftover carnitas are amazing in this recipe—I used them once after a taco night and it was honestly better than the chicken version. Ground turkey or beef also works, just cook it first with the same spices.
Low-Carb Option: Use low-carb tortillas or make enchilada stacks instead of rolls. Layer tortillas, filling, and sauce like lasagna. It’s faster and works for keto diets. I’ve done this for a friend on a low-carb plan and she said it satisfied her enchilada craving completely.
Serving & Storage Suggestions
These enchiladas are best served hot, straight from the oven, with the cheese still bubbling. Let them rest for 5 minutes after baking so they hold their shape—I know it’s hard to wait, but trust me. Serve with a side of Mexican rice, refried beans, or a simple green salad with lime vinaigrette. A dollop of sour cream on top balances the heat beautifully. For drinks, a cold Mexican lager or a margarita pairs perfectly.
Storage: Leftover enchiladas keep in the refrigerator for up to 4 days in an airtight container. The flavors actually get better after a day—the chile heat mellows and the cream sauce soaks deeper into the tortillas. To reheat, cover with foil and warm in a 350°F oven for 15-20 minutes. The microwave works in a pinch but the tortillas will be softer.
Freezing: These freeze beautifully. Assemble the enchiladas in a freezer-safe dish, but don’t bake them. Cover tightly with foil and freeze for up to 3 months. To bake from frozen, add 20-25 minutes to the covered baking time, then uncover and bake until bubbly. I always keep a pan in the freezer for busy weeks—it’s like having a homemade frozen dinner that actually tastes good.
Flavor Note: The cream sauce thickens as it sits, so leftovers will be even creamier. If reheating, add a splash of milk or chicken broth to loosen it up if needed.
Nutritional Information & Benefits
Per serving (2 enchiladas): approximately 620 calories, 38g fat, 22g saturated fat, 42g protein, 35g carbohydrates, 4g fiber, 8g sugar, 890mg sodium. These values are estimates and will vary based on specific ingredients and portion sizes.
This recipe offers some surprising nutritional benefits. The Hatch chiles are rich in vitamin C and capsaicin, which may help boost metabolism and reduce inflammation. Chicken provides lean protein for muscle repair and satiety. The calcium from the cheese and cream supports bone health. While this isn’t a low-calorie dish, it’s a satisfying meal that keeps you full longer than many lighter options.
For dietary considerations: This recipe contains dairy and gluten. For a gluten-free version, use corn tortillas and a gluten-free flour blend. For a lower-fat version, use reduced-fat dairy products—the texture will be slightly less creamy but still delicious. If you’re watching sodium, use low-sodium broth and go easy on the added salt.
Conclusion
These creamy roasted Hatch chile chicken enchiladas have become a staple in my kitchen for good reason. They’re comforting without being heavy, flavorful without being complicated, and they come together fast enough for a weeknight but feel special enough for company. The roasted chiles add a depth of flavor that you just can’t get from canned green chiles, and the cream sauce ties everything together in the most satisfying way.
I hope you give this recipe a try and make it your own. Maybe you’ll add more chiles for heat, or swap in a different cheese, or find your own little shortcut like I did with the broiler. That’s the beauty of cooking—it’s always evolving. Let me know how it turns out for you. Did you change something that made it even better? I’d love to hear about it in the comments. And if you share a photo on Pinterest, tag me—I always love seeing your creations. Happy cooking, friends!
Frequently Asked Questions
Can I use canned Hatch chiles instead of fresh?
Absolutely. If fresh Hatch chiles aren’t in season, canned or jarred ones work great. Just drain them well before using. I’ve used the 505 Southwestern brand and it’s solid. You’ll need about one 7-ounce can for the filling and sauce combined.
How do I make this recipe less spicy?
Use mild Hatch chiles instead of medium or hot. You can also reduce the amount of chiles in the filling and sauce—use about half and add more to taste. The cream sauce naturally balances some of the heat, so even medium chiles aren’t overwhelming.
Can I make this recipe dairy-free?
Yes, with some adjustments. Use dairy-free cream cheese and sour cream, and swap the heavy cream for full-fat coconut milk. Use a dairy-free cheese blend for topping. The texture will be slightly different but still creamy and delicious. I’ve tested this with Kite Hill brand cream cheese and it worked well.
How do I keep my enchiladas from getting soggy?
The key is not over-saucing. Use just enough sauce to cover the enchiladas without drowning them. Also, make sure your sauce is thick enough—it should coat the back of a spoon before you pour it. Letting the enchiladas rest for 5 minutes after baking also helps them set up properly.
Can I use corn tortillas instead of flour?
Yes, but you’ll need to soften them first to prevent cracking. Dip each corn tortilla in warm sauce or broth for about 10 seconds before filling and rolling. Corn tortillas are smaller, so you’ll get more enchiladas—about 12-14 for this recipe. They also hold up better to freezing.
Pin This Recipe!
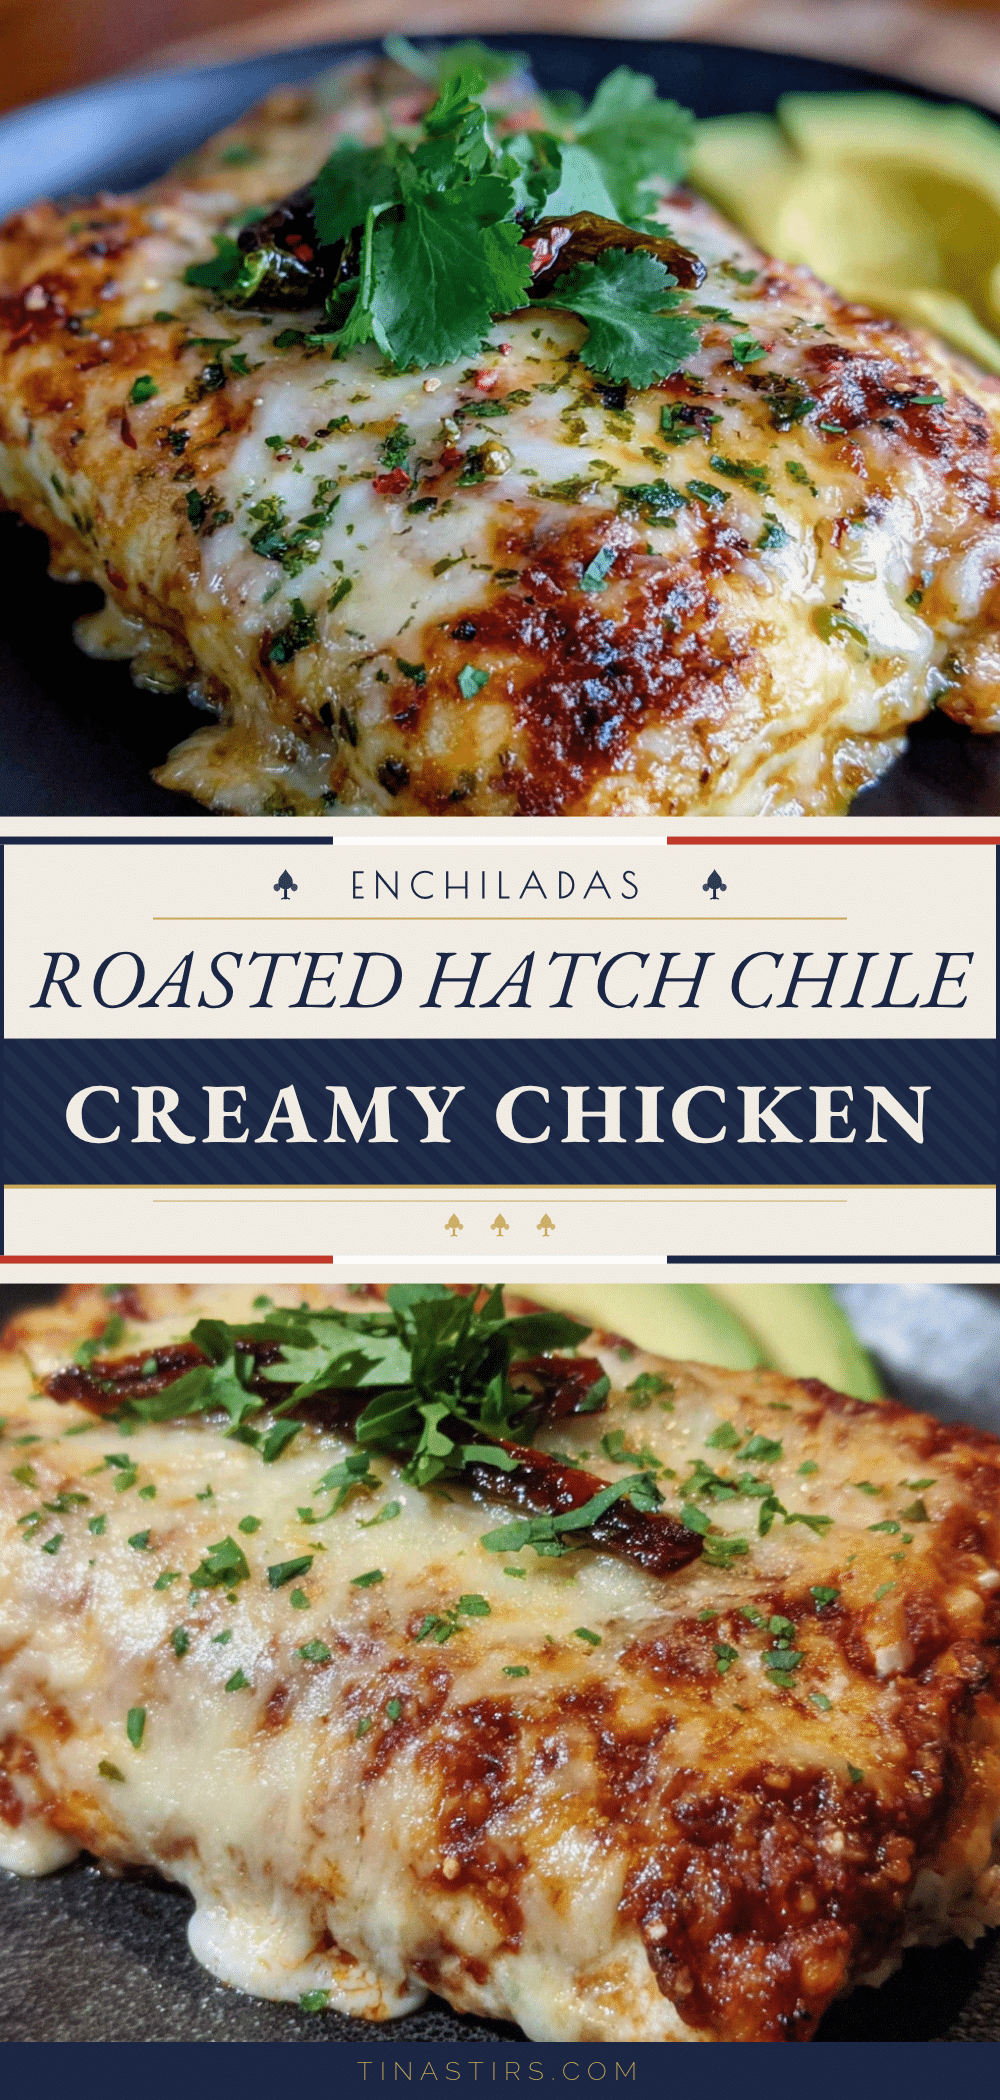
Creamy Roasted Hatch Chile Chicken Enchiladas (Easy Recipe)

These creamy roasted Hatch chile chicken enchiladas are comforting, flavorful, and come together fast enough for a weeknight but feel special enough for company. The roasted chiles add depth of flavor, and the cream sauce ties everything together in the most satisfying way.
- Prep Time: 15 minutes
- Cook Time: 30 minutes
- Total Time: 45 minutes
- Yield: 4 servings 1x
- Category: Main Course
- Cuisine: Mexican
Ingredients
- 3 cups cooked chicken, shredded
- 1 cup roasted Hatch chiles, peeled and chopped (about 4–5 medium chiles)
- 8 oz cream cheese, softened
- 1/2 cup sour cream
- 1 cup shredded Monterey Jack cheese
- 1/2 cup shredded sharp cheddar
- 1 teaspoon ground cumin
- 1/2 teaspoon garlic powder
- Salt and pepper to taste
- 2 tablespoons unsalted butter
- 2 tablespoons all-purpose flour
- 1 1/2 cups chicken broth, low-sodium
- 1 cup heavy cream
- 1/2 cup sour cream (for sauce)
- 1/2 cup roasted Hatch chiles, finely diced (reserved from roasted batch)
- Salt to taste (for sauce)
- 10–12 flour tortillas (6-inch size)
- 2 cups shredded Monterey Jack cheese (for topping)
- Fresh cilantro, chopped (for garnish)
- 1/2 cup diced white onion (optional, for garnish)
Instructions
- Roast the Hatch chiles: Preheat broiler to high. Place chiles on a foil-lined baking sheet. Broil 4-5 minutes per side, turning with tongs, until skin is blackened and blistered. Transfer to a bowl, cover with plastic wrap, and let steam 10 minutes. Peel off skins, remove stems and seeds, and chop. Set aside 1/2 cup finely diced for sauce.
- Preheat oven to 375°F (190°C). Lightly grease a 9×13-inch baking dish.
- Make the filling: In a large bowl, combine shredded chicken, chopped Hatch chiles, softened cream cheese, 1/2 cup sour cream, 1 cup Monterey Jack, 1/2 cup cheddar, cumin, garlic powder, salt, and pepper. Mix until well combined.
- Make the cream sauce: In a large skillet over medium heat, melt butter. Whisk in flour and cook 1 minute. Slowly pour in chicken broth while whisking. Add heavy cream and bring to a gentle simmer. Cook 3-4 minutes until thickened. Remove from heat and stir in 1/2 cup sour cream and reserved finely diced Hatch chiles. Season with salt.
- Assemble the enchiladas: Spread 1/2 cup cream sauce in the bottom of the prepared dish. Place about 1/3 cup filling down the center of each tortilla, roll tightly, and place seam-side down in the dish. Repeat with remaining tortillas and filling.
- Pour remaining cream sauce evenly over enchiladas. Sprinkle 2 cups Monterey Jack cheese on top.
- Cover with foil and bake 20 minutes. Remove foil and bake 10-15 minutes more until cheese is bubbly and golden. Let rest 5 minutes before serving.
- Garnish with fresh cilantro and diced white onion if using. Serve hot.
Notes
For a gluten-free version, use corn tortillas and a 1:1 gluten-free flour blend. For a lighter version, use reduced-fat cream cheese and sour cream. If you can’t find Hatch chiles, Anaheim chiles are the closest substitute. The filling will look loose before baking—that’s fine. Warm tortillas before rolling to prevent cracking. Let the sauce thicken properly to avoid soggy enchiladas. Assemble the night before for deeper flavor.
Nutrition
- Serving Size: 2 enchiladas
- Calories: 620
- Sugar: 8
- Sodium: 890
- Fat: 38
- Saturated Fat: 22
- Carbohydrates: 35
- Fiber: 4
- Protein: 42
Keywords: Hatch chile, chicken enchiladas, creamy enchiladas, roasted chile, easy dinner, comfort food


