Love this? Save it for later!
Share the inspiration with your friends
My neighbor, a retired pastry chef named Mrs. Gable, watched me struggling to roll out a sticky, pale sugar cookie dough on my kitchen counter last October. She didn’t say anything at first, just sipped her tea through the screen door. Then, she came back ten minutes later holding a crumpled index card with black cocoa powder stains on the edges. “Try this,” she said, like it was no big deal. Honestly, I was skeptical. Black cocoa powder? That stuff is for Oreos, not for cookies you actually want people to eat, right?
Well, let me tell you—I was so wrong. That first batch of black cocoa sugar cookies came out of the oven looking like little charcoal discs, and I almost tossed them. But then I bit into one. The texture was soft, the flavor was deep and almost smoky, with a hint of chocolate that didn’t hit you over the head. I mean, it was the kind of cookie that makes you close your eyes for a second. I’ve been making them every Halloween since, and they’ve become my secret weapon for spooky cookie platters that actually taste as good as they look.
This recipe is the one I turn to when I want cookies that hold their shape perfectly for royal icing decorating—no spreading, no puffing, no drama. Maybe you’ve been there, pulling a tray of misshapen ghosts out of the oven and wondering where it all went wrong. These black cocoa Halloween sugar cookies are the fix. They’re dark, dramatic, and they taste like a grown-up version of a classic sugar cookie. Plus, the royal icing sets up hard and shiny, so you can stack them, bag them, and ship them without a single smudge. That’s the kind of Halloween magic I can get behind.
Why You’ll Love This Recipe
These aren’t just another sugar cookie. They’re the result of many batches of trial and error—some burnt, some too dry, some that spread into blobs. I tested this version until it was foolproof, and here’s why I think you’ll love it just as much as I do.
- Deep, Dramatic Color : The black cocoa powder gives these cookies an intense, dark hue that looks incredible for Halloween. No artificial food coloring needed.
- Perfect for Royal Icing : These cookies hold their shape with sharp edges, so your icing stays exactly where you pipe it. No spreading, no bleeding.
- Simple Ingredients : You probably have most of these in your pantry already. No weird specialty items except the black cocoa powder, which is easy to find online or at specialty baking stores.
- Make-Ahead Friendly : The dough freezes beautifully, and the baked cookies store well for weeks. Perfect for batch baking before the Halloween rush.
- Crowd-Pleasing Flavor : The taste is rich, slightly earthy, and not overly sweet. Kids love the color, and adults love the sophisticated chocolate note.
What makes this recipe different from all the other black cocoa cookies out there? It’s the texture. I spent weeks adjusting the butter-to-flour ratio and the chilling time to get that perfect balance—soft in the center, crisp at the edges, and sturdy enough to hold royal icing without crumbling. This isn’t just another version. It’s the one I bring to every Halloween party, and it’s the one people ask for by name.
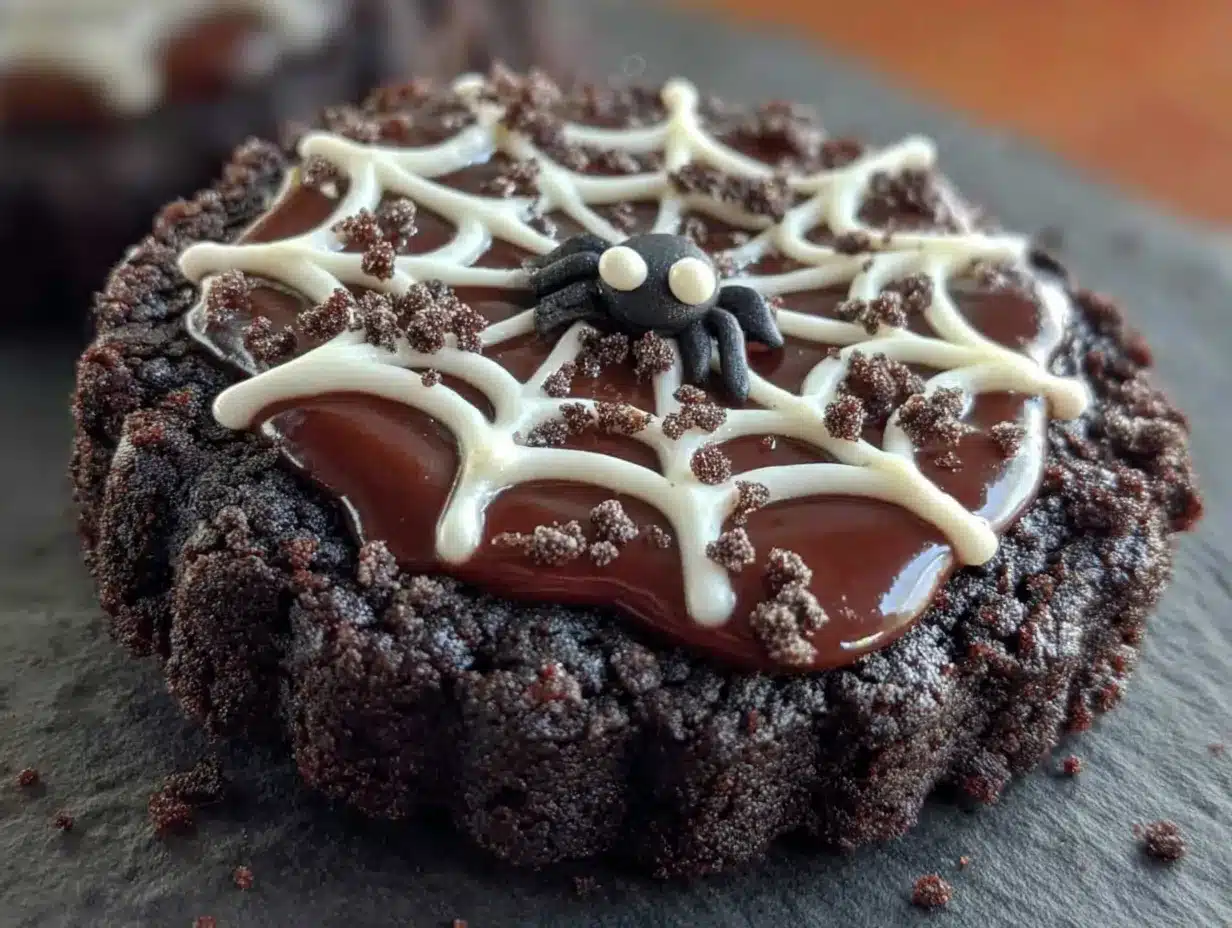
Honestly, there’s something about pulling a tray of these dark, dramatic cookies out of the oven. They look like they belong in a witch’s kitchen. And when you add bright white royal icing in ghost shapes or spiderwebs, the contrast is stunning. It’s comfort food with a spooky twist, and it makes you feel like a baking pro even if you’re just starting out.
What Ingredients You Will Need
This recipe uses simple, wholesome ingredients to deliver that bold, dark color and perfect texture. Most of these are pantry staples, but a few deserve a little extra attention.
For the Black Cocoa Sugar Cookies
- Unsalted butter, softened (1 cup / 226g) – Make sure it’s truly room temperature, not melted. Soft butter creams better and gives you a tender cookie.
- Granulated sugar (1 cup / 200g) – Regular white sugar works best here. Brown sugar would add moisture and change the texture.
- Large egg (1, room temperature) – Cold egg can seize the butter mixture. Let it sit out for 30 minutes.
- Vanilla extract (2 teaspoons) – Pure vanilla adds warmth. I use Nielsen-Massey for the best flavor.
- All-purpose flour (2 ½ cups / 312g) – Spoon and level it. Scooping directly from the bag packs in too much flour.
- Black cocoa powder (½ cup / 50g) – This is the star. Black cocoa is alkalized and has a deep, almost Oreo-like flavor. I prefer King Arthur Flour Black Cocoa for its intensity.
- Baking powder (1 teaspoon) – Helps the cookies rise just a tiny bit without spreading.
- Salt (½ teaspoon) – Balances the bitterness of the black cocoa.
For the Royal Icing
- Powdered sugar (3 cups / 360g) – Sift it to avoid lumps. Trust me on this one.
- Meringue powder (3 tablespoons) – This gives the icing structure and shine. Wilton brand is reliable.
- Warm water (5-6 tablespoons) – Add slowly. The consistency should be like thick glue for outlining, and like honey for flooding.
- Vanilla extract (½ teaspoon, optional) – For flavor, but you can leave it out to keep the icing pure white.
- Gel food coloring (optional) – For colored icing. I use Americolor for vibrant shades without thinning the icing.
Ingredient Substitution Notes
If you can’t find black cocoa powder, you can use Dutch-process cocoa powder, but the color will be dark brown instead of black. For a dairy-free version, swap the butter with a high-quality vegan butter stick (like Earth Balance). The texture will be slightly less tender, but still delicious. If you don’t have meringue powder, you can use 3 large egg whites instead, but the icing won’t be shelf-stable for as long.
Equipment Needed
- Stand mixer or hand mixer – For creaming the butter and sugar. A hand mixer works fine, but a stand mixer is easier for the royal icing.
- Rolling pin – I prefer a French rolling pin (tapered) for better control, but any rolling pin works. If you have adjustable rings, they help keep the dough even.
- Halloween cookie cutters – Ghosts, pumpkins, bats, cats—whatever you love. Sharp cutters give cleaner edges.
- Baking sheets – Light-colored metal sheets prevent over-browning. Dark sheets can make the cookies too dark on the bottom.
- Parchment paper or silicone baking mats – Non-negotiable for easy removal and even baking.
- Piping bags and tips – Small round tips (#2 or #3) for outlining and flooding. You can also use squeeze bottles for flooding.
- Cooling rack – Wire racks let air circulate so the cookies cool flat and even.
- Food scale – Optional but highly recommended for consistent results, especially with the black cocoa powder.
Preparation Method
Let’s get to the fun part. I’ve broken this down into steps that even a beginner can follow, but I’ve also included the little tricks I learned the hard way.
Step 1: Make the Cookie Dough
In a stand mixer fitted with the paddle attachment, cream the softened butter and granulated sugar together on medium speed for about 3 minutes, until light and fluffy. Scrape down the sides of the bowl. Add the egg and vanilla extract, and beat until combined, about 30 seconds. The mixture might look slightly curdled—that’s okay.
In a separate bowl, whisk together the all-purpose flour, black cocoa powder, baking powder, and salt. Make sure the cocoa is fully incorporated; black cocoa can be clumpy. Gradually add the dry ingredients to the wet mixture on low speed, mixing just until the dough comes together. Do not overmix, or the cookies will be tough. The dough will be thick and slightly sticky.
Step 2: Chill the Dough
Divide the dough in half, flatten each half into a disc about 1-inch thick, and wrap tightly in plastic wrap. Refrigerate for at least 2 hours, or up to 3 days. This step is non-negotiable. Chilling the dough prevents spreading and makes it much easier to roll out. I once skipped this step because I was in a hurry, and my ghosts turned into blobs. Learn from my mistake.
Step 3: Roll and Cut
Preheat your oven to 350°F (175°C). Line two baking sheets with parchment paper. Lightly dust your work surface and rolling pin with flour—just a little, or the black cocoa will show white streaks. Roll one disc of dough to about ¼-inch thickness. If the dough cracks at the edges, let it sit at room temperature for 5 minutes to soften slightly.
Cut out your Halloween shapes using cookie cutters. Dip the cutters in flour between cuts to prevent sticking. Transfer the cut cookies to the prepared baking sheets, spacing them about 1 inch apart. Gather the scraps, re-roll, and cut more cookies. You can re-roll the dough up to three times before it gets tough.
Step 4: Bake the Cookies
Bake for 8-10 minutes, rotating the pans halfway through. The cookies are done when the edges look set and the tops are matte. They will not brown, so don’t wait for color. Let them cool on the baking sheet for 5 minutes, then transfer to a wire rack to cool completely. Underbake slightly for softer cookies; bake the full 10 minutes for crisper ones.
Step 5: Make the Royal Icing
In a clean mixer bowl, combine the powdered sugar and meringue powder. Add 5 tablespoons of warm water and mix on low speed until combined. Increase to medium-high speed and beat for 4-5 minutes, until the icing is thick, glossy, and holds stiff peaks. Add more water, one teaspoon at a time, if needed. The icing should be thick enough to pipe but thin enough to settle into a smooth surface when flooded.
Divide the icing into bowls if you want different colors. Add gel food coloring a tiny drop at a time. Cover the bowls with a damp paper towel to prevent the icing from drying out.
Step 6: Decorate the Cookies
Fit a piping bag with a #2 round tip and fill with the outline-consistency icing. Pipe the outline of your design on each cooled cookie. Let the outlines dry for 10-15 minutes. Then, thin the remaining icing with a few drops of water to a honey-like consistency for flooding. Fill a squeeze bottle or piping bag with the flood icing and fill in the outlines. Use a toothpick to pop any air bubbles and spread the icing into corners.
Let the decorated cookies dry at room temperature for at least 4 hours, or overnight. The icing should be completely hard to the touch before stacking or storing.
Cooking Tips & Techniques
I’ve made enough batches of these cookies to fill a small bakery, and I’ve collected a few tricks along the way. Here are the ones that make the biggest difference.
- Don’t overwork the dough. Mix just until the flour disappears. Overmixing develops gluten, which makes the cookies tough and prone to spreading.
- Use a food scale for the cocoa powder. Black cocoa is lighter than regular cocoa, so measuring by volume can be inconsistent. 50 grams is the sweet spot.
- Chill the cut cookies too. If your kitchen is warm, pop the baking sheet with the cut cookies into the fridge for 10 minutes before baking. This extra chill helps them hold their shape.
- Test one cookie first. Bake a single cookie to check for spreading. If it spreads too much, chill the dough longer. If it’s too thick, roll it slightly thinner.
- Keep the royal icing covered. Royal icing dries out faster than you think. Always keep a damp paper towel over the bowl, and wipe the tip of your piping bag often to prevent clogs.
- Use a scribe tool or toothpick for details. When flooding, drag a toothpick through the wet icing to create patterns like spiderwebs or swirls. It’s an easy way to add professional-looking details.
Variations & Adaptations
One of the best things about this recipe is how easy it is to adapt. Here are some of my favorite twists.
- Gluten-Free Version: Substitute the all-purpose flour with a 1:1 gluten-free baking flour blend that contains xanthan gum. King Arthur Measure for Measure works beautifully. The cookies will be slightly more tender, so handle them gently.
- Vegan Version: Use vegan butter and a flax egg (1 tablespoon ground flaxseed + 3 tablespoons water). The texture will be a bit more crumbly, but the flavor is still spot-on. For the royal icing, use aquafaba (chickpea brine) instead of meringue powder—3 tablespoons of aquafaba whipped with powdered sugar works like magic.
- Spicy Chocolate Variation: Add ½ teaspoon of cinnamon and a pinch of cayenne pepper to the dry ingredients. The warmth of the spice pairs beautifully with the deep cocoa flavor. I made these for a Halloween party last year, and they disappeared in minutes.
- Different Icing Styles: Instead of royal icing, you can dip the cooled cookies in melted dark chocolate and sprinkle with orange or black sanding sugar. It’s faster and just as festive.
- Flavor Extracts: Swap the vanilla extract for peppermint or almond extract in the cookie dough. Peppermint is especially good for Christmas versions of these cookies.
Serving & Storage Suggestions
These cookies are best served at room temperature, with the royal icing fully set. They look stunning arranged on a cake stand or platter with other Halloween treats like candy corn or caramel apples.
Storage: Store the undecorated cookies in an airtight container at room temperature for up to 2 weeks. If you need to store them longer, freeze the baked, undecorated cookies in a single layer in a freezer-safe bag for up to 3 months. Thaw at room temperature before decorating.
Decorated cookies: Once the royal icing is fully dry (after at least 4 hours), stack them between layers of parchment paper in an airtight container. They will stay fresh for up to 2 weeks. Do not refrigerate decorated cookies—the moisture can cause the icing to become sticky or run.
Freezing decorated cookies: You can freeze decorated cookies if you let the icing dry for 24 hours first. Place them in a single layer in a freezer-safe container with parchment between layers. Thaw in the container at room temperature to avoid condensation.
Flavor development: Honestly, these cookies taste even better the next day. The black cocoa flavor deepens and melds with the butter overnight. So if you can wait, bake them a day ahead.
Nutritional Information & Benefits
These are definitely a treat, but they’re made with real ingredients, and a little mindfulness goes a long way. Here’s the estimated nutrition per cookie (based on a 2-inch ghost shape, with royal icing):
- Calories: 120-140
- Fat: 6g
- Carbohydrates: 18g
- Sugar: 12g
- Protein: 1g
Health highlights: Black cocoa powder is rich in antioxidants called flavonoids, which can support heart health. It also contains less sugar than milk chocolate, so the cookies are less sweet overall. The meringue powder in the royal icing is egg-white based, adding a tiny bit of protein.
Dietary considerations: This recipe contains dairy (butter), eggs, and gluten. For allergen-friendly versions, see the variations section above. These cookies are naturally nut-free if you use certified nut-free ingredients.
I personally love that these cookies let me enjoy a festive treat without feeling like I’m eating pure sugar. The deep cocoa flavor is satisfying in a way that a plain sugar cookie just isn’t. And honestly, a little indulgence now and then is part of a balanced life, right?
Conclusion
So here’s the thing—these black cocoa Halloween sugar cookies are more than just a pretty face. They’re the recipe that taught me that sometimes the best things come from a little skepticism and a neighbor’s crumpled index card. They’re forgiving enough for a beginner, but impressive enough to make you look like a pro.
I really hope you give them a try. Don’t be afraid to mess with the shapes, the icing colors, or the decorations. That’s the whole point of baking, isn’t it? Making something your own. Maybe you’ll add a sprinkle of edible glitter, or pipe tiny spider legs on every cookie. Whatever you do, I’d love to hear about it.
Drop a comment below and let me know how your batch turned out. Share a photo if you’re feeling brave—I always love seeing your creations. And if you have a favorite Halloween cookie memory, share that too. Until next time, happy baking, and may your icing always set perfectly.
Frequently Asked Questions
Can I use regular cocoa powder instead of black cocoa?
Yes, but the color will be dark brown, not black. The flavor will also be less intense and more like a standard chocolate cookie. For a true black color, black cocoa powder is worth the investment.
Why did my cookies spread in the oven?
Spreading usually happens when the dough is too warm. Make sure you chill the dough for at least 2 hours, and chill the cut cookies on the baking sheet for 10 minutes before baking. Also, check that your butter was softened, not melted.
How do I get my royal icing to be perfectly smooth?
Strain the powdered sugar before mixing to remove lumps. When flooding, use a squeeze bottle for even application, and tap the cookie gently on the counter to help the icing settle. A toothpick is your best friend for popping air bubbles.
Can I freeze the cookie dough?
Absolutely. Wrap the dough discs tightly in plastic wrap and place them in a freezer bag. Freeze for up to 3 months. Thaw in the refrigerator overnight before rolling and cutting. You can also freeze the baked, undecorated cookies for up to 3 months.
How far in advance can I make these cookies for a party?
You can bake the cookies up to 2 weeks ahead and store them in an airtight container. Decorate them up to 1 week ahead. The royal icing needs at least 4 hours to dry, but overnight is best. So plan accordingly, and your Halloween party will be stress-free.
Pin This Recipe!
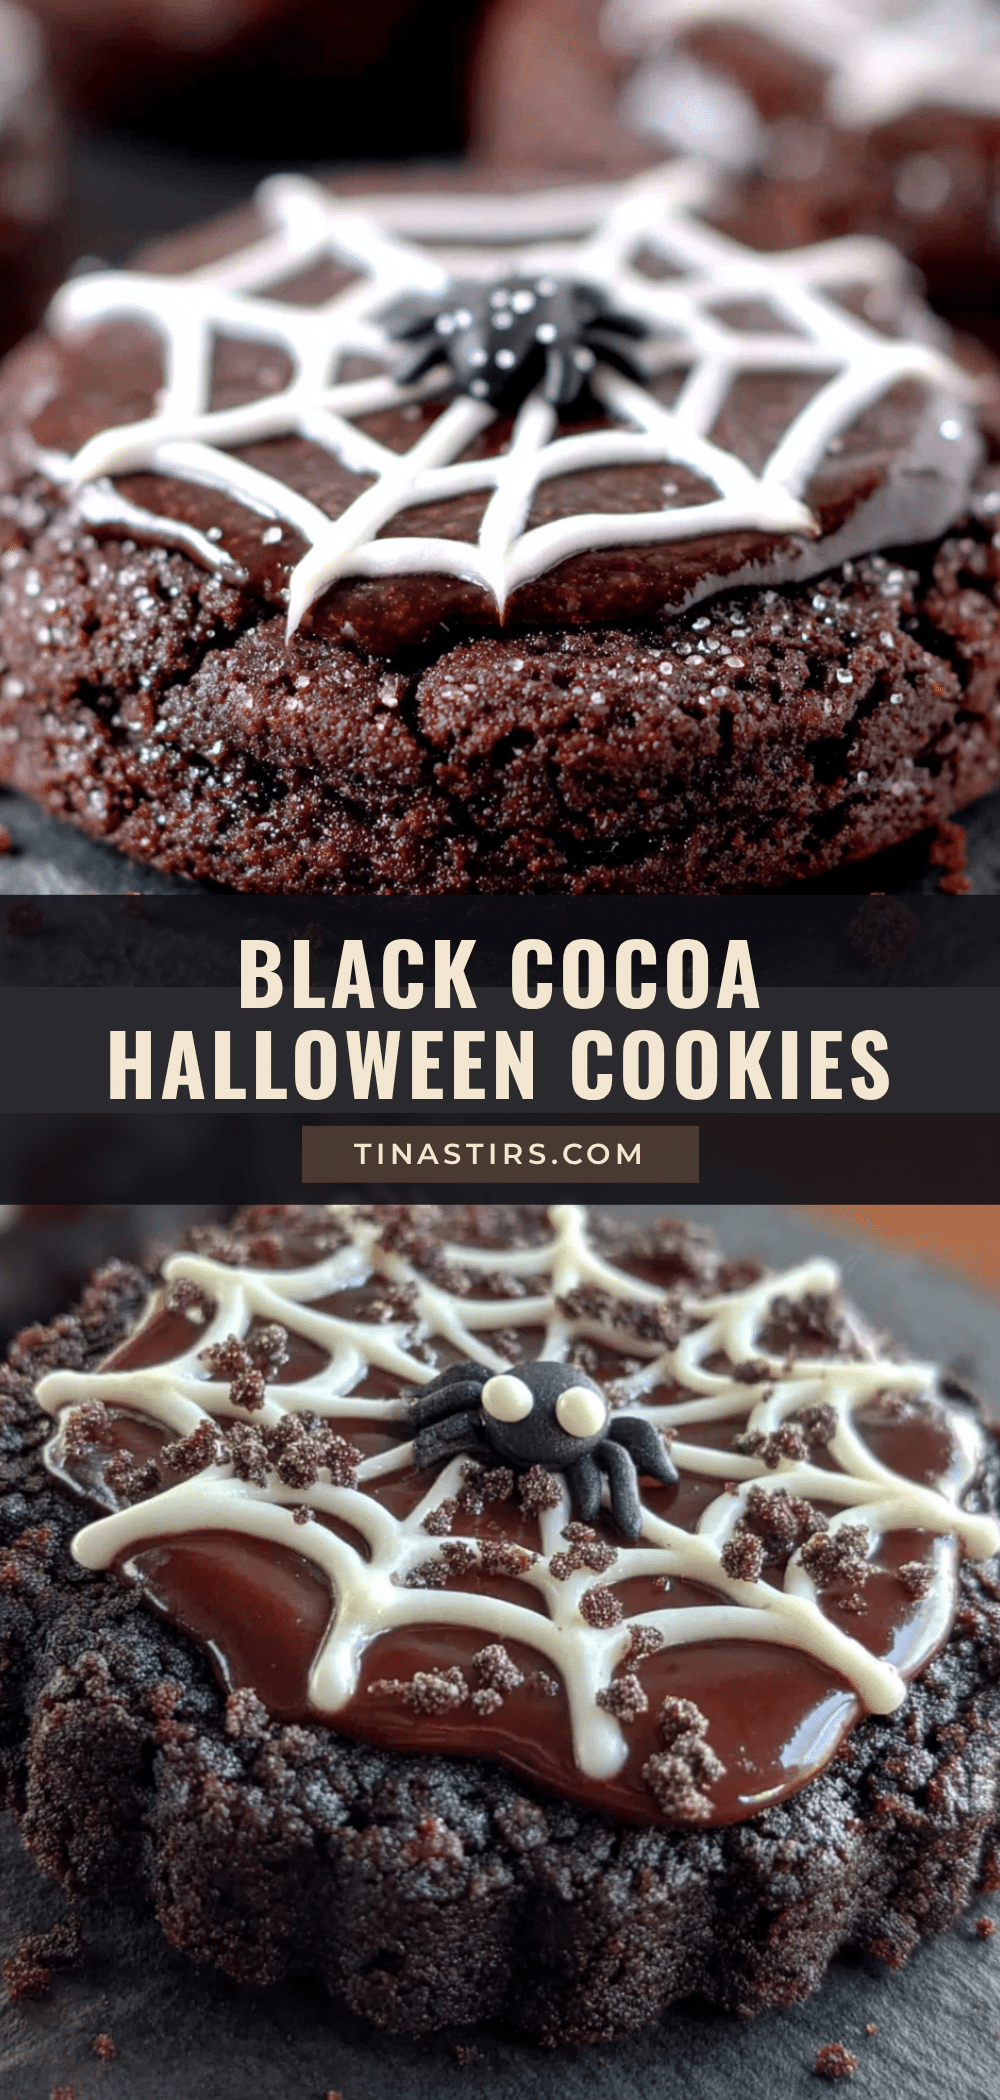
Perfect Black Cocoa Sugar Cookies: Easy Halloween Icing Recipe
Deep, dramatic black cocoa sugar cookies that hold their shape perfectly for royal icing decorating. These Halloween cookies are soft in the center, crisp at the edges, and taste like a grown-up version of a classic sugar cookie with a rich, slightly smoky chocolate flavor.
- Prep Time: 30 minutes
- Cook Time: 10 minutes
- Total Time: 2 hours 40 minutes (includes 2 hours chilling time)
- Yield: 24-30 cookies (depending on cutter size) 1x
- Category: Dessert
- Cuisine: American
Ingredients
- 1 cup (226g) unsalted butter, softened
- 1 cup (200g) granulated sugar
- 1 large egg, room temperature
- 2 teaspoons vanilla extract
- 2 ½ cups (312g) all-purpose flour
- ½ cup (50g) black cocoa powder
- 1 teaspoon baking powder
- ½ teaspoon salt
- 3 cups (360g) powdered sugar, sifted
- 3 tablespoons meringue powder
- 5–6 tablespoons warm water
- ½ teaspoon vanilla extract (optional)
- Gel food coloring (optional)
Instructions
- In a stand mixer fitted with the paddle attachment, cream the softened butter and granulated sugar together on medium speed for about 3 minutes, until light and fluffy. Scrape down the sides of the bowl. Add the egg and vanilla extract, and beat until combined, about 30 seconds.
- In a separate bowl, whisk together the all-purpose flour, black cocoa powder, baking powder, and salt. Gradually add the dry ingredients to the wet mixture on low speed, mixing just until the dough comes together. Do not overmix.
- Divide the dough in half, flatten each half into a disc about 1-inch thick, and wrap tightly in plastic wrap. Refrigerate for at least 2 hours, or up to 3 days.
- Preheat oven to 350°F (175°C). Line two baking sheets with parchment paper. Lightly dust your work surface and rolling pin with flour. Roll one disc of dough to about ¼-inch thickness.
- Cut out Halloween shapes using cookie cutters. Dip the cutters in flour between cuts to prevent sticking. Transfer the cut cookies to the prepared baking sheets, spacing them about 1 inch apart. Gather scraps, re-roll, and cut more cookies.
- Bake for 8-10 minutes, rotating the pans halfway through. Cookies are done when edges look set and tops are matte. Let cool on baking sheet for 5 minutes, then transfer to a wire rack to cool completely.
- For royal icing: In a clean mixer bowl, combine powdered sugar and meringue powder. Add 5 tablespoons warm water and mix on low speed until combined. Increase to medium-high speed and beat for 4-5 minutes until thick, glossy, and holds stiff peaks. Add more water one teaspoon at a time if needed.
- Divide icing into bowls for different colors. Add gel food coloring a tiny drop at a time. Cover bowls with a damp paper towel to prevent drying.
- Fit a piping bag with a #2 round tip and fill with outline-consistency icing. Pipe outline of design on each cooled cookie. Let outlines dry for 10-15 minutes.
- Thin remaining icing with a few drops of water to honey-like consistency for flooding. Fill a squeeze bottle or piping bag and fill in outlines. Use a toothpick to pop air bubbles and spread icing into corners.
- Let decorated cookies dry at room temperature for at least 4 hours, or overnight, until icing is completely hard to the touch.
Notes
Chilling the dough is non-negotiable to prevent spreading. Black cocoa powder is essential for the deep black color; Dutch-process cocoa will result in dark brown. For best results, use a food scale for the cocoa powder. Cookies taste even better the next day as the black cocoa flavor deepens. Royal icing needs at least 4 hours to dry completely before stacking.
Nutrition
- Serving Size: 1 cookie (2-inch gho
- Calories: 130
- Sugar: 12
- Sodium: 75
- Fat: 6
- Saturated Fat: 3.5
- Carbohydrates: 18
- Fiber: 1
- Protein: 1
Keywords: black cocoa sugar cookies, Halloween cookies, royal icing cookies, sugar cookie recipe, black cocoa powder, spooky cookies, decorated cookies


