Love this? Save it for later!
Share the inspiration with your friends
Lisa wasn’t making a big deal of it. I’d stopped by to drop off a book she’d lent me, and the smell of cinnamon and baked apples hit me before I even got through the screen door. It was a Thursday night, not a holiday, not a dinner party. She had a dish towel thrown over her shoulder and was pulling this golden, bubbly thing out of the oven like it was no big deal.
“What is that?” I asked, probably sounding a little too eager.
“Oh, just a dump cake,” she said, waving her hand. “I threw it together before you came.”
Threw it together. That’s the phrase that stuck with me. Because honestly, I’ve spent years making elaborate apple crisps and from-scratch cakes that take an hour just to prep. And here she was, dumping a few things in a dish and getting something that smelled like heaven. I mean, the topping was all craggy and buttery, and the apples underneath were soft and syrupy. I asked for the recipe, and she literally shrugged and said, “There’s no recipe. You just, you know, dump stuff in.”
Maybe you’ve been there—standing in someone’s kitchen, watching them make something incredible with zero effort, and wondering why your own cooking always feels like a production. That’s what this quick overnight apple cinnamon dump cake is. It’s the recipe that made me stop overcomplicating dessert. It’s forgiving, it’s fast, and it tastes like you fussed when you absolutely did not.
Let me tell you, after that night, I made it three times in two weeks. Once for a weeknight dinner when I had fifteen minutes of energy left, once for a neighbor who needed a pick-me-up, and once just because I had apples that were about to go soft. Every single time, someone asked for the recipe. And every single time, I got to shrug and say, “Oh, you just dump it in.” That’s the whole point.
Why You’ll Love This Recipe
Look, I’ve tested a lot of apple desserts. Some are fussy. Some take forever. Some require a stand mixer and a pastry cutter and a degree in patience. This quick overnight apple cinnamon dump cake is none of those things. It’s the kind of recipe that makes you wonder why you ever bothered with anything more complicated. Here’s why it works so well for real life:
- Quick & Easy: It comes together in about 10 minutes of active prep. Seriously. You dump the ingredients in layers, pop it in the fridge overnight, and bake it the next day. Perfect for those evenings when you’re already tired but want tomorrow’s dessert handled.
- Simple Ingredients: You probably have most of this stuff already. Canned apple pie filling, a box of yellow cake mix, butter, cinnamon, and maybe some nuts if you’re feeling fancy. No trips to a specialty store.
- Perfect for Busy Weeknights: This is the dessert you prep while you’re waiting for your pasta water to boil. Or while you’re on the phone. Or while you’re half-watching a show. It doesn’t demand your full attention.
- Crowd-Pleaser: I’ve brought this to potlucks and family dinners, and it disappears fast. Kids love it. Adults love it. People who claim they don’t have a sweet tooth love it.
- Unbelievably Delicious: The apples get all tender and jammy overnight. The cake mix on top turns into this golden, slightly crisp crust that’s soft underneath. It’s comfort food that feels special without any of the stress.
What makes this different from other dump cakes? Most recipes tell you to bake it immediately, and they’re fine. But letting it sit overnight changes everything. The apple filling soaks into the bottom of the cake mix, creating this almost cobbler-like layer. The flavors meld together. The cinnamon gets deeper. It’s not just a dump cake anymore—it’s a dump cake that tastes like you planned ahead. And honestly, that’s the best kind of shortcut.
This recipe isn’t just good—it’s the kind that makes you close your eyes after the first bite. It’s the dessert equivalent of a deep breath. And on a busy weeknight, that’s exactly what you need.
What Ingredients You Will Need
This recipe uses simple, store-bought ingredients to deliver big flavor without any fuss. The magic is in the overnight rest, which lets everything get friendly in the fridge. Here’s what you’ll need:
- 2 cans (21 ounces each) apple pie filling – I prefer the kind with big apple chunks, not the mushy stuff. Look for a brand that lists apples first on the ingredient list. If you’re feeling ambitious, you can use homemade apple filling, but honestly, the canned version works beautifully here and saves so much time.
- 1 box (15.25 ounces) yellow cake mix – Duncan Hines or Betty Crocker both work great. Don’t use a “butter recipe” or “extra moist” version—they can make the topping too dense. Just a standard yellow cake mix is perfect.
- 1/2 cup (1 stick) unsalted butter, cold and cut into small cubes – Cold butter is key here. It creates those little pockets of steam as it melts in the oven, giving you a flaky, almost biscuit-like topping. If you only have salted butter, just skip adding any extra salt.
- 1 teaspoon ground cinnamon – I like to use Ceylon cinnamon if I have it—it’s milder and sweeter than the regular cassia kind. But honestly, whatever you have in your spice drawer will work.
- 1/4 teaspoon ground nutmeg (optional) – Adds a warm, slightly nutty note that pairs beautifully with apples. Freshly grated is best, but pre-ground is fine.
- 1/2 cup chopped pecans or walnuts (optional) – Adds a nice crunch on top. I usually add them, but my kids prefer it without. Your call.
- Vanilla ice cream or whipped cream for serving – Not technically an ingredient for the cake itself, but let’s be real: this dessert is begging for a scoop of something cold and creamy on top.
Ingredient Tips from My Kitchen:
I’ve made this with both the name-brand and store-brand cake mixes, and honestly, the store-brand works just fine. Save your money. For the apple pie filling, I’ve noticed that some brands are more syrupy than others. If yours looks really liquidy, don’t worry—the overnight rest helps thicken it up. And if you’re using homemade apple filling, make sure it’s not too watery. You want it thick enough to hold its shape when spooned into the dish.
Substitution Guidance:
- Gluten-free option: Use a gluten-free yellow cake mix. The texture will be slightly different—a bit crumblier—but still delicious.
- Dairy-free option: Use a dairy-free butter alternative like Earth Balance. Just make sure it’s cold when you cube it.
- Lower sugar option: You can use a “light” or “reduced sugar” yellow cake mix, or try a sugar-free version. The topping won’t brown quite as much, but it’ll still taste great.
- Different fruit: This method works with any canned pie filling. Cherry, peach, or blueberry are all fantastic. Just keep the cinnamon if you’re using peach—it’s a great combo.
Equipment Needed
One of the best things about this recipe is how little equipment it requires. You don’t need a mixer, a food processor, or any fancy gadgets. Here’s what you’ll need:
- A 9×13-inch baking dish – Glass or ceramic works best. Metal can work, but it tends to brown the bottom faster. I use a Pyrex dish, and it’s never let me down.
- A sharp knife and cutting board – For cubing the butter. A serrated knife works surprisingly well for cutting cold butter into cubes.
- A small bowl – For mixing the cinnamon and nutmeg if you’re using it.
- A spoon or spatula – For spreading the apple filling evenly. You don’t need to be precise about it.
- Plastic wrap or aluminum foil – For covering the dish while it rests overnight in the fridge.
Budget-Friendly Options: If you don’t have a 9×13 dish, you can use a 9×9 square dish or even an 11×7. Just adjust the baking time slightly—smaller dishes will need a few extra minutes. I’ve even made this in a disposable aluminum pan when I was bringing it to a potluck, and it worked perfectly. No cleanup required!
A Note on the Butter: I’ve tried this with melted butter, and it doesn’t work the same. The cold butter cubes are essential for that craggy, golden topping. If you forget to put the butter in the fridge ahead of time, pop it in the freezer for 10 minutes while you prep everything else. That’ll do the trick.
Preparation Method
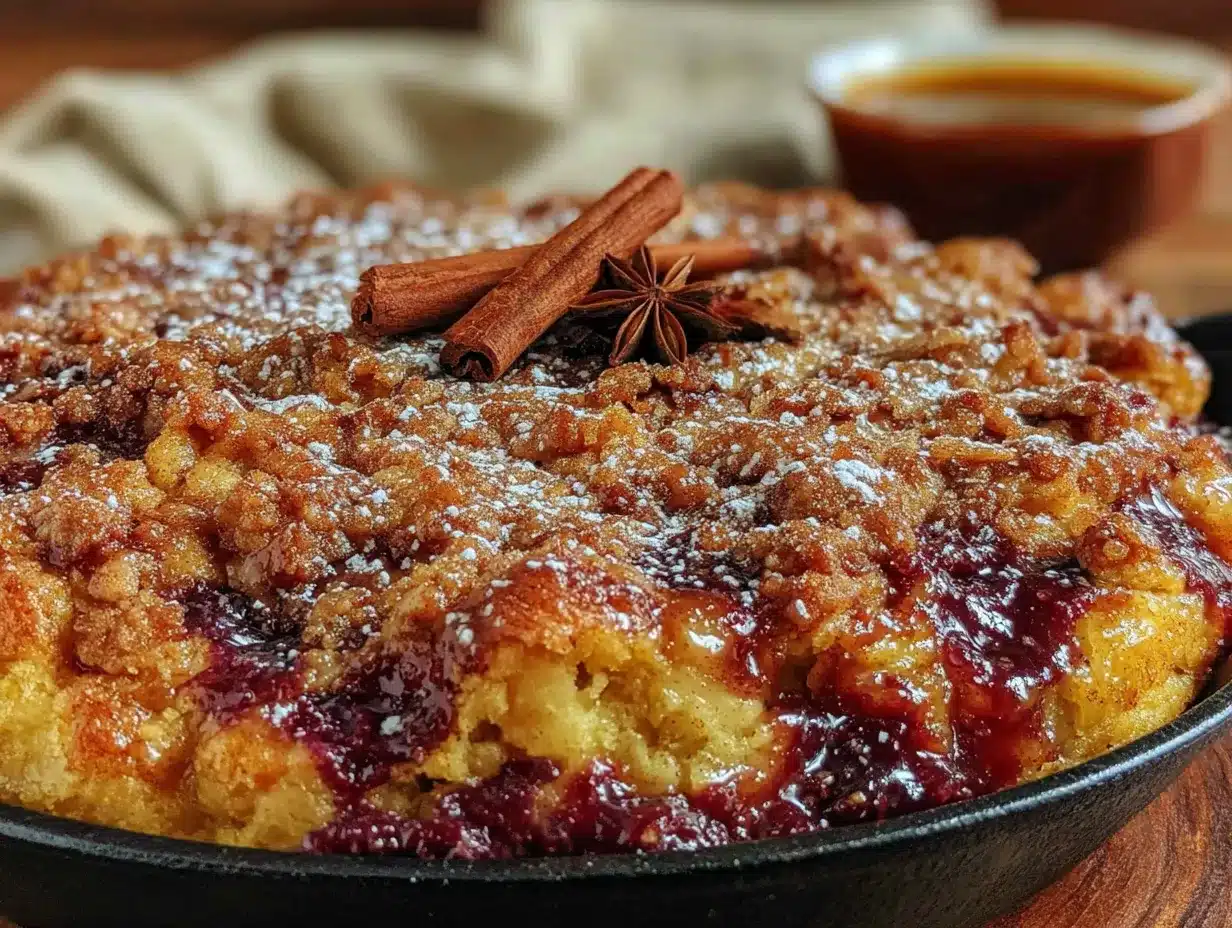
Alright, let’s get to it. This is the easiest dessert you’ll make all week. I promise.
-
Prep your baking dish. Lightly grease your 9×13-inch baking dish with a little butter or non-stick spray. You don’t need much—just enough to keep the apple filling from sticking. I’ve forgotten to do this before, and let me tell you, the cleanup is not fun. Don’t skip this step.
-
Spread the apple pie filling. Open both cans of apple pie filling and dump them into the prepared dish. Use a spoon or spatula to spread them into an even layer. Don’t worry if some apple chunks are bigger than others—that’s a good thing. It gives the final dessert some texture. If you see any really large apple pieces, you can break them up a bit with your spoon.
-
Sprinkle with cinnamon and nutmeg. In a small bowl, mix together the 1 teaspoon of cinnamon and the 1/4 teaspoon of nutmeg (if using). Sprinkle this mixture evenly over the apple filling. I like to use a fine-mesh strainer for this, but honestly, just sprinkling it from your fingers works too. Try to get it as even as possible so every bite has that warm spice flavor.
-
Add the dry cake mix. Open the box of yellow cake mix and sprinkle the dry powder evenly over the apples. Don’t stir it! I know it’s tempting, but you want the cake mix to stay on top. Just dump it and spread it gently with your spoon. It should cover the apples completely.
-
Top with cold butter cubes. Take your cold, cubed butter and scatter the pieces evenly over the top of the cake mix. Try to cover the whole surface. Some areas will have more butter, some less—that’s fine. The butter will melt and create those lovely golden spots during baking. Don’t press the butter into the cake mix. Just let it sit on top.
-
Add nuts (optional). If you’re using pecans or walnuts, sprinkle them over the top now. I like to put them on top of the butter so they toast slightly during baking. If you add them under the butter, they can get a little soggy.
-
Cover and refrigerate overnight. This is the magic step. Cover your dish tightly with plastic wrap or aluminum foil and place it in the refrigerator. Let it rest for at least 8 hours, or up to 24 hours. During this time, the apple filling will soak into the bottom of the cake mix, creating that amazing cobbler-like layer. The flavors will deepen and meld together. Trust me, this is worth the wait.
-
Preheat the oven. When you’re ready to bake, preheat your oven to 350°F (175°C). Take the dish out of the fridge while the oven is preheating to take the chill off. About 15 minutes is fine.
-
Bake until golden and bubbly. Place the dish in the preheated oven and bake for 40-45 minutes. The top should be golden brown and the edges should be bubbly. You’ll know it’s done when you see the apple filling bubbling up around the edges of the cake mix. If the top is browning too quickly but the middle isn’t done, tent loosely with foil for the last 10 minutes.
-
Let it rest (if you can). Let the cake cool for at least 10-15 minutes before serving. This allows the filling to set up a bit. I know it’s hard to wait, especially when your kitchen smells like a bakery, but it’s worth it. The cake will hold together better and the flavors will be more pronounced.
-
Serve warm. Scoop into bowls and top with a generous scoop of vanilla ice cream or a dollop of whipped cream. The contrast between the warm, spiced apples and the cold, creamy ice cream is pure magic.
Visual Cues for Success: When it’s done, the top should be a deep golden brown, not pale. You should see the apple filling bubbling at the edges. If you stick a toothpick in the center, it should come out with some moist crumbs attached, not wet batter. If it’s still wet, give it another 5 minutes and check again.
Cooking Tips & Techniques
I’ve made this quick overnight apple cinnamon dump cake more times than I can count, and I’ve learned a few things along the way. Here are my best tips for getting it perfect every time:
Don’t Skip the Overnight Rest. I know it’s tempting to just bake it right away. I’ve done it. And it’s fine. But it’s not as good. The overnight rest allows the apple filling to hydrate the bottom of the cake mix, creating that soft, almost pudding-like layer underneath the crispy top. Without the rest, the cake mix stays dry on the bottom. With the rest, you get layers of texture that make this dessert special.
Cold Butter is Non-Negotiable. The first time I made this, I used room-temperature butter because I forgot to chill it. The topping turned out greasy and dense instead of light and flaky. Cold butter cubes create steam pockets as they melt, which gives you that beautiful, craggy topping. If your kitchen is warm, pop the cubed butter in the freezer for 5 minutes before scattering it over the cake mix.
Watch Your Oven. Every oven is different. Mine runs a little hot, so I start checking at the 35-minute mark. If you notice the top browning too quickly, tent it with foil. If it’s still pale at the 45-minute mark, give it another 5-10 minutes. You’re looking for that deep golden color and bubbling edges.
Let It Cool Slightly. I made the mistake of serving this straight out of the oven once. It was a runny, soupy mess. Don’t get me wrong—it still tasted amazing. But letting it rest for 10-15 minutes allows the filling to thicken up. The texture is so much better. Plus, you won’t burn your mouth on molten apple filling.
Multitasking Tip: While the cake is baking, make your coffee or tea, set out the ice cream to soften slightly, and get your bowls ready. This is a dessert that rewards a little planning. And honestly, the 40 minutes it takes to bake is the perfect amount of time to clean up your kitchen and sit down for a few minutes of quiet before everyone digs in.
Variations & Adaptations
One of the best things about this recipe is how flexible it is. I’ve tried several variations, and they’ve all been winners. Here are some of my favorites:
Apple-Cranberry Dump Cake: For a holiday twist, use one can of apple pie filling and one can of whole berry cranberry sauce. The tartness of the cranberries balances the sweetness of the apples beautifully. I made this for Thanksgiving last year, and it was gone before the pumpkin pie.
Gluten-Free Version: Use a gluten-free yellow cake mix. I’ve tried this with the King Arthur brand, and it worked perfectly. The texture is slightly more crumbly than the regular version, but the flavor is spot-on. Just make sure your apple pie filling is also gluten-free—most are, but it’s worth checking the label.
Spiced-Up Version: Add 1/4 teaspoon of ground ginger and a pinch of ground cloves to the cinnamon mixture. It gives the dessert a chai-like warmth that’s perfect for fall. I also like to add a teaspoon of vanilla extract to the apple filling before spreading it in the dish. It adds a subtle depth that’s hard to pinpoint but definitely noticeable.
Peach Dump Cake: Swap the apple pie filling for peach pie filling and use cinnamon and a pinch of nutmeg. It’s like a peach cobbler without any of the work. I’ve also tried this with mango pie filling, and it was surprisingly delicious—like a tropical version of comfort food.
Healthier-ish Version: Use a “light” yellow cake mix and skip the nuts to save some calories. You can also use a sugar-free apple pie filling. The texture will be slightly different, but it’s still a satisfying dessert. I’ve also tried using a whole wheat cake mix, and while it’s denser, it has a nice nutty flavor that works with the apples.
My Personal Favorite Variation: I add a handful of fresh or frozen blueberries to the apple filling before sprinkling on the cake mix. The blueberries burst during baking and create these little pockets of tart juice that contrast with the sweet apples. It’s my go-to version when I want to feel like I’m eating something fancy.
Serving & Storage Suggestions
This dessert is best served warm, straight from the oven, with something cold and creamy on top. Here’s how to make the most of it:
Serving Temperature: Serve warm, but not piping hot. Let it rest for 10-15 minutes after baking so the filling can set. The ideal temperature is when the apples are still warm but not scalding. A scoop of vanilla ice cream melting over the top is the classic choice, but I’ve also served it with whipped cream, Greek yogurt (for a less sweet option), or even a drizzle of heavy cream.
Complementary Dishes: This dessert is rich and sweet, so it pairs well with something light and simple. A cup of black coffee or a glass of cold milk is perfect. If you’re serving it as part of a meal, keep the main course simple—maybe a roasted chicken and a green salad. The dessert is the star here, so let it shine.
Storage Instructions: Cover any leftovers tightly with plastic wrap or foil and store in the refrigerator for up to 4 days. The texture will soften over time as the cake absorbs more moisture from the apples, but it’s still delicious. In fact, some people prefer it the next day, cold from the fridge, eaten straight out of the dish with a spoon. I won’t judge.
Reheating Methods: To reheat, place individual portions in the microwave for 30-45 seconds. For larger portions, reheat in a 350°F oven for 10-15 minutes, or until warmed through. The top won’t be as crispy as the first day, but the flavor will still be amazing.
Freezer Instructions: You can freeze the unbaked, assembled dump cake for up to 3 months. Assemble it in a freezer-safe dish, cover tightly with plastic wrap and foil, and freeze. When you’re ready to bake, thaw it in the refrigerator overnight, then bake as directed. You can also freeze the baked cake, but the texture will be softer after thawing. I usually just make it fresh—it’s so easy, there’s no need to freeze it.
How Flavors Develop: The overnight rest is key for flavor development. The cinnamon and nutmeg meld with the apples, and the cake mix absorbs some of the apple juice. If you have leftovers, you’ll notice the flavor is even deeper on day two. It’s one of those rare desserts that gets better with time.
Nutritional Information & Benefits
Let’s be honest: this is a dessert, not a health food. But it’s made with real ingredients, and there are a few bright spots. Here’s a rough estimate for one serving (based on 12 servings):
- Calories: Approximately 380-420 per serving
- Fat: 18-22g
- Saturated Fat: 8-10g
- Carbohydrates: 55-60g
- Sugar: 35-40g
- Fiber: 2-3g
- Protein: 3-4g
- Sodium: 350-400mg
Health Benefits of Key Ingredients: Apples are a good source of fiber and vitamin C. The cinnamon has anti-inflammatory properties and may help regulate blood sugar. If you add nuts, you’ll get some healthy fats and a little protein. So while this isn’t a salad, it’s not empty calories either. It’s comfort food made with ingredients that have some redeeming qualities.
Dietary Considerations: This recipe is not gluten-free unless you use a gluten-free cake mix. It contains dairy from the butter. It can be made nut-free by omitting the pecans or walnuts. If you’re watching your sugar intake, use a reduced-sugar cake mix and sugar-free apple pie filling. The texture will be slightly different, but it’s still a satisfying dessert.
Potential Allergens: This recipe contains wheat (from the cake mix), dairy (from the butter), and possibly tree nuts (if you add pecans or walnuts). Check your cake mix label if you have other allergies—some brands may contain soy or other allergens.
My Personal Wellness Perspective: I believe in balance. This isn’t something I eat every day, but when I do, I enjoy every single bite. It’s a dessert that brings people together, and that has its own kind of nutritional value. Sometimes the best thing you can do for your well-being is share a warm, delicious dessert with the people you love.
Conclusion
This quick overnight apple cinnamon dump cake is proof that you don’t need to be a pastry chef to make something incredible. It’s forgiving, it’s fast, and it delivers every single time. Whether you’re feeding your family on a busy weeknight, bringing a dessert to a potluck, or just craving something warm and comforting, this recipe has your back.
I love this recipe because it reminds me that cooking doesn’t have to be complicated to be good. Lisa made it look like nothing, and honestly, it is nothing. It’s just a few ingredients, a little patience, and a whole lot of flavor. Every time I make it, I think of that Thursday night and the smell that pulled me in from the doorway. And every time someone asks for the recipe, I get to shrug and say, “Oh, you just dump it in.” That never gets old.
I’d love to hear how this turns out for you. Did you try a variation? Did you add something unexpected? Did your family fight over the last scoop? Drop a comment below and let me know. And if you loved it, share it with a friend who needs a simple, delicious dessert in their life. Happy baking, friend.
Frequently Asked Questions
Can I bake this immediately without the overnight rest?
You can, but the texture won’t be as good. The overnight rest allows the apple filling to hydrate the bottom of the cake mix, creating a soft, cobbler-like layer. Without it, the cake mix stays dry on the bottom. If you’re in a hurry, let it rest for at least 2-3 hours if possible. Even that short rest makes a difference.
Can I use homemade apple pie filling instead of canned?
Absolutely! Just make sure your homemade filling is thick enough. If it’s too watery, it will make the cake mix soggy instead of creating that nice layered texture. Cook your apples down until the liquid is syrupy and reduced. About 4 cups of homemade filling should work for this recipe.
Why did my topping turn out greasy?
This usually happens when the butter is too warm when you add it. Make sure your butter is cold straight from the fridge, and cut it into small cubes. If your kitchen is warm, pop the cubed butter in the freezer for 5 minutes before scattering it over the cake mix. Room-temperature butter melts too quickly and creates a greasy, dense topping.
Can I make this in a slow cooker?
Yes! You can make a slow cooker version. Assemble the dump cake in the slow cooker insert (no need to grease it), cover, and cook on low for 3-4 hours or on high for 1.5-2 hours. The topping won’t be as crispy as the oven version, but it’s still delicious. Leave the lid slightly ajar for the last 30 minutes to let some steam escape and help the top firm up.
How do I prevent the top from burning?
If the top is browning too quickly but the middle isn’t done, tent the dish loosely with aluminum foil for the last 10-15 minutes of baking. This will slow down the browning while allowing the inside to finish cooking. Every oven is different, so start checking at the 35-minute mark.
Pin This Recipe!
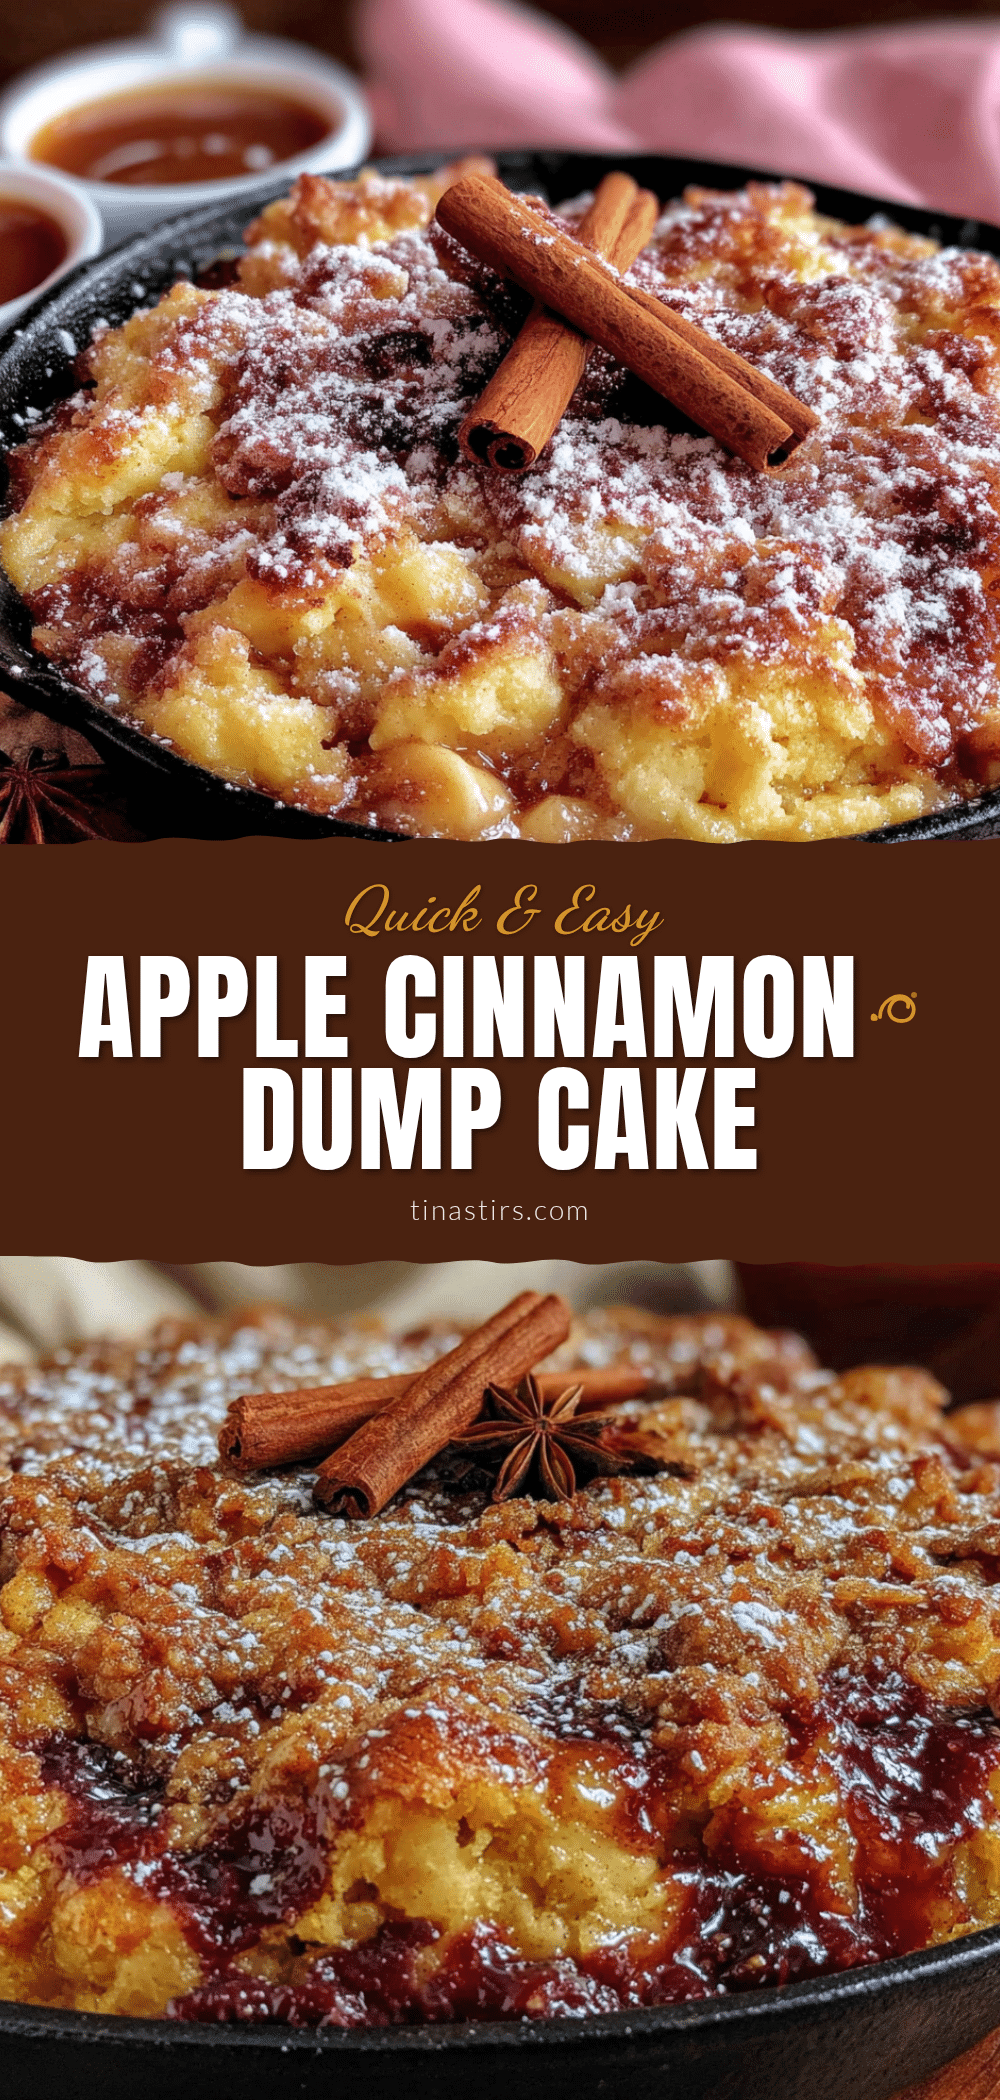
Easy Overnight Apple Cinnamon Dump Cake Recipe

This quick overnight apple cinnamon dump cake is proof that you don’t need to be a pastry chef to make something incredible. It’s forgiving, fast, and delivers every single time.
- Prep Time: 10 minutes
- Cook Time: 40-45 minutes
- Total Time: 8 hours 50 minutes (includes overnight rest)
- Yield: 12 servings 1x
- Category: Dessert
- Cuisine: American
Ingredients
- 2 cans (21 ounces each) apple pie filling
- 1 box (15.25 ounces) yellow cake mix
- 1/2 cup (1 stick) unsalted butter, cold and cut into small cubes
- 1 teaspoon ground cinnamon
- 1/4 teaspoon ground nutmeg (optional)
- 1/2 cup chopped pecans or walnuts (optional)
- Vanilla ice cream or whipped cream for serving
Instructions
- Lightly grease your 9×13-inch baking dish with a little butter or non-stick spray.
- Open both cans of apple pie filling and dump them into the prepared dish. Spread into an even layer.
- In a small bowl, mix together the cinnamon and nutmeg (if using). Sprinkle evenly over the apple filling.
- Open the box of yellow cake mix and sprinkle the dry powder evenly over the apples. Do not stir.
- Scatter the cold, cubed butter evenly over the top of the cake mix.
- If using nuts, sprinkle them over the top now.
- Cover the dish tightly with plastic wrap or aluminum foil and refrigerate for at least 8 hours, or up to 24 hours.
- When ready to bake, preheat oven to 350°F (175°C). Take the dish out of the fridge while the oven preheats (about 15 minutes).
- Bake for 40-45 minutes, until the top is golden brown and the edges are bubbly. If the top browns too quickly, tent loosely with foil for the last 10 minutes.
- Let the cake cool for at least 10-15 minutes before serving.
- Serve warm with a scoop of vanilla ice cream or a dollop of whipped cream.
Notes
The overnight rest is key for flavor development and texture. Cold butter is essential for a flaky topping. If the top browns too quickly, tent with foil. Let the cake rest before serving to allow the filling to set.
Nutrition
- Serving Size: 1 serving
- Calories: 380420
- Sugar: 3540
- Sodium: 350400
- Fat: 1822
- Saturated Fat: 810
- Carbohydrates: 5560
- Fiber: 23
- Protein: 34
Keywords: dump cake, apple cinnamon, overnight, easy dessert, apple pie filling, yellow cake mix


