Love this? Save it for later!
Share the inspiration with your friends
It was 11:47 PM on a rainy Tuesday in early October, and I had a very specific craving for something warm, tender, and deeply savory-sweet. I didn’t have the bottle of dry red wine a braise usually calls for, but I had a half-gallon of fresh apple cider from the weekend farmers’ market, a lone pork tenderloin defrosting in the fridge, and the crazy idea that maybe—just maybe—the two belonged together. I was tired, honestly, and a little impulsive. The kitchen was quiet except for the rain against the window. I pulled out my heavy Dutch oven, poured in a glug of cider instead of wine, and figured I’d either ruin dinner or stumble onto something magical.
Let me tell you, the smell that filled my apartment at midnight was ridiculous. It was like autumn had been distilled into a single pot. The cider simmered down into this sticky, tangy glaze, wrapping around the pork like a cozy sweater. I mean, I was standing there in my pajamas, stirring, thinking, “Why has no one told me about this combination before?” I didn’t even bother to plate it properly—I just pulled a chunk of the meat apart with two forks and ate it standing over the counter. That’s when I knew this recipe was going to be a keeper.
There’s something about cooking late at night that loosens the usual rules, you know? You stop overthinking and just trust your instincts. That Tuesday night, my instincts led me straight to this Cozy Apple Cider Braised Pork Tenderloin. It’s become my go-to for those chilly evenings when you want a meal that feels like a hug in a bowl. Maybe you’ve been there—standing in your kitchen, staring at random ingredients, wondering if they’ll work together. Trust me, this one works.
Why You’ll Love This Recipe
This isn’t just another pork tenderloin recipe. After testing this dish about six times (and eating a lot of very good, slightly different versions), I can tell you exactly why this one stands out. It’s the kind of meal that makes you feel like you’ve been cooking all day, but it actually comes together in about 45 minutes. Let me break down what makes it special.
- Quick & Easy: Despite tasting like it simmered for hours, this braised pork tenderloin is on your table in under an hour. Perfect for a busy weeknight when you still want something that feels special.
- Simple Ingredients: No fancy grocery trips needed. You probably have apple cider, garlic, and a few pantry staples already. The ingredient list is short and honest.
- Perfect for Fall Gatherings: This dish was made for crisp October evenings, Thanksgiving leftovers, or cozy Sunday dinners with friends. It screams autumn without being fussy.
- Crowd-Pleaser: I’ve served this to picky eaters and foodie friends alike. Everyone goes quiet after the first bite—that’s the sign you’ve nailed it.
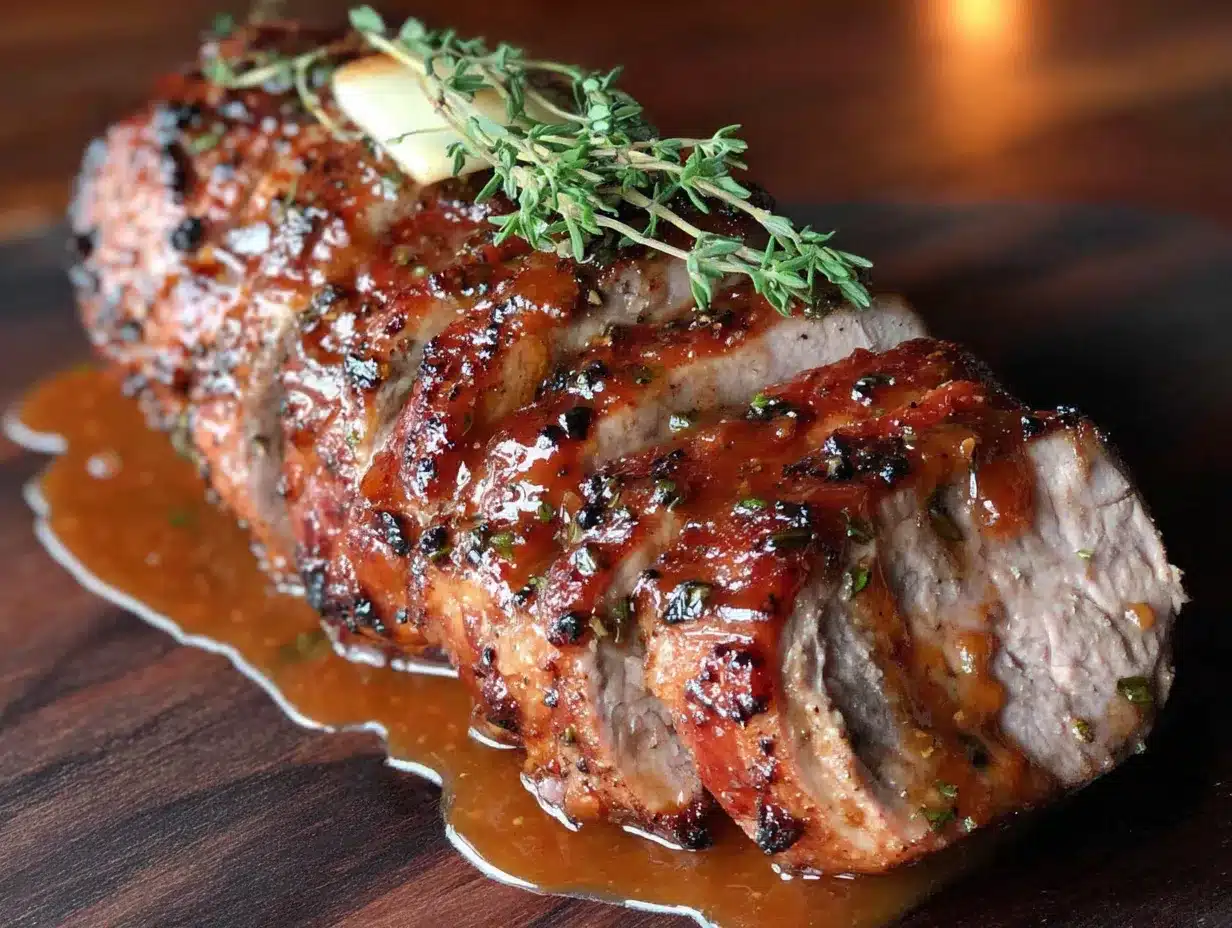
- Unbelievably Delicious: The pork comes out fork-tender, with a sweet-tangy glaze that’s pure comfort. The cider reduces into something almost caramel-like, and it coats every slice perfectly.
What makes this recipe different from the rest is the technique. Instead of searing the pork and then drowning it in liquid, I use a two-step reduction method. You sear the meat, remove it, then reduce the cider with aromatics until it’s thick and syrupy before adding the pork back in. This means the glaze actually sticks to the meat instead of just being a thin sauce. It’s a small tweak, but it changes everything. I learned this trick after accidentally over-reducing a batch of cider for a different recipe, and honestly, it was a happy accident I’ve never stopped using.
This recipe isn’t just good—it’s the kind that makes you close your eyes after the first bite. It’s comfort food reimagined: faster, simpler, but with the same soul-soothing satisfaction. Perfect for impressing guests without stress, or turning a simple Tuesday into something memorable.
What Ingredients You Will Need
This recipe uses simple, wholesome ingredients to deliver bold flavor and satisfying texture without the fuss. Most of these are pantry staples or easy fall finds, which makes this dish perfect for spontaneous cooking.
For the Pork & Braise
- 1 ½ pounds pork tenderloin (look for a piece that’s evenly thick, not too tapered at one end—this helps it cook evenly)
- 2 tablespoons olive oil (use a good quality one for searing; I prefer California Olive Ranch for its clean flavor)
- 1 medium yellow onion, thinly sliced (adds sweetness and body to the braising liquid)
- 3 cloves garlic, smashed (don’t bother mincing finely—smashed cloves release flavor without burning)
- 2 cups fresh apple cider (unfiltered is best—it has more apple flavor and a slightly cloudy texture that thickens beautifully)
- ½ cup chicken broth (low-sodium, so you control the salt; I like Swanson’s or homemade if I have it)
- 2 tablespoons apple cider vinegar (brightens the dish and balances the sweetness)
- 2 tablespoons brown sugar, packed (light or dark both work; dark adds a deeper molasses note)
- 1 tablespoon Dijon mustard (adds tang and helps emulsify the sauce)
- 2 sprigs fresh rosemary (or 1 teaspoon dried, but fresh is noticeably better here)
- 2 sprigs fresh thyme (or ½ teaspoon dried)
- 1 bay leaf (adds a subtle earthy undertone)
- Salt and black pepper, to taste
For the Optional Garnish
- Fresh parsley, chopped (adds color and freshness)
- 1 apple, thinly sliced (Honeycrisp or Fuji work well—add them raw for crunch or sauté them briefly in butter)
- Flaky sea salt (Maldon is my go-to; it adds a lovely finish)
When selecting your apple cider, look for one that’s unfiltered and has no added sugars or preservatives. The natural apple sediment helps thicken the sauce beautifully. I’ve tried this with filtered cider, and the sauce was thinner and less flavorful. Trust me on this one—the unfiltered stuff makes a real difference.
For the pork tenderloin, I recommend buying from a local butcher if you can. The quality is usually better, and they can trim the silver skin for you. If you’re using grocery store pork, look for a piece that’s pink and moist, not sitting in liquid. Pat it dry before seasoning—this helps the sear.
Equipment Needed
You don’t need a lot of fancy gear for this recipe, which is part of its charm. Here’s what you’ll want to have on hand:
- Large Dutch oven or heavy-bottomed pot with a lid (I use a 5.5-quart Le Creuset, but any enameled cast iron or heavy stainless steel pot works. The key is even heat distribution.)
- Chef’s knife (a sharp 8-inch knife makes slicing the onion and trimming the pork effortless)
- Cutting board
- Tongs (for flipping the pork without piercing it—those juices matter)
- Wooden spoon or spatula (for scraping up the browned bits)
- Measuring cups and spoons
- Instant-read thermometer (this is non-negotiable for perfect pork—$12 on Amazon saves you from dry meat)
- Small bowl (for mixing the glaze ingredients)
If you don’t have a Dutch oven, a deep skillet with a tight-fitting lid works fine. Just make sure it’s oven-safe if you decide to finish the dish in the oven. I’ve also made this in a slow cooker, but you lose some of that beautiful caramelization. The stovetop method gives you the best texture and flavor.
Preparation Method
Let’s get cooking. This method is straightforward, but I’ve added some notes from my own trials so you can avoid the mistakes I made.
- Prep the pork. Pat the tenderloin dry with paper towels. This is crucial—wet meat won’t sear properly. Season generously on all sides with salt and black pepper. Let it sit at room temperature for 15 minutes. (I once skipped this step and ended up with pale, steamed pork. Don’t be me.)
- Sear the pork. Heat the olive oil in your Dutch oven over medium-high heat until it shimmers. Carefully place the tenderloin in the hot oil. Sear for 3-4 minutes per side, until deeply golden brown. Don’t move it around—let it sit and develop that crust. Use your tongs to turn it. Total sear time: about 12-15 minutes for all sides. Remove the pork to a plate and set aside.
- Sauté the aromatics. Reduce heat to medium. Add the sliced onion to the pot. Cook for 4-5 minutes, stirring occasionally, until softened and translucent. Scrape up any browned bits from the bottom—that’s flavor gold. Add the smashed garlic and cook for 1 minute more, until fragrant.
- Build the braising liquid. Pour in the apple cider and chicken broth. Increase heat to high and bring to a boil. Add the apple cider vinegar, brown sugar, Dijon mustard, rosemary, thyme, and bay leaf. Stir well to combine. Let this boil for 8-10 minutes, until the liquid has reduced by about half and thickened slightly. It should look syrupy and smell incredible. (This is where the magic happens—don’t rush it.)
- Braise the pork. Reduce heat to low. Return the seared pork to the pot, nestling it into the liquid. The liquid should come about halfway up the sides of the pork. Cover the pot with the lid and let it simmer gently for 20-25 minutes. Check the temperature after 20 minutes using your instant-read thermometer—you’re looking for 140°F (60°C) for medium, or 145°F (63°C) for medium-well. Remember, the pork will continue cooking slightly as it rests.
- Rest and slice. Carefully remove the pork from the pot and place it on a cutting board. Let it rest for 5-10 minutes. This is important—resting allows the juices to redistribute. While it rests, increase the heat under the braising liquid to medium-high and let it simmer for 2-3 minutes to thicken further. Remove the herb sprigs and bay leaf.
- Slice and serve. Slice the pork against the grain into ½-inch thick medallions. Arrange on a platter and spoon the reduced cider sauce over the top. Garnish with fresh parsley and apple slices if desired. Sprinkle with flaky sea salt for that final touch.
One thing I learned the hard way: don’t overcook the pork. Tenderloin is lean and can go from perfect to dry in about two minutes. That instant-read thermometer is your best friend here. I’ve also found that letting the braising liquid reduce properly before adding the pork back in makes a huge difference. The first time I made this, I was impatient and added the pork too early. The sauce was thin and watery. Now I set a timer for that reduction step and don’t touch it until it’s done.
Cooking Tips & Techniques
Over the course of testing this recipe (and eating a lot of pork along the way), I’ve picked up some tips that make the process smoother and the results more consistent.
Don’t skip the sear. I know it’s tempting to just throw everything in the pot and let it simmer, but that golden-brown crust is where deep flavor comes from. The Maillard reaction—that browning of proteins—adds a savory complexity that can’t be replicated. If you’re short on time, at least give it a quick sear on two sides. Every bit helps.
Watch your heat. When searing, medium-high is your friend. But once you add the liquid and cover the pot, you want a gentle simmer, not a rolling boil. Boiling will toughen the meat. You should see small bubbles breaking the surface, not a violent churn. I check this by lifting the lid after 10 minutes and adjusting the heat if needed.
Use a thermometer, not a timer. Pork tenderloin thickness varies wildly. A timer is a rough guide, but a thermometer is the truth. Insert it into the thickest part of the meat. At 140°F (60°C), the pork will be slightly pink in the center and incredibly juicy. At 145°F (63°C), it’s more well-done but still moist. I personally pull mine at 140°F and let it rest—the carryover cooking brings it to about 145°F.
Save the extra sauce. This recipe makes a generous amount of braising liquid, and you’ll want every drop. I often make extra and refrigerate it. It thickens even more as it cools and makes an amazing spread for sandwiches the next day. I’ve used it as a glaze for roasted vegetables too—carrots and Brussels sprouts love this stuff.
One mistake I made: The second time I made this, I added the brown sugar at the beginning with the onions. It burned slightly and gave the sauce a bitter edge. Now I always add the sugar with the liquid, after the onions are softened. Lesson learned—sugar burns fast over high heat.
Variations & Adaptations
This recipe is flexible, and I’ve tried several variations depending on what I have on hand or who I’m cooking for. Here are some of my favorites.
Apple Cider Braised Pork with Root Vegetables: Add 2 cups of peeled, chopped carrots and parsnips to the pot during the last 15 minutes of braising. They soak up the cider sauce beautifully and make this a one-pot meal. I’ve done this for weeknight dinners and it’s a game-changer—less cleanup, more flavor.
Slow Cooker Version: Sear the pork as directed, then transfer everything to a slow cooker. Cook on low for 4-5 hours or on high for 2-3 hours. The sauce will be thinner, so I recommend removing the pork at the end and reducing the liquid on the stovetop for 5-10 minutes before serving. This version is perfect for busy days when you want dinner ready when you walk in the door.
Gluten-Free Adaptation: This recipe is naturally gluten-free as written! Just double-check your chicken broth and Dijon mustard labels to make sure there’s no hidden gluten. I use Pacific Foods broth and Maille mustard, both of which are gluten-free.
Dairy-Free Option: This recipe is already dairy-free, so no changes needed. The olive oil provides all the richness you need.
Spicy Twist: Add ½ teaspoon of red pepper flakes or a minced chipotle pepper in adobo sauce to the braising liquid. The heat pairs surprisingly well with the sweet apple cider. I tried this on a whim one night and it was fantastic—my husband called it “autumn with a kick.”
Herb Variations: If you don’t have rosemary and thyme, try sage and marjoram instead. Sage especially complements apple flavors. I’ve also used a tablespoon of fresh chopped tarragon, which adds a subtle anise note that’s lovely.
Serving & Storage Suggestions
This dish is versatile when it comes to serving. Here’s how I like to enjoy it, plus tips for leftovers.
Serving Temperature: Serve the pork warm, right after resting. The sauce should be hot and glossy. I like to pour it over the sliced meat just before serving so it stays shiny and doesn’t get absorbed.
What to Serve With It: This pork pairs beautifully with mashed potatoes (the sauce is perfect for sopping up), roasted Brussels sprouts, or a simple green salad with a tangy vinaigrette. I also love serving it with crusty bread to mop up every last drop of that cider sauce. For a full fall feast, add roasted butternut squash or apple-sausage stuffing.
Storage: Store leftover pork and sauce in an airtight container in the refrigerator for up to 4 days. The flavors actually deepen overnight—the apple and herb notes become more pronounced. I often make this a day ahead on purpose.
Freezing: This dish freezes well for up to 3 months. Let it cool completely, then transfer to a freezer-safe container. Thaw overnight in the refrigerator before reheating.
Reheating: The best way to reheat is gently on the stovetop over low heat. Add a splash of apple cider or broth if the sauce has thickened too much. You can also reheat individual portions in the microwave, but the texture won’t be quite as good. I’ve found that reheating in a covered skillet over low heat for about 5-7 minutes works perfectly.
How Flavors Develop: Like many braised dishes, this one tastes even better the next day. The pork absorbs more of the cider flavor, and the sauce becomes richer and more complex. If you’re planning ahead, make this a day in advance and reheat gently before serving. Your guests will think you’ve been cooking all day.
Nutritional Information & Benefits
Here’s a rough estimate of the nutritional content per serving (based on 4 servings, not including optional garnishes or side dishes):
| Nutrient | Amount per Serving |
|---|---|
| Calories | 320 |
| Protein | 35g |
| Fat | 12g |
| Saturated Fat | 2.5g |
| Carbohydrates | 18g |
| Fiber | 1g |
| Sugar | 14g |
| Sodium | 480mg |
Pork tenderloin is one of the leanest cuts of meat, making this a relatively healthy dinner option. It’s packed with protein, B vitamins (especially B6 and B12), and selenium, which supports immune function. The apple cider provides a small amount of vitamin C and antioxidants, while the onions and garlic add prebiotic fiber that supports gut health.
This recipe is naturally gluten-free and dairy-free, making it suitable for many dietary needs. If you’re watching your sugar intake, you can reduce the brown sugar to 1 tablespoon—the apple cider provides plenty of natural sweetness. I’ve made it this way for friends who are low-sugar, and it’s still delicious.
From a wellness perspective, I love that this dish feels indulgent but is actually quite balanced. It’s the kind of meal that satisfies without weighing you down. Perfect for those fall evenings when you want comfort without the guilt.
Conclusion
This Cozy Apple Cider Braised Pork Tenderloin has become a staple in my kitchen for good reason. It’s the recipe I turn to when I want something that feels special but doesn’t require hours of work. The combination of tender pork, sweet-tangy cider glaze, and aromatic herbs is pure autumn comfort—the kind of meal that makes you want to light a candle, pour a glass of wine, and savor every bite.
I encourage you to make this recipe your own. Adjust the herbs, add some vegetables, or give it a spicy kick. Cooking is about experimenting and finding what works for you. That’s the beauty of a simple, forgiving recipe like this one—it leaves room for your personal touch.
Honestly, I love this recipe because it reminds me that you don’t need a fancy pantry or hours of free time to create something memorable. Sometimes the best meals come from a late-night impulse, a few simple ingredients, and the willingness to try something new. I hope this dish brings you the same warmth and comfort it’s brought me.
If you make this recipe, I’d love to hear about it! Leave a comment below with your thoughts, share your own variations, or tag me in your photos. Let’s keep the conversation going—after all, the best recipes are the ones we share.
Frequently Asked Questions
Can I use pork loin instead of pork tenderloin?
You can, but the cooking time will be different. Pork loin is larger and thicker, so you’ll need to braise it for 40-50 minutes instead of 20-25. Use your instant-read thermometer to check for doneness. The texture will be slightly leaner and less tender, but it still works well.
Can I make this recipe with chicken?
Absolutely! Boneless, skinless chicken thighs work best because they stay moist during braising. Use the same method, but reduce the cooking time to 15-20 minutes. Chicken breasts will work too, but watch them carefully—they can dry out quickly.
What if I don’t have apple cider? Can I use apple juice?
Apple juice will work in a pinch, but the flavor will be less complex. Apple cider is unfiltered and has a richer, more tart apple flavor. If using apple juice, add an extra tablespoon of apple cider vinegar to balance the sweetness. You could also use hard cider for an adult twist—just cook it a little longer to burn off the alcohol.
How do I prevent the pork from drying out?
The key is using a thermometer and not overcooking. Pull the pork at 140°F (60°C) and let it rest. Also, make sure your braising liquid comes at least halfway up the sides of the meat. If it’s too shallow, the exposed part will dry out. And don’t skip the sear—that crust seals in moisture.
Can I prepare this recipe ahead of time for a dinner party?
Yes! This is actually a great make-ahead dish. Prepare the recipe completely, then let it cool and refrigerate. The next day, reheat gently on the stovetop over low heat, adding a splash of cider if needed. The flavors will be even better. Slice and serve just before your guests arrive.
Pin This Recipe!
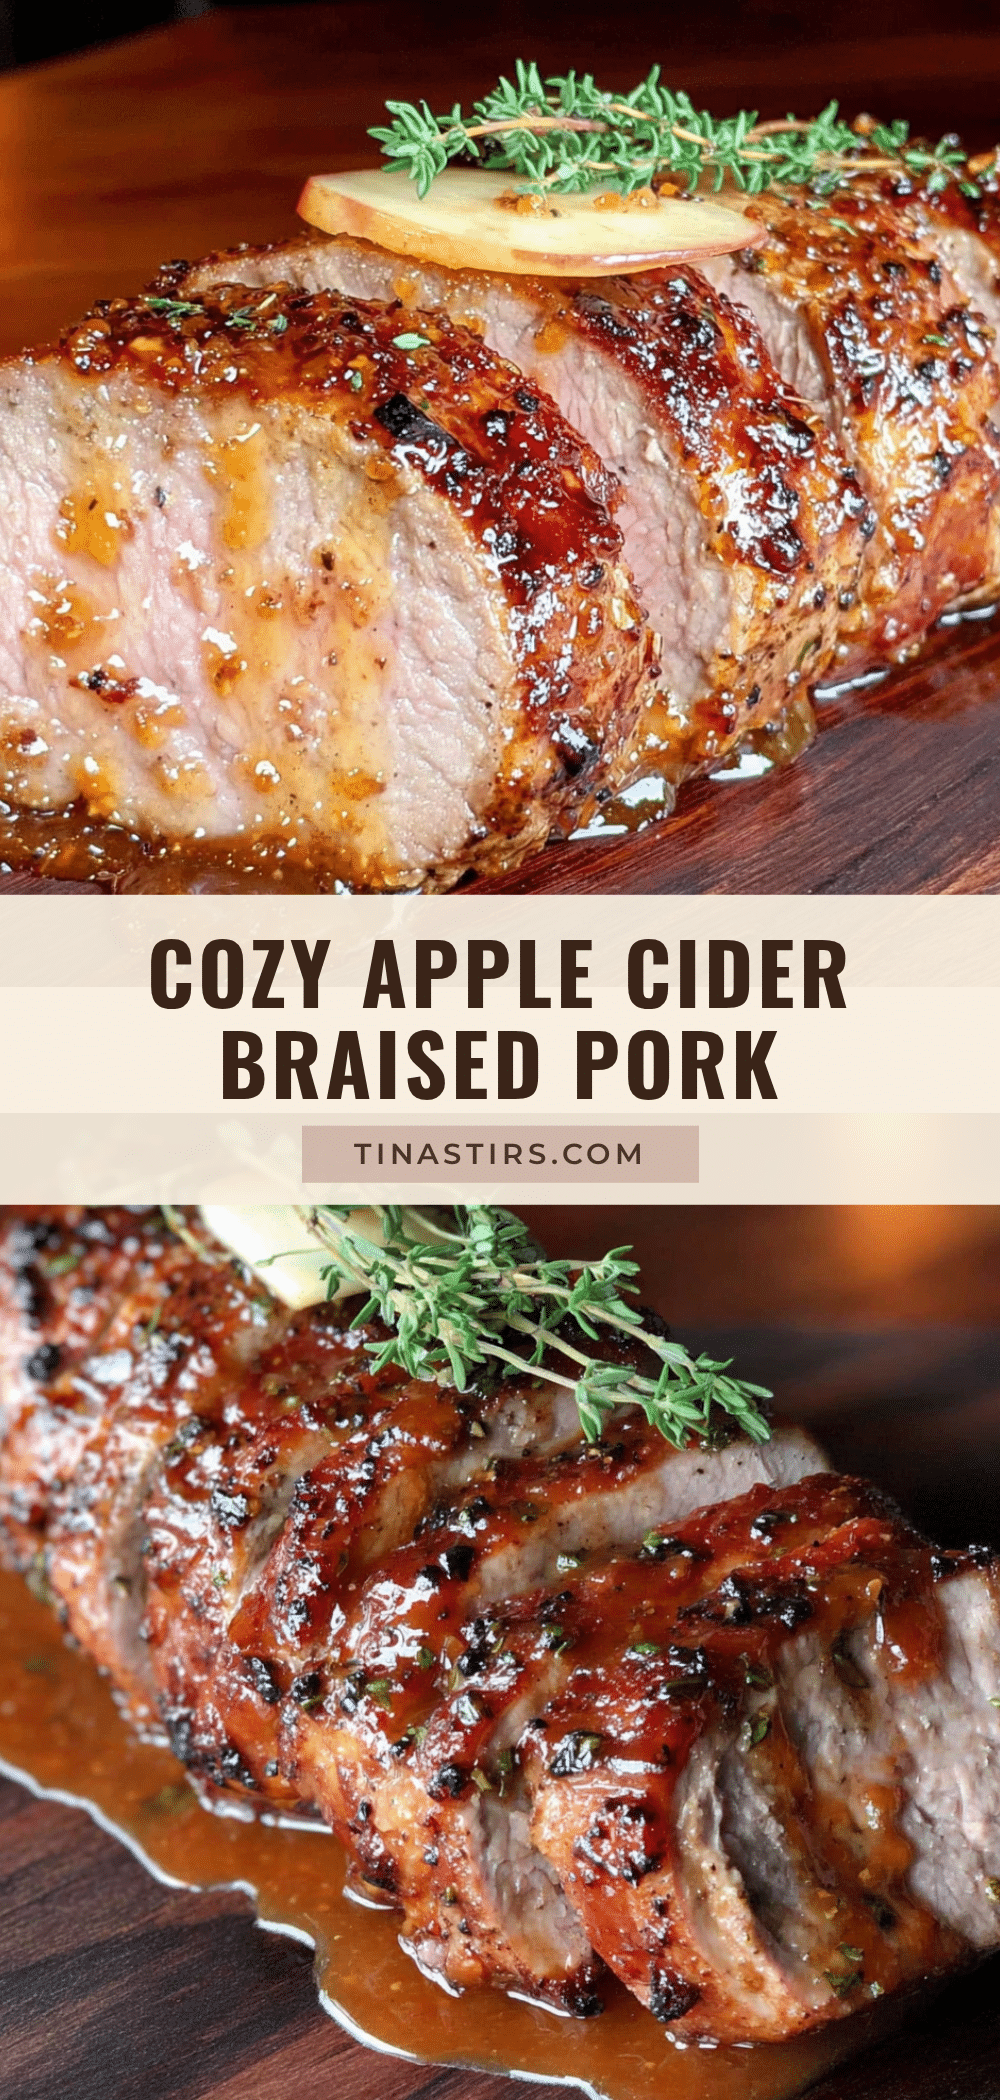
Cozy Apple Cider Braised Pork Tenderloin – Easy Fall Dinner

A quick and easy fall dinner featuring fork-tender pork tenderloin braised in a sweet-tangy apple cider glaze with aromatic herbs. Ready in under an hour, this comforting dish is perfect for busy weeknights or cozy gatherings.
- Prep Time: 15 minutes
- Cook Time: 30 minutes
- Total Time: 45 minutes
- Yield: 4 servings 1x
- Category: Main Course
- Cuisine: American
Ingredients
- 1 ½ pounds pork tenderloin
- 2 tablespoons olive oil
- 1 medium yellow onion, thinly sliced
- 3 cloves garlic, smashed
- 2 cups fresh apple cider (unfiltered preferred)
- ½ cup low-sodium chicken broth
- 2 tablespoons apple cider vinegar
- 2 tablespoons packed brown sugar (light or dark)
- 1 tablespoon Dijon mustard
- 2 sprigs fresh rosemary (or 1 teaspoon dried)
- 2 sprigs fresh thyme (or ½ teaspoon dried)
- 1 bay leaf
- Salt and black pepper, to taste
- Fresh parsley, chopped (optional garnish)
- 1 apple, thinly sliced (optional garnish, Honeycrisp or Fuji)
- Flaky sea salt (optional garnish, e.g., Maldon)
Instructions
- Pat the pork tenderloin dry with paper towels. Season generously on all sides with salt and black pepper. Let sit at room temperature for 15 minutes.
- Heat olive oil in a large Dutch oven or heavy-bottomed pot over medium-high heat until shimmering. Sear the tenderloin for 3-4 minutes per side until deeply golden brown (total about 12-15 minutes). Remove pork to a plate and set aside.
- Reduce heat to medium. Add sliced onion to the pot and cook for 4-5 minutes, stirring occasionally, until softened and translucent. Scrape up any browned bits from the bottom. Add smashed garlic and cook for 1 minute more until fragrant.
- Pour in apple cider and chicken broth. Increase heat to high and bring to a boil. Add apple cider vinegar, brown sugar, Dijon mustard, rosemary, thyme, and bay leaf. Stir well. Let boil for 8-10 minutes until the liquid is reduced by half and slightly syrupy.
- Reduce heat to low. Return the seared pork to the pot, nestling it into the liquid (liquid should come about halfway up the sides). Cover with lid and simmer gently for 20-25 minutes. Check internal temperature with an instant-read thermometer: 140°F (60°C) for medium, 145°F (63°C) for medium-well.
- Remove pork from pot and let rest on a cutting board for 5-10 minutes. Meanwhile, increase heat under the braising liquid to medium-high and simmer for 2-3 minutes to thicken further. Remove herb sprigs and bay leaf.
- Slice pork against the grain into ½-inch thick medallions. Arrange on a platter and spoon reduced cider sauce over the top. Garnish with fresh parsley and apple slices if desired. Sprinkle with flaky sea salt.
Notes
Don’t skip the sear—it builds deep flavor. Use an instant-read thermometer to avoid overcooking; pull pork at 140°F for juicy results. Let the braising liquid reduce properly before adding the pork back in. The sauce thickens as it cools and makes a great spread for sandwiches. For a one-pot meal, add chopped carrots and parsnips during the last 15 minutes of braising.
Nutrition
- Serving Size: 4 servings
- Calories: 320
- Sugar: 14
- Sodium: 480
- Fat: 12
- Saturated Fat: 2.5
- Carbohydrates: 18
- Fiber: 1
- Protein: 35
Keywords: apple cider braised pork, pork tenderloin, fall dinner, easy pork recipe, braised pork, apple cider recipe, comfort food, one-pot meal


