Love this? Save it for later!
Share the inspiration with your friends
My husband had claimed to hate squash for as long as I’d known him. Fifteen years. Then the Tuesday after Thanksgiving last year, I made this sausage-stuffed acorn squash “just for myself” and found him standing over the baking dish in his socks, fork in hand, scraping the last bit of filling from the skin. He didn’t even say anything. Just looked at me with these wide eyes, a little embarrassed, a little amazed. I mean, honestly, I almost didn’t say anything either. I just handed him a napkin and smiled.
That’s the thing about this kid-approved sausage-stuffed acorn squash. It doesn’t try to convince anyone. It just sits there, all golden and savory, with that sweet roasted squash edge and the herby, juicy sausage filling, and lets people discover it for themselves. And maybe you’ve been there—trying to get a family member to eat something they’ve decided they don’t like, only to have them cave when the right version shows up.
I’ve made this dish for picky kids, skeptical spouses, and even a neighbor who swore she didn’t “do” fall vegetables. Every single time, someone ends up asking for the recipe. It’s not fancy. It’s not complicated. It’s just good, honest food that makes everyone at the table happy without breaking the bank. And honestly? That’s the kind of recipe worth keeping close.
Why You’ll Love This Recipe
Let me tell you why this kid-approved sausage-stuffed acorn squash has become my go-to for busy fall weeknights. It hits every single note a busy parent needs without any of the stress.
- Quick & Easy: From start to table in about an hour, with only 15 minutes of active prep. The oven does the heavy lifting while you tackle homework or unload the dishwasher.
- Simple Ingredients: You probably already have most of these in your pantry. No trips to specialty stores, no hunting down obscure spices.
- Perfect for Family Dinners: This dish feels special enough for a Sunday supper but is easy enough for a Tuesday. It’s the kind of meal that makes a regular night feel like an occasion.
- Crowd-Pleaser: I’ve served this to kids as young as four and adults well into their seventies. Empty plates all around. The sweet squash and savory sausage combo is basically magic for picky eaters.
- Unbelievably Delicious: The texture is what gets me every time—tender, caramelized squash against that juicy, herby filling with just a little crunch from the breadcrumbs. It’s comfort food that feels wholesome.
What makes this recipe different from the dozens of stuffed squash recipes out there is the balance. I tested this five times to get the sausage-to-squash ratio just right, the cooking time perfect so the squash isn’t mushy, and the seasoning subtle enough for kids but satisfying for adults. This isn’t just another version. It’s the one I keep coming back to, and I think you will too.
What Ingredients You Will Need
This recipe uses simple, honest ingredients that work together to create something genuinely special. Most of these are pantry staples or easy to find at any grocery store, which is exactly what I look for when feeding a family on a budget.
- Acorn squash (2 medium): Look for squash that feels heavy for its size and has a deep green color with some orange patches. The orange spots mean it’s riper and sweeter. I usually grab a third one just in case one is dud.
- Ground pork sausage (1 pound): I prefer a mild breakfast sausage or sweet Italian sausage (casings removed). The seasoning in the sausage carries the whole dish, so don’t go too spicy unless your crew handles heat well. Jimmy Dean or your store brand both work great.
- Yellow onion (1 medium, diced): Adds sweetness and depth. No need to get fancy—a standard yellow onion does the job perfectly.
- Garlic (3 cloves, minced): Fresh garlic makes a difference here. The pre-minced stuff in the jar works in a pinch, but fresh gives you that aromatic punch that fills the kitchen.
- Apple (1 medium, diced small): This is my secret weapon. A Honeycrisp or Fuji adds sweetness and moisture that balances the savory sausage. The kids never know it’s in there, and the texture blends right in.
- Panko breadcrumbs (1/2 cup): They add just enough structure to the filling without making it heavy. Regular breadcrumbs work too, but panko gives a nicer texture.
- Dried sage (1 teaspoon): Sage and squash are a classic pairing. It brings warmth and that unmistakable fall flavor.
- Dried thyme (1/2 teaspoon): Adds an earthy note that rounds out the sausage.
- Salt and black pepper (to taste): Go easy on the salt since the sausage is already seasoned.
- Chicken broth (1/4 cup): Keeps the filling moist as it bakes. Low-sodium is best so you can control the salt.
- Olive oil (2 tablespoons): For brushing the squash and sautéing the filling.
- Shredded cheddar cheese (1/2 cup, optional): I add this about 10 minutes before the end for my kids. It melts into the filling and makes everything extra cozy. Skip it if you want a lighter dish.
Equipment Needed
You don’t need a fancy kitchen to pull this off. Here’s what you’ll actually use:
- Large baking dish or rimmed baking sheet: A 9×13 dish works perfectly. I’ve used a half-sheet pan too when I’m making a double batch. Just make sure it has sides to catch any juices.
- Sharp chef’s knife: Acorn squash is tough. A dull knife is dangerous here. I learned that the hard way and still have the scar to prove it.
- Large spoon or ice cream scoop: For scraping out the seeds and strings. An ice cream scoop makes quick work of it.
- Large skillet: For cooking the sausage and onion mixture. Cast iron is my favorite, but any large skillet works.
- Mixing bowl: For combining the filling ingredients.
- Pastry brush (optional): For brushing oil onto the squash. A paper towel works in a pinch.
- Aluminum foil: For covering the squash during the first part of baking so it steams and softens.
If you don’t have a pastry brush, just drizzle the oil over the squash and rub it around with your fingers. It’s not fancy, but it works.
Preparation Method
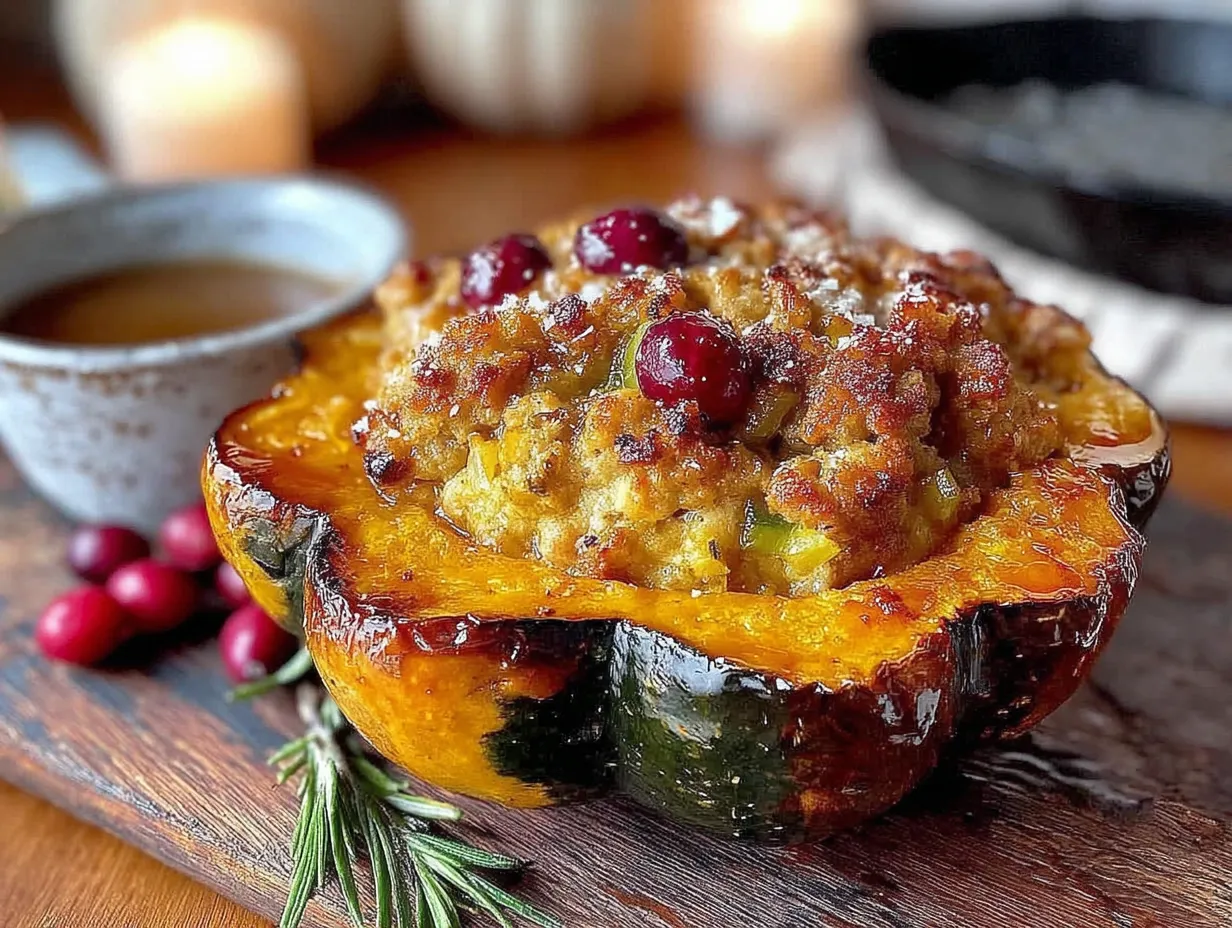
Let me walk you through this step by step. I’ve made this so many times I could do it in my sleep, but I’ll share all the little tricks I’ve picked up along the way.
- Preheat your oven to 400°F (200°C). Get it going first so it’s nice and hot when you’re ready to bake.
- Prep the squash. Cut each acorn squash in half from stem to tip. Be careful—these things are tough. I usually stab the squash with the tip of my knife first to create a little anchor point, then rock the knife through. Scoop out the seeds and stringy bits with a large spoon. Don’t throw the seeds away—you can roast them just like pumpkin seeds for a snack later.
- Season the squash. Brush the cut sides and the cavities with olive oil. Sprinkle lightly with salt and pepper. Place the squash halves cut-side down on your baking dish. This helps them steam and soften while they roast. Pop them in the oven for 20 minutes.
- Start the filling. While the squash roasts, heat a large skillet over medium heat. Add a splash of olive oil, then the ground sausage. Break it up with a wooden spoon and cook until browned and cooked through, about 6-8 minutes. Don’t drain all the fat—some of that flavor needs to stay.
- Add the aromatics. Toss in the diced onion and cook for 3-4 minutes until it softens and turns translucent. Add the minced garlic and cook for another 30 seconds until it smells amazing. Try not to burn the garlic—I’ve done it, and it’s a bummer.
- Add the apple. Stir in the diced apple and cook for 2 minutes. It should soften slightly but still have a little texture. The apple adds sweetness without needing sugar, which is great for keeping the dish balanced.
- Combine the filling. Transfer the sausage mixture to a mixing bowl. Add the panko breadcrumbs, dried sage, dried thyme, and chicken broth. Stir everything together until well combined. Taste it and adjust salt and pepper if needed. The filling should be moist but not soggy.
- Stuff the squash. Pull the squash out of the oven and carefully flip each half over so the cut side is facing up. Let them cool for a couple minutes so you don’t burn your fingers. Divide the filling evenly among the four squash halves, mounding it slightly in the center.
- Bake the stuffed squash. Return the dish to the oven and bake for 20 minutes. The squash should be tender when pierced with a fork, and the filling should be hot and slightly browned on top.
- Add cheese (if using). Sprinkle shredded cheddar over the tops and bake for another 5-10 minutes until melted and bubbly. This step is optional but highly recommended if you’re feeding kids.
- Rest and serve. Let the squash sit for 5 minutes before serving. This helps the filling set and prevents anyone from burning their mouth. Trust me on this one—I’ve served it too hot before, and the disappointment is real.
Cooking Tips & Techniques
I’ve made every mistake in the book with this recipe so you don’t have to. Here’s what I’ve learned:
Don’t overcook the squash. The first time I made this, I baked the squash for 30 minutes before stuffing it, then another 30 minutes after. It turned into mush. You want the squash to be tender but still hold its shape. Twenty minutes cut-side down, then 20 minutes stuffed is the sweet spot.
Use room temperature ingredients. I know, I know, who has time for that? But the filling comes together better when the sausage isn’t ice-cold. Let it sit on the counter for 15 minutes before cooking if you can.
Make extra filling. I always make a little more filling than I think I’ll need. Sometimes the squash halves are bigger than expected, and extra filling is never a bad thing. You can eat it on its own or stuff it into a bell pepper the next day.
Line your baking dish. The filling can stick and make cleanup a pain. A sheet of parchment paper or a quick spray of nonstick cooking spray saves you from scrubbing later.
Multitask wisely. While the squash does its first roast, make the filling. While the stuffed squash bakes, make a simple side salad or steam some green beans. The timing works out perfectly if you plan ahead.
One mistake I still make: I forget to check the squash for doneness before pulling it out. The fork should slide in with gentle resistance, not like butter. If it fights back, give it another 5 minutes.
Variations & Adaptations
This recipe is flexible, and I love that about it. Here are some ways to make it your own:
- Make it vegetarian: Swap the sausage for a plant-based crumble or sautéed mushrooms and lentils. Add an extra 1/4 cup of breadcrumbs and a splash more broth to keep it moist. I’ve done this for my sister-in-law, and she said it was the best stuffed squash she’d ever had.
- Go gluten-free: Use gluten-free breadcrumbs or crushed pork rinds for a low-carb option. The texture changes slightly, but the flavor is still spot on.
- Switch up the protein: Ground turkey or chicken works beautifully. Just add a tablespoon of olive oil to the pan since lean poultry doesn’t have as much fat. Ground beef works too, but I prefer the lighter flavor of pork or turkey.
- Add more veggies: Finely diced mushrooms, zucchini, or bell peppers sneak in extra nutrition without anyone noticing. I’ve hidden a full cup of grated zucchini in this before, and nobody said a word.
- Spice it up: If your family likes heat, add a pinch of red pepper flakes or use hot Italian sausage. I keep mine mild for the kids, but I’ve been known to sprinkle some on my own portion.
- Try different squash: Butternut squash works too—just cut it in half lengthwise and scoop out the seeds. The cooking time is about the same. Spaghetti squash is a fun twist, but the texture is totally different.
Serving & Storage Suggestions
This kid-approved sausage-stuffed acorn squash is a meal on its own, but it pairs beautifully with a few simple sides.
Serving temperature: Serve it warm, not piping hot. The flavors really come together after a 5-minute rest. I’ve served it at room temperature too, and it’s still delicious—great for packed lunches the next day.
What to serve with it: A simple green salad with a tangy vinaigrette cuts through the richness. Roasted Brussels sprouts or steamed green beans are also excellent. For a heartier meal, serve it with crusty bread to soak up any juices left in the dish.
Storage: Leftovers keep in the fridge for up to 4 days in an airtight container. The squash softens a bit more as it sits, but the flavor actually gets better. I sometimes make a double batch just for the leftovers.
Reheating: The oven is your best friend here. Reheat at 350°F for 10-15 minutes until warmed through. The microwave works in a pinch, but the squash can get mushy. If you’re in a hurry, microwave on 50% power for 2-3 minutes.
Freezing: You can freeze the stuffed squash before or after baking. Assemble the dish, let it cool completely, wrap tightly in foil, and freeze for up to 3 months. To serve, thaw overnight in the fridge and bake at 350°F for 25-30 minutes. The texture is slightly softer after freezing, but it’s still delicious.
How flavors develop: Honestly, this dish is even better the next day. The flavors meld together overnight, and the squash absorbs all that savory goodness. If you can, make it a day ahead and just reheat it for dinner.
Nutritional Information & Benefits
This dish is packed with good stuff, and I feel great about serving it to my family.
Estimated nutritional values per serving (1 stuffed squash half):
- Calories: 380-420
- Protein: 22g
- Carbohydrates: 32g
- Fiber: 5g
- Fat: 20g
- Saturated Fat: 7g
- Sodium: 650mg (varies by sausage brand)
Health benefits: Acorn squash is loaded with vitamin A, vitamin C, and fiber. It’s great for eye health and digestion. The sausage provides protein and iron, while the apple adds a boost of antioxidants and natural sweetness without refined sugar. This is comfort food that actually supports your body.
Dietary considerations: This recipe is naturally nut-free and egg-free. For gluten-free, use certified GF breadcrumbs. For dairy-free, skip the cheese or use a dairy-free alternative. The recipe is relatively low in added sugars, making it suitable for those watching their sugar intake.
Potential allergens: Contains gluten (breadcrumbs) and dairy (cheese, optional). Check your sausage for any hidden allergens—some brands add fillers or preservatives.
My personal take: I love that this dish feels indulgent while being genuinely nutritious. It’s the kind of meal that fills you up without weighing you down, and that’s a win in my book.
Conclusion
This kid-approved sausage-stuffed acorn squash has earned a permanent spot in my fall dinner rotation. It’s the recipe that turned my squash-hating husband into a fan, the one that gets my kids asking for seconds, and the one I turn to when I need something that feels special without being complicated.
I hope you make it your own. Maybe you’ll add a different cheese, swap in your family’s favorite sausage, or sneak in some extra veggies. That’s the beauty of a good recipe—it’s a starting point, not a rulebook.
If you try this recipe, I’d love to hear how it went. Did your picky eater surprise you? Did you discover a new favorite variation? Drop a comment below and let me know. And if you’re looking for more easy family dinners, you might also enjoy my sausage and pepper skillet or this one-pan roasted chicken and vegetables.
Happy cooking, friends. Here’s to meals that bring everyone to the table.
Frequently Asked Questions
Can I use a different type of squash?
Absolutely. Butternut squash works great—just cut it in half lengthwise and scoop out the seeds. The cooking time is similar. Spaghetti squash is a fun option too, but the texture and presentation will be totally different. Acorn squash is my favorite for this because the shape is perfect for stuffing, and the flavor is mild enough for kids.
How do I prevent the squash from being watery?
The key is not overcooking the squash and not overfilling it with too much liquid. Roasting the squash cut-side down first helps steam escape. Also, make sure your filling isn’t too wet—if it seems loose, add a tablespoon more breadcrumbs. And let the squash rest for 5 minutes after baking so excess moisture can redistribute.
Can I make this ahead of time?
Yes! You can assemble the stuffed squash up to 24 hours ahead and keep it covered in the fridge. Just add an extra 5-10 minutes to the baking time since you’re starting from cold. You can also freeze it before or after baking. It’s a great meal prep option for busy weeks.
What if my kids don’t like the texture of squash?
I’ve been there. Try cutting the roasted squash into small cubes and mixing it into the filling before stuffing. That way, it’s less obvious and blends with the sausage. You can also mash the roasted squash and mix it into the filling entirely—it adds moisture and sweetness without the squash texture being noticeable.
How do I know when the squash is fully cooked?
The squash should be tender when pierced with a fork. The fork should slide in with gentle resistance, not like butter. If it’s still hard, give it another 5-10 minutes. If it’s too soft and falling apart, it’s overcooked. The sweet spot is when the squash is tender but still holds its shape when you pick it up.
Pin This Recipe!
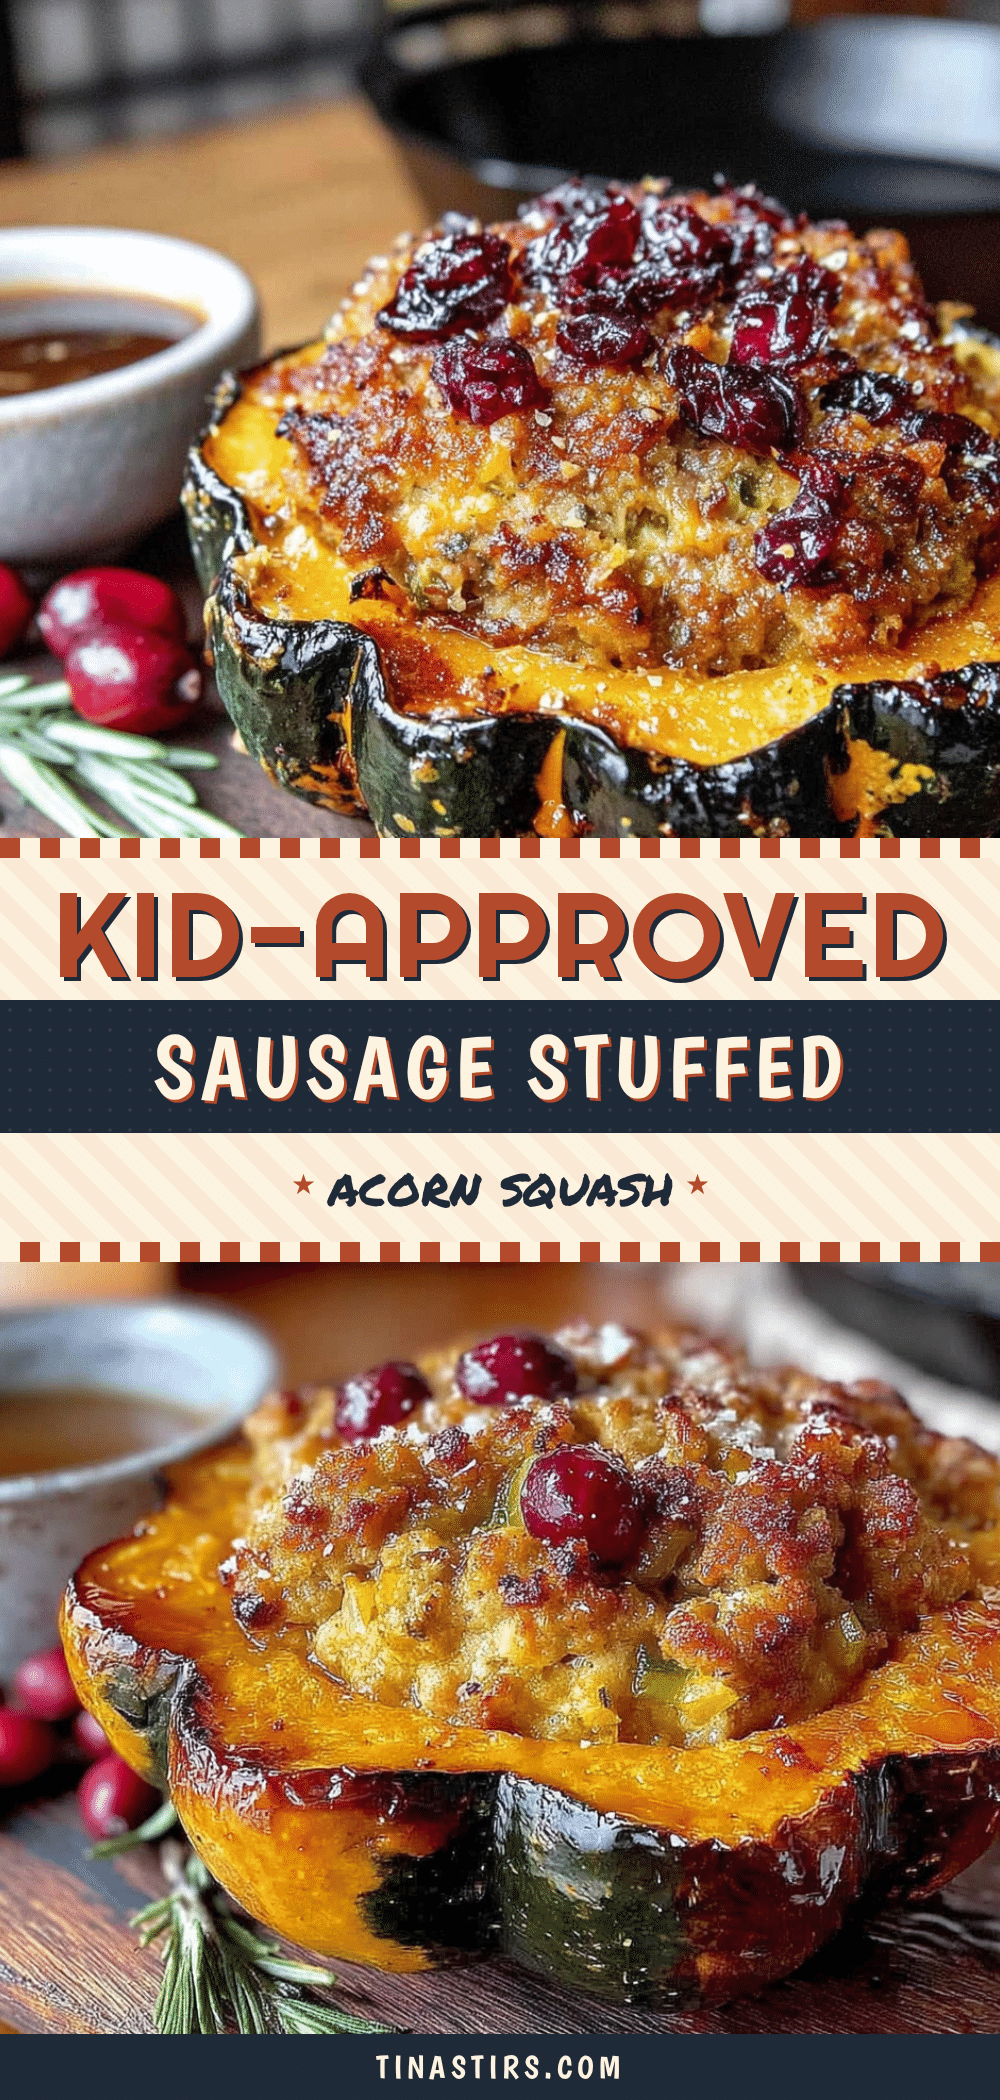
Kid-Approved Sausage-Stuffed Acorn Squash Easy Fall Dinner

A savory and sweet stuffed acorn squash with herby sausage and apple filling, perfect for family dinners. This easy fall recipe turns even squash skeptics into fans.
- Prep Time: 15 minutes
- Cook Time: 40 minutes
- Total Time: 55 minutes
- Yield: 4 servings 1x
- Category: Main Course
- Cuisine: American
Ingredients
- 2 medium acorn squash
- 1 pound ground pork sausage (mild breakfast or sweet Italian, casings removed)
- 1 medium yellow onion, diced
- 3 cloves garlic, minced
- 1 medium apple (Honeycrisp or Fuji), diced small
- 1/2 cup panko breadcrumbs
- 1 teaspoon dried sage
- 1/2 teaspoon dried thyme
- Salt and black pepper to taste
- 1/4 cup chicken broth (low-sodium preferred)
- 2 tablespoons olive oil
- 1/2 cup shredded cheddar cheese (optional)
Instructions
- Preheat oven to 400°F (200°C).
- Cut each acorn squash in half from stem to tip. Scoop out seeds and stringy bits.
- Brush cut sides and cavities with olive oil. Sprinkle lightly with salt and pepper. Place squash halves cut-side down on a baking dish. Roast for 20 minutes.
- While squash roasts, heat a large skillet over medium heat with a splash of olive oil. Add ground sausage and cook until browned, about 6-8 minutes, breaking it up with a spoon.
- Add diced onion to the skillet and cook for 3-4 minutes until softened. Add minced garlic and cook for 30 seconds.
- Stir in diced apple and cook for 2 minutes until slightly softened.
- Transfer sausage mixture to a mixing bowl. Add panko breadcrumbs, dried sage, dried thyme, and chicken broth. Stir to combine. Season with salt and pepper to taste.
- Remove squash from oven. Carefully flip each half cut-side up. Let cool for a couple minutes.
- Divide filling evenly among the four squash halves, mounding slightly.
- Return to oven and bake for 20 minutes until squash is tender and filling is hot and slightly browned.
- If using cheese, sprinkle over tops and bake for another 5-10 minutes until melted and bubbly.
- Let squash rest for 5 minutes before serving.
Notes
Don’t overcook the squash; 20 minutes cut-side down then 20 minutes stuffed is ideal. Use room temperature ingredients if possible. Make extra filling for larger squash or leftovers. Line baking dish for easy cleanup. Let squash rest 5 minutes before serving to allow filling to set.
Nutrition
- Serving Size: 1 stuffed squash hal
- Calories: 400
- Sugar: 8
- Sodium: 650
- Fat: 20
- Saturated Fat: 7
- Carbohydrates: 32
- Fiber: 5
- Protein: 22
Keywords: sausage stuffed acorn squash, fall dinner, kid-friendly, easy weeknight meal, stuffed squash


