Love this? Save it for later!
Share the inspiration with your friends
My nephew asked why I couldn’t just use cake mix instead of making cookies from scratch. I started to explain why that wouldn’t work—then stopped. Honestly, I had no good reason. I just assumed real bakers don’t do that. But this kid, all of twelve years old, looked at me with that “you’re overcomplicating this” expression that only a pre-teen can pull off.
So I tried it. I grabbed a box of vanilla cake mix I’d been saving for a rainy day, tossed in some sprinkles, and held my breath. Twenty minutes later, I was eating the softest, most ridiculously fun cookie I’d ever made. And I had to admit—out loud—that he was right. The teacher became the student, and honestly? It was kind of refreshing.
These lightened-up birthday cake cookies with sprinkles are now my go-to when I want that celebration feeling without spending all day in the kitchen. They’re not overly sweet, they’re surprisingly forgiving, and they make you feel like a kid again. Maybe you’ve been there—stuck in your ways, certain there’s only one “right” way to do something, only to discover the shortcut actually works better. That’s this cookie in a nutshell.
I keep coming back to this recipe because it delivers that nostalgic birthday cake flavor in cookie form, minus the guilt. And every time I make them, I remember that afternoon when a twelve-year-old taught me something I should’ve figured out years ago: sometimes the easiest path is the best one.
Why You’ll Love This Recipe
Let me tell you—these cookies have earned a permanent spot in my rotation. After testing this recipe at least six times (someone had to eat the evidence), I can confidently say these are the birthday cake cookies you’ve been looking for.
- Quick & Easy: From mixing bowl to cooling rack in under 25 minutes. No chilling, no complicated steps, no fuss.
- Simple Ingredients: A box of cake mix, a few pantry staples, and sprinkles. That’s literally it.
- Perfect for Celebrations: Birthdays, office parties, or a random Tuesday that needs a little sparkle.
- Crowd-Pleaser: Kids devour them, adults sneak seconds, and everyone asks for the recipe.
- Unbelievably Delicious: Soft centers, slightly crispy edges, and that nostalgic birthday cake flavor that hits different.
What makes these different from every other cookie recipe out there? It’s the texture, honestly. Using cake mix instead of a traditional flour base gives these cookies an almost cloud-like softness that regular sugar cookies just can’t match. Plus, they’re lightened up—I swapped in Greek yogurt for some of the butter, and you genuinely cannot tell the difference.
This isn’t just another cookie recipe. It’s the kind that makes you close your eyes after the first bite. Comfort food reimagined—healthier, faster, but with the same soul-soothing satisfaction. Perfect for impressing guests without stress, or turning a simple weekday into something worth celebrating.
What Ingredients You Will Need
This recipe uses simple, wholesome ingredients to deliver bold flavor and satisfying texture without the fuss. Most of these are probably already in your kitchen, which is honestly the best part.
- Box of vanilla cake mix (15.25 oz) — I prefer Duncan Hines or Betty Crocker for consistent results. Look for a mix without pudding in the ingredients for the best cookie texture.
- Greek yogurt (¼ cup, plain) — This is my secret weapon for lightening things up. It replaces some of the butter while adding moisture and a tiny protein boost. Use full-fat or 2% for best results.
- Unsalted butter (3 tablespoons, melted) — Just enough for richness without going overboard. If you only have salted butter, reduce the added salt by half.
- Egg (1 large, room temperature) — Helps bind everything together. Let it sit out for 15 minutes if you forgot—it really does make a difference.
- Vanilla extract (1 teaspoon) — Pure vanilla extract tastes noticeably better, but imitation works fine in a pinch.
- Rainbow sprinkles (⅓ cup) — The star of the show! Use jimmies (the long skinny ones) rather than nonpareils, which tend to bleed their color into the dough.
- Baking soda (¼ teaspoon) — Helps the cookies spread just enough without becoming flat pancakes.
- Pinch of salt — Balances the sweetness. Don’t skip it, even though the cake mix already has salt.
For the glaze (optional but highly recommended):
- Powdered sugar (½ cup)
- Milk (1-2 tablespoons, any kind works)
- Vanilla extract (¼ teaspoon)
- Extra sprinkles for topping
If you’re looking to swap ingredients, here are some options I’ve tested. Use dairy-free Greek yogurt and plant-based butter for a dairy-free version. For a gluten-free option, use a gluten-free vanilla cake mix—just check the package instructions because some need an extra egg. And if you’re out of Greek yogurt, sour cream works beautifully too, though the cookies will be slightly richer.
Equipment Needed
You don’t need a fancy kitchen to pull these off. Here’s what you’ll actually use:
- Large mixing bowl — Any bowl works, but a wide one makes mixing easier.
- Whisk or electric mixer — A whisk works fine, but a hand mixer makes it even faster. I’ve used both, and honestly, the whisk builds arm muscles.
- Baking sheet — A light-colored, rimmed baking sheet gives the most even results. Dark sheets can make the bottoms brown too quickly.
- Parchment paper or silicone baking mat — Non-negotiable for easy cleanup and preventing sticking.
- Cookie scoop (about 1.5 tablespoons) — Ensures evenly sized cookies. A regular spoon works too, but your cookies might vary in size.
- Cooling rack — Helps the cookies cool evenly without soggy bottoms.
- Small bowl and whisk — For the glaze, if you’re making it.
If you don’t have a cookie scoop, use two spoons to drop the dough. And if you’re out of parchment paper, lightly greasing the baking sheet works, but the bottoms might brown a touch more. I learned that one the hard way.
Preparation Method
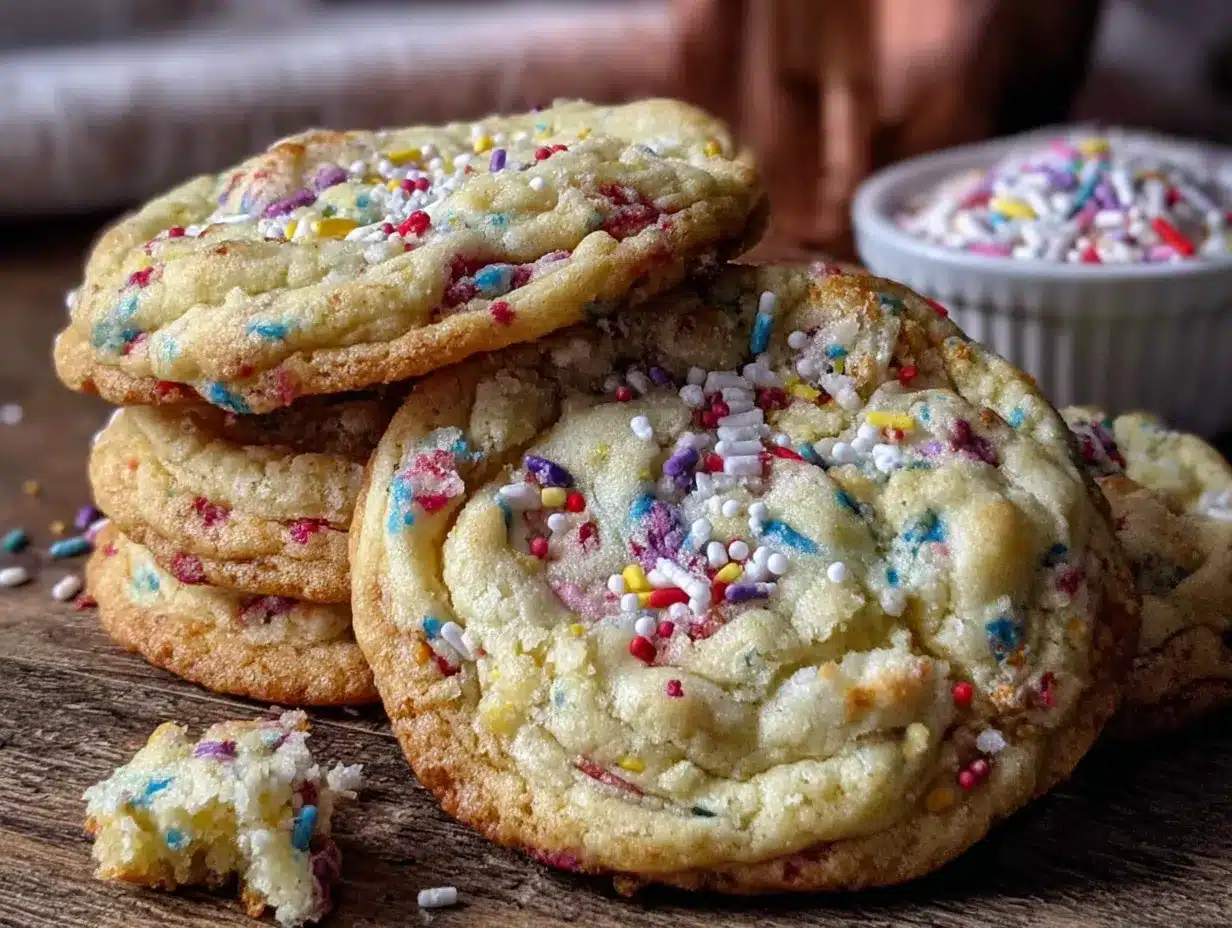
Alright, let’s make these cookies. The whole process takes about 20 minutes, and I promise you can’t mess this up.
- Preheat your oven to 350°F (175°C). Line a baking sheet with parchment paper or a silicone mat. Do this first so the oven is ready when you are.
- Melt the butter. Pop 3 tablespoons of unsalted butter in the microwave for about 20 seconds, or until just melted. Set it aside to cool slightly—you don’t want it hot enough to cook the egg.
- Mix the wet ingredients. In a large bowl, whisk together the melted butter, Greek yogurt, egg, and vanilla extract. It should look smooth and slightly glossy. If the butter seizes up a bit from the cold yogurt, don’t panic—just keep whisking.
- Add the dry ingredients. Pour in the cake mix, baking soda, and salt. Stir until just combined. A few streaks of flour are okay—overmixing makes cookies tough. The dough will be thick and slightly sticky, which is exactly what you want.
- Fold in the sprinkles. Gently stir in the rainbow sprinkles with a spatula. Don’t overmix, or the colors might bleed. You want those bright specks visible throughout the dough.
- Scoop the dough. Use your cookie scoop or a spoon to portion out rounded tablespoons of dough. Place them about 2 inches apart on the prepared baking sheet. I usually fit 9-10 cookies per sheet.
- Bake. Slide the sheet into the oven and bake for 9-11 minutes. The edges should look set and lightly golden, but the centers will still look slightly soft and underdone. That’s the sweet spot—they continue baking on the hot sheet after you pull them out.
- Cool on the sheet. Let the cookies rest on the baking sheet for 2-3 minutes. This is crucial—they’re too fragile to move right away. After that, transfer them to a wire rack to cool completely.
- Make the glaze (optional). While the cookies cool, whisk together powdered sugar, milk, and vanilla extract until smooth. The glaze should be thick but drizzle-able. Add more milk a drop at a time if it’s too stiff.
- Finish and serve. Drizzle the glaze over the cooled cookies and top with extra sprinkles while the glaze is still wet. Let the glaze set for about 10 minutes before serving.
Your kitchen will smell like a bakery at this point. The cookies should be soft, chewy, and studded with pops of color. If they’re browning too fast on the bottom, your oven might run hot—try reducing the temperature by 25°F next time.
Cooking Tips & Techniques
After making these cookies more times than I care to admit, I’ve picked up a few tricks that make a real difference.
Don’t overbake. This is the number one mistake I made early on. These cookies look underdone when you pull them out, and that’s exactly how they should look. The centers will firm up as they cool. Overbaked birthday cake cookies turn into crunchy discs, and nobody wants that.
Chill the dough if you have time. I know I said no chilling required, but if you can spare 30 minutes, pop the dough in the fridge. It prevents spreading and gives you thicker, softer cookies. I’ve done it both ways, and chilled dough definitely wins on texture.
Use a light-colored baking sheet. Dark sheets absorb more heat and can burn the bottoms before the centers are done. I learned this after a sad batch of charcoal-bottomed cookies. If you only have dark sheets, reduce the baking time by a minute or two.
Rotate the pan halfway through. Ovens have hot spots, and rotating the pan at the 5-minute mark ensures even baking. It’s a small step that makes a noticeable difference.
Let the glaze set completely. I know it’s tempting to dig in immediately, but wait those extra 10 minutes. The glaze needs time to firm up, otherwise you’ll end up with sticky fingers and a mess. Worth it, but messy.
One more thing—if your cookies spread too much, your butter was too warm. Next time, let the melted butter cool for a few extra minutes before mixing. Simple fix, but it took me three batches to figure that one out.
Variations & Adaptations
These cookies are incredibly flexible. Here are some variations I’ve tried and loved:
Chocolate Birthday Cake Cookies: Swap the vanilla cake mix for chocolate cake mix and use chocolate sprinkles. The result is a fudgy, rich cookie that tastes like a chocolate birthday party. My neighbor requested these for her kid’s bake sale, and they sold out in 20 minutes.
Lemon Celebration Cookies: Use lemon cake mix and white chocolate chips instead of sprinkles. Add a teaspoon of lemon zest to the dough for extra brightness. The glaze can be made with lemon juice instead of milk for a tangy twist. These are perfect for spring or bridal showers.
Funfetti Cream Cheese Version: Swap half the Greek yogurt for softened cream cheese. The cookies become slightly tangy and even more tender. It’s a subtle change, but cream cheese lovers will notice and appreciate it.
Gluten-Free Option: Use a gluten-free vanilla cake mix. I’ve tested this with King Arthur’s gluten-free mix, and the texture is remarkably close to the original. Add an extra tablespoon of Greek yogurt to compensate for the drier flour blend.
Vegan Birthday Cookies: Use a vegan cake mix, replace the egg with a flax egg (1 tablespoon ground flaxseed + 3 tablespoons water), and use plant-based butter and yogurt. They’re slightly less tender but still deliciously festive.
My personal favorite variation? Adding a handful of white chocolate chips along with the sprinkles. The creamy sweetness of the chips pairs beautifully with the birthday cake flavor. I stumbled on this combo by accident when I ran out of sprinkles halfway through and needed to bulk up the dough. Happy accident.
Serving & Storage Suggestions
These cookies are best served at room temperature, ideally within a few hours of baking. The texture is soft and chewy, the glaze is set but not hard, and the sprinkles add that satisfying little crunch.
For a fun presentation, arrange them on a cake stand or a colorful platter. They’re perfect for birthday parties, but honestly, I’ve served them with coffee on a quiet Sunday morning and they felt just as special.
As for beverages, these cookies pair beautifully with a cold glass of milk (obviously), a vanilla latte, or even a cup of chamomile tea. The mild, sweet flavor of the cookies complements almost any drink.
Storage: Keep leftover cookies in an airtight container at room temperature for up to 4 days. Place a slice of bread in the container to keep them soft—the bread absorbs excess air and releases moisture. Replace the bread slice every other day.
Freezing: These cookies freeze beautifully. Place cooled, unglazed cookies in a single layer in a freezer-safe bag or container. They’ll keep for up to 3 months. When you’re ready to enjoy them, thaw at room temperature for about 30 minutes, then add the glaze fresh. I always keep a stash in the freezer for unexpected guests or late-night cravings.
Reheating: Pop a cookie in the microwave for 8-10 seconds for that just-baked warmth. It’s dangerous knowledge, but worth having.
One note about flavors developing over time: these cookies are actually best on day two. The flavors meld together overnight, and the texture becomes even more tender. If you can resist eating them all on day one, you’re in for a treat.
Nutritional Information & Benefits
Here’s the nutritional breakdown for one cookie (based on 18 cookies with glaze):
| Nutrient | Amount |
|---|---|
| Calories | 145 |
| Total Fat | 5g |
| Saturated Fat | 3g |
| Carbohydrates | 23g |
| Sugar | 14g |
| Protein | 2g |
| Fiber | 0g |
| Sodium | 180mg |
Compared to traditional birthday cake cookies, these are significantly lighter. The Greek yogurt swap reduces the fat content by about 40% while adding protein and calcium. Cake mix cookies also tend to be lower in butter than traditional sugar cookies, making them a smarter choice for everyday indulgence.
The sprinkles add a touch of happiness (and a tiny amount of sugar), but they’re mostly for the celebration factor. If you’re watching your sugar intake, you can reduce the glaze or skip it entirely—the cookies are still delicious on their own.
Potential allergens: These cookies contain dairy, eggs, and gluten. For allergen-friendly options, check the variations section above.
From a wellness perspective, I love that these cookies let you enjoy a treat without derailing your week. They’re proof that eating well doesn’t mean giving up joy. Sometimes a cookie is exactly what you need, and this one won’t leave you feeling sluggish afterward.
Conclusion
These lightened-up birthday cake cookies with sprinkles are the kind of recipe that makes you wonder why you ever overcomplicated things. They’re quick, forgiving, and genuinely delicious—a celebration in cookie form that comes together in under 30 minutes.
I love that they prove you don’t need fancy techniques or obscure ingredients to make something special. Sometimes the best recipes come from letting go of your assumptions and trying something a little unconventional. My nephew taught me that, and I’m grateful every time I bake a batch.
I’d love to hear how these turn out for you! Did you try any fun variations? Maybe you added chocolate chips, swapped the sprinkles for seasonal colors, or made them gluten-free? Drop a comment below and share your creation. And if you loved these, don’t forget to share the recipe with someone who could use a little celebration in their day.
Happy baking—and remember, there’s always room for a cookie with sprinkles.
Frequently Asked Questions
Can I use a different flavor of cake mix?
Absolutely! Strawberry, lemon, or chocolate cake mix all work beautifully. Just adjust the sprinkles to match the flavor. Strawberry cake mix with pink sprinkles is especially fun for Valentine’s Day.
Why did my cookies spread too much?
This usually happens when the butter is too warm or the dough isn’t chilled. Next time, let your melted butter cool for 5 minutes before mixing, and pop the dough in the fridge for 20-30 minutes before baking.
Can I freeze the dough instead of baked cookies?
Yes! Scoop the dough into balls, place them on a baking sheet, and freeze until solid. Transfer to a freezer bag and store for up to 3 months. Bake from frozen, adding 1-2 minutes to the baking time.
How do I make these cookies without a mixer?
No problem at all. A whisk or even a sturdy spatula works perfectly. The dough comes together easily by hand—just make sure the butter is well incorporated. It’s actually a great arm workout!
Can I reduce the sugar in this recipe?
The cake mix already contains sugar, so reducing it is tricky. You can skip the glaze to cut some sugar, or use a sugar-free cake mix. Just note that sugar-free mixes often produce a denser cookie.
Pin This Recipe!
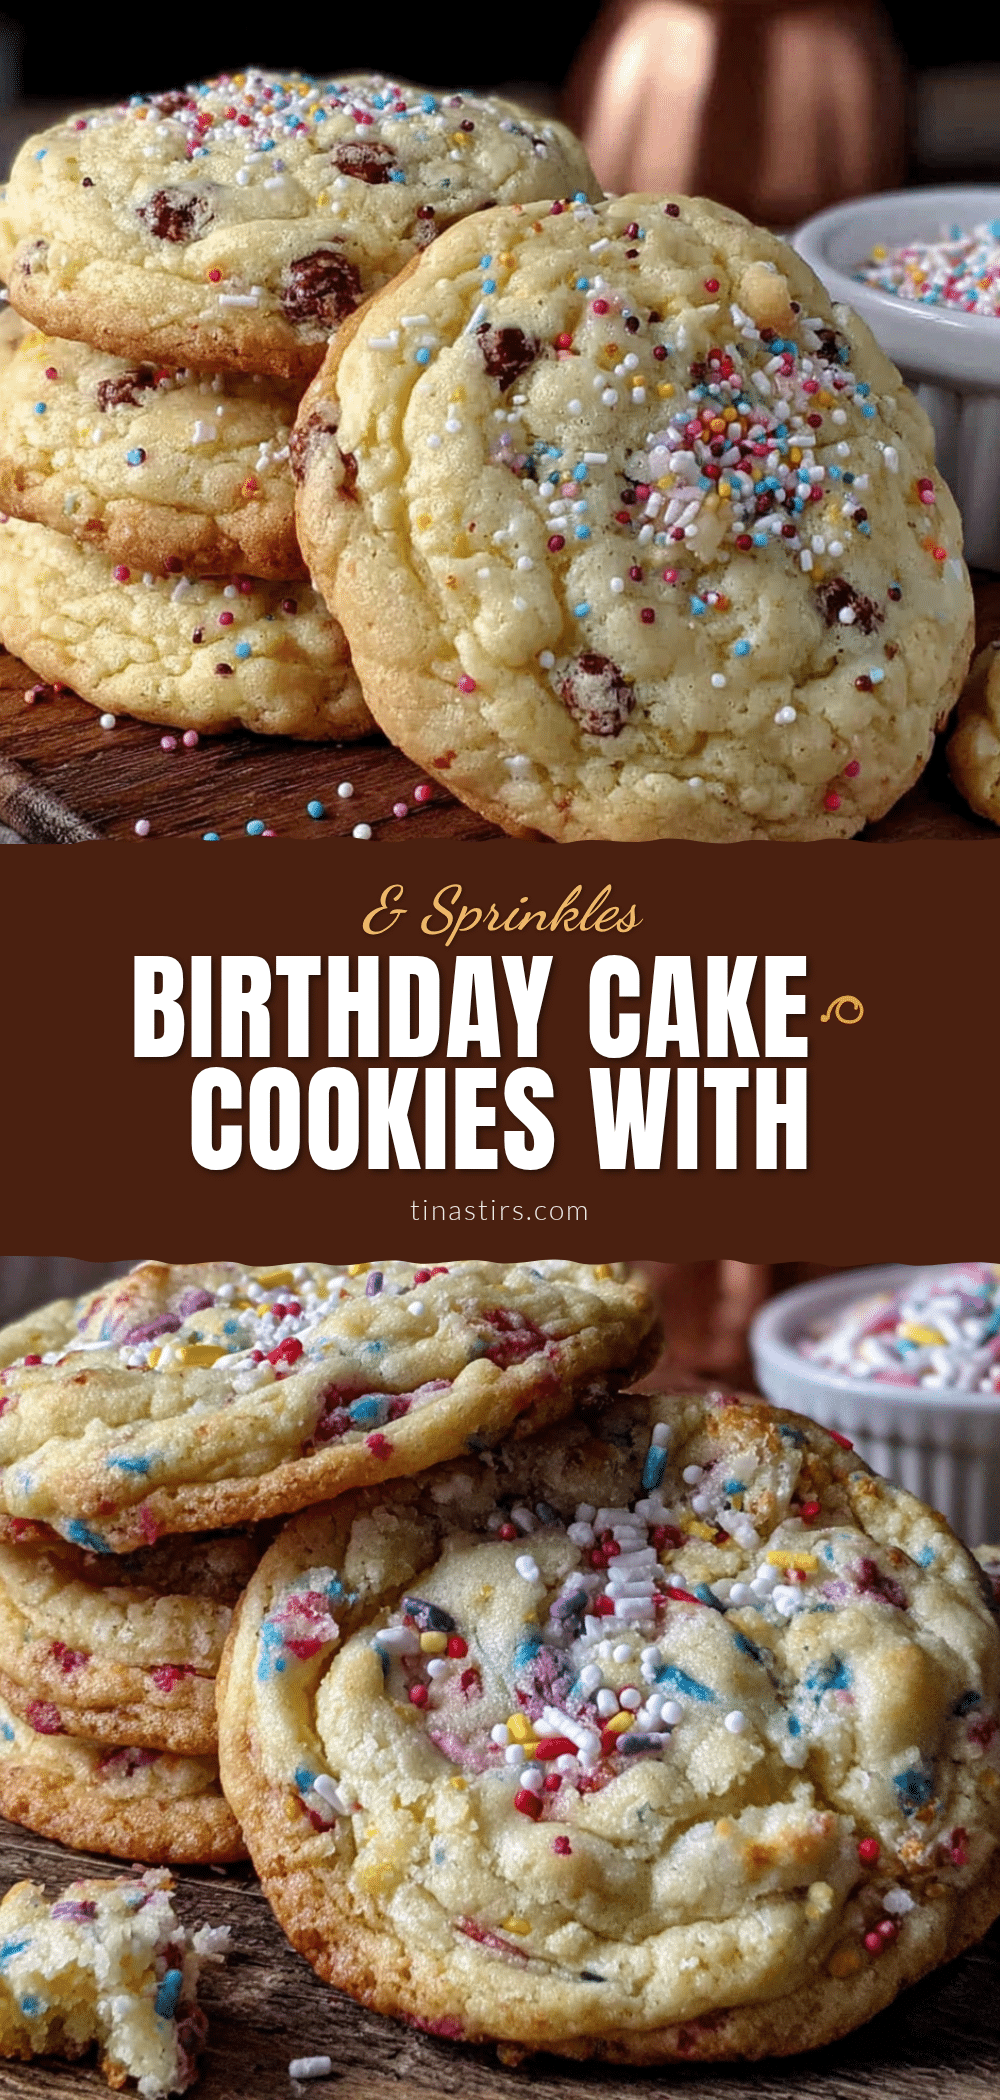
Easy Lightened-Up Birthday Cake Cookies Recipe

These lightened-up birthday cake cookies with sprinkles are soft, chewy, and ready in under 25 minutes. Made with a box of vanilla cake mix and Greek yogurt, they deliver nostalgic birthday cake flavor without the guilt.
- Prep Time: 10 minutes
- Cook Time: 10 minutes
- Total Time: 20 minutes
- Yield: 18 cookies 1x
- Category: Dessert
- Cuisine: American
Ingredients
- 1 box (15.25 oz) vanilla cake mix (preferably without pudding in the mix)
- 1/4 cup plain Greek yogurt (full-fat or 2%)
- 3 tablespoons unsalted butter, melted
- 1 large egg, room temperature
- 1 teaspoon vanilla extract
- 1/3 cup rainbow sprinkles (jimmies, not nonpareils)
- 1/4 teaspoon baking soda
- Pinch of salt
- For the glaze (optional):
- 1/2 cup powdered sugar
- 1–2 tablespoons milk (any kind)
- 1/4 teaspoon vanilla extract
- Extra sprinkles for topping
Instructions
- Preheat your oven to 350°F (175°C). Line a baking sheet with parchment paper or a silicone mat.
- Melt the butter in the microwave for about 20 seconds, or until just melted. Set aside to cool slightly.
- In a large bowl, whisk together the melted butter, Greek yogurt, egg, and vanilla extract until smooth and slightly glossy.
- Add the cake mix, baking soda, and salt. Stir until just combined. The dough will be thick and slightly sticky.
- Gently fold in the rainbow sprinkles with a spatula. Do not overmix.
- Using a cookie scoop or spoon, portion out rounded tablespoons of dough and place them about 2 inches apart on the prepared baking sheet.
- Bake for 9-11 minutes. The edges should look set and lightly golden, but the centers will still look slightly soft.
- Let the cookies rest on the baking sheet for 2-3 minutes, then transfer to a wire rack to cool completely.
- For the glaze (optional): In a small bowl, whisk together powdered sugar, milk, and vanilla extract until smooth. The glaze should be thick but drizzle-able.
- Drizzle the glaze over the cooled cookies and top with extra sprinkles while the glaze is still wet. Let the glaze set for about 10 minutes before serving.
Notes
Don’t overbake; cookies should look underdone when removed from oven. For thicker cookies, chill dough for 30 minutes. Use a light-colored baking sheet to prevent burning. Rotate pan halfway through baking. Let glaze set completely before serving.
Nutrition
- Serving Size: 1 cookie
- Calories: 145
- Sugar: 14
- Sodium: 180
- Fat: 5
- Saturated Fat: 3
- Carbohydrates: 23
- Protein: 2
Keywords: birthday cake cookies, lightened-up cookies, cake mix cookies, sprinkle cookies, easy cookie recipe, funfetti cookies


