Love this? Save it for later!
Share the inspiration with your friends
There used to be this little bakery on Elm Street, right next to the dry cleaner that always smelled like steam and starch. They made a Halloween punch every October that was honestly legendary—creamy, bright orange, with this whisper of vanilla that made you think of birthday cake and autumn all at once. When they closed two years ago—turned into a vape shop, of all things—I felt genuinely cheated. I mean, I’d been buying that punch in paper cups every single Halloween for five years straight. No exaggeration.
After nine tries—nine!—I finally got it. The first batch turned out looking like radioactive sludge. The second one was so sweet my teeth hurt for two days. But this version? This is the one. It’s quick, it’s spooky, and it tastes exactly like that bakery punch I’ve been chasing. Maybe you’ve been searching for a Halloween drink that isn’t just another soda-and-juice combo? Something that feels special but takes ten minutes to throw together? That’s what this is.
The trick is getting the orange-vanilla balance right. Too much vanilla and it tastes like a melted milkshake. Too little and you’ve just got orange juice with food coloring. But honestly? Once you nail it, you’ll never go back to those neon-green witches’ brew recipes again. Let me show you how I did it.
Why You’ll Love This Recipe
Let’s be real—Halloween weeknights are chaos. You’ve got costumes to wrestle kids into, candy to hand out, and somehow dinner still needs to happen. This punch respects your time. It’s the kind of recipe that makes you look like a Pinterest superstar without actually working for it.
- Quick & Easy: Comes together in under 10 minutes. No stove, no blender, no fuss. Just stir and serve.
- Simple Ingredients: You probably already have orange juice and vanilla in your kitchen. The spooky stuff? Just ice cream and a few drops of food coloring.
- Perfect for Halloween: Great for classroom parties, trunk-or-treat events, or just surprising your family on October 31st.
- Crowd-Pleaser: Kids go nuts for the creamy orange color. Adults appreciate that it’s not sickeningly sweet.
- Unbelievably Delicious: The vanilla softens the tang of orange juice in a way that feels like dessert but drinks like punch.
What makes this different from every other Halloween punch recipe? It’s not carbonated, so it won’t go flat. It’s not loaded with artificial syrups. And that vanilla ice cream base? It melts into a creamy, dreamy texture that coats your tongue like a float. I tested this with my neighbor’s kids last weekend—three of them asked for seconds, which never happens. One little girl in a unicorn costume said it tasted like “orange dreams.” That’s the kind of review you can’t buy.
This recipe isn’t just good—it’s the kind that makes you close your eyes after the first sip. It’s comfort in a cup, Halloween style. Perfect for impressing other parents without stress, or turning a simple weeknight into something memorable.
What Ingredients You Will Need
This recipe uses simple, grocery-store ingredients to deliver that creamy, nostalgic Halloween flavor without any fuss. Most of these are pantry staples or easy to find in the frozen aisle.
For the Punch Base
- 4 cups orange juice – Use pulp-free for a smoother drink. I prefer Tropicana or Simply Orange for consistent flavor. (Fresh-squeezed works too, but it’s pricier.)
- 2 cups vanilla ice cream – This is the secret to the creamy texture. Don’t skimp on cheap store brand—get something with real vanilla bean specks if you can. Breyers or Häagen-Dazs work beautifully.
- 1 cup cold milk – Whole milk gives the creamiest result, but 2% works fine. (For dairy-free, use oat milk—it’s thicker than almond and won’t water things down.)
- 1 teaspoon vanilla extract – Pure vanilla, not imitation. It makes a noticeable difference in the depth of flavor.
- 2 tablespoons honey or maple syrup – Optional, for extra sweetness. I only add this if the oranges are on the tart side.
For the Spooky Effect
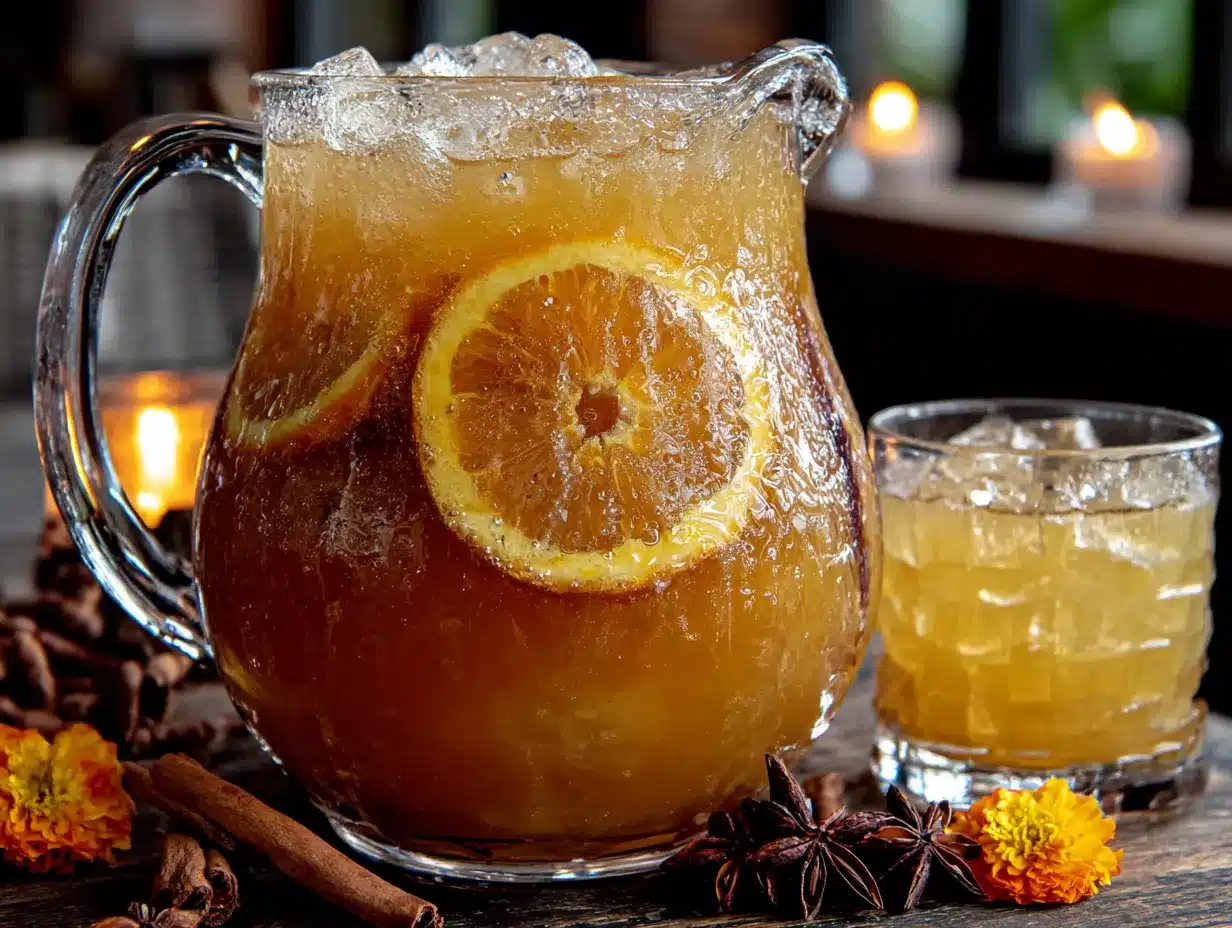
- Orange gel food coloring – A few drops will deepen the color to that rich, Halloween-orange shade. (Liquid food coloring works but makes the color look muddy.)
- Black decorating gel – For drawing spiderwebs on the inside of the glasses. Totally optional, but kids lose their minds over it.
- Gummy worms or plastic spider rings – For garnish. Because Halloween.
Ingredient Selection Tips
Look for orange juice that’s not from concentrate if you can—it has a brighter, fresher taste that stands up to the vanilla. For the ice cream, I’ve tested this with vanilla bean and plain vanilla; both work, but the bean version has those tiny black specks that make it look more homemade. If you’re making this for a classroom party, double the recipe—it goes fast.
Equipment Needed
You don’t need fancy bar tools for this one. Here’s what you’ll actually use:
- Large pitcher or punch bowl – A 2-quart pitcher works perfectly. If you’re serving a crowd, a punch bowl with a ladle is more fun.
- Wooden spoon or whisk – For stirring. A whisk helps break up the ice cream faster.
- Measuring cups and spoons – Standard set. Nothing fancy.
- Clear glasses or cups – So people can see that gorgeous orange color. Plastic cups work fine for parties.
- Small piping bag or toothpick – For drawing spiderwebs with the black gel. A toothpick is actually easier to control.
I’ve made this with a cheap plastic pitcher from the dollar store and it worked just fine. The only thing I’d recommend spending money on is good vanilla extract—everything else is basic kitchen gear. If you don’t have a whisk, a fork works in a pinch, though it takes a little more elbow grease.
Preparation Method
- Chill your glasses (5 minutes before serving): Pop your clear cups or glasses in the freezer for 10 minutes. This keeps the punch cold longer and prevents the ice cream from melting too fast. If you’re short on time, just fill them with ice water while you prep—dump the water right before pouring.
- Draw the spiderwebs (2 minutes): While the glasses chill, use the black decorating gel to draw a small spiderweb pattern on the inside of each glass. Start with a dot in the center, then draw 4-5 lines radiating outward. Connect them with curved lines. Don’t stress about perfection—kids think messy webs look more authentic. I’ve had batches where my webs looked like tangled spaghetti and nobody cared.
- Mix the base (3 minutes): In your large pitcher, pour in the orange juice and cold milk. Add the vanilla extract. Stir gently to combine. If you’re using honey or maple syrup, add it now and stir until dissolved. Taste it at this point—it should be tangy and sweet but not overpowering.
- Add the ice cream (2 minutes): Scoop the vanilla ice cream into the pitcher. Use your whisk to break it up and stir until it’s mostly incorporated. You want some small chunks of ice cream floating—they’ll melt slowly and keep the drink creamy. Don’t overmix or you’ll lose that lovely marbled effect.
- Adjust the color (1 minute): Add 2-3 drops of orange gel food coloring. Stir gently. The color should be a deep, vibrant orange—think pumpkin spice, not traffic cone. Add one more drop if needed, but go slowly. You can always add more, but you can’t take it out.
- Serve immediately (1 minute): Pour the punch into your chilled, web-decorated glasses. Drop a gummy worm or plastic spider ring into each glass for garnish. Serve right away while the ice cream is still slightly chunky and the drink is frosty cold.
Sensory cues: The punch should look like a creamy orange creamsicle in liquid form. When you pour it, you’ll hear that thick, satisfying glug—not watery at all. The smell is pure childhood: orange and vanilla mingling together, with a cold, sweet scent that fills the kitchen. The first sip should coat your tongue with creamy tanginess, followed by that warm vanilla finish.
Time-saving tip: You can mix the orange juice, milk, and vanilla up to 2 hours ahead and keep it in the fridge. Just stir in the ice cream and food coloring right before serving. This is a lifesaver on Halloween when you’re juggling a thousand things at once.
Cooking Tips & Techniques
Here’s what I learned the hard way so you don’t have to:
Don’t overmix the ice cream. I ruined my third batch by whisking it until completely smooth. The result was a thin, watery drink that tasted flat. You want those little ice cream islands floating around—they melt as you drink and keep the texture interesting. Think of it like a slushie that’s just starting to melt.
Temperature matters more than you think. If your orange juice is room temperature, the ice cream will melt into a sad puddle before you even pour it. Keep everything cold—milk, juice, even the pitcher if you have room in the fridge. I once made this for a Halloween party and forgot to chill the juice. The punch was drinkable, but it looked more like orange soup than a creamy treat.
Gel food coloring is non-negotiable. Regular liquid food coloring turns the punch a weird, murky orange-brown. I speak from experience—my fourth batch looked like something you’d find in a swamp. Gel coloring gives you that bright, clean Halloween orange that photographs beautifully for Pinterest.
Make extra ice cream. I always buy an extra pint because someone (usually me) will eat some while mixing. Also, if the punch sits too long, you can add a fresh scoop to revive the creaminess. This trick saved me during a party where the punch sat out for 20 minutes and started separating.
Timing strategy: Set up your glasses with spiderwebs the night before. Mix the liquid base in the morning. Then all you have to do at party time is stir in the ice cream and pour. This is the kind of multitasking that makes weeknight Halloween entertaining actually possible.
Variations & Adaptations
This recipe is flexible, which is great when you’re cooking for picky eaters or dietary restrictions.
Dairy-Free Version: Swap the milk for oat milk and use dairy-free vanilla ice cream. So Delicious or Ben & Jerry’s non-dairy both work well. The texture will be slightly thinner, but the flavor is still spot-on. I tested this for a friend’s daughter who’s lactose intolerant—she drank three cups and asked for the recipe.
Spooky Green Version: Use green gel food coloring instead of orange and call it “Monster Slime Punch.” The orange-vanilla flavor stays the same, but the color change makes it feel like a completely different drink. My nephew’s birthday party went wild for this variation—they pretended it was radioactive slime.
Adult Version: Add 1/2 cup of vanilla vodka or white rum to the pitcher before serving. The vanilla notes complement the punch perfectly. Just label the pitcher clearly if kids are around. I made this for a grown-up Halloween party and it was gone in 20 minutes—people kept coming back for “just one more cup.”
Frozen Treat Version: Pour the finished punch into popsicle molds and freeze overnight. You get orange-vanilla creamsicle pops with a Halloween twist. Perfect for classroom treats or afternoon snacks. I did this with leftover punch last year and my kids fought over the last one.
Extra Spooky Garnish: Freeze gummy worms inside ice cubes for a creepy effect. Drop a few into each glass before pouring. The worms slowly emerge as the ice melts—it’s gross and delightful at the same time.
Serving & Storage Suggestions
This punch is best served immediately, while the ice cream is still slightly chunky and the drink is frosty cold. Pour it into clear cups so everyone can see that gorgeous orange color and the spiderweb details on the glass. If you’re serving at a party, set up a self-serve station with the pitcher and cups—people love adding their own gummy worms.
Complementary dishes: This punch pairs beautifully with salty snacks—think popcorn, pretzels, or tortilla chips with salsa. The sweet creaminess balances out the salt, and kids can graze while they drink. For a full Halloween spread, serve it alongside mummy hot dogs or spider-shaped pizza bites.
Storage: If you have leftovers (unlikely, but possible), pour the punch into a sealed container and refrigerate for up to 24 hours. The ice cream will melt and the texture will become thinner, but the flavor is still good. Give it a good stir before serving. You can also freeze it in popsicle molds for a second life.
Reheating: Don’t. This is a cold drink. If it’s been sitting out too long and the ice cream has fully melted, just add a fresh scoop of ice cream to each glass and stir. It revives the creaminess instantly.
Flavor development: Unlike some punches that taste better after sitting, this one is best fresh. The vanilla and orange flavors are brightest within the first hour. After that, the ice cream dilutes things. But honestly? In my house, it never lasts that long.
Nutritional Information & Benefits
Per 8-ounce serving (approximate):
- Calories: 210
- Fat: 8g
- Carbohydrates: 32g
- Sugar: 26g
- Protein: 4g
- Calcium: 15% DV
- Vitamin C: 60% DV
Orange juice is packed with vitamin C, which is great for immune support—especially during cold and flu season. The milk and ice cream provide calcium and protein, making this a slightly more balanced treat than straight soda or juice. I’m not saying this is health food, but it’s a lot better than the neon-green punch that’s basically sugar and artificial coloring.
If you’re watching sugar intake, you can use unsweetened vanilla almond milk and sugar-free vanilla ice cream. The flavor won’t be as rich, but it’ll still hit that orange-vanilla craving. For a lower-calorie option, reduce the ice cream to 1 cup and add an extra 1/2 cup of milk—the texture will be thinner, but the taste is still there.
Potential allergens: dairy (milk, ice cream). For a dairy-free version, see the variations section above.
Conclusion
This Quick Orange Vanilla Halloween Punch is the recipe I wish I’d had three years ago when I was chasing that bakery memory. It’s fast, it’s fun, and it actually tastes like something special—not just another Halloween sugar bomb. The orange-vanilla combination is nostalgic without being boring, and that creamy texture makes it feel like a real treat.
I love that this recipe doesn’t require a ton of effort. On Halloween night, when you’re already juggling costumes and candy and doorbell rings, the last thing you need is a complicated drink recipe. This one respects your time and still delivers on flavor and presentation. That spiderweb trick? It takes two minutes and makes you look like a party-planning genius.
Give it a try—and don’t be afraid to tweak it. Add more ice cream if you want it creamier. Use different food coloring for a different vibe. Throw in some gummy worms and call it a day. The best recipes are the ones you make your own.
I’d love to hear how yours turns out! Drop a comment below with your favorite Halloween garnish, or tag me in your photos if you make this for your party. Happy Halloween, and here’s to drinks that don’t stress us out!
Frequently Asked Questions
Can I make this punch ahead of time?
You can mix the orange juice, milk, and vanilla up to 2 hours ahead and keep it in the fridge. Add the ice cream and food coloring right before serving for the best texture.
Can I use frozen orange juice concentrate?
Yes, but dilute it according to package directions first. The flavor will be slightly stronger, so you might want to add an extra splash of milk to balance it out.
How do I make this punch less sweet?
Use unsweetened orange juice and skip the honey or maple syrup. You can also use less ice cream or swap in unsweetened vanilla almond milk for the regular milk.
Can I make this punch in a blender?
You can, but it’ll change the texture. Blending makes the drink completely smooth and frothy, like a smoothie. If that’s what you’re after, go for it—just blend on low so you don’t incorporate too much air.
How many servings does this recipe make?
This recipe makes about 6 to 8 servings, depending on cup size. For a large party, double or triple the recipe—it goes fast, especially with kids around.
Pin This Recipe!
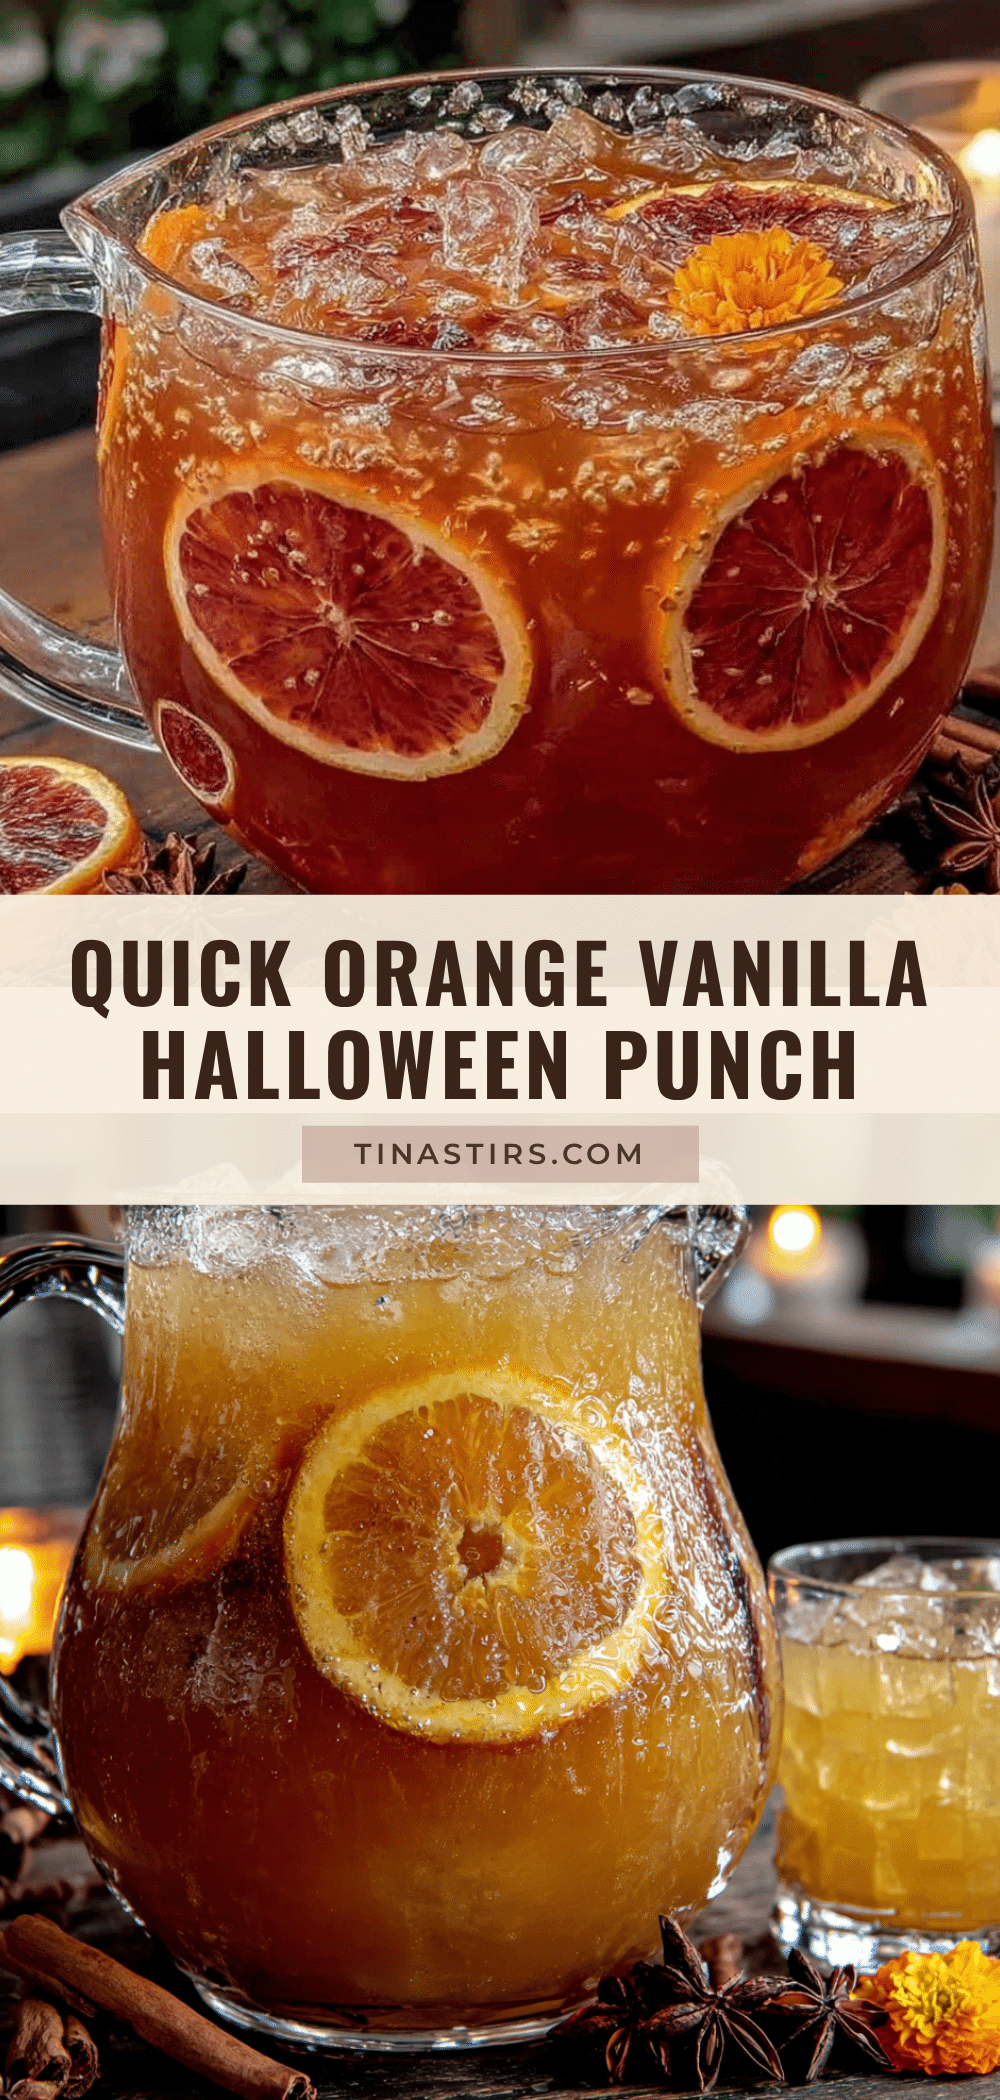
Spooky Quick Orange Vanilla Halloween Punch Recipe
A creamy, bright orange Halloween punch with a whisper of vanilla that tastes like birthday cake and autumn all at once. This quick and easy recipe comes together in under 10 minutes and is perfect for Halloween parties, classroom events, or a fun family treat.
- Prep Time: 10 minutes
- Cook Time: 0 minutes
- Total Time: 10 minutes
- Yield: 6-8 servings 1x
- Category: Beverage
- Cuisine: American
Ingredients
- 4 cups orange juice (pulp-free preferred)
- 2 cups vanilla ice cream (preferably with real vanilla bean specks)
- 1 cup cold milk (whole milk recommended, 2% or oat milk work)
- 1 teaspoon pure vanilla extract
- 2 tablespoons honey or maple syrup (optional, for extra sweetness)
- Orange gel food coloring (a few drops)
- Black decorating gel (for spiderweb decoration)
- Gummy worms or plastic spider rings (for garnish)
Instructions
- Chill your glasses: Pop clear cups or glasses in the freezer for 10 minutes. Alternatively, fill them with ice water while you prep and dump the water right before pouring.
- Draw the spiderwebs: Use black decorating gel to draw a small spiderweb pattern on the inside of each glass. Start with a dot in the center, draw 4-5 lines radiating outward, then connect them with curved lines.
- Mix the base: In a large pitcher, combine orange juice, cold milk, and vanilla extract. Stir gently. If using honey or maple syrup, add it now and stir until dissolved. Taste and adjust sweetness if needed.
- Add the ice cream: Scoop vanilla ice cream into the pitcher. Use a whisk to break it up and stir until mostly incorporated, leaving some small chunks for a marbled effect.
- Adjust the color: Add 2-3 drops of orange gel food coloring and stir gently until the punch reaches a deep, vibrant orange color. Add one more drop if needed, but go slowly.
- Serve immediately: Pour the punch into chilled, web-decorated glasses. Drop a gummy worm or plastic spider ring into each glass for garnish. Serve right away while the ice cream is still slightly chunky.
Notes
For best results, keep all ingredients cold. Don’t overmix the ice cream—leave small chunks for texture. Gel food coloring is essential for a bright orange color; liquid food coloring will result in a murky brown. The punch is best served immediately but the liquid base (juice, milk, vanilla) can be mixed up to 2 hours ahead and refrigerated. Add ice cream and food coloring just before serving. For a dairy-free version, use oat milk and dairy-free vanilla ice cream. For an adult version, add 1/2 cup vanilla vodka or white rum.
Nutrition
- Serving Size: 8 ounces
- Calories: 210
- Sugar: 26
- Sodium: 80
- Fat: 8
- Saturated Fat: 5
- Carbohydrates: 32
- Protein: 4
Keywords: Halloween punch, orange vanilla punch, creamy Halloween drink, spooky punch, quick Halloween recipe, kid-friendly Halloween drink