Love this? Save it for later!
Share the inspiration with your friends
There used to be a little bakery on the corner of Elm and 3rd called The Gilded Apple that made the most incredible caramel apple slices I’d ever tasted. When they closed their doors three years ago—right before Halloween, of all times—I actually felt a little pang of grief. I mean, I know that sounds dramatic over a piece of fruit, but these weren’t just any caramel apples. They were sliced, easy to eat, and perfectly spooky without being scary. After seven tries—and a few batches that ended up in the trash, honestly—I finally cracked the code.
I remember standing in my kitchen last October, covered in caramel that had somehow gotten on the ceiling (don’t ask), when my neighbor Jenny knocked on the door. She took one look at the mess, laughed, and said, “You’re still chasing that bakery recipe, aren’t you?” She was right. But that night, I pulled a tray of these Kid-Friendly Spooky Caramel Apple Slices out of the fridge, and the first bite was like time travel. The crunch, the caramel, the little candy eyes staring back at me—it was all there.
These easy Halloween treats have become our family’s October tradition. Maybe you’ve been there too—chasing a memory of something so good you can’t let it go. Well, this is the one. And honestly? It’s even better than I remembered.
Why You’ll Love This Recipe
Let me tell you why this recipe has earned a permanent spot in our Halloween rotation. It’s not just about the nostalgia—it’s about how ridiculously easy and satisfying it is.
- Budget-Friendly Fun: Apples, caramel, and a few candy decorations cost way less than a trip to the bakery. You’re feeding a crowd without breaking the bank, and that’s a win for any family.
- Picky Eater Approved: My youngest, who usually turns up his nose at anything “healthy,” devours these because they look like little monsters. The apples are just the vehicle for the fun toppings, and somehow that makes them irresistible.
- Comes Together in 20 Minutes: No baking, no complicated steps. You can whip these up while the kids are doing homework, and they’ll be ready to decorate in no time.
- Perfect for Halloween Parties: These slices are the star of every classroom party, neighborhood gathering, or spooky movie night. They’re portable, easy to grab, and zero mess if you use the sticks.
- Reheats Like a Dream: Leftover caramel? Just warm it up and dip another batch. The apples stay crisp for days if you store them right.
This recipe is different from the rest because I figured out the trick to keeping the caramel from sliding off the apples. It’s a small thing, but it makes all the difference. Plus, you get to customize each slice however you want—no two have to look alike. That’s the kind of flexibility a busy parent needs.
Honestly, the first time I made these for my kids, they didn’t even touch the candy we had for trick-or-treating. They just kept asking for “another monster apple.” That’s when I knew this one was a keeper.
What Ingredients You Will Need
This recipe uses simple, everyday ingredients that you probably already have in your pantry. The magic happens when you combine them with a little creativity and a lot of candy eyes.
- Apples (4 large, firm varieties like Granny Smith or Honeycrisp): You want apples that are tart and crisp to balance the sweet caramel. Granny Smith is my go-to because they hold up well and don’t get mushy. If you prefer sweeter apples, Fuji or Gala work too.
- Caramel candies (11 oz bag, unwrapped): I recommend Kraft Caramels or Werther’s Soft Caramels for the smoothest melt. Avoid the hard caramel cubes—they don’t melt as evenly.
- Heavy cream (2 tablespoons): This thins the caramel just enough to coat the apples without being runny. You can substitute whole milk in a pinch, but the caramel won’t be as creamy.
- Vanilla extract (1 teaspoon): Adds a warm, cozy flavor that makes the caramel taste homemade. Pure vanilla is best, but imitation works fine.
- Butter (1 tablespoon, unsalted): Helps the caramel stay smooth and gives it a glossy finish. Salted butter works too—just skip any extra salt.
- White chocolate melting wafers (1 cup): These are for drizzling “spider webs” or ghost faces. I use Ghirardelli or Wilton melts because they set up firm and shiny.
- Candy eyes (1 small bag): The star of the show! You can find these at any craft store or online. They come in different sizes—go for the medium ones so they don’t fall off.
- Assorted Halloween sprinkles (¼ cup): Think orange jimmies, black sanding sugar, and little pumpkins. Let the kids pick their favorites.
- Pretzel sticks (½ cup, broken into pieces): These make great “witch fingers” or “monster teeth.” They add a salty crunch that balances the sweet.
- Mini chocolate chips (¼ cup): Use these for making faces or adding texture. Dark chocolate chips work well if you want less sweetness.
- Lollipop sticks or popsicle sticks (8-10): These make the slices easy to hold and eat. You can find them at any baking supply store.
For the coating, I recommend using a silicone brush to spread the caramel evenly. It’s a small tool that makes a big difference in getting that perfect layer.
Equipment Needed
You don’t need a fancy kitchen to make these spooky treats. Here’s what you’ll need:
- Apple corer and slicer: This tool makes quick work of cutting uniform slices. If you don’t have one, a sharp knife and a melon baller will do the job.
- Parchment paper or silicone baking mat: Essential for preventing sticky caramel from ruining your countertops. I learned this the hard way—trust me.
- Small saucepan: For melting the caramel. A heavy-bottomed pan prevents scorching.
- Microwave-safe bowl: If you prefer to melt the caramel in the microwave, use a glass bowl and go in 30-second bursts.
- Wooden skewers or forks: For dipping the apple slices into the caramel. I keep a few extra on hand because the kids always lose them.
- Piping bag or zip-top bag: For drizzling the white chocolate. A zip-top bag with a tiny corner snipped off works perfectly.
- Baking sheet: To hold the finished slices while they set. Line it with parchment for easy cleanup.
- Refrigerator space: You’ll need room to chill the slices for at least 30 minutes so the caramel firms up.
I bought my apple corer at a dollar store, and it’s still going strong after three years. You don’t need to spend a lot—just get something that works.
Preparation Method
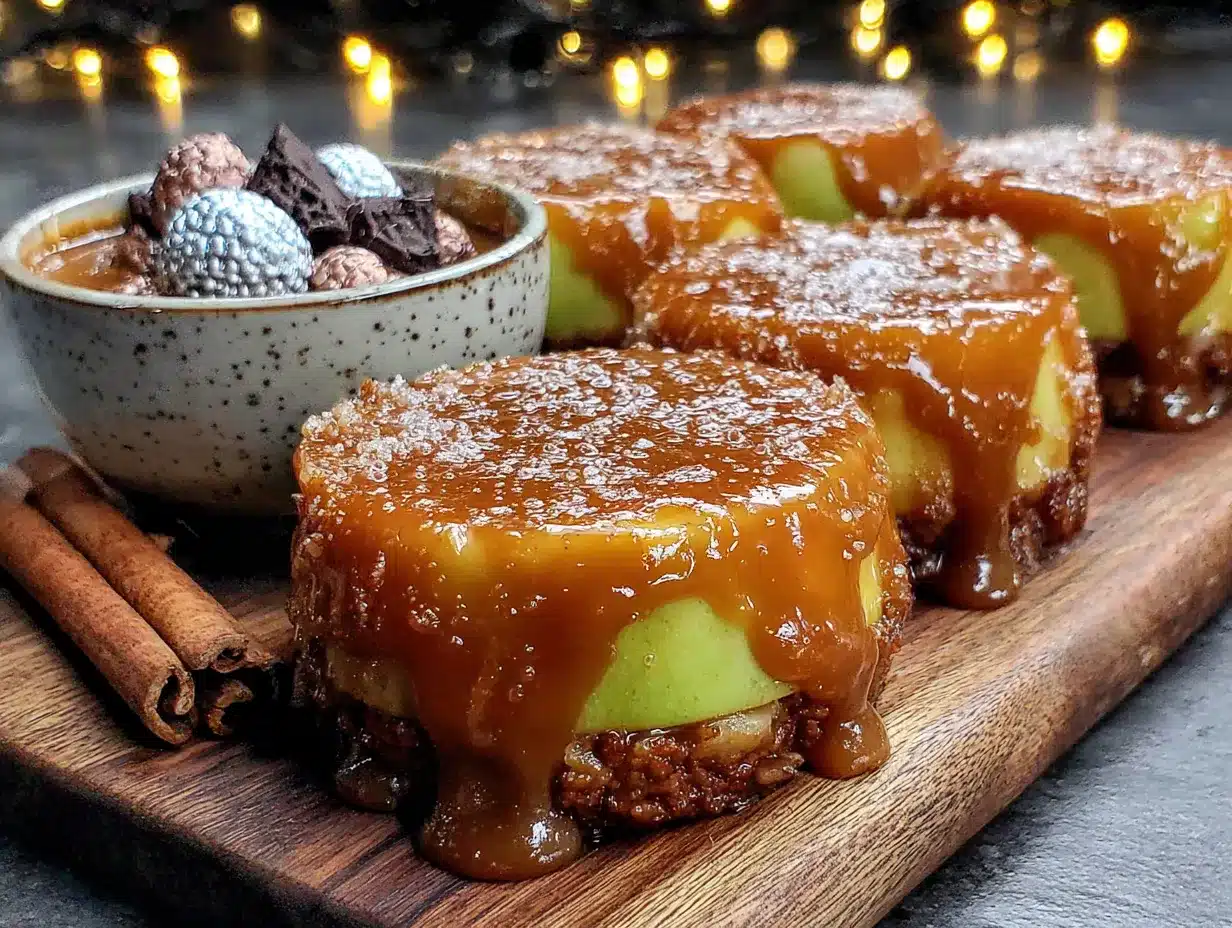
Let’s walk through this step by step. I’ll include all the little tricks I’ve picked up along the way so you don’t make the same mistakes I did.
- Prep the apples: Wash and dry your apples thoroughly. Any moisture on the skin will make the caramel slide right off. Core each apple using your corer, then slice them into ½-inch thick rings. You should get about 4-5 slices per apple. Pat the slices dry with a paper towel and lay them on a parchment-lined baking sheet. Insert a lollipop stick into the bottom of each slice, pushing about halfway through. (Pro tip: If the apple is too slippery, poke a small hole with a skewer first.)
- Melt the caramel: Unwrap all your caramel candies and place them in a small saucepan with the heavy cream, butter, and vanilla. Heat over low heat, stirring constantly with a silicone spatula. This takes about 5-7 minutes. Don’t rush it—high heat will burn the caramel and make it grainy. When the mixture is smooth and glossy, remove it from the heat. If it seems too thick, add another tablespoon of cream. (I once forgot to stir and ended up with a burnt mess that smelled like a campfire gone wrong.)
- Dip the apple slices: Hold each apple slice by the stick and dip it into the warm caramel, tilting the pan to coat both sides. Let the excess drip off for a few seconds, then place it back on the parchment. Work quickly because the caramel will start to set as it cools. If it gets too thick, reheat it gently for 10 seconds.
- Add the decorations: While the caramel is still wet, press on your candy eyes, pretzel pieces, and sprinkles. This is the fun part—let the kids go wild. For a monster face, use two candy eyes and a pretzel smile. For a spider, add eight pretzel legs and a chocolate chip body. Don’t worry about perfection; the wonky ones always turn out the cutest.
- Melt the white chocolate: Place the white chocolate wafers in a microwave-safe bowl and heat in 30-second bursts, stirring between each, until smooth. Transfer to a piping bag or zip-top bag and snip a tiny corner. Drizzle the chocolate over the decorated slices in zigzags or spirals. This creates a spider web effect that looks super spooky.
- Chill to set: Place the baking sheet in the refrigerator for at least 30 minutes, or until the caramel and chocolate are firm. Don’t skip this step—the caramel needs time to set so it doesn’t slide off when you bite into it. (I once tried to serve them after 10 minutes, and the caramel ended up all over my kids’ hands.)
- Serve and enjoy: Arrange the slices on a platter and watch them disappear. They’re best served cold or at room temperature, but don’t leave them out for more than 2 hours if you’re serving them at a party.
One more thing: if you’re making these ahead of time, store them in the fridge in a single layer. Stacking them will smudge the decorations and make the caramel stick together.
Cooking Tips & Techniques
I’ve made these Kid-Friendly Spooky Caramel Apple Slices more times than I can count, and I’ve learned a few things the hard way. Here’s what I wish someone had told me.
The apple choice matters more than you think. Granny Smith apples are tart enough to cut through the sweet caramel, but they’re also firm enough to hold their shape. Avoid Red Delicious—they turn into mush the second they hit warm caramel. I learned this after a sad batch that looked more like applesauce than slices.
Dry your apples like your life depends on it. I cannot stress this enough. Any moisture on the apple skin creates a barrier that the caramel can’t stick to. I pat each slice with a paper towel and then let them air dry for 5 minutes before dipping. It’s an extra step, but it’s the difference between a perfect slice and a sticky mess.
Keep the caramel warm but not hot. If the caramel is too hot, it will slide right off the apple. If it’s too cool, it will clump up and be impossible to spread. The sweet spot is when it’s warm enough to flow like thick honey but not so hot that it burns your finger when you test it. Use a candy thermometer if you have one—aim for 200°F.
Work in batches. Don’t try to dip all the slices at once. The caramel will cool down and thicken, making it harder to work with. Dip 3-4 slices, decorate them, then reheat the caramel for 10 seconds before dipping the next batch. It’s a little slower, but the results are worth it.
Let the kids go wild. The first time I made these, I tried to make every slice look perfect. My daughter took one look at my “professional” spider web and said, “Mom, it looks like a blob.” She then proceeded to make the most adorable monster face with three eyes and a crooked smile. Let them have creative control—it’s more fun for everyone.
Variations & Adaptations
One of the best things about this recipe is how easy it is to tweak. Here are some variations I’ve tried that turned out great.
Dairy-Free Version: Use dairy-free caramel candies (like Cocomels) and coconut cream instead of heavy cream. The texture is slightly different, but it still tastes amazing. My neighbor’s son has a dairy allergy, and he devoured these at our Halloween party last year.
Nut-Free Option: Skip the pretzel sticks if you’re worried about cross-contamination. Use candy corn or licorice strings instead for the monster teeth. I’ve also used sliced banana for a softer texture—just add the banana right before serving so it doesn’t brown.
Seasonal Twists: For Christmas, use red and green sprinkles with white chocolate snowflakes. For Valentine’s Day, swap the candy eyes for heart-shaped sprinkles and pink sanding sugar. The base recipe stays the same, but the toppings make it feel brand new.
Healthier Hack: Use dark chocolate instead of white chocolate for the drizzle. Dark chocolate has less sugar and pairs beautifully with the caramel. I’ve also tried drizzling peanut butter (warmed up) instead of chocolate, and it was a huge hit with the older kids.
Spooky Spider Web Variation: Instead of individual decorations, drizzle the white chocolate in concentric circles over the whole slice, then drag a toothpick from the center outward to create a web pattern. It looks super impressive with almost zero effort.
I once made a batch with caramel that was accidentally salted (my toddler grabbed the wrong bag), and it turned out to be the best mistake I ever made. The salty-sweet combo was incredible. So don’t be afraid to experiment—you might stumble onto something amazing.
Serving & Storage Suggestions
These spooky apple slices are best served cold, straight from the fridge. The caramel firms up nicely, and the apple stays crisp and refreshing. If you’re serving them at a party, arrange them on a large platter with a few extra candy eyes scattered around for decoration. Kids love picking out their favorite monster face.
For a spooky presentation, place the slices on a black platter or a tray lined with orange and black napkins. You can also stick them into a foam block covered in black tissue paper to make them stand upright—it looks like a forest of monster apples.
Storage Tips:
- Refrigerator: Store leftovers in an airtight container in a single layer. They’ll stay fresh for up to 3 days. After that, the apples start to release moisture and the caramel gets sticky.
- Freezer: You can freeze the undecorated slices for up to 2 months. Wrap each slice in parchment paper and place them in a freezer bag. Thaw in the fridge overnight, then add the decorations before serving.
- Reheating: If the caramel gets too hard in the fridge, let the slices sit at room temperature for 10 minutes before serving. Don’t microwave them—the apple will turn into mush.
The flavors actually develop overnight. The caramel absorbs a little apple flavor, and the white chocolate sets into a perfect snap. I like making these a day ahead for Halloween parties—they’re even better the next day.
Nutritional Information & Benefits
Let’s be real—these are a treat, not a health food. But they’re not as bad as you might think. Here’s a rough breakdown per slice (based on using 4 apples, yielding about 16 slices):
- Calories: 180-220
- Fat: 8-10g
- Carbohydrates: 28-32g
- Protein: 2-3g
- Fiber: 3-4g
- Sugar: 22-26g
The apples themselves are a good source of fiber and vitamin C, which is a nice bonus. The caramel provides quick energy, and the white chocolate adds a little calcium. If you’re watching your sugar intake, you can use sugar-free caramel candies and dark chocolate—the taste is still fantastic.
For kids with allergies, this recipe is easily adaptable. The dairy-free and nut-free versions work beautifully, and you can skip the candy eyes if you’re concerned about choking hazards for very young children. Just use sprinkles instead.
I like to think of these as a way to get my kids to eat fruit without complaining. Sure, there’s caramel involved, but at least they’re getting a serving of apples. It’s a compromise I’m happy to make.
Conclusion
These Kid-Friendly Spooky Caramel Apple Slices are more than just a Halloween treat—they’re a way to create memories. I still think about that little bakery on Elm Street every time I make them, but now my kitchen is the place where the magic happens. My kids have their own traditions now, like arguing over who gets the slice with the most candy eyes or trying to make the scariest monster face.
I hope you give this recipe a try. Don’t stress about making them perfect—the wonky ones are always the most fun. Let your kids get messy, let the caramel drip where it wants to, and enjoy the chaos. That’s what Halloween is all about, right?
If you make these, I’d love to hear about it. Leave a comment below and tell me what decorations your family came up with. Did you make spider webs? Monster faces? Something totally unexpected? Share your photos and tag me—I can’t wait to see your spooky creations!
Happy Halloween, and happy snacking!
Frequently Asked Questions
Can I make these ahead of time for a party?
Absolutely! You can make them up to 2 days in advance. Store them in the fridge in a single layer, and add any delicate decorations (like candy eyes) right before serving so they don’t fall off.
Why did my caramel slide off the apples?
This usually happens because the apples were too wet or the caramel was too hot. Make sure to dry the apple slices thoroughly with a paper towel, and let the caramel cool slightly before dipping. A thin layer of caramel is actually better than a thick one—it sticks better.
Can I use store-bought caramel sauce instead of melting candies?
You can, but it won’t set as firmly. Store-bought caramel sauce is thinner and tends to run off the apples. If you use it, add a little cornstarch (1 teaspoon per cup) and simmer until thickened, then let it cool before dipping.
How do I keep the apple slices from browning?
Toss the slices in a little lemon juice or pineapple juice before dipping. It won’t affect the taste much, and it keeps the apples looking fresh. Just dry them thoroughly afterward so the caramel sticks.
Can I use different fruits instead of apples?
Yes! Pears, firm peaches, or even banana slices work well. Just adjust the dipping time—softer fruits need a lighter touch. Pears are my favorite alternative because they have a similar texture to apples.
Pin This Recipe!
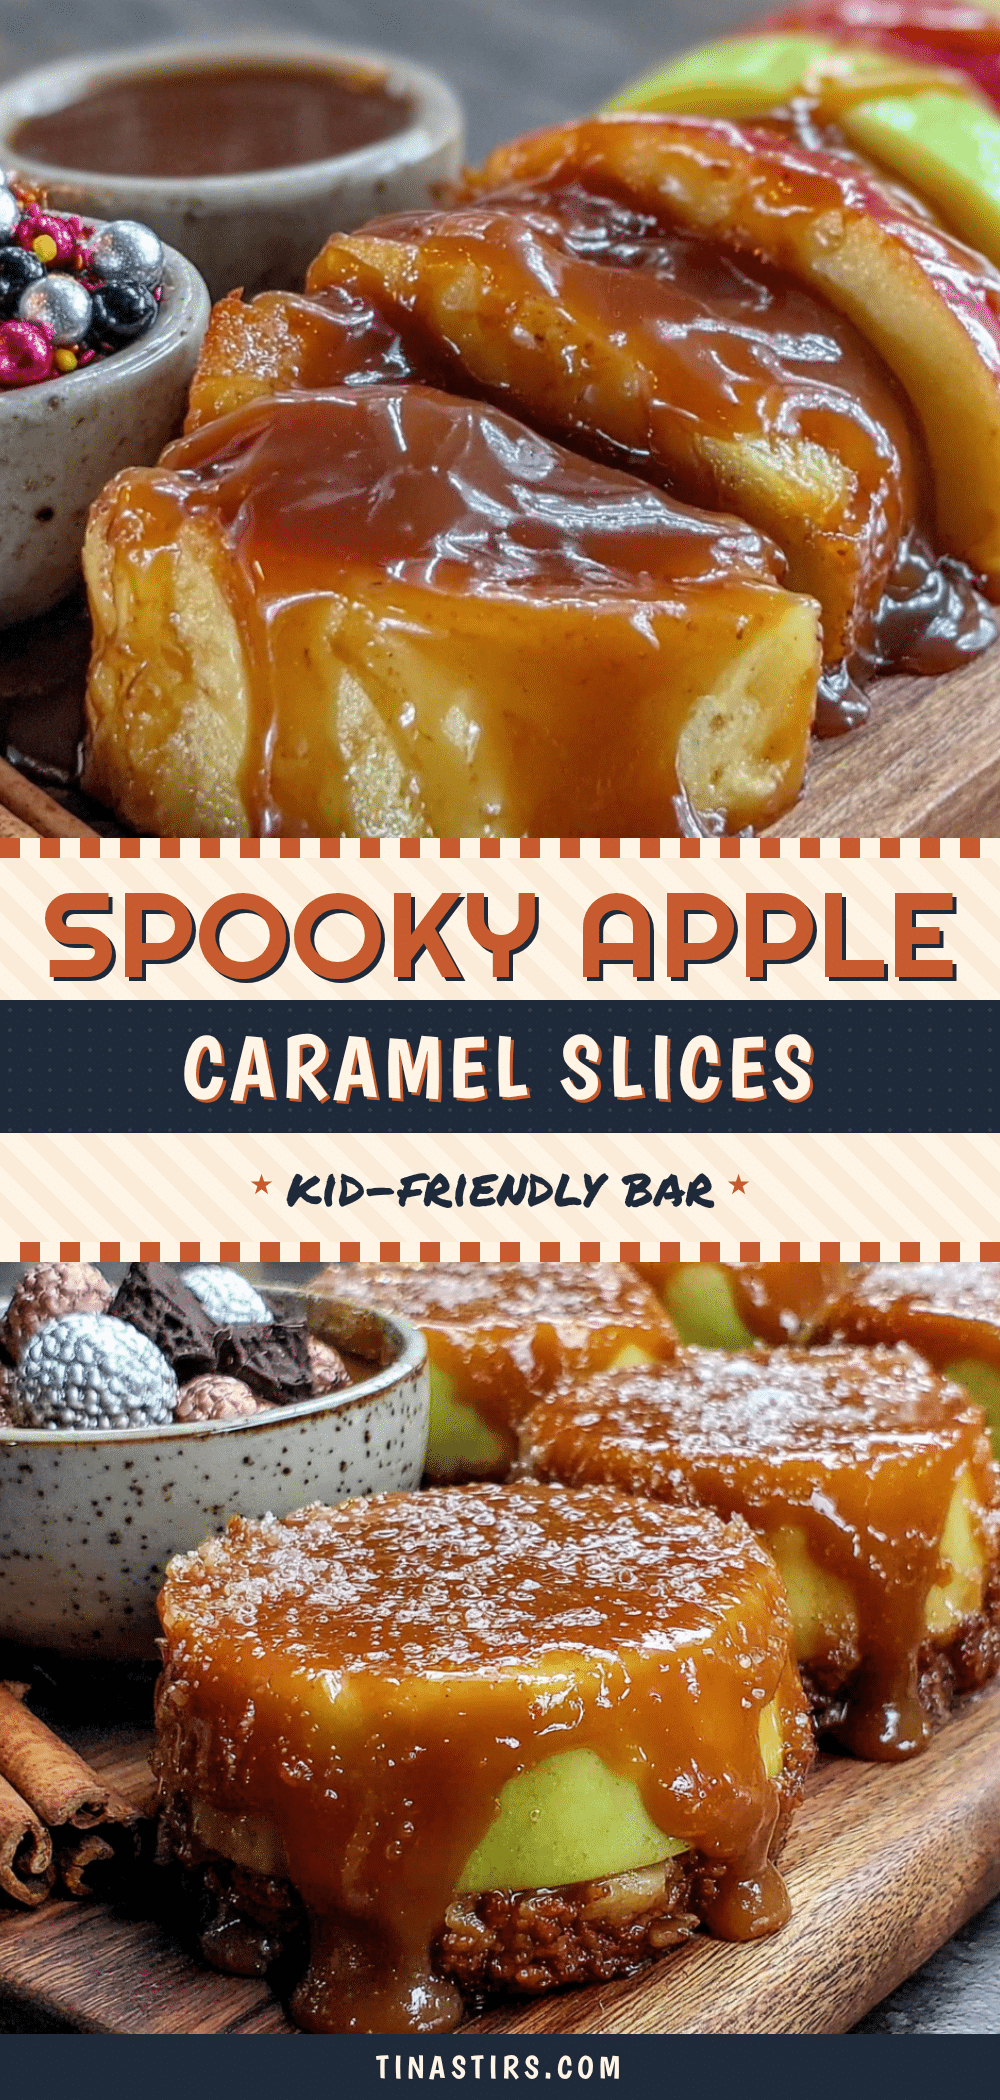
Kid-Friendly Spooky Caramel Apple Slices: Easy Halloween Treat

These Kid-Friendly Spooky Caramel Apple Slices are the perfect Halloween treat—easy to make, fun to decorate, and absolutely delicious. With a crisp apple base, smooth caramel coating, and spooky candy decorations, they’re a hit with kids and adults alike.
- Prep Time: 15 minutes
- Cook Time: 10 minutes
- Total Time: 25 minutes
- Yield: 16 slices 1x
- Category: Dessert
- Cuisine: American
Ingredients
- 4 large firm apples (Granny Smith or Honeycrisp)
- 11 oz bag caramel candies (Kraft or Werther’s Soft Caramels)
- 2 tablespoons heavy cream
- 1 teaspoon vanilla extract
- 1 tablespoon unsalted butter
- 1 cup white chocolate melting wafers
- 1 small bag candy eyes
- ¼ cup assorted Halloween sprinkles
- ½ cup pretzel sticks, broken into pieces
- ¼ cup mini chocolate chips
- 8–10 lollipop sticks or popsicle sticks
Instructions
- Wash and dry apples thoroughly. Core each apple and slice into ½-inch thick rings (about 4-5 slices per apple). Pat slices dry with a paper towel and lay on a parchment-lined baking sheet. Insert a lollipop stick into the bottom of each slice, pushing about halfway through.
- Unwrap caramel candies and place in a small saucepan with heavy cream, butter, and vanilla. Heat over low heat, stirring constantly with a silicone spatula, until smooth and glossy (about 5-7 minutes). Remove from heat.
- Hold each apple slice by the stick and dip into warm caramel, tilting the pan to coat both sides. Let excess drip off, then place back on parchment. Work quickly as caramel sets when cool. Reheat gently if needed.
- While caramel is still wet, press on candy eyes, pretzel pieces, and sprinkles to create monster faces or spider designs.
- Melt white chocolate wafers in a microwave-safe bowl in 30-second bursts, stirring between each, until smooth. Transfer to a piping bag or zip-top bag with a tiny corner snipped off. Drizzle over decorated slices in zigzags or spirals for a spider web effect.
- Place baking sheet in refrigerator for at least 30 minutes, or until caramel and chocolate are firm.
- Serve cold or at room temperature. Arrange on a platter and enjoy.
Notes
Dry apples thoroughly to prevent caramel from sliding off. Work in batches to keep caramel warm. Let kids decorate for fun. Store in fridge in a single layer for up to 3 days. Can be made 2 days ahead.
Nutrition
- Serving Size: 1 slice
- Calories: 200
- Sugar: 24
- Sodium: 120
- Fat: 9
- Saturated Fat: 5
- Carbohydrates: 30
- Fiber: 3.5
- Protein: 2.5
Keywords: Halloween treats, caramel apples, kid-friendly, spooky desserts, easy Halloween recipes, apple slices, caramel apple slices


