Love this? Save it for later!
Share the inspiration with your friends
I was standing in line at the post office, of all places, waiting to mail a package that I’d honestly been putting off for weeks. The woman in front of me, maybe seventy years old with a worn-out canvas bag and the kind of no-nonsense haircut that says she doesn’t waste time, turned around and asked if I was the one who grew the tomatoes on my front porch. I said yes, a little surprised she noticed. She nodded, then told me her grandson wouldn’t touch a vegetable unless it was “crispy enough to crunch in the next room.” I laughed, because I knew that struggle. She scribbled something on the back of a deposit slip, handed it to me, and said, “Roast these until they sound like potato chips. He’ll eat the whole pan.” It was a recipe for Brussels sprouts with balsamic vinegar. I almost didn’t try it. I mean, my kids treated Brussels sprouts like they were punishment. But that afternoon, with the mail still sitting on the counter, I roasted a batch. The sound when they came out of the oven—that crackling, shattering crisp—was exactly what she promised. My son walked past, grabbed one, and before I could say anything, he asked for more. Honestly, I think I stood there staring at the pan for a full minute. That was three years ago, and these Kid-Approved Crispy Balsamic Brussels Sprouts Bites have been a regular in our house ever since. It’s the kind of recipe that makes you feel like you’ve won dinner without even trying.
Why You’ll Love This Recipe
Let’s be real—getting Brussels sprouts on the table when you’ve got picky eaters can feel like a losing battle. But these crispy bites? They’re different. I’ve tested this recipe more times than I can count, adjusting temperatures and timing until every single sprout came out shatteringly crisp on the outside and tender on the inside. Here’s what makes them a total win for your family:
- Quick & Easy: Ready in about 25 minutes from start to finish. No marinating, no complicated steps—just chop, toss, and roast.
- Simple Ingredients: You probably already have balsamic vinegar and olive oil in your pantry. Brussels sprouts are cheap and available year-round, which is a lifesaver when you’re feeding a family on a budget.
- Perfect for Weeknights: These work as a side dish for chicken, fish, or pasta, but my kids have eaten them as a snack straight off the baking sheet. No judgment here.
- Crowd-Pleaser: I’ve brought these to potlucks and family dinners, and they disappear faster than the mac and cheese. Seriously. Even adults who “don’t like Brussels sprouts” go back for seconds.
- Unbelievably Delicious: The balsamic vinegar reduces into a sticky, tangy glaze that caramelizes on the edges. It’s not bitter or soggy—it’s crispy, sweet, and a little bit savory. The texture is what wins everyone over.
What makes this recipe different from all the others? It’s the technique. Most recipes tell you to roast Brussels sprouts at 400°F, but I found that starting them at a higher temperature—425°F—creates that extra-crispy exterior without drying out the inside. Plus, cutting them in half and arranging them cut-side down on the pan gives you maximum browning. It’s a small change, but it makes a huge difference. This isn’t just another roasted vegetable recipe—it’s the one that turns skeptics into believers.
What Ingredients You Will Need
This recipe uses simple, budget-friendly ingredients to deliver big flavor without any fuss. Most of these are pantry staples, so you won’t need to make a special trip to the store. Here’s what you’ll need:
- Brussels sprouts: 1 pound (about 450g), fresh. Look for firm, bright green sprouts that feel heavy for their size. Avoid any with yellowing leaves or soft spots. I prefer medium-sized sprouts because they roast evenly, but you can use larger ones—just cut them into quarters instead of halves.
- Olive oil: 2 tablespoons (30ml). Use a good-quality extra-virgin olive oil for flavor, but regular olive oil works too. It helps the sprouts crisp up and prevents them from sticking to the pan.
- Balsamic vinegar: 2 tablespoons (30ml). I recommend a moderately priced balsamic—not the super cheap stuff that’s mostly sugar, but you don’t need the aged 20-year kind either. A good middle-ground vinegar will reduce nicely and give you that sweet-tangy glaze.
- Honey or maple syrup: 1 tablespoon (15ml). This balances the acidity of the balsamic and helps with caramelization. Use honey for a slightly floral sweetness or maple syrup for a deeper, earthier flavor. Both work great.
- Garlic powder: ½ teaspoon. Don’t skip this—it adds a subtle savory note that makes the sprouts taste more complex. I’ve tried fresh minced garlic, but it tends to burn at high heat. Garlic powder gives you the flavor without the bitterness.
- Salt: ½ teaspoon (or to taste). I use fine sea salt because it dissolves evenly. Kosher salt works too, but you might need a little more.
- Black pepper: ¼ teaspoon, freshly ground. Freshly ground pepper has more aroma than pre-ground, and it makes a difference here.
- Optional: Red pepper flakes: A pinch, if you want a little heat. My kids don’t mind a tiny kick, but if yours are sensitive, leave it out.
For the balsamic glaze, I sometimes make a quick reduction on the stove—just simmer ¼ cup of balsamic vinegar until it thickens and coats the back of a spoon. But honestly, the honey-balsamic mixture you toss the sprouts with does the job perfectly. No extra pan to wash.
If you’re looking for substitutions, here are a few that work well: swap the honey with agave nectar for a vegan version, or use coconut aminos instead of balsamic vinegar for a lower-acid option. For a gluten-free meal, these sprouts are naturally gluten-free, so you’re good to go.
Equipment Needed
You don’t need fancy gadgets for this recipe, which is exactly how I like it. Here’s what you’ll need:
- Baking sheet: A large, rimmed baking sheet (about 13×18 inches) is ideal. I recommend a heavy-duty one that won’t warp in the oven. Light-colored sheets work better than dark ones because they prevent over-browning.
- Parchment paper or aluminum foil: Lining the pan makes cleanup a breeze. Parchment paper is my go-to because it’s non-stick and doesn’t react with the vinegar.
- Sharp knife and cutting board: A chef’s knife makes quick work of trimming and halving the sprouts. A dull knife will crush them, so keep it sharp.
- Large mixing bowl: For tossing the sprouts with the oil and vinegar mixture. Any medium-to-large bowl works.
- Measuring spoons: For accuracy. I’ve eyeballed it before, and the results were inconsistent.
- Spatula or tongs: For flipping the sprouts halfway through roasting. Tongs give you better control, but a spatula works fine.
If you don’t have a rimmed baking sheet, a shallow roasting pan or even a cast-iron skillet will work. Just keep an eye on the cooking time, because cast iron retains heat differently and might brown the sprouts faster. I’ve used both, and honestly, the baking sheet is easier for spreading everything in a single layer.
Preparation Method
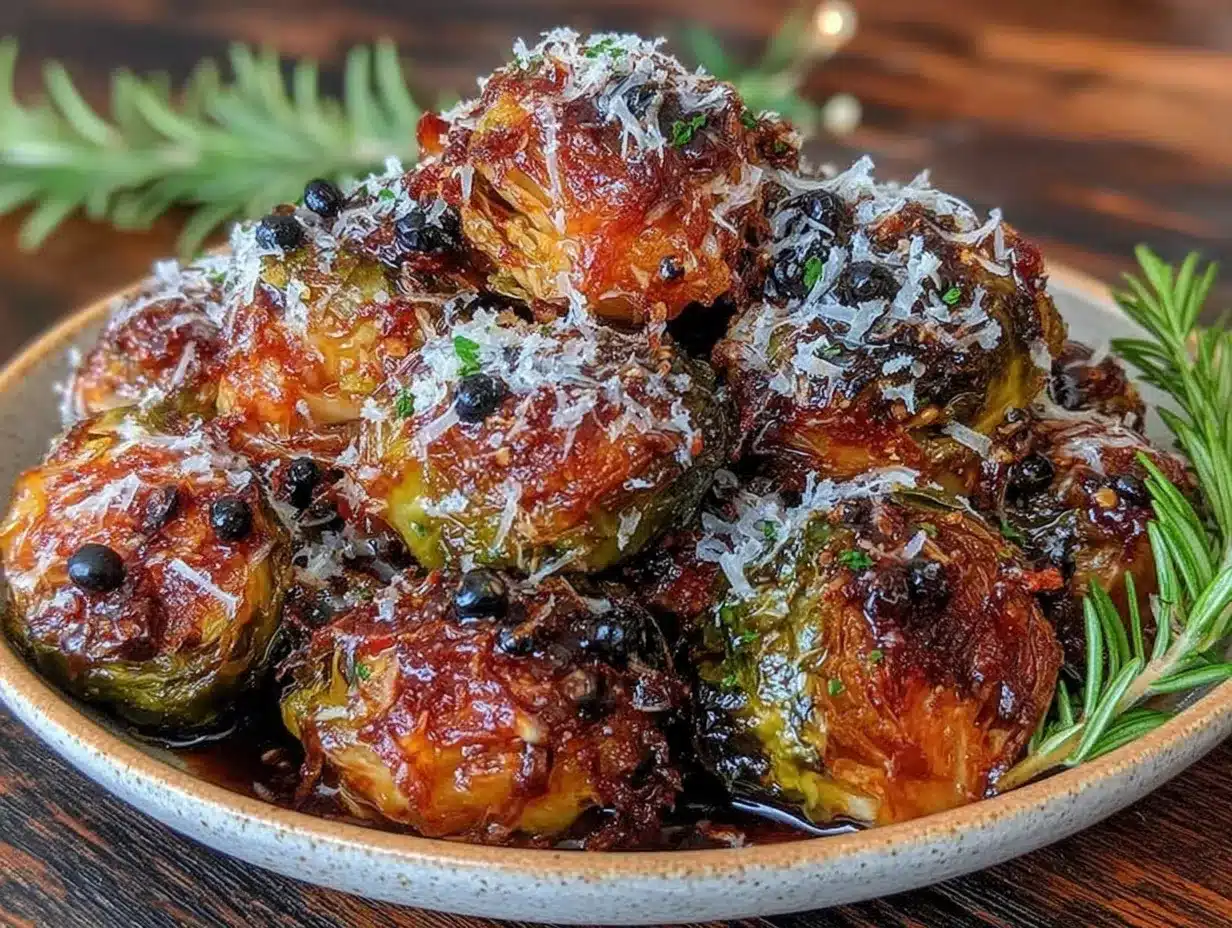
Follow these steps, and you’ll have perfectly crispy Brussels sprouts every time. I’ve included timings and sensory cues so you know exactly what to look for.
- Preheat your oven to 425°F (220°C). This high heat is non-negotiable—it’s what creates that shatteringly crisp texture. While the oven heats, line your baking sheet with parchment paper or foil. I prefer parchment because it doesn’t stick, but foil works if you give it a light spray of cooking oil.
- Prep the Brussels sprouts: Rinse 1 pound of Brussels sprouts under cold water and pat them dry with a clean kitchen towel. Moisture is the enemy of crispiness, so make sure they’re really dry. Trim off the tough stem ends—about ¼ inch—and remove any yellow or wilted outer leaves. Then cut each sprout in half lengthwise through the stem. If you’ve got really large sprouts, cut them into quarters so they cook evenly.
- Make the balsamic mixture: In a small bowl, whisk together 2 tablespoons of olive oil, 2 tablespoons of balsamic vinegar, 1 tablespoon of honey (or maple syrup), ½ teaspoon of garlic powder, ½ teaspoon of salt, and ¼ teaspoon of black pepper. Taste it—it should be sweet and tangy with a little savory kick. If it’s too acidic, add a tiny bit more honey.
- Toss the sprouts: Place the halved sprouts in a large mixing bowl. Pour the balsamic mixture over them and toss gently with your hands or a spatula until every piece is coated. Don’t let them sit too long—the vinegar can start to break down the sprouts if they marinate for more than 10 minutes.
- Arrange on the baking sheet: Spread the sprouts in a single layer on the prepared baking sheet, cut-side down. This is important—the flat cut surface needs to be in direct contact with the hot pan to get that deep golden-brown crust. Don’t overcrowd the pan; if the sprouts are too close together, they’ll steam instead of roast. Use two sheets if you need to.
- Roast for 18-22 minutes: Place the sheet on the middle rack of your preheated oven. Roast without disturbing for the first 15 minutes. Then, using tongs or a spatula, flip each sprout over. You should see a beautiful caramelized brown color on the cut side. Roast for another 3-7 minutes, until the edges are crispy and the sprouts are tender when pierced with a fork. The sound when you take them out—that slight crackle—is your sign they’re done.
- Optional balsamic drizzle: If you want extra glaze, while the sprouts roast, simmer ¼ cup of balsamic vinegar in a small saucepan over medium heat for 5-7 minutes until it thickens and coats the back of a spoon. Drizzle it over the finished sprouts before serving. This step is optional but adds a gorgeous glossy finish.
- Serve immediately: Brussels sprouts are best fresh out of the oven while they’re still crispy. Transfer them to a serving dish and sprinkle with a pinch of flaky sea salt if you have it. Watch them disappear.
One thing I learned the hard way: don’t skip the drying step. I once rinsed the sprouts and tossed them straight into the bowl without patting them dry, and they turned out soggy and steamed instead of crispy. It’s a small extra step, but it makes all the difference.
Cooking Tips & Techniques
Over the years, I’ve made plenty of mistakes with Brussels sprouts, and I’m sharing them so you don’t have to. Here are my best tips for getting perfect results every time:
Don’t overcrowd the pan. This is the number one mistake home cooks make. If you pile the sprouts on top of each other, they release steam and end up soft and limp. Give them space—about ½ inch between each piece—so the hot air can circulate and crisp them up. If you’re cooking for a crowd, use two baking sheets.
Cut-side down is critical. The flat surface of the sprout needs to be pressed against the hot pan to caramelize properly. When you arrange them cut-side down, you get that deep golden-brown crust that tastes almost like candy. Don’t skip this step.
Use high heat. 425°F is the sweet spot. Lower temperatures won’t give you the same crispiness, and higher temperatures risk burning the balsamic glaze. I’ve tried 400°F and the sprouts were good, but not great. The extra 25 degrees makes a noticeable difference.
Flip halfway through. Flipping ensures even browning on both sides. I used to skip this step when I was in a hurry, and the top halves would be pale while the bottom halves were perfect. It only takes 30 seconds, so it’s worth doing.
Watch the timing. Every oven runs a little differently. Start checking at 18 minutes, especially if your sprouts are on the smaller side. Larger sprouts might need 22-24 minutes. Look for deep brown edges and a tender interior—if a fork slides in easily, they’re done.
Use parchment paper for easy cleanup. The balsamic glaze can stick to the pan and burn, making scrubbing a nightmare. Parchment paper solves that problem completely. Plus, it helps the sprouts slide off easily without breaking.
One failure I’ll admit to: I once tried to make these in a convection oven without adjusting the temperature. The sprouts burned on the outside and were raw on the inside. If you’re using convection, reduce the temperature by 25°F and check them a few minutes earlier.
Variations & Adaptations
This recipe is super flexible, and I’ve tried several variations depending on what I have in the pantry or who I’m cooking for. Here are some of my favorites:
Add some crunch: Sprinkle ¼ cup of toasted almonds or pecans over the sprouts during the last 5 minutes of roasting. The nuts get warm and toasty, adding a lovely crunch that contrasts with the tender sprouts. My husband loves this version.
Make it spicy: Toss the sprouts with ½ teaspoon of red pepper flakes or a drizzle of sriracha before roasting. The heat pairs beautifully with the sweet balsamic glaze. My older kid thinks this is “cool,” but the younger one sticks to the original.
Cheesy twist: In the last 2 minutes of roasting, sprinkle ¼ cup of grated Parmesan or pecorino over the sprouts. Let it melt and crisp up. It adds a salty, umami punch that makes these even more addictive. Just be careful not to burn the cheese.
Low-carb option: Skip the honey or maple syrup and use a sugar-free balsamic glaze instead. The sprouts will still caramelize from the natural sugars, but the carb count drops significantly. I’ve made this for a friend on keto, and she loved it.
Different vinegar: Swap balsamic for apple cider vinegar or red wine vinegar for a tangier flavor. You might need to add a little extra honey to balance the acidity. I tried this once when I ran out of balsamic, and it was surprisingly good—lighter and brighter.
Add bacon: Because bacon makes everything better. Cook 3-4 strips of bacon until crispy, crumble them, and toss with the finished sprouts. The smoky, salty flavor is incredible. My kids call this the “fancy version.”
Feel free to experiment based on what your family likes. The base recipe is forgiving, so don’t be afraid to play around.
Serving & Storage Suggestions
These crispy balsamic Brussels sprouts are best served immediately, right when they come out of the oven. The texture is at its peak—crispy edges, tender centers, and that glossy balsamic glaze. I like to transfer them to a warm serving platter and sprinkle a little flaky sea salt on top for a final touch of crunch.
They pair beautifully with roasted chicken, grilled steak, or baked salmon. I’ve also served them alongside pasta with a simple tomato sauce, and they were a hit. For a vegetarian meal, try them with quinoa and a dollop of yogurt sauce. The tanginess of the yogurt balances the sweetness of the balsamic perfectly.
If you have leftovers (which is rare in my house), store them in an airtight container in the refrigerator for up to 3 days. The texture won’t be as crispy after refrigeration, but they’re still delicious. To reheat, spread them on a baking sheet and pop them in a 400°F oven for 5-7 minutes. Avoid the microwave—it makes them soggy. I’ve also reheated them in an air fryer at 375°F for 3-4 minutes, and they came out almost as good as fresh.
These sprouts actually develop more flavor after a day in the fridge. The balsamic glaze soaks into the sprouts a bit, making them even more savory. I’ve been known to make a double batch just so I can have leftovers for lunch the next day. They’re great cold straight from the fridge, tossed into a salad, or chopped up and added to a grain bowl.
Nutritional Information & Benefits
Brussels sprouts are a nutritional powerhouse, and this recipe keeps them healthy while making them irresistible. Here’s the estimated nutrition per serving (about 1 cup, based on 4 servings):
- Calories: 145
- Total Fat: 8g
- Saturated Fat: 1g
- Carbohydrates: 16g
- Fiber: 5g
- Sugar: 8g
- Protein: 4g
- Sodium: 320mg
The fiber content is impressive—5 grams per serving, which supports healthy digestion and keeps you feeling full. Brussels sprouts are also packed with vitamin K (important for bone health), vitamin C (for immune support), and antioxidants that help fight inflammation. The olive oil adds heart-healthy monounsaturated fats, and the balsamic vinegar provides a small amount of polyphenols, which are beneficial plant compounds.
This recipe is naturally gluten-free and can be made vegan by using maple syrup instead of honey. It’s also low in saturated fat and free from common allergens like dairy, eggs, and nuts (unless you add the optional Parmesan or almonds). If you’re watching your sodium, reduce the salt to ¼ teaspoon or use a low-sodium alternative.
I love that I can serve these to my family knowing they’re getting a nutrient-dense vegetable that tastes like a treat. It’s a win for everyone.
Frequently Asked Questions
Can I use frozen Brussels sprouts for this recipe?
I don’t recommend frozen sprouts for this recipe. They contain too much moisture, which prevents them from getting crispy. Fresh sprouts are best for that shatteringly crunchy texture. If frozen is all you have, thaw them completely and pat them very dry before roasting, but the results won’t be as good.
How do I prevent the balsamic vinegar from burning?
Balsamic vinegar can burn at high heat if it’s not balanced with oil and a sweetener. The olive oil and honey in the mixture help prevent burning by creating a protective coating. Also, make sure you’re roasting at 425°F, not higher, and keep an eye on the sprouts during the last 5 minutes. If you see dark spots forming, they’re done.
Can I make these in an air fryer?
Absolutely! Air fryers work great for this recipe. Preheat the air fryer to 400°F, arrange the sprouts in a single layer (cut-side down), and cook for 12-15 minutes, shaking the basket halfway through. The cooking time is shorter, so start checking at 10 minutes. The results are just as crispy, if not more so.
Why are my Brussels sprouts bitter?
Bitterness in Brussels sprouts usually comes from overcooking or using older sprouts. Fresh, firm sprouts are naturally sweeter. If you’re worried about bitterness, make sure you’re not overcooking them—they should be tender but not mushy. The balsamic glaze also helps mask any bitterness with its sweetness.
Can I double this recipe?
Yes, but don’t overcrowd the pan. Use two baking sheets instead of one, and rotate them halfway through roasting. If you try to double the recipe on a single sheet, the sprouts will steam and lose their crispiness. Spread them out, and you’ll get perfect results every time.
Conclusion
These Kid-Approved Crispy Balsamic Brussels Sprouts Bites have honestly changed the way my family eats vegetables. I never thought I’d see the day when my kids asked for seconds of Brussels sprouts, but here we are. The combination of high heat, a simple balsamic glaze, and a little patience creates something that’s crispy, sweet, tangy, and completely addictive. It’s the kind of recipe that makes you feel like a kitchen genius without actually doing much work.
I’d love for you to try this recipe and make it your own. Maybe you’ll add a sprinkle of Parmesan, a pinch of red pepper flakes, or a handful of toasted nuts. Whatever you do, don’t be afraid to experiment. Cooking is supposed to be fun, and this recipe is a great starting point.
If you make these, come back and let me know how they turned out. Leave a comment below or tag me in your photos—I genuinely love seeing your creations. And if you’ve got picky eaters at home, I hope this recipe becomes as much of a game-changer for you as it was for me. Happy cooking!
Pin This Recipe!
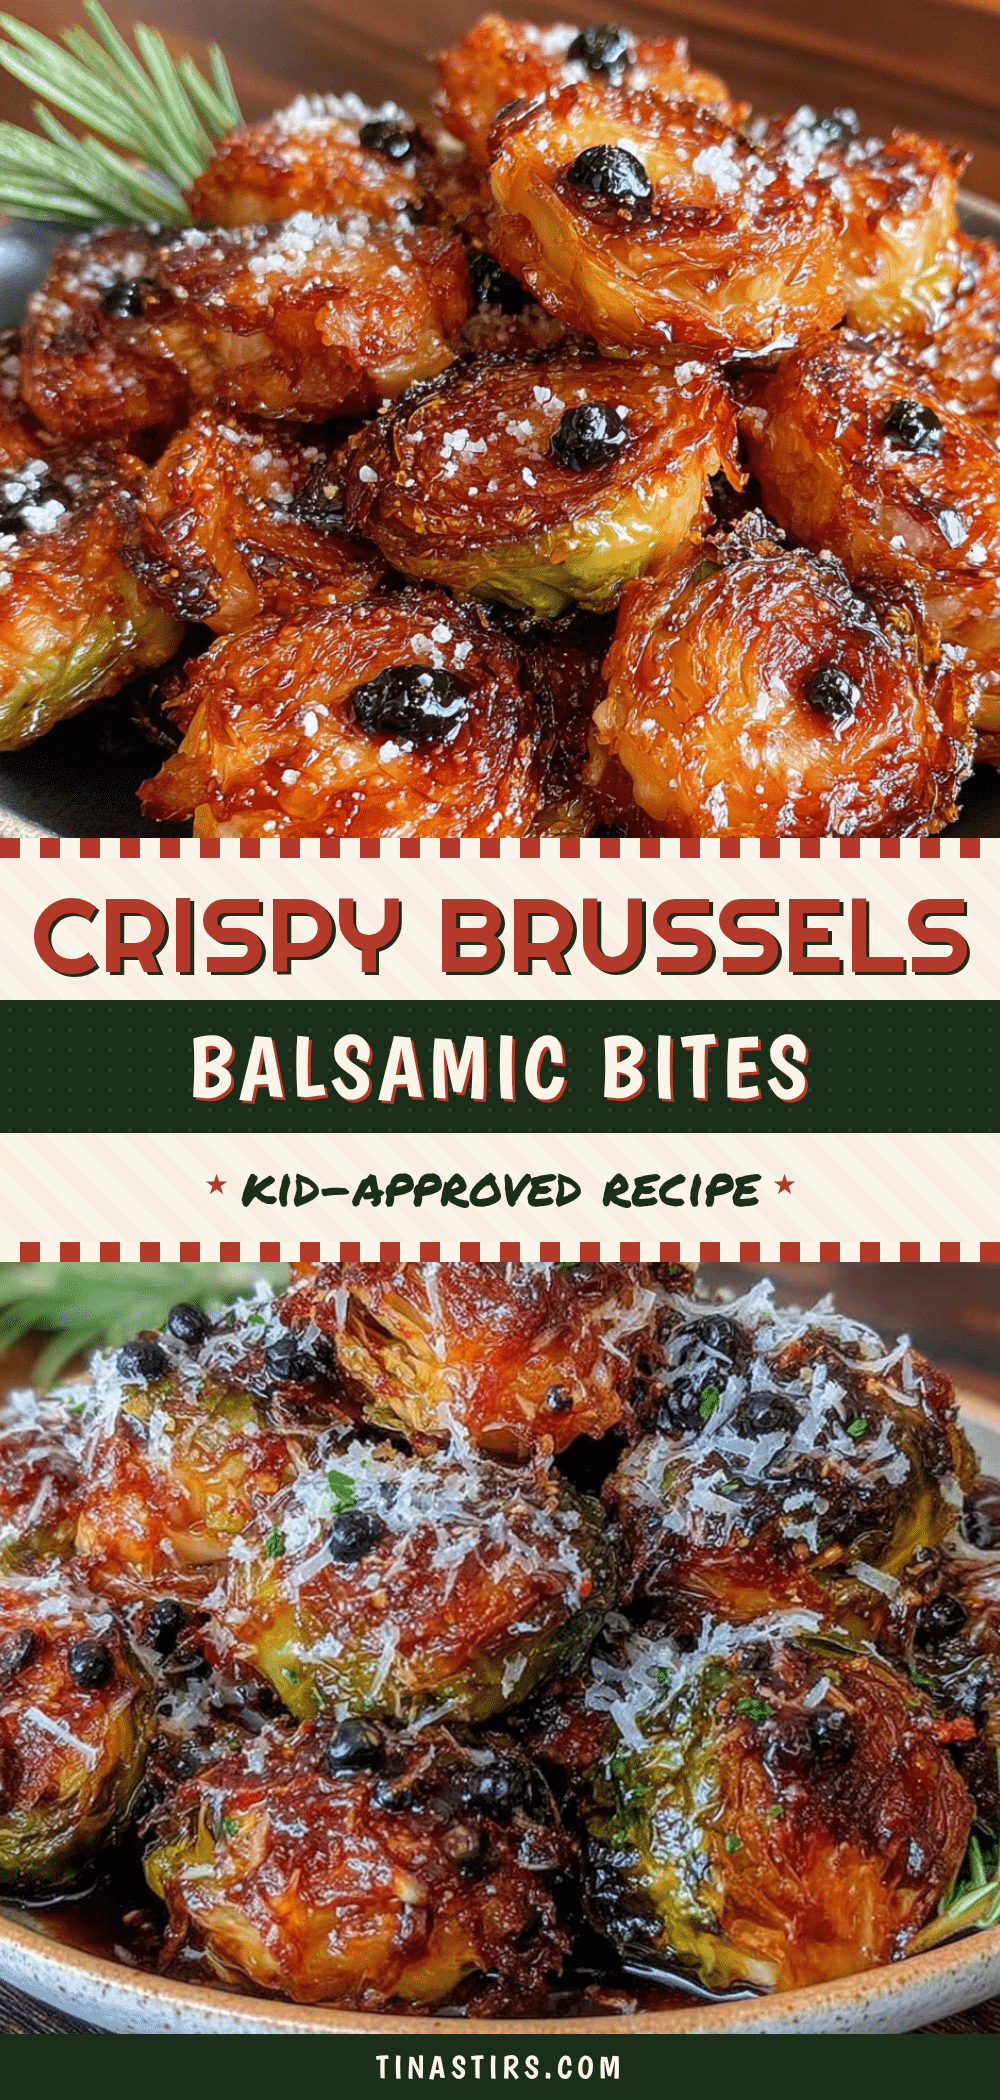
Kid-Approved Crispy Balsamic Brussels Sprouts Bites

These crispy balsamic Brussels sprouts are roasted at high heat until shatteringly crisp on the outside and tender inside, with a sweet-tangy glaze that even picky eaters love. Ready in about 25 minutes, they’re a perfect weeknight side dish or snack.
- Prep Time: 10 minutes
- Cook Time: 20 minutes
- Total Time: 30 minutes
- Yield: 4 servings 1x
- Category: Side Dish
- Cuisine: American
Ingredients
- 1 pound (450g) fresh Brussels sprouts
- 2 tablespoons (30ml) olive oil
- 2 tablespoons (30ml) balsamic vinegar
- 1 tablespoon (15ml) honey or maple syrup
- ½ teaspoon garlic powder
- ½ teaspoon fine sea salt
- ¼ teaspoon freshly ground black pepper
- Pinch of red pepper flakes (optional)
Instructions
- Preheat your oven to 425°F (220°C). Line a large rimmed baking sheet with parchment paper or foil.
- Rinse 1 pound of Brussels sprouts under cold water and pat them dry thoroughly. Trim off the tough stem ends (about ¼ inch) and remove any yellow or wilted outer leaves. Cut each sprout in half lengthwise through the stem. For large sprouts, cut into quarters.
- In a small bowl, whisk together 2 tablespoons olive oil, 2 tablespoons balsamic vinegar, 1 tablespoon honey (or maple syrup), ½ teaspoon garlic powder, ½ teaspoon salt, and ¼ teaspoon black pepper.
- Place the halved sprouts in a large mixing bowl. Pour the balsamic mixture over them and toss gently until every piece is coated. Do not let them sit for more than 10 minutes.
- Arrange the sprouts in a single layer on the prepared baking sheet, cut-side down. Do not overcrowd; use two sheets if needed.
- Roast for 18-22 minutes. After 15 minutes, flip each sprout over. Continue roasting until the edges are crispy and the sprouts are tender when pierced with a fork.
- Optional: While the sprouts roast, simmer ¼ cup balsamic vinegar in a small saucepan over medium heat for 5-7 minutes until thickened. Drizzle over finished sprouts before serving.
- Serve immediately, sprinkled with flaky sea salt if desired.
Notes
For best results, ensure sprouts are thoroughly dried before roasting to maximize crispiness. Do not overcrowd the pan; use two sheets if necessary. The balsamic glaze can burn at higher temperatures, so keep an eye on the sprouts during the last 5 minutes. For a vegan version, use maple syrup instead of honey. Leftovers can be stored in an airtight container in the refrigerator for up to 3 days and reheated in a 400°F oven for 5-7 minutes.
Nutrition
- Serving Size: 1 cup
- Calories: 145
- Sugar: 8
- Sodium: 320
- Fat: 8
- Saturated Fat: 1
- Carbohydrates: 16
- Fiber: 5
- Protein: 4
Keywords: Brussels sprouts, crispy, balsamic, kid-friendly, easy side dish, roasted vegetables, gluten-free, vegetarian


