Love this? Save it for later!
Share the inspiration with your friends
Maggie wasn’t trying to impress anyone. I’d stopped by her place on a drizzly Tuesday afternoon to pick up a book I’d lent her months ago, and the smell hit me before I even got through the front door. It was warm, nutty, and deeply sweet—like someone had bottled autumn and let it simmer on the stove. I stood there in her entryway, coat still dripping, and just inhaled.
“Oh, that’s just the pie I’m testing for Thanksgiving,” she said, waving her hand like it was no big deal. She was wearing an old sweater with a hole in the elbow and had flour smudged across her cheek. The kitchen looked like a butter bomb had gone off, and she didn’t seem to care one bit. Honestly, that’s when I knew this pie was going to be something special.
Now, I’ve eaten my fair share of pumpkin pie. It’s one of those dishes that shows up at every holiday table, usually good, occasionally great, but rarely the thing people fight over the leftovers for. This one was different. The crust had this incredible flaky tenderness, and the filling—well, the filling had this deep, almost toasty richness that I couldn’t quite place. It wasn’t until she told me about the brown butter that everything clicked.
Maybe you’ve been there. You take a bite of something familiar, and suddenly it feels brand new. That’s what this wholesome brown butter pumpkin pie did to me. I stood there eating a slice at her kitchen counter, making small talk about her cat, while silently planning how I was going to get the recipe out of her. It took three more visits and a promise to bring her homemade granola, but I finally got it. And let me tell you—this pie has become my go-to for every fall gathering since.
Why You’ll Love This Recipe
This isn’t just another pumpkin pie recipe floating around the internet. After testing this version at least a dozen times, I can tell you with confidence that the brown butter is the secret weapon you didn’t know you needed. It adds a nutty, caramelized depth that makes the filling taste like it’s been simmering all day, even though it comes together in about 15 minutes of hands-on work.
- Quick & Easy: The filling comes together in under 15 minutes. The hardest part is browning the butter, and honestly, that’s just watching it until it smells amazing.
- Simple Ingredients: You probably have most of these in your pantry right now. No weird extracts or hard-to-find spices.
- Perfect for Fall Gatherings: Whether it’s Thanksgiving, Friendsgiving, or just a cozy Sunday dinner, this pie fits right in.
- Crowd-Pleaser: I’ve served this to picky eaters, pumpkin pie purists, and people who “don’t really like dessert.” Every single slice disappeared.
- Unbelievably Delicious: The brown butter transforms the filling into something rich and complex. The maple whipped cream on top? Pure magic.
What makes this recipe different is the technique. Browning the butter before mixing it into the filling isn’t just a fancy step—it actually changes the chemistry of the pie. The milk solids toast up and release compounds that add a nutty, almost butterscotch-like flavor. Combined with the warm spices and the silky pumpkin, you get a pie that tastes like you spent hours in the kitchen, even though you didn’t.
This is the kind of pie that makes you close your eyes after the first bite. It’s comfort food reimagined—healthier with whole ingredients, faster than you’d expect, but with the same soul-soothing satisfaction. Perfect for impressing guests without the stress, or turning a simple fall meal into something memorable.
What Ingredients You Will Need
This recipe uses simple, wholesome ingredients to deliver bold flavor and satisfying texture without the fuss. Most of these are pantry staples or easy to find at any grocery store.
- For the Crust:
- 1 ¼ cups all-purpose flour (I prefer King Arthur for consistent results)
- ½ teaspoon salt
- 1 tablespoon granulated sugar
- ½ cup cold unsalted butter, cut into small cubes
- 3-4 tablespoons ice water
- For the Brown Butter Pumpkin Filling:
- ½ cup unsalted butter (for browning)
- 1 can (15 oz) pure pumpkin puree (not pumpkin pie filling)
- ¾ cup packed brown sugar (light or dark works, dark adds more depth)
- 2 large eggs, room temperature
- 1 teaspoon vanilla extract
- 1 teaspoon ground cinnamon
- ½ teaspoon ground ginger
- ¼ teaspoon ground nutmeg
- ¼ teaspoon ground cloves
- ½ teaspoon salt
- ¾ cup evaporated milk (or full-fat coconut milk for dairy-free)
- For the Maple Whipped Cream:
- 1 cup heavy cream, cold
- 2 tablespoons pure maple syrup
- ½ teaspoon vanilla extract
A quick note on the pumpkin: make sure you’re buying pure pumpkin puree, not the pre-sweetened pie filling. Libby’s is my go-to brand because it’s consistently thick and not watery. If you’re feeling ambitious, you can roast and puree your own sugar pumpkin, but honestly, canned works beautifully here.
For the brown sugar, I’ve tested this with both light and dark varieties. Dark brown sugar gives the filling a deeper molasses flavor that pairs beautifully with the brown butter. If you only have light brown sugar, it’ll still be delicious—just slightly less complex.
If you need a dairy-free option, substitute the butter in the crust with cold coconut oil, and use full-fat coconut milk in place of the evaporated milk. The texture will be slightly different, but still lovely.
Equipment Needed
You don’t need a fancy kitchen to pull this off. Here’s what you’ll need:
- 9-inch pie dish (glass or ceramic works best for even baking)
- Rolling pin (a wine bottle works in a pinch—I’ve done it)
- Medium saucepan for browning the butter (light-colored metal helps you see the color change)
- Large mixing bowls (one for the crust, one for the filling)
- Whisk
- Pastry cutter or two forks for cutting butter into flour
- Plastic wrap
- Pie weights or dried beans for blind baking
- Parchment paper
- Electric mixer or whisk for the whipped cream
- Cooling rack
If you don’t have pie weights, don’t stress. I’ve used dried beans, rice, and even a stack of clean coins wrapped in foil. Just make sure whatever you use is oven-safe. And if you don’t have a pastry cutter, your hands work fine—just work quickly so the butter doesn’t warm up too much.
Preparation Method
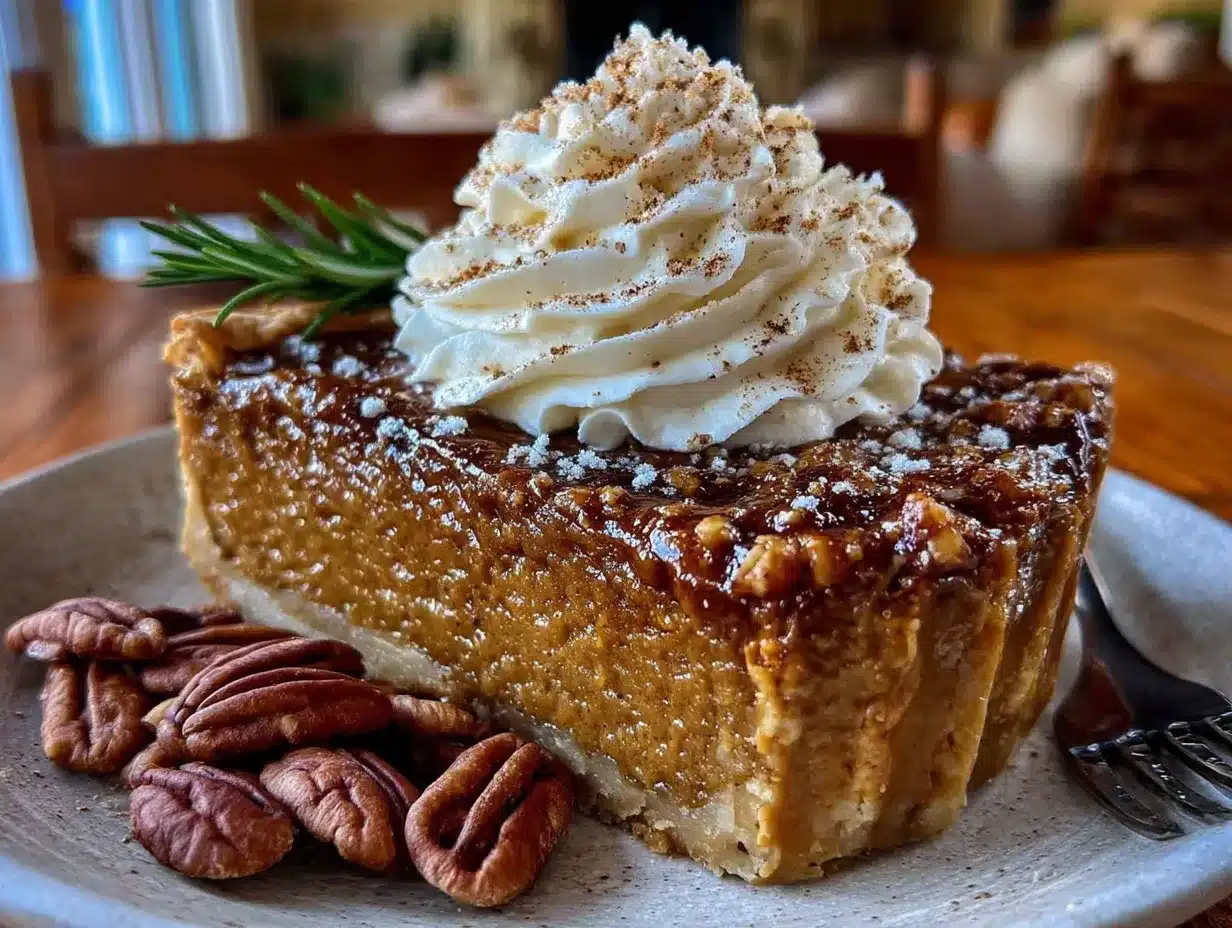
- Make the crust: In a large bowl, whisk together the flour, salt, and sugar. Add the cold butter cubes. Using a pastry cutter or your fingertips, cut the butter into the flour until it resembles coarse meal with some pea-sized butter pieces remaining. This takes about 2 minutes. Drizzle 3 tablespoons of ice water over the mixture and stir with a fork until the dough just comes together. If it seems dry, add the remaining tablespoon of water. The dough should hold together when squeezed but not be sticky.
- Chill the dough: Flatten the dough into a disk, wrap it in plastic wrap, and refrigerate for at least 1 hour. This step is non-negotiable—it relaxes the gluten and keeps the butter cold, which gives you a flaky crust. I’ve skipped this before and ended up with a tough, shrinking crust. Learn from my mistake.
- Roll out the crust: On a lightly floured surface, roll the dough into a 12-inch circle, about ⅛-inch thick. Carefully transfer it to your 9-inch pie dish. Gently press it into the bottom and up the sides. Trim the excess dough, leaving about a ½-inch overhang. Fold the overhang under and crimp the edges however you like. Pop it back in the fridge for 20 minutes while you preheat the oven to 375°F.
- Blind bake the crust: Line the chilled crust with parchment paper and fill with pie weights or dried beans. Bake for 15 minutes. Remove the parchment and weights, then bake for another 5-7 minutes until the bottom looks dry and lightly golden. Set aside to cool slightly. This prevents the dreaded soggy bottom.
- Brown the butter: In a medium saucepan over medium heat, melt the ½ cup butter. Stir constantly with a whisk or spatula. The butter will foam, then bubble, then start to turn golden. Watch carefully—once you see brown specks forming at the bottom and smell a nutty aroma, remove it from the heat immediately. This takes about 5-6 minutes. Pour the brown butter into a heat-safe bowl to stop the cooking process. Let it cool for 10 minutes.
- Mix the filling: In a large bowl, whisk together the pumpkin puree, brown sugar, eggs, vanilla, cinnamon, ginger, nutmeg, cloves, and salt until smooth. Slowly drizzle in the cooled brown butter while whisking constantly. Then whisk in the evaporated milk until everything is well combined. The mixture should be smooth and slightly thick.
- Bake the pie: Pour the filling into the pre-baked crust. Place the pie on the center rack of the oven. Bake at 375°F for 15 minutes, then reduce the temperature to 350°F and bake for another 35-40 minutes. The pie is done when the edges are set but the center still jiggles slightly when you gently shake the pan. It will continue to set as it cools.
- Cool completely: Transfer the pie to a wire rack and let it cool to room temperature, about 2 hours. Then refrigerate for at least 4 hours or overnight. This step is crucial for clean slices. I know it’s hard to wait, but trust me.
- Make the maple whipped cream: Just before serving, pour the cold heavy cream into a chilled bowl. Beat with an electric mixer on medium-high speed until soft peaks form. Add the maple syrup and vanilla, then continue beating until stiff peaks form. Don’t overbeat, or you’ll end up with butter.
- Serve: Slice the chilled pie, top with a generous dollop of maple whipped cream, and optionally sprinkle with a pinch of flaky sea salt or cinnamon.
Cooking Tips & Techniques
I’ve made this pie more times than I can count, and I’ve definitely had my share of mishaps. Here’s what I’ve learned the hard way so you don’t have to.
Browning butter is all about patience. The first time I tried it, I walked away for “just a second” to check my phone. Big mistake. The butter went from golden to burnt in about 30 seconds. Stay by the stove, swirl the pan constantly, and trust your nose. When it smells nutty and toasty, it’s done. Pour it into a cool bowl immediately to stop the cooking.
Don’t skip the blind baking. I know it adds time, but a soggy bottom crust is the saddest thing in the pie world. The pre-baking creates a barrier that keeps the crust crisp, even with a moist filling. If you’re short on time, you can freeze the crust for 30 minutes instead of refrigerating, but don’t skip the blind bake.
Watch your oven temperature. Every oven runs differently. If your pie is browning too quickly on the edges, tent it loosely with foil for the last 15 minutes of baking. And remember, the center should still jiggle slightly when you take it out—it will firm up as it cools. Overbaking leads to a cracked, dry filling.
Multitasking is your friend. While the crust is chilling, brown your butter. While the pie is baking, make your whipped cream (store it in the fridge). This recipe flows nicely if you plan ahead.
For the cleanest slices, use a sharp knife dipped in hot water. Wipe it clean between cuts. This trick works like magic for getting those picture-perfect slices.
Variations & Adaptations
One of the best things about this recipe is how flexible it is. Here are some variations I’ve tried and loved:
- Gluten-Free Version: Swap the all-purpose flour for a 1:1 gluten-free baking blend. I’ve had great results with Bob’s Red Mill Gluten-Free 1-to-1 Baking Flour. The texture is slightly more crumbly, but the flavor is still spot on.
- Dairy-Free Version: Use cold coconut oil instead of butter in the crust, and full-fat coconut milk in place of the evaporated milk. For the whipped cream, you can use coconut cream whipped with maple syrup—just chill the can of coconut cream overnight first.
- Spice It Up: Add a pinch of cardamom or allspice to the filling for a more complex spice profile. I once added a teaspoon of finely chopped crystallized ginger, and it was incredible.
- Pecan Praline Topping: Before serving, top the pie with a mixture of chopped pecans, brown sugar, and a drizzle of melted butter. Broil for 2 minutes for a crunchy, caramelized topping.
- Individual Mini Pies: Use a muffin tin and pre-made tart shells for adorable single-serving pies. Reduce the baking time to about 20 minutes.
My personal favorite variation is adding a tablespoon of bourbon to the filling. It adds a warmth that pairs beautifully with the brown butter. Just reduce the evaporated milk by a tablespoon to keep the consistency right.
Serving & Storage Suggestions
This pie is best served chilled or at room temperature. I prefer it straight from the fridge because the filling sets up perfectly and slices cleanly. Top it with the maple whipped cream just before serving—don’t add it ahead of time, or it’ll deflate and get messy.
For a beautiful presentation, sprinkle the top with a light dusting of cinnamon or nutmeg, and add a few fresh cranberries or a sprig of rosemary for color. It makes for a stunning centerpiece on any fall table.
This pie pairs beautifully with a cup of hot coffee, spiced chai, or a glass of cold milk. If you’re serving it after a big meal, keep the slices modest—this is a rich pie, and a little goes a long way.
Storage: Leftover pie can be covered and refrigerated for up to 4 days. The crust will soften slightly over time, but the flavor actually improves after a day or two as the spices meld together. You can also freeze the baked, cooled pie for up to 3 months. Wrap it tightly in plastic wrap, then foil. Thaw overnight in the fridge before serving.
Reheating: I actually prefer this pie cold, but if you want it warm, pop individual slices in a 300°F oven for 5-7 minutes. Avoid the microwave—it turns the crust soggy and the filling rubbery.
The maple whipped cream is best made fresh, but you can make it a few hours ahead and keep it in the fridge. Just give it a quick whisk before serving if it starts to separate.
Nutritional Information & Benefits
Here’s an approximate nutritional breakdown per slice (based on 8 servings):
- Calories: 410
- Total Fat: 26g
- Saturated Fat: 16g
- Cholesterol: 115mg
- Sodium: 310mg
- Total Carbohydrates: 42g
- Dietary Fiber: 2g
- Sugars: 28g
- Protein: 6g
Pumpkin is packed with vitamin A, which supports eye health and immune function. It’s also a good source of fiber and potassium. The brown butter adds healthy fats that help your body absorb the fat-soluble vitamins from the pumpkin. And while this is definitely a treat, using whole ingredients and less sugar than traditional recipes makes it a more wholesome option for your holiday table.
If you’re watching your sugar intake, you can reduce the brown sugar to ½ cup without sacrificing too much sweetness—the maple whipped cream will add enough sweetness to balance things out.
This recipe contains dairy, gluten, and eggs. For allergen-friendly versions, see the variations section above.
Frequently Asked Questions
Can I use a store-bought crust instead of making my own?
Absolutely. If you’re short on time, a high-quality refrigerated pie crust works perfectly. Just make sure to blind bake it first for the best results. I’ve used Pillsbury in a pinch, and it turned out just fine.
Why did my filling crack?
Cracks usually happen when the pie is overbaked or cooled too quickly. The center should still jiggle slightly when you take it out of the oven. Also, let it cool gradually on a wire rack, not in a drafty spot. If it does crack, just cover it with whipped cream—no one will ever know.
Can I make this pie ahead of time?
Yes! This pie actually tastes better the next day. You can bake it up to 2 days in advance and keep it covered in the fridge. The maple whipped cream is best made the day you serve it, though.
Can I use fresh pumpkin instead of canned?
You can, but you’ll need to roast and puree a sugar pumpkin first. The texture will be slightly different—fresh pumpkin tends to be more watery, so you may need to drain it through a cheesecloth for about an hour before using. Canned pumpkin is more consistent and honestly easier for this recipe.
How do I know when the brown butter is ready?
Watch for three signs: the butter will turn a golden-amber color, you’ll see brown specks forming at the bottom of the pan, and it will smell nutty and toasty. As soon as you notice these, remove it from the heat. It happens fast, so don’t walk away.
Conclusion
This wholesome brown butter pumpkin pie has become my signature fall dessert, and I think it’s about to become yours too. It takes the classic pumpkin pie you already love and adds just enough depth and richness to make it feel special without being fussy. The brown butter does all the heavy lifting, and the maple whipped cream is the perfect finishing touch.
I love this recipe because it reminds me of that drizzly Tuesday at Maggie’s house, standing in her messy kitchen, eating pie off a paper plate while she talked about her cat. It’s proof that the best recipes don’t come from fancy test kitchens—they come from real people making something delicious without even realizing how good it is.
I’d love to hear how yours turns out. Leave a comment below and let me know if you tried any variations or if this pie made it to your Thanksgiving table. And if you’re looking for more fall dessert ideas, don’t miss my classic apple crisp or these spiced pumpkin muffins. Happy baking, friends!
Pin This Recipe!
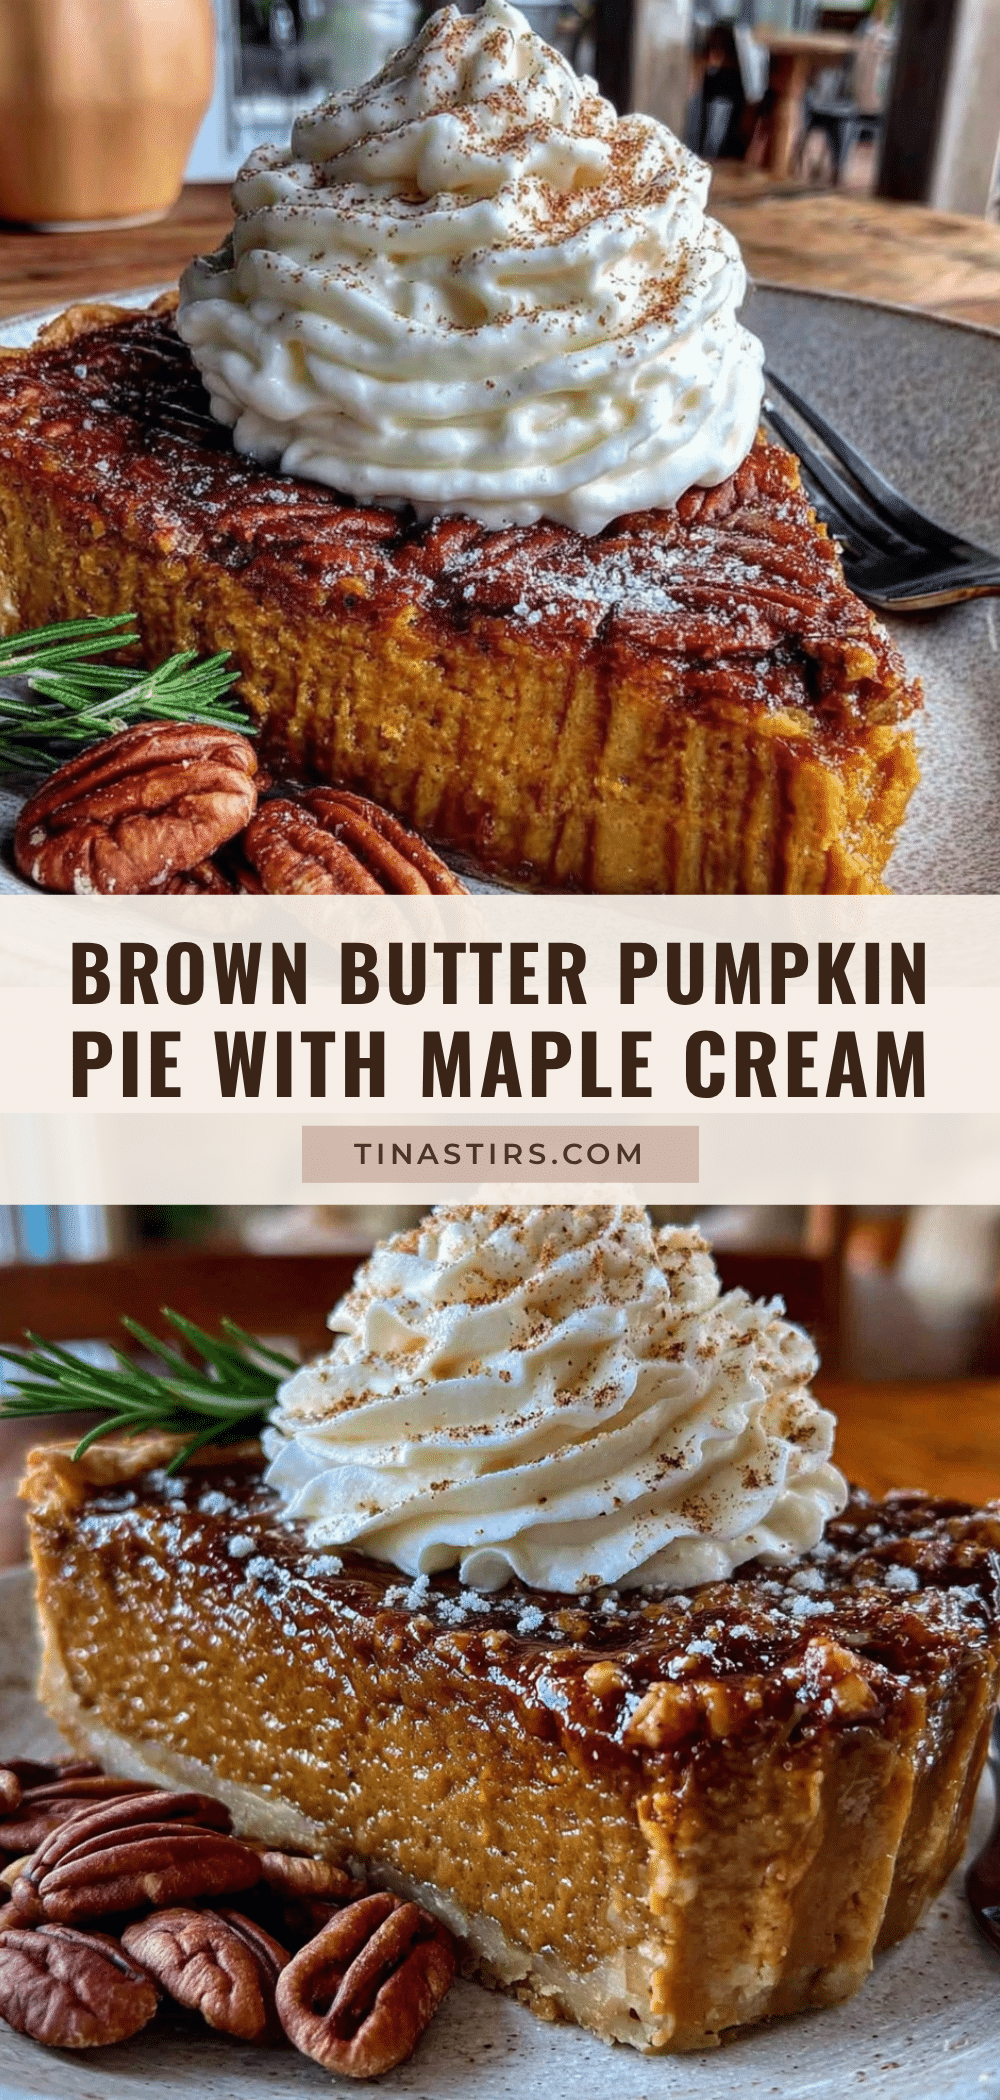
Wholesome Brown Butter Pumpkin Pie with Maple Cream
This pumpkin pie features a nutty brown butter filling and a flaky homemade crust, topped with a luscious maple whipped cream. It’s a quick and easy fall dessert that’s perfect for Thanksgiving or any cozy gathering.
- Prep Time: 15 minutes
- Cook Time: 55 minutes
- Total Time: 2 hours 10 minutes (plus chilling time)
- Yield: 8 servings 1x
- Category: Dessert
- Cuisine: American
Ingredients
- 1 ¼ cups all-purpose flour
- ½ teaspoon salt
- 1 tablespoon granulated sugar
- ½ cup cold unsalted butter, cut into small cubes
- 3–4 tablespoons ice water
- ½ cup unsalted butter (for browning)
- 1 can (15 oz) pure pumpkin puree
- ¾ cup packed brown sugar (light or dark)
- 2 large eggs, room temperature
- 1 teaspoon vanilla extract
- 1 teaspoon ground cinnamon
- ½ teaspoon ground ginger
- ¼ teaspoon ground nutmeg
- ¼ teaspoon ground cloves
- ½ teaspoon salt
- ¾ cup evaporated milk (or full-fat coconut milk for dairy-free)
- 1 cup heavy cream, cold
- 2 tablespoons pure maple syrup
- ½ teaspoon vanilla extract
Instructions
- Make the crust: In a large bowl, whisk together the flour, salt, and sugar. Add the cold butter cubes. Using a pastry cutter or your fingertips, cut the butter into the flour until it resembles coarse meal with some pea-sized butter pieces remaining. Drizzle 3 tablespoons of ice water over the mixture and stir with a fork until the dough just comes together. If it seems dry, add the remaining tablespoon of water.
- Chill the dough: Flatten the dough into a disk, wrap it in plastic wrap, and refrigerate for at least 1 hour.
- Roll out the crust: On a lightly floured surface, roll the dough into a 12-inch circle, about ⅛-inch thick. Transfer to a 9-inch pie dish. Press into the bottom and up the sides. Trim the excess dough, leaving about a ½-inch overhang. Fold the overhang under and crimp the edges. Refrigerate for 20 minutes while preheating the oven to 375°F.
- Blind bake the crust: Line the chilled crust with parchment paper and fill with pie weights or dried beans. Bake for 15 minutes. Remove the parchment and weights, then bake for another 5-7 minutes until the bottom looks dry and lightly golden. Set aside to cool slightly.
- Brown the butter: In a medium saucepan over medium heat, melt the ½ cup butter. Stir constantly. The butter will foam, then bubble, then start to turn golden. Once you see brown specks forming at the bottom and smell a nutty aroma, remove from heat immediately. Pour into a heat-safe bowl to stop cooking. Let cool for 10 minutes.
- Mix the filling: In a large bowl, whisk together the pumpkin puree, brown sugar, eggs, vanilla, cinnamon, ginger, nutmeg, cloves, and salt until smooth. Slowly drizzle in the cooled brown butter while whisking constantly. Then whisk in the evaporated milk until well combined.
- Bake the pie: Pour the filling into the pre-baked crust. Bake at 375°F for 15 minutes, then reduce the temperature to 350°F and bake for another 35-40 minutes. The pie is done when the edges are set but the center still jiggles slightly.
- Cool completely: Transfer the pie to a wire rack and let cool to room temperature, about 2 hours. Then refrigerate for at least 4 hours or overnight.
- Make the maple whipped cream: Just before serving, pour the cold heavy cream into a chilled bowl. Beat with an electric mixer on medium-high speed until soft peaks form. Add the maple syrup and vanilla, then continue beating until stiff peaks form.
- Serve: Slice the chilled pie, top with a generous dollop of maple whipped cream, and optionally sprinkle with a pinch of flaky sea salt or cinnamon.
Notes
For the cleanest slices, use a sharp knife dipped in hot water and wipe clean between cuts. The pie can be made up to 2 days ahead and stored covered in the fridge. The maple whipped cream is best made fresh the day of serving.
Nutrition
- Serving Size: 1 slice
- Calories: 410
- Sugar: 28
- Sodium: 310
- Fat: 26
- Saturated Fat: 16
- Carbohydrates: 42
- Fiber: 2
- Protein: 6
Keywords: pumpkin pie, brown butter, maple cream, Thanksgiving, fall dessert, homemade pie crust


