Love this? Save it for later!
Share the inspiration with your friends
There used to be a sports bar called The Dive on Third Avenue that made nachos so dangerously good they should have been illegal. When they closed abruptly in 2019—turned into a kombucha café, of all things—I actually went through a weird grieving period. I mean, I stood outside the locked door one Tuesday afternoon like a fool, staring at the “Coming Soon: Fermented Wellness” sign. After about twelve tries—some so greasy they were practically soup, others so dry they could have been roofing materials—I finally got it. This is that plate of nachos. The one that makes you forget about the score for a second. Honestly, if you’ve ever chased a restaurant memory around your own kitchen, you know exactly what I mean. This recipe is the payoff for all those failed experiments.
Let me tell you, the first batch I made was a disaster. I used pre-shredded cheese (don’t do it), and it turned into a weird, oily mess that tasted like regret. But I kept at it, because those nachos from The Dive were worth the effort. Now, every time I pull this sheet pan out of the oven, I think about that little bar and the way the whole place would go quiet when a touchdown was scored. This recipe is for those moments—the ones you want to remember, the ones that taste like victory. Maybe you’ve been there, chasing a flavor from your past. This is the end of that chase.
Why You’ll Love This Recipe
I’ve tested this nacho bar setup more times than I care to admit. I’ve burned my fingers on molten cheese, I’ve over-salted the beans, and I’ve learned exactly how to layer so every single chip gets some love. This isn’t just another nacho recipe—it’s the result of all those trials, and it’s built for the chaos of game day.
- Quick & Easy: This whole setup comes together in about 30 minutes. You can prep everything during the first commercial break and have it on the table by kickoff.
- Simple Ingredients: No fancy grocery trips needed. Ground beef, beans, cheese, chips—you probably have most of this stuff in your pantry right now.
- Perfect for Game Day: This is the ultimate crowd-pleaser for football Sunday, Super Bowl parties, or any gathering where you need serious snack power.
- Crowd-Pleaser: I have never, not once, seen leftovers from this nacho bar. It disappears every single time.
- Unbelievably Delicious: The combination of crispy chips, melty cheese, seasoned beef, and fresh toppings is next-level comfort food. It’s the kind of dish that makes you close your eyes after the first bite.
What makes this version different from all the others? It’s the layering technique, honestly. Most people pile everything on top and hope for the best. I take a different approach—I build the nachos in two layers, so every chip is loaded, not just the ones on top. Plus, I use a blend of cheeses that melts like a dream without turning greasy. It’s not just another nacho recipe; it’s your new game day tradition.
This recipe isn’t just good—it’s the kind that makes you forget about the game for a second. It’s comfort food reimagined: faster, easier, but with the same soul-soothing satisfaction. Perfect for impressing your friends without spending the whole game in the kitchen.
What Ingredients You Will Need
This recipe uses simple, honest ingredients to deliver bold flavor and satisfying crunch without the fuss. Most of these are pantry staples, which makes this perfect for last-minute game day cravings.
For the Nacho Base
- 1 lb ground beef (80/20 works best for flavor; you can drain the excess fat)
- 1 packet taco seasoning (I prefer the Ortega brand for its balanced spice level)
- 1 can (15 oz) black beans, drained and rinsed (or refried beans if you want a creamier texture)
- 1 bag (13 oz) restaurant-style tortilla chips (look for sturdy chips that won’t break under the weight—Tostitos Scoops are my go-to)
- 2 cups shredded sharp cheddar cheese (shred it yourself from a block—pre-shredded has anti-caking agents that mess with melting)
- 1 cup shredded Monterey Jack cheese (adds that beautiful stretchy quality)
For the Toppings Bar
- 1 cup sour cream (full-fat for best texture)
- 1 cup pico de gallo or salsa (fresh pico is amazing if you have time)
- 1 avocado, diced and tossed with lime juice (to prevent browning)
- 1/2 cup pickled jalapeños (adds that necessary tang and heat)
- 1/4 cup fresh cilantro, chopped (use dairy-free milk if needed)
- 2 green onions, sliced thin
- 1 lime, cut into wedges
Ingredient Selection Tips: Look for a block of cheddar that feels firm and smells sharp. For the chips, avoid thin, delicate brands—they’ll turn to mush under the toppings. If you’re feeding a crowd, double the beef and cheese mixture. I learned this the hard way after running out halfway through the fourth quarter.
Substitution Guidance: Use ground turkey or chicken for a lighter option. For a vegetarian version, double the beans and add sautéed bell peppers and onions. Use dairy-free cheese and coconut-based sour cream for a vegan-friendly setup. The recipe is flexible—that’s the beauty of a nacho bar.
Equipment Needed
- Large rimmed baking sheet (half-sheet size works best—about 18×13 inches)
- Large skillet for browning the beef
- Cutting board and sharp knife
- Small bowls for serving toppings (ramekins work great)
- Cheese grater (box grater or microplane for the self-shredded cheese)
- Spatula for stirring the beef
- Paper towels for draining the beef fat
If you don’t have a rimmed baking sheet, a large oven-safe skillet or a 9×13 casserole dish will work. I’ve used both in a pinch, and they do the job. Just make sure whatever you use has a lip to catch any cheese that bubbles over. For the toppings, any small bowls or even clean yogurt containers work—no need for fancy serving dishes.
One tip: line your baking sheet with aluminum foil before you start. It makes cleanup infinitely easier, and trust me, nacho cheese is not fun to scrape off a pan. I learned this after spending twenty minutes scrubbing a sheet pan during halftime. Never again.
Preparation Method
- Preheat your oven to 400°F (200°C). This is important—you want the oven screaming hot so the cheese melts quickly without drying out the chips.
- Cook the beef. Heat a large skillet over medium-high heat. Add the ground beef and cook, breaking it apart with a spatula, until browned—about 6 to 8 minutes. Drain off the excess fat using a paper towel to soak it up in the pan, or carefully pour it into a heat-safe container. Add the taco seasoning and 1/4 cup of water. Stir and let it simmer for 2 to 3 minutes until the sauce thickens. Set aside.
- Warm the beans. In a small saucepan over medium heat, add the drained black beans with a splash of water. Warm them through for about 3 minutes, then mash them lightly with a fork. This helps them stick to the chips better. You want them warm but not boiling.
- Layer the first round of chips. Spread half the tortilla chips in an even layer on your lined baking sheet. Make sure they’re not overlapping too much—you want each chip to have its moment.
- Add the first layer of toppings. Spoon half the seasoned beef evenly over the chips. Dollop half the warm beans over the beef. Sprinkle half the shredded cheddar and Monterey Jack cheese on top. This is the foundation.
- Build the second layer. Add the remaining chips on top of the first layer. Repeat with the remaining beef, beans, and cheese. This two-layer method ensures every chip gets loaded, not just the ones on top. It’s the secret to perfect nachos.
- Bake. Place the baking sheet in the preheated oven and bake for 8 to 10 minutes, until the cheese is fully melted and bubbly. Watch it closely—you want melted cheese, not burnt chips. The edges should be golden and the center should be gooey.
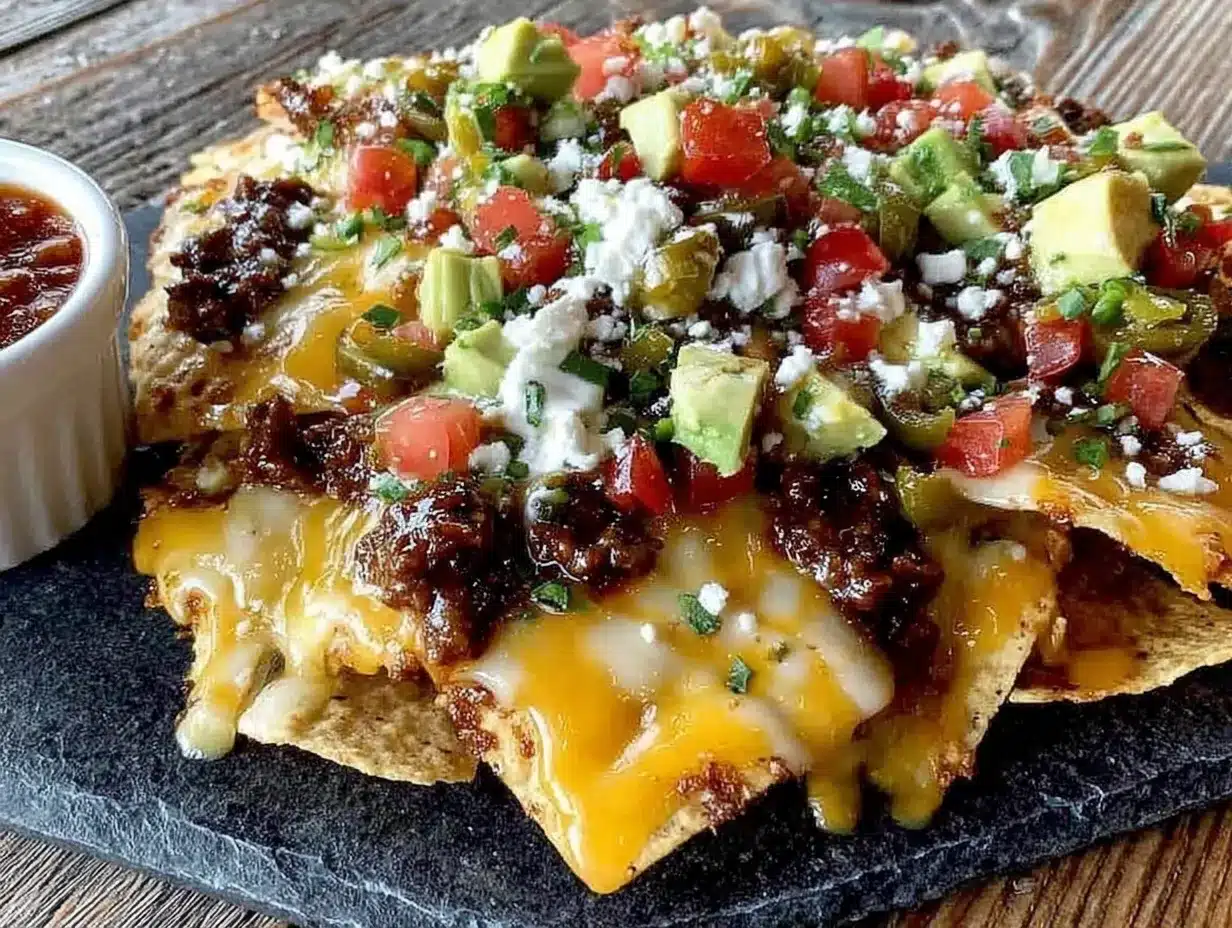
- Add fresh toppings. Remove the sheet pan from the oven. Immediately sprinkle the fresh cilantro and green onions over the hot nachos. Add dollops of sour cream, spoonfuls of pico de gallo, and scattered diced avocado. Arrange the pickled jalapeños on top. Squeeze a lime wedge or two over everything for brightness.
- Serve immediately. Transfer the sheet pan to the center of the table with small bowls of extra toppings on the side. Let everyone dig in with their own plates or just eat straight from the pan—I won’t judge.
Sensory Cue: When the nachos come out of the oven, you should hear a faint sizzle. The cheese should be bubbling around the edges, and the chips should look golden and crisp, not soggy. The smell of toasted cumin and chili from the taco seasoning will fill your kitchen. That’s how you know you’ve nailed it.
Preparation Note: If you’re prepping for a party, you can cook the beef and warm the beans ahead of time. Store them separately in the fridge, then assemble and bake right before serving. This keeps the chips from getting soggy. I usually do the prep during the pre-game show and bake during the first commercial break.
Cooking Tips & Techniques
I’ve made a lot of mistakes with nachos. I’ve made them too wet, too dry, too salty. Here’s what I’ve learned so you don’t have to repeat my errors.
Shred your own cheese. This is non-negotiable. Pre-shredded cheese is coated with potato starch and cellulose to prevent clumping, which also prevents it from melting smoothly. You’ll end up with a grainy, greasy mess. Spend the two minutes grating a block of cheddar—your taste buds will thank you.
Don’t drown the chips. It’s tempting to load everything on at once, but too many wet toppings will turn your chips into sad, soggy mush. Keep wet ingredients like sour cream and pico de gallo for the end, right before serving. The heat from the oven will warm them slightly, but they won’t compromise the crunch.
Watch the oven like a hawk. Nachos go from perfect to burnt in about thirty seconds. I learned this the hard way when I got distracted by a touchdown replay and ended up with charcoal chips. Set a timer for 8 minutes and check them. If they need more time, add it in one-minute increments.
Use sturdy chips. Thin tortilla chips will break under the weight of the toppings. Look for “restaurant-style” or “scoop” chips that are thick and sturdy. They can handle the load without crumbling. I’ve tested this with about ten different brands, and Tostitos Scoops consistently win.
Layer strategically. The biggest mistake people make is piling everything on one layer. The top chips get all the good stuff, and the bottom chips are sad and bare. By building two layers, you ensure every single chip has cheese, beef, and beans. It’s a game-changer.
Timing is everything. If you’re serving these during a game, assemble the nachos during a commercial break and pop them in the oven. They bake in 10 minutes, so you’ll have hot, fresh nachos ready for the start of the next quarter. Multitasking is the name of the game.
Variations & Adaptations
One of the best things about a nacho bar is how customizable it is. I’ve played around with this recipe more times than I can count, and here are some of my favorite variations.
Vegetarian Nachos: Skip the ground beef and double up on the black beans. Add a can of corn kernels, drained, and some sautéed bell peppers and onions. The texture is still hearty, and the flavor is just as satisfying. I made this version for my vegetarian cousin last season, and she went back for thirds.
Spicy Chorizo Nachos: Swap the ground beef for Mexican chorizo. Remove the casing and crumble the sausage into the skillet. Cook until browned and crispy. The chorizo adds a smoky, spicy depth that’s incredible. Just be careful—chorizo is greasier than beef, so drain it well.
Breakfast Nachos: This is my secret brunch weapon. Replace the beef with crumbled breakfast sausage, and add scrambled eggs on top after baking. Drizzle with queso or a spicy hollandaise. It sounds weird, but trust me—it’s a crowd-pleaser.
Low-Carb Option: Use pork rinds or cheese crisps instead of tortilla chips. Layer them the same way, and bake for a shorter time—about 5 to 6 minutes—since they’re more delicate. It’s not the same as the original, but it scratches the itch when you’re watching your carbs.
Allergen-Friendly: Use dairy-free cheese and plant-based sour cream for a vegan version. Check your taco seasoning for gluten if that’s a concern—most brands are gluten-free, but it’s worth verifying. The recipe adapts well to dietary needs without losing its soul.
Serving & Storage Suggestions
These nachos are best served immediately, straight from the oven, when the cheese is still stretchy and the chips are at their crispiest. I like to put the whole sheet pan in the center of the table with a stack of small plates and let everyone serve themselves. It’s casual, it’s communal, and it’s exactly right for game day.
Complementary Dishes: Serve these alongside a bowl of guacamole, some extra salsa, and maybe a tray of mini tacos for variety. For drinks, a cold beer or a spicy margarita pairs perfectly. If you’re going non-alcoholic, a tall glass of limeade or horchata works beautifully.
Storage: Nachos don’t store well—the chips will soften overnight. But if you have leftovers, scrape the toppings off the chips and store them separately in an airtight container in the fridge for up to 2 days. The beef and bean mixture reheats nicely in a skillet. The chips themselves are best discarded and replaced with fresh ones when you reheat the toppings.
Reheating: To reheat the toppings, spread them on a fresh layer of chips and bake at 350°F for 5 to 7 minutes. This revives the crunch and melts the cheese again. Avoid the microwave—it turns everything into a sad, soggy mess.
Flavor Development: The beef and bean mixture actually tastes better the next day. The spices meld together overnight, creating a deeper, more complex flavor. So if you’re planning ahead, make the toppings a day in advance and assemble fresh chips right before serving.
Nutritional Information & Benefits
Let’s be real—this is indulgent food. But it’s made with real ingredients, and there’s something to be said for that. Here’s a rough estimate per serving (about 1/6 of the recipe):
| Nutrient | Amount |
|---|---|
| Calories | 420 |
| Protein | 22g |
| Fat | 24g |
| Carbohydrates | 32g |
| Fiber | 6g |
| Sodium | 680mg |
Health Benefits: The black beans are a great source of fiber and plant-based protein. The avocado provides healthy monounsaturated fats that are good for heart health. The lime juice adds a dose of vitamin C. And the cheese? Well, it’s a good source of calcium. Everything in moderation, right?
Dietary Considerations: This recipe is not gluten-free unless you verify your taco seasoning and chips. It’s not low-carb due to the chips, but you can make the substitutions listed above. It contains dairy, but there are vegan-friendly alternatives. Always check labels if you’re cooking for someone with allergies.
My personal take? I don’t eat these every day, but I don’t feel guilty about them either. They’re made from scratch with real food, and there’s something nourishing about sharing a meal with people you care about, even if it’s just nachos on a Sunday afternoon.
Conclusion
This nacho bar is more than just a recipe—it’s a game day tradition waiting to happen. It’s the kind of food that brings people together, that makes you forget about the score for a minute, that turns a regular Sunday into something special. I’ve made it for Super Bowl parties, for regular season games, and even for Tuesday night dinners when I needed a pick-me-up. It never disappoints.
I encourage you to make this your own. Swap in your favorite toppings, adjust the spice level, experiment with different proteins. The beauty of a nacho bar is that it’s endlessly adaptable. And when you find your perfect combination, drop a comment below and let me know what worked for you. I love hearing about your kitchen victories.
So go ahead—preheat that oven, shred that cheese, and get ready for the best game day snack you’ve ever made. And if you happen to spill a little cheese on the couch? That’s just part of the experience. Enjoy every bite.
Frequently Asked Questions
Can I make these nachos ahead of time?
You can prep the toppings—cook the beef and warm the beans—a day in advance. Store them separately in the fridge. Assemble and bake the nachos right before serving to keep the chips crisp. Don’t assemble them ahead of time, or the chips will get soggy.
What if I don’t have a baking sheet?
Use a large oven-safe skillet or a 9×13 casserole dish. Just make sure it has a rim to catch the melting cheese. You might need to adjust the baking time slightly—check at 8 minutes and add time as needed.
Can I use ground turkey instead of beef?
Absolutely. Ground turkey works well, but it’s leaner, so add a tablespoon of olive oil to the skillet to prevent it from drying out. Season it the same way with the taco seasoning. It’s a lighter option that still tastes great.
How do I keep the chips from getting soggy?
Use sturdy chips, layer them in two layers, and keep wet toppings like sour cream and salsa for the end. Bake the nachos just until the cheese melts—don’t overbake. And serve them immediately. Soggy chips are usually the result of sitting too long.
Can I freeze leftover nacho toppings?
Yes. The cooked beef and bean mixture freezes well for up to 3 months. Store it in an airtight container or freezer bag. Thaw in the fridge overnight and reheat in a skillet before using. The chips and fresh toppings don’t freeze well, so only freeze the cooked components.
Pin This Recipe!
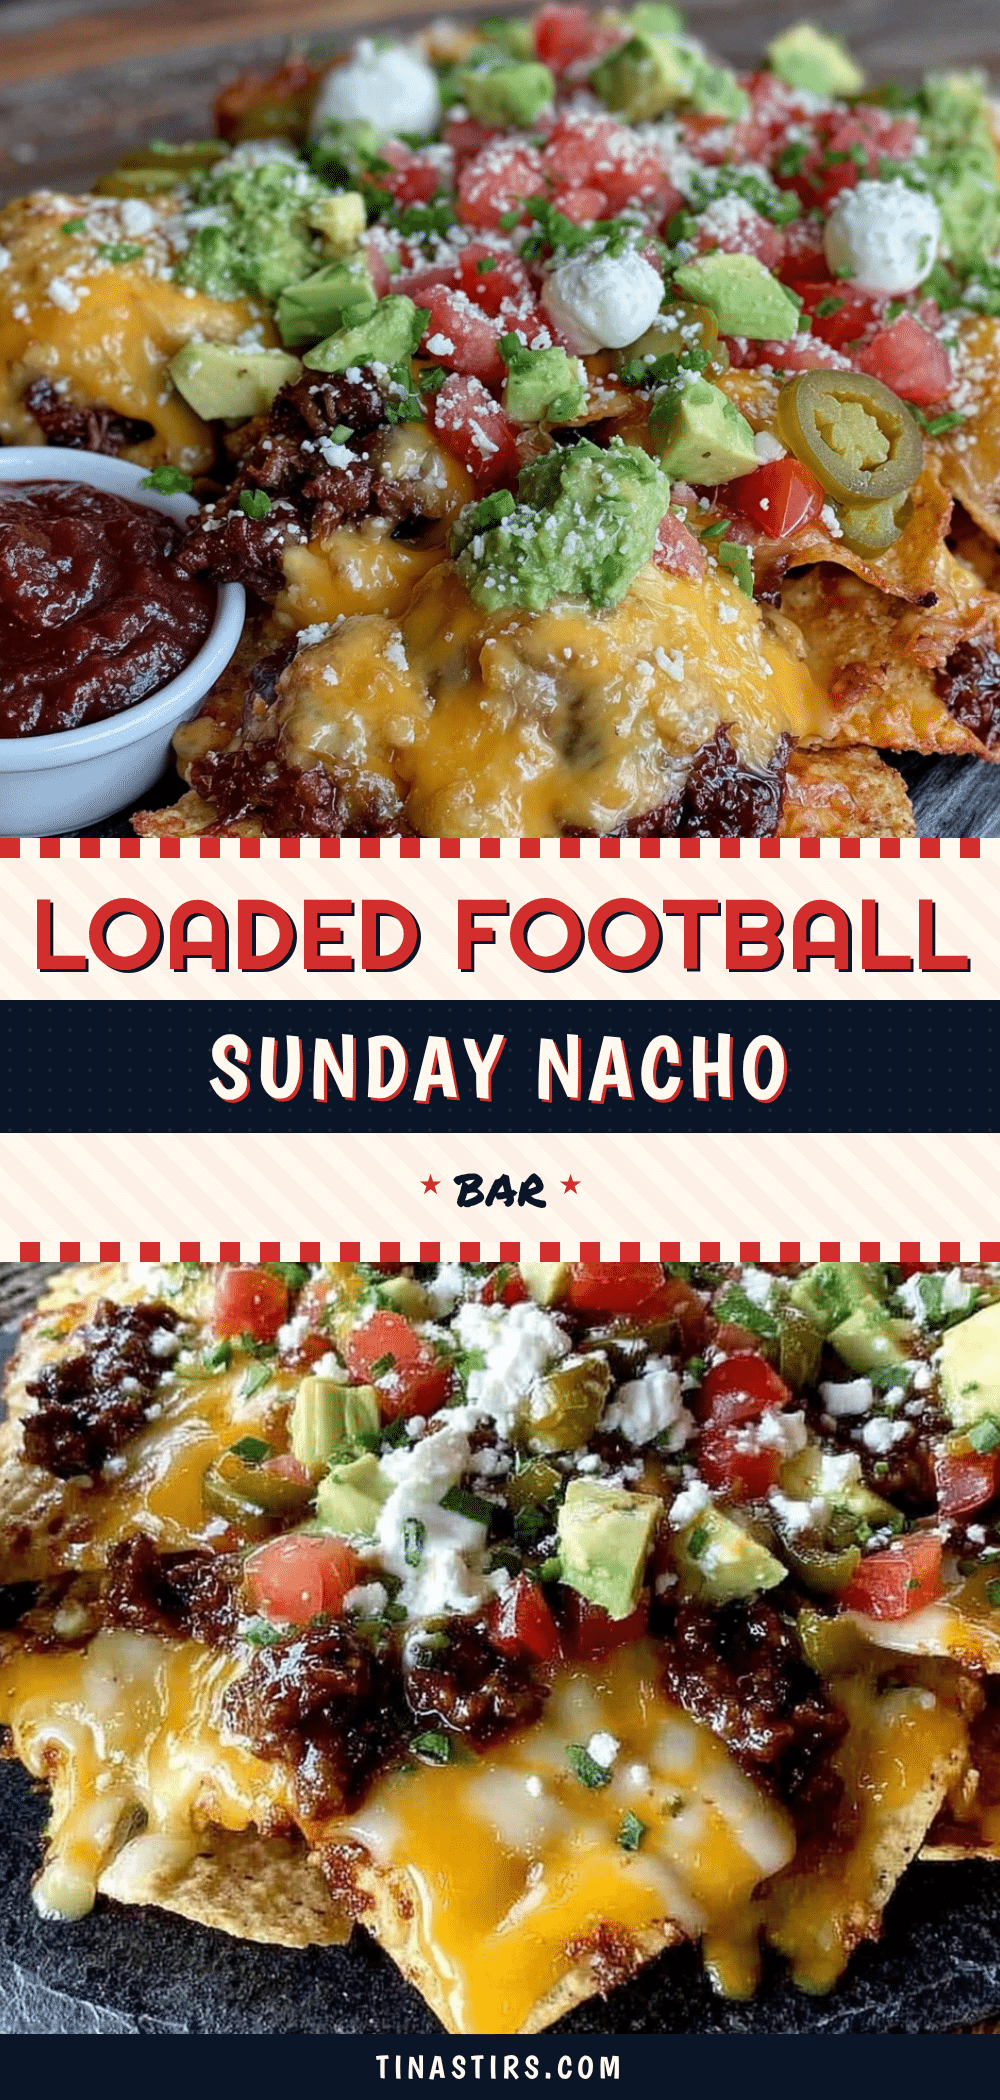
Best Loaded Football Sunday Nacho Bar: Easy Game Day Recipe
This is the ultimate game day nacho bar, featuring a two-layer technique that ensures every chip is loaded with seasoned beef, black beans, and a blend of melted cheeses. It’s a crowd-pleasing, quick, and easy recipe perfect for football Sunday or any gathering.
- Prep Time: 15 minutes
- Cook Time: 20 minutes
- Total Time: 35 minutes
- Yield: 6 servings 1x
- Category: Appetizer
- Cuisine: Mexican-American
Ingredients
- 1 lb ground beef (80/20 works best)
- 1 packet taco seasoning (e.g., Ortega)
- 1 can (15 oz) black beans, drained and rinsed
- 1 bag (13 oz) restaurant-style tortilla chips (e.g., Tostitos Scoops)
- 2 cups shredded sharp cheddar cheese (shredded from a block)
- 1 cup shredded Monterey Jack cheese
- 1 cup sour cream (full-fat)
- 1 cup pico de gallo or salsa
- 1 avocado, diced and tossed with lime juice
- 1/2 cup pickled jalapeños
- 1/4 cup fresh cilantro, chopped
- 2 green onions, sliced thin
- 1 lime, cut into wedges
Instructions
- Preheat your oven to 400°F (200°C).
- Cook the beef: Heat a large skillet over medium-high heat. Add the ground beef and cook, breaking it apart, until browned (6-8 minutes). Drain excess fat. Add taco seasoning and 1/4 cup water. Stir and simmer for 2-3 minutes until thickened. Set aside.
- Warm the beans: In a small saucepan over medium heat, add the drained black beans with a splash of water. Warm through for about 3 minutes, then mash lightly with a fork.
- Layer the first round of chips: Spread half the tortilla chips in an even layer on a lined baking sheet.
- Add the first layer of toppings: Spoon half the seasoned beef over the chips. Dollop half the warm beans over the beef. Sprinkle half the shredded cheddar and Monterey Jack cheese on top.
- Build the second layer: Add the remaining chips on top. Repeat with the remaining beef, beans, and cheese.
- Bake: Place the baking sheet in the preheated oven and bake for 8-10 minutes, until the cheese is fully melted and bubbly.
- Add fresh toppings: Remove from oven. Immediately sprinkle fresh cilantro and green onions over the hot nachos. Add dollops of sour cream, spoonfuls of pico de gallo, and scattered diced avocado. Arrange pickled jalapeños on top. Squeeze lime wedges over everything.
- Serve immediately: Transfer the sheet pan to the center of the table with small bowls of extra toppings on the side.
Notes
Shred your own cheese for best melting. Use sturdy chips to avoid sogginess. Layer in two layers to ensure every chip is loaded. Keep wet toppings (sour cream, pico de gallo) for the end to maintain crunch. Watch the oven closely to prevent burning.
Nutrition
- Serving Size: 1/6 of recipe
- Calories: 420
- Sugar: 4
- Sodium: 680
- Fat: 24
- Saturated Fat: 12
- Carbohydrates: 32
- Fiber: 6
- Protein: 22
Keywords: nachos, game day, football, loaded nachos, nacho bar, easy recipe, crowd-pleaser


