Love this? Save it for later!
Share the inspiration with your friends
I’ll be honest with you—this recipe started as a complete mess. It was supposed to be a batch of homemade granola bars. The kind you slice neatly into perfect little rectangles and pack in lunchboxes with a smug sense of accomplishment. But somewhere between measuring the honey and realizing my food processor was still in the dishwasher from last night’s hummus disaster, things took a turn.
I grabbed the wrong bowl. Then I grabbed the wrong oats—quick oats instead of rolled. The peanut butter was the last sticky spoonful at the bottom of the jar. I was already running late for a phone call, and honestly, I almost just scraped the whole sticky mess into the trash. But I didn’t. I mashed it together with my hands (because the spatula was already dirty), rolled it into little balls, and shoved one in my mouth out of pure frustration.
And then I stopped. I mean, actually stopped mid-step and just stood there chewing, because somehow—against all odds—this chaotic pile of ingredients was incredible. Creamy, crunchy, sweet, salty, and so satisfying it made me laugh out loud at my own kitchen counter. Maybe you’ve been there, standing over a bowl of something that shouldn’t work, wondering how the universe decided to reward your chaos with deliciousness.
These no-bake peanut butter oat bites have been my go-to ever since. No baking, no fancy equipment, no stress. Just a handful of ingredients, five minutes of your time, and a snack that makes you feel like you actually know what you’re doing in the kitchen. I’ve made them at least thirty times since that first accidental batch, and they’ve saved me from hangry meltdowns more times than I can count.
Why You’ll Love This Recipe
Let me tell you why these little bites have earned a permanent spot in my fridge. First off, they come together in under ten minutes. I’m serious—if you can measure and stir, you can make these. No oven, no mixer, no complicated techniques that require a culinary degree. Just a bowl, a spoon, and ten minutes of your life.
Here’s what makes them special:
- Quick & Easy: Ready in under 10 minutes with zero baking required. Perfect for those afternoons when you need something fast and satisfying.
- Simple Ingredients: You probably have everything in your pantry right now. Oats, peanut butter, honey, and a few mix-ins. No weird specialty items.
- Perfect for Meal Prep: Make a batch on Sunday and grab them all week for snacks, post-workout fuel, or lunchbox treats.
- Crowd-Pleaser: Kids love them, adults love them, and they disappear fast at parties or potlucks.
- Unbelievably Delicious: The texture is this perfect balance of chewy oats, creamy peanut butter, and little bursts of sweetness. It’s comfort food you can feel good about.
What sets this recipe apart from the dozens of energy ball recipes out there? It’s the ratio. I tested this about seven times before I got it just right—not too dry, not too sticky, with just the right amount of sweetness. Plus, I’ve included my secret trick for keeping them from falling apart (hint: it involves a quick chill in the fridge before rolling).
These bites aren’t just good—they’re the kind of snack that makes you close your eyes after the first bite. They’re wholesome enough for breakfast, satisfying enough for a post-workout refuel, and delicious enough to feel like a treat. Honestly, they’ve saved me from buying expensive store-bought protein bars more times than I can count.
What Ingredients You Will Need
This recipe uses simple, wholesome ingredients that come together to create something truly special. Most of these are pantry staples, which means you can whip up a batch whenever the craving strikes without a trip to the grocery store.
For the Base
- 1 cup old-fashioned rolled oats (use certified gluten-free if needed; quick oats work too, but the texture will be softer)
- 1/2 cup creamy peanut butter (I prefer natural peanut butter with no added sugar—just peanuts and salt. Brands like Justin’s or Kirkland work great)
- 1/3 cup honey (or maple syrup for a vegan option; the honey adds a floral sweetness that I personally love)
- 1/2 teaspoon vanilla extract (pure vanilla, not imitation—trust me on this one)
- 1/4 teaspoon salt (skip if your peanut butter is already salted)
For the Mix-Ins (Choose Your Adventure)
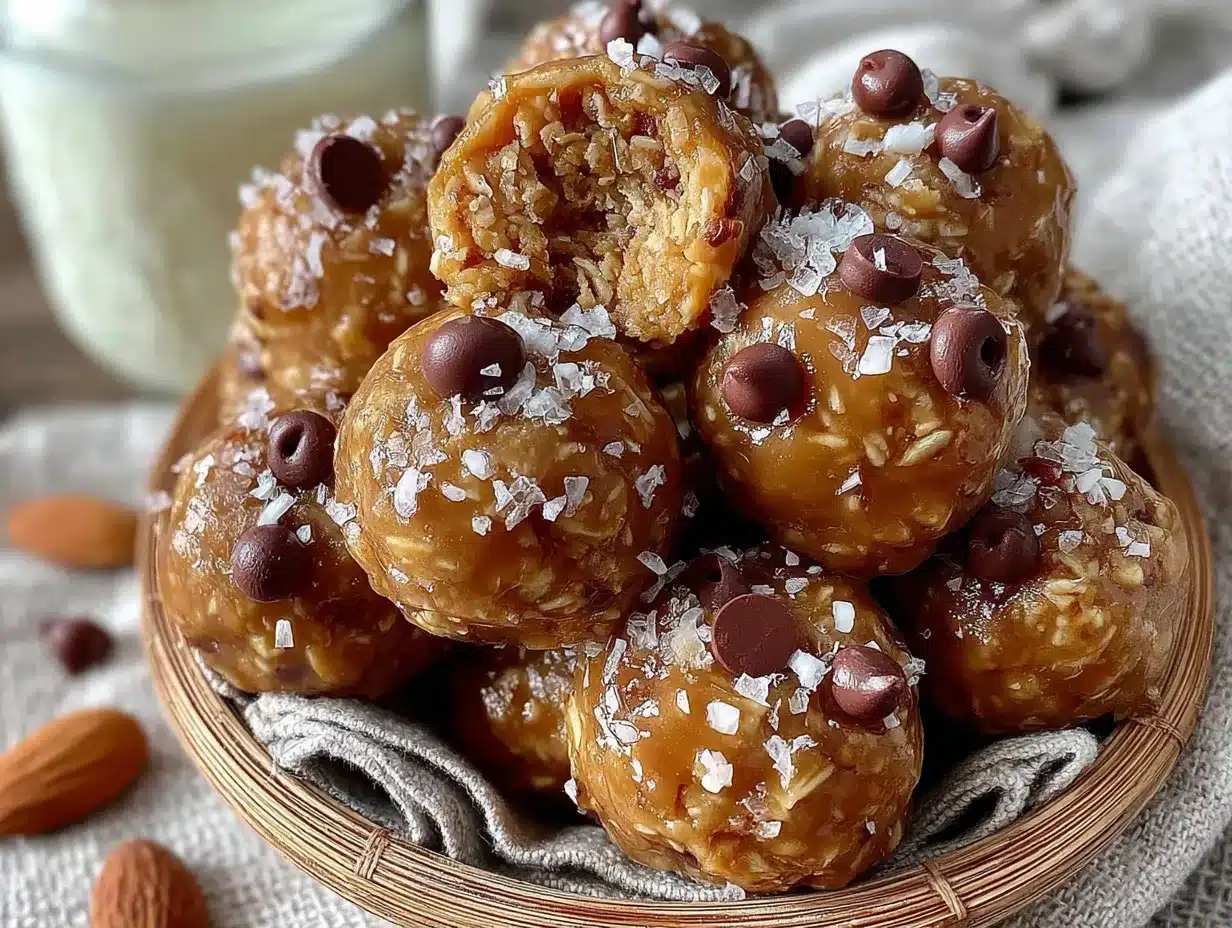
- 1/4 cup mini chocolate chips (I use Enjoy Life brand for dairy-free options; regular chocolate chips work too, just chop them a bit smaller)
- 2 tablespoons ground flaxseed (adds fiber and omega-3s without changing the flavor—you won’t even taste it)
- 2 tablespoons chia seeds (optional, but they add a nice little crunch and extra nutrition)
- 1/4 cup unsweetened shredded coconut (for that tropical vibe; toast it lightly first for extra flavor)
A few ingredient notes from my kitchen trials: If your peanut butter is the natural kind with oil separation, make sure you stir it really well before measuring. I learned this the hard way when my first batch turned out greasy and wouldn’t hold together. Also, if you’re using a crunchy peanut butter alternative like almond or sunflower seed butter, the texture will be slightly different—you might need to add a tablespoon more honey to help everything bind.
For the oats, I really recommend old-fashioned rolled oats over instant. They give the bites a nice chewy texture and hold their shape better. But if all you have is quick oats, go ahead and use them—just know your bites will be a bit softer and more delicate.
Equipment Needed
The beauty of this recipe is that you don’t need much. Here’s what you’ll need to have on hand:
- Large mixing bowl (any size works, but bigger is better for mixing without making a mess)
- Measuring cups and spoons (I use my trusty stainless steel set from KitchenAid)
- Rubber spatula or wooden spoon (for mixing; a spatula helps scrape the sides clean)
- Baking sheet or plate (to hold the bites while they chill)
- Parchment paper or wax paper (optional but helpful for easy cleanup)
- Small cookie scoop or tablespoon (for uniform-sized bites; honestly, your hands work just fine)
That’s it. No food processor, no stand mixer, no special gadgets. I’ve made these in a tiny apartment kitchen with just a fork and a cereal bowl, and they turned out perfect. If you don’t have a cookie scoop, just wet your hands slightly before rolling—it keeps the mixture from sticking to your fingers.
Preparation Method
Alright, let’s get to the fun part. Here’s exactly how to make these no-bake peanut butter oat bites, step by step.
- Combine the wet ingredients. In a large mixing bowl, add the peanut butter, honey, and vanilla extract. Stir them together until smooth and well combined. It should look glossy and smell amazing at this point. If your peanut butter is cold from the fridge, microwave it for about 15 seconds to make it easier to mix.
- Add the dry ingredients. Pour in the rolled oats, salt, and any mix-ins you’re using (chocolate chips, flaxseed, chia seeds, coconut). Stir everything together with your spatula until the oats are evenly coated. This takes about a minute of good mixing—don’t rush it. The mixture should look uniformly sticky and hold together when you press it between your fingers.
- Chill the mixture. Here’s my secret step: pop the bowl in the fridge for 15-20 minutes before rolling. This makes the mixture firm enough to handle without sticking to your hands. I learned this after my first batch turned into a sticky mess all over my fingers. Patience pays off here.
- Roll into bites. Once chilled, scoop out about 1 tablespoon of the mixture. Roll it between your palms to form a smooth ball. If the mixture starts getting too sticky as you work, wet your hands slightly with cold water. Place each ball on a parchment-lined baking sheet or plate. You should get about 16-18 bites, depending on size.
- Final chill. Pop the rolled bites in the fridge for at least 30 minutes to set. This step is non-negotiable if you want them to hold their shape. After they’re firm, transfer them to an airtight container for storage.
A few things to watch for: If your mixture seems too dry and crumbly, add a teaspoon more honey or peanut butter until it holds together. If it’s too wet and sticky, add a tablespoon more oats. The texture should feel like slightly damp sand that clumps when pressed. Also, don’t overmix—you want some texture from the oats, not a paste.
Cooking Tips & Techniques
After making these bites more times than I can count, I’ve picked up a few tricks that make the process smoother and the results better. Let me share what I’ve learned.
Temperature matters. If your kitchen is warm, the mixture will be stickier and harder to work with. I’ve made these on a humid summer day and regretted not chilling the bowl first. On hot days, chill your mixing bowl and the peanut butter before starting. It makes a noticeable difference.
The scoop and roll rhythm. I use a small cookie scoop to portion the mixture, then roll each portion into a ball. This keeps the bites uniform in size—which matters for even chilling and portion control. If you don’t have a scoop, use a tablespoon measure and level it off. Trust me, eyeballing it leads to some bites being twice the size of others.
Don’t skip the chill. I know I mentioned this already, but it’s the most common mistake I see people make. Rolling the mixture right away leads to sticky hands and misshapen bites. That 15-minute chill in the bowl is the difference between frustration and a smooth, enjoyable process. I learned this the hard way, standing at my counter with peanut butter goo all over my fingers.
Storage tip for texture. These bites are best when stored in the fridge. At room temperature, they soften and lose their shape after a few hours. I keep mine in a glass container in the fridge and grab them straight from cold—they’re perfectly chewy and satisfying that way.
Variations & Adaptations
One of the best things about this recipe is how flexible it is. Here are some variations I’ve tried and loved:
Chocolate Peanut Butter Bliss
Add 2 tablespoons of cocoa powder to the dry ingredients and use dark chocolate chips instead of milk chocolate. The result is a rich, fudgy bite that tastes like dessert. I made this version for a friend’s birthday and she asked for the recipe before she even finished the first one.
Vegan & Gluten-Free Version
Swap the honey for maple syrup or agave nectar. Use certified gluten-free oats. Make sure your chocolate chips are dairy-free. Everything else is already plant-based. I’ve made this version for my vegan cousin and she said they were better than the energy balls from her favorite café.
Crunchy Nut Butter Swap
Use crunchy peanut butter instead of creamy, and add 1/4 cup chopped peanuts for extra crunch. This version is amazing if you love texture in your snacks. I made this on a whim when I ran out of creamy peanut butter, and now I actually prefer it.
Protein-Packed Version
Add 1 scoop of vanilla or chocolate protein powder and reduce the oats by 2 tablespoons. You might need an extra tablespoon of honey to balance the dryness from the protein powder. These are my go-to post-workout snacks—they keep me full for hours.
Seasonal Twist
In the fall, add 1 teaspoon of pumpkin pie spice and swap the chocolate chips for dried cranberries. In the summer, add 2 tablespoons of freeze-dried strawberries for a fruity pop. I love adapting this recipe to the season—it keeps things interesting.
Serving & Storage Suggestions
These bites are incredibly versatile when it comes to serving. Here’s how I like to enjoy them:
Straight from the fridge: This is my favorite way to eat them. Cold, firm, and perfectly chewy. They’re like a healthy cookie that doesn’t crumble. I grab one or two as a mid-morning snack or a post-lunch treat.
At room temperature: If you leave them out for 10-15 minutes, they soften slightly and become almost fudgy. This is great if you’re packing them in a lunchbox—they’ll be perfect by lunchtime.
With coffee or tea: These bites pair beautifully with a hot beverage. The sweetness complements the bitterness of coffee, and the texture is satisfying without being heavy. I’ve been known to have two with my afternoon tea on stressful days.
Storage: Keep them in an airtight container in the fridge for up to two weeks. They also freeze beautifully for up to three months. Just layer them between sheets of parchment paper in a freezer-safe container. To thaw, let them sit at room temperature for about 15 minutes or eat them straight from frozen—they’re surprisingly good that way.
Packing for on-the-go: I use a small mason jar or a reusable snack bag when I’m taking them to work or on a hike. They hold up well at room temperature for a few hours, but I wouldn’t leave them in a hot car or direct sunlight.
Nutritional Information & Benefits
Here’s the approximate nutritional breakdown for one bite (based on 16 bites per batch):
| Nutrient | Amount per Bite |
|---|---|
| Calories | 120-140 |
| Protein | 4-5g |
| Carbohydrates | 14-16g |
| Fiber | 2-3g |
| Fat | 6-8g |
| Sugar | 7-9g (depending on mix-ins) |
These bites pack a surprising nutritional punch. The oats provide complex carbohydrates for sustained energy, while the peanut butter offers healthy fats and protein to keep you full. Flaxseed and chia seeds add omega-3 fatty acids and extra fiber. Plus, they’re naturally sweetened with honey, so you’re avoiding refined sugar.
If you’re watching your sugar intake, use a sugar-free maple syrup or reduce the honey to 1/4 cup and add an extra tablespoon of peanut butter to compensate. For a lower-fat option, use powdered peanut butter mixed with water—though the texture will be slightly different.
These bites are naturally gluten-free if you use certified gluten-free oats, and easily made vegan with maple syrup. They contain peanuts and may contain traces of other allergens depending on your mix-ins, so be mindful if you’re serving them to someone with allergies.
Conclusion
These no-bake peanut butter oat bites have become such a staple in my kitchen that I almost forget they started as a happy accident. They’re proof that sometimes the best recipes come from moments of chaos—when you stop trying so hard and just go with what you have.
What I love most about this recipe is how forgiving it is. You can swap ingredients, adjust the sweetness, add whatever mix-ins you have on hand, and it still works. It’s the kind of recipe that builds confidence in the kitchen, especially if you’re new to cooking or baking from scratch.
I’d love to hear how these turn out for you. Did you add any fun mix-ins? Did you make them for a specific occasion? Drop a comment below and let me know—I genuinely read every single one. And if you share them on Instagram or Pinterest, tag me so I can see your creations. There’s something special about knowing these little bites are making their way into kitchens around the world.
Go ahead, give them a try. Your future self—the one who needs a quick, satisfying snack—will thank you.
Frequently Asked Questions
Can I use quick oats instead of rolled oats?
Yes, you can use quick oats, but the texture will be softer and less chewy. Rolled oats give the bites a better structure and a more satisfying bite. If you only have quick oats, reduce the chilling time slightly since they absorb moisture faster.
How long do these peanut butter oat bites last?
Stored in an airtight container in the fridge, they’ll stay fresh for up to two weeks. In the freezer, they’ll keep for up to three months. Just make sure they’re well-sealed to prevent them from drying out or absorbing other odors from your fridge.
Can I make these without peanut butter?
Absolutely. You can substitute almond butter, cashew butter, sunflower seed butter, or any other nut or seed butter. Keep in mind that different butters have different consistencies—you might need to adjust the amount of honey or oats slightly to get the right texture.
Why are my bites falling apart?
This usually happens for one of two reasons: either the mixture wasn’t chilled long enough before rolling, or there wasn’t enough binding agent (peanut butter or honey). Make sure you chill the mixture for at least 15 minutes before rolling, and if the mixture still seems dry, add a tablespoon more peanut butter or honey.
Can I add protein powder to this recipe?
Yes, you can add protein powder, but you’ll need to adjust the recipe slightly. Add 1 scoop of protein powder and reduce the oats by 2 tablespoons. You might also need to add an extra tablespoon of honey or milk to balance the dryness. Start with less and adjust as you mix.
Pin This Recipe!
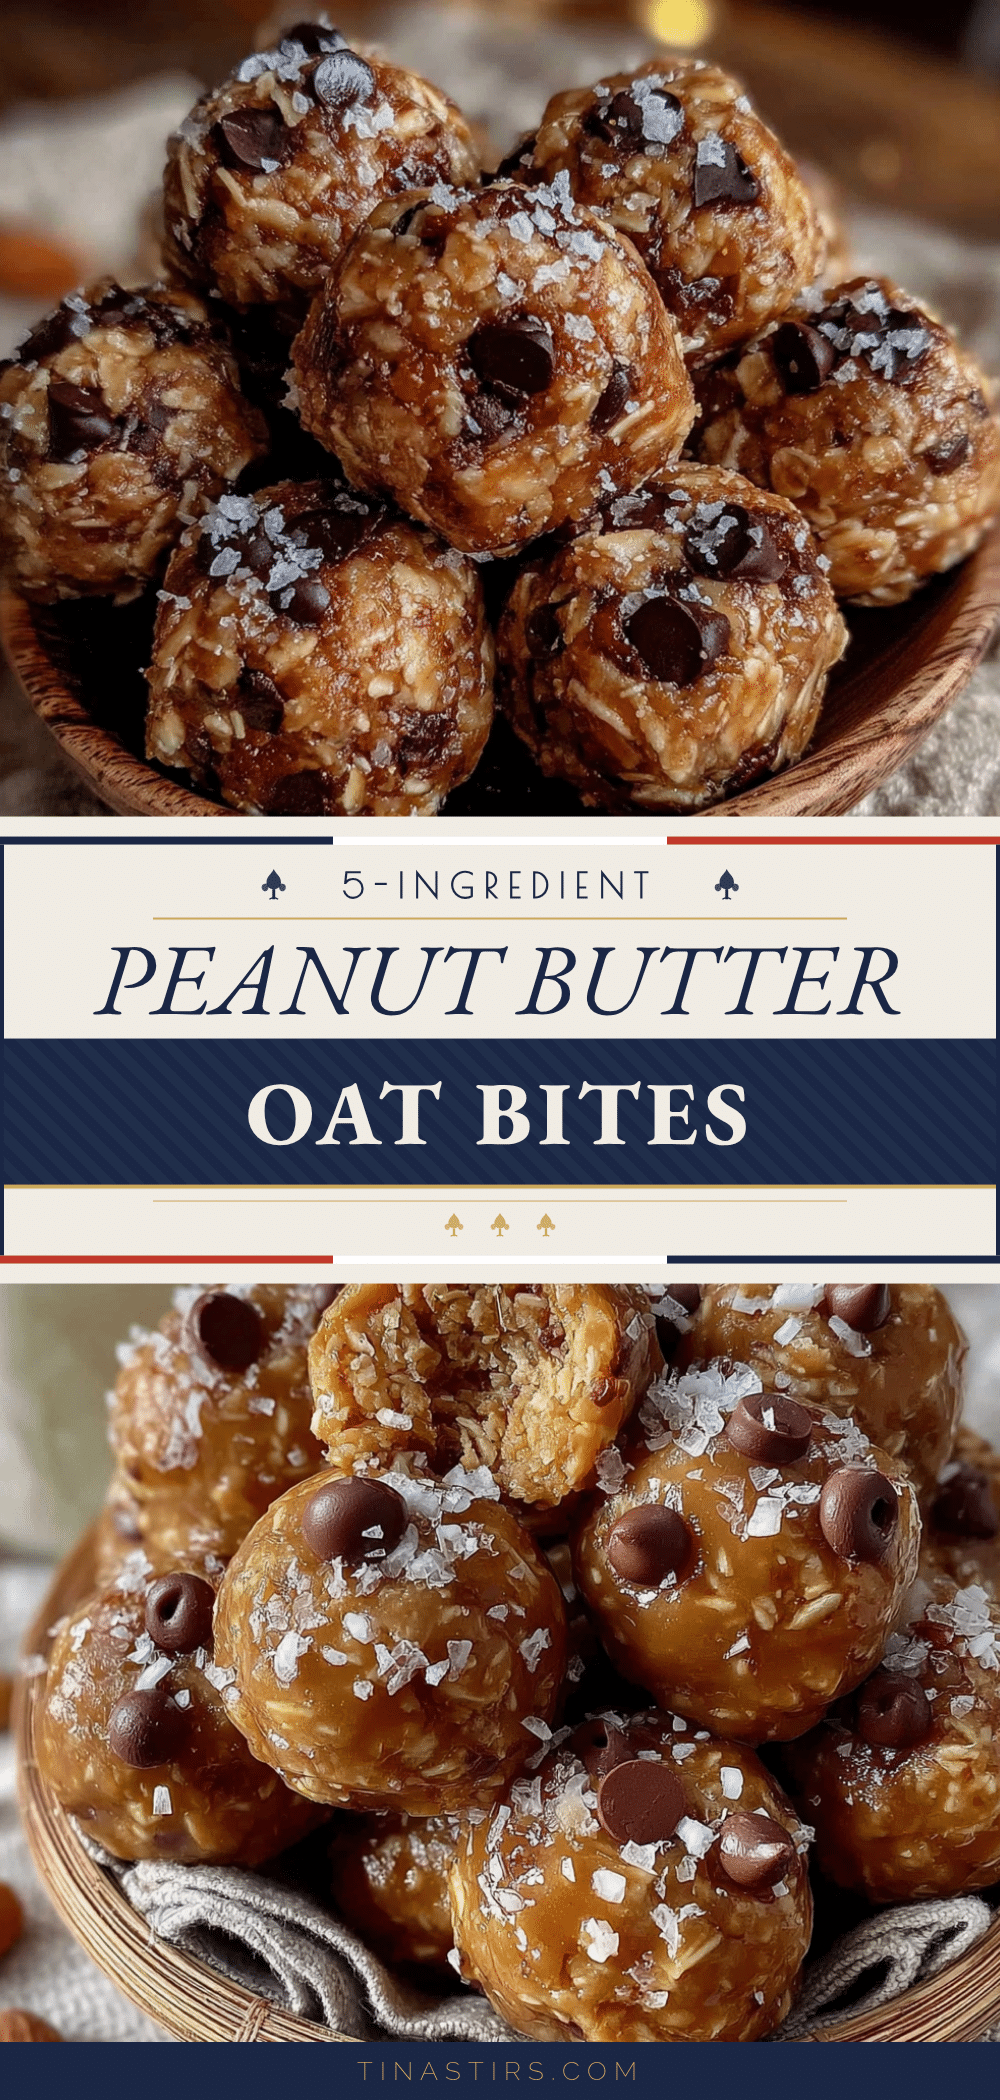
Easy No-Bake Peanut Butter Oat Bites Recipe
These no-bake peanut butter oat bites are a quick and easy snack made with simple pantry ingredients. Ready in under 10 minutes, they’re perfect for meal prep, post-workout fuel, or a healthy treat.
- Prep Time: 10 minutes
- Cook Time: 0 minutes
- Total Time: 10 minutes
- Yield: 16-18 bites 1x
- Category: Snack
- Cuisine: American
Ingredients
- 1 cup old-fashioned rolled oats
- 1/2 cup creamy peanut butter
- 1/3 cup honey
- 1/2 teaspoon vanilla extract
- 1/4 teaspoon salt
- 1/4 cup mini chocolate chips
- 2 tablespoons ground flaxseed
- 2 tablespoons chia seeds
- 1/4 cup unsweetened shredded coconut
Instructions
- In a large mixing bowl, combine the peanut butter, honey, and vanilla extract. Stir until smooth and well combined.
- Add the rolled oats, salt, and any mix-ins (chocolate chips, flaxseed, chia seeds, coconut). Stir until the oats are evenly coated and the mixture holds together when pressed.
- Chill the mixture in the refrigerator for 15-20 minutes to firm up.
- Scoop out about 1 tablespoon of the mixture and roll into a smooth ball. Place on a parchment-lined baking sheet or plate.
- Refrigerate the rolled bites for at least 30 minutes to set. Store in an airtight container in the fridge.
Notes
For best results, chill the mixture before rolling to prevent sticking. If the mixture is too dry, add a teaspoon more honey or peanut butter. If too wet, add a tablespoon more oats. Store in the fridge for up to two weeks or freeze for up to three months.
Nutrition
- Serving Size: 1 bite
- Calories: 130
- Sugar: 8
- Sodium: 80
- Fat: 7
- Saturated Fat: 2
- Carbohydrates: 15
- Fiber: 3
- Protein: 4
Keywords: no-bake, peanut butter, oat bites, energy balls, healthy snack, gluten-free, vegan option


