Love this? Save it for later!
Share the inspiration with your friends
My neighbor wasn’t trying to impress me. I’d stopped by to drop off a stack of mail that had ended up in my box by mistake, and the smell hit me before I even knocked. It was warm and savory, like slow-cooked comfort wrapped in something familiar. She opened the door with a slightly flour-dusted apron and a toddler balanced on her hip, completely nonchalant about this incredible aroma pouring out of her kitchen.
“Oh, that’s just dinner,” she said when I asked, shrugging like it was nothing. “Chicken in the crockpot. I throw it together on Sunday so I don’t have to think about it during the week.” I stood there for a solid minute, probably looking like a fool, just breathing in that smell. She finally laughed and invited me in, and let me tell you, I’ve been making some version of this ever since.
The casualness of it all stuck with me. She wasn’t trying to prove anything or show off some fancy technique. She was just a tired mom feeding her family in the smartest way possible. Honestly, that’s the best kind of recipe, isn’t it? The ones that come from real life, not from a test kitchen. Maybe you’ve been there, standing in someone’s doorway, wondering why your own dinner routine feels so much harder than it needs to be.
This recipe became my Sunday ritual after that day. It’s the kind of meal prep that actually works for real families, where the chicken stays juicy, the flavors meld together perfectly, and you end up with grab-and-go bowls that make weeknights feel like a breeze. I mean, who doesn’t need that in their life?
Why You’ll Love This Recipe
Let me be straight with you, I’ve tested this recipe more times than I can count. My family has been the official taste-testing committee for months, and they haven’t gotten tired of it yet. That’s saying something, considering my youngest usually decides he doesn’t like things before he even tries them.
- Quick & Easy: The crockpot does all the heavy lifting. You’ll spend about 15 minutes prepping, then let it cook while you handle everything else. Perfect for busy weeknights or Sunday meal prep sessions.
- Simple Ingredients: No fancy grocery store trips needed. You probably have most of these ingredients in your pantry right now. Chicken breasts, a few seasonings, some broth, and whatever sides your family loves.
- Perfect for Busy Families: This is meal prep designed for real life. Make a batch on Sunday, and you’ve got lunches or dinners ready for the whole week. It’s a lifesaver on those days when you just can’t.
- Crowd-Pleaser: My kids actually ask for this. Not kidding. Even the picky eater who claims he doesn’t like chicken will eat these bowls without complaint. The texture stays tender and the flavor is mild enough for little palates.
- Unbelievably Delicious: Don’t let the simplicity fool you. The slow cooking process creates this incredible depth of flavor that tastes like you spent hours in the kitchen. But you didn’t. That’s the magic.
What makes this recipe different from all the other crockpot chicken recipes out there? It’s the balance. The chicken stays perfectly moist without being watery. The seasoning is just enough to be flavorful but not overwhelming. And the meal prep aspect actually works, the chicken reheats beautifully without drying out. This isn’t just another version, it’s the version I’ve perfected through trial and error so you don’t have to.
What Ingredients You Will Need
This recipe uses simple, wholesome ingredients that work together to create something genuinely satisfying. Most of these are pantry staples, which makes this perfect for those weeks when you’re trying to use what you already have.
- Boneless, skinless chicken breasts (about 2 pounds or 900 grams) – Look for breasts that are similar in size so they cook evenly. I prefer organic when I can swing it, but honestly, any good-quality chicken works fine here.
- Low-sodium chicken broth (1 cup or 240 ml) – This keeps the chicken moist during cooking. Low-sodium is key so you can control the salt level yourself.
- Garlic powder (1 teaspoon) – Adds that savory depth without the fuss of mincing fresh garlic. Though you can absolutely use fresh if you prefer.
- Onion powder (1 teaspoon) – Complements the garlic and builds a solid flavor base.
- Dried oregano (1/2 teaspoon) – A little goes a long way. It adds a subtle herbaceous note that kids usually don’t even notice.
- Dried basil (1/2 teaspoon) – Pairs beautifully with the oregano and adds a touch of sweetness.
- Salt (1 teaspoon, or to taste) – I start with less and adjust at the end. You can always add more salt, but you can’t take it out.
- Black pepper (1/4 teaspoon) – Just a hint for warmth, not heat. My kids don’t even notice it.
- Olive oil (1 tablespoon) – Helps the seasoning stick and adds a tiny bit of richness.
For the Bowls (choose your family’s favorites):
- Cooked rice (about 4 cups) – White rice, brown rice, or even cauliflower rice for a lower-carb option. My family prefers jasmine rice for the slight fragrance.
- Steamed broccoli (about 2 cups) – I use frozen broccoli florets most of the time. They steam up perfectly in the microwave in minutes.
- Shredded carrots (about 1 cup) – Adds a pop of color and sweetness. My kids don’t even realize they’re eating vegetables.
- Optional toppings – A sprinkle of shredded cheese, a dollop of Greek yogurt, or a drizzle of your favorite sauce. My youngest loves a little ketchup on his, which I’ve learned not to judge.
I recommend using a good-quality chicken broth like Pacific Foods or Swanson’s organic line. They have cleaner flavors without being overpowering. For the rice, I’ve had great results with Lundberg jasmine rice, it cooks up fluffy every time.
If you need substitutions, feel free to swap the chicken broth with vegetable broth. You can also use chicken thighs instead of breasts, just increase the cooking time by about 30 minutes. For a gluten-free option, this recipe is naturally gluten-free as written, just double-check your broth label.
Equipment Needed
You don’t need a fancy kitchen to pull this off. Here’s what you’ll actually use:
- Crockpot or slow cooker (5 to 6 quart) – This is the star of the show. I’ve used a basic Crock-Pot brand for years and it works perfectly. If you don’t have one, any slow cooker will do. Just make sure it’s big enough to hold the chicken in a single layer.
- Cutting board – For prepping the chicken. I prefer a wooden board, but plastic works fine too.
- Sharp knife – Trimming the chicken breasts is much easier with a good knife. Nothing fancy, just something that actually cuts.
- Measuring cups and spoons – For the broth and seasonings. I use my regular set, nothing special.
- Mixing bowl – Small one for combining the seasonings if you want to be precise. Or you can just sprinkle them directly over the chicken like I usually do when I’m in a hurry.
- Tongs – For placing the chicken in the crockpot and removing it later. Two forks work in a pinch.
- Meat thermometer – This is optional but helpful if you’re new to cooking chicken. The internal temperature should reach 165°F (74°C).
- Meal prep containers – Glass or BPA-free plastic containers with tight-fitting lids. I use a set of glass ones that I’ve had for years.
If you don’t have a crockpot, you can use a Dutch oven in a 300°F (150°C) oven for about 2 to 3 hours. It’s not quite the same, but it works. I’ve also seen people use an Instant Pot on slow cook mode, though I haven’t tried it myself.
One tip, wash your crockpot insert by hand even if it says dishwasher safe. It lasts longer that way. I learned that the hard way after my first one started developing cracks.
Preparation Method
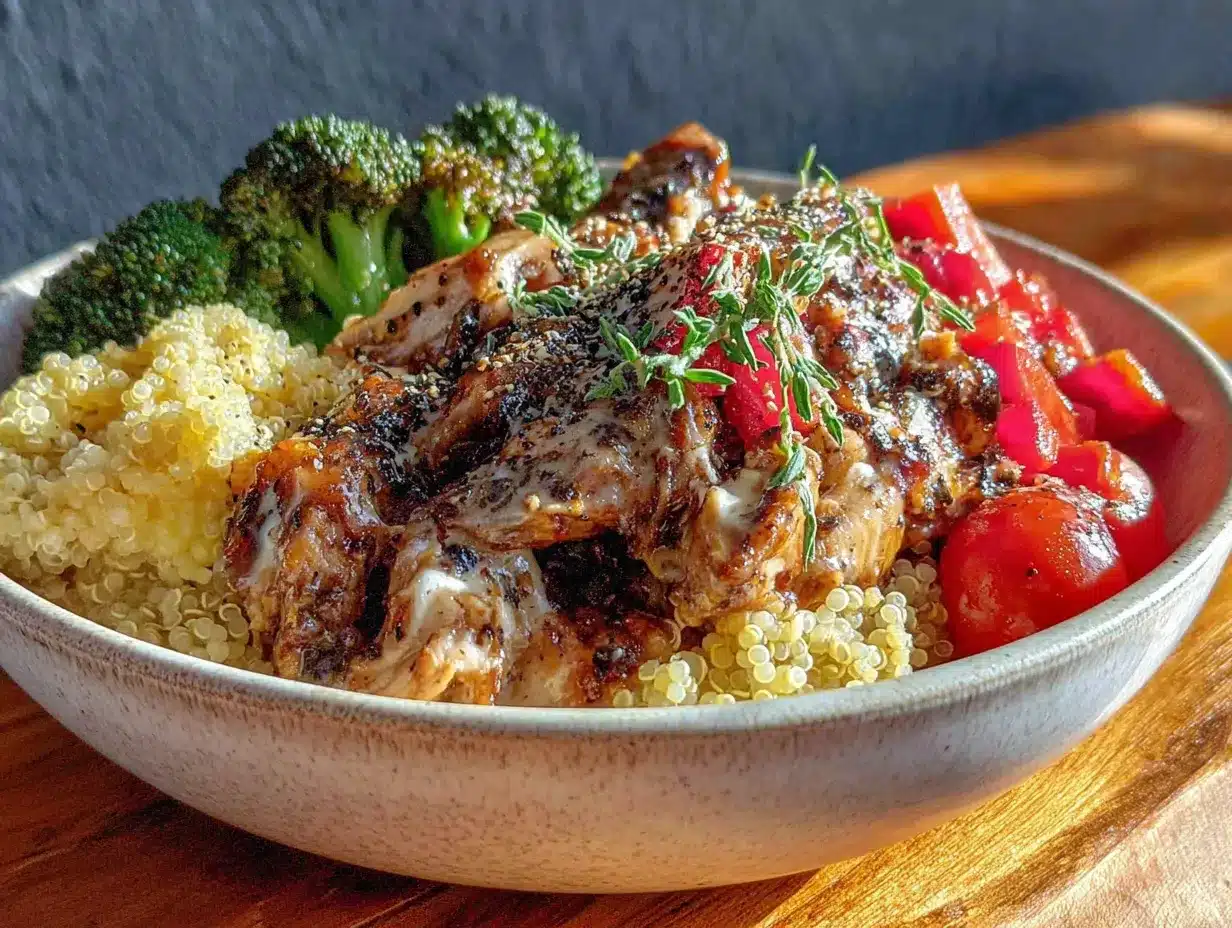
Alright, let’s get cooking. This is easier than you think, I promise.
- Prep the chicken. Start by trimming any excess fat off the chicken breasts. You don’t have to be perfect about it, just remove the obvious stuff. Pat the chicken dry with paper towels. This helps the seasoning stick better.
- Season the chicken. In a small bowl, mix together the garlic powder, onion powder, dried oregano, dried basil, salt, and black pepper. Sprinkle this mixture evenly over both sides of the chicken breasts. Drizzle the olive oil over the top and rub it in gently. Don’t overthink this, just make sure the seasoning is distributed.
- Layer in the crockpot. Place the seasoned chicken breasts in the bottom of your crockpot in a single layer. Try not to overlap them too much. Pour the chicken broth around the chicken, not directly over it. You want the broth to create steam, not wash off your seasoning.
- Cook low and slow. Cover the crockpot with the lid and cook on low for 4 to 5 hours, or on high for 2 to 3 hours. Low and slow gives you the most tender results, but high works in a pinch. The chicken is done when it reaches an internal temperature of 165°F (74°C) and shreds easily with a fork.
- Shred the chicken. Once cooked, remove the chicken breasts from the crockpot and place them on a cutting board. Let them rest for about 5 minutes. Then use two forks to shred the chicken into bite-sized pieces. It should pull apart effortlessly. If it doesn’t, it needs more time.
- Add the chicken back to the juices. Return the shredded chicken to the crockpot and stir it into the cooking juices. This keeps it moist and infuses even more flavor. Let it sit in the warm juices for about 10 minutes while you prepare your bowls.
- Prepare your bowl components. Cook your rice according to package directions. Steam your broccoli until tender-crisp, about 3 to 4 minutes in the microwave with a splash of water. Shred your carrots if you haven’t already.
- Assemble the bowls. Divide the rice among your meal prep containers. Top with a generous portion of the shredded chicken. Add a handful of steamed broccoli and a sprinkle of shredded carrots. If you’re adding cheese or any other toppings, now’s the time.
- Cool before sealing. Let the assembled bowls cool completely on the counter before putting the lids on. This prevents condensation from making everything soggy. I usually let them sit for about 20 to 30 minutes.
- Store or serve. Seal the containers and refrigerate for up to 4 days. Or serve one immediately if you can’t wait. The smell alone might convince you to have dinner early.
A few things to watch for, if your chicken is still tough after the suggested cooking time, it might need another 30 minutes. Every crockpot runs a little differently. Also, don’t lift the lid while it’s cooking. I know it’s tempting, but each time you do, you add about 20 minutes to the cooking time. Trust the process.
Cooking Tips & Techniques
I’ve made this recipe enough times to know where things can go wrong. Here’s what I’ve learned the hard way so you don’t have to.
Don’t overcook the chicken. I know it sounds counterintuitive for a slow cooker, but chicken breasts can actually dry out if you cook them too long. Stick to the recommended times and check for doneness early. The first time I made this, I left it on low for 7 hours and ended up with chicken that was edible but not great. Live and learn.
Use a meat thermometer. This is the single best investment you can make for cooking chicken. The difference between perfectly cooked and dry chicken is just a few degrees. I use a simple digital thermometer that cost me about 10 bucks, and it’s saved countless meals.
Season generously but not aggressively. Kids can be sensitive to strong flavors. The seasoning amounts I’ve given are a starting point. If your family likes more flavor, feel free to increase the garlic powder or add a pinch of paprika. My advice is to start mild and let everyone customize their own bowl with sauces or extra seasonings at the table.
Let the chicken rest before shredding. This is a step I used to skip, and I regretted it. Resting allows the juices to redistribute throughout the meat. If you shred it immediately, those juices end up on the cutting board instead of in your chicken. Five minutes makes a real difference.
Multitask smartly. While the chicken is cooking, you can prep your other ingredients. Cook the rice and store it in the fridge. Wash and chop any vegetables you’re using. This way, when the chicken is done, you’re just assembling. I usually do my meal prep containers and labels while the chicken rests. Every minute counts on a busy Sunday.
Adjust liquid if needed. Some crockpots run hotter and evaporate more liquid. If you open the lid at the end and it looks dry, add a splash more broth. If it looks too watery, leave the lid off for 10 to 15 minutes to let some of the liquid cook off. You want the chicken to be moist but not swimming in liquid.
Variations & Adaptations
This recipe is a great starting point, but don’t be afraid to make it your own. Here are some variations I’ve tried and loved.
Mexican-style bowls. Swap the oregano and basil for cumin and chili powder. Add a can of drained black beans and some corn to the bowls. Top with a squeeze of lime and some fresh cilantro if your kids are into that. My husband loves this version, and it’s a nice change of pace from the original.
BBQ chicken bowls. After shredding the chicken, stir in about 1/2 cup of your favorite BBQ sauce. Serve with coleslaw and sweet potato fries for a fun twist. My youngest actually asks for this version by name. It’s sweet enough to please even the pickiest eaters.
Asian-inspired bowls. Add 2 tablespoons of soy sauce and 1 tablespoon of sesame oil to the cooking liquid. After shredding, toss the chicken with a little more soy sauce and some sesame seeds. Serve over rice with steamed edamame and a sprinkle of green onions. This one’s a bit more adventurous but still kid-friendly.
Dairy-free option. This recipe is naturally dairy-free as written. Just skip any cheese toppings and use a dairy-free yogurt or avocado for creaminess. My sister-in-law is dairy-free, and she loves these bowls with a scoop of guacamole on top.
Vegetable swaps. Not a fan of broccoli? Try green beans, peas, or roasted sweet potatoes. My kids actually prefer peas over broccoli, so I often use frozen peas that I thaw quickly under warm water. The beauty of meal prep bowls is that you can customize each one for different family members.
Freezer-friendly option. You can freeze the shredded chicken in its juices for up to 3 months. Just let it cool completely, then transfer to freezer-safe bags or containers. Thaw overnight in the fridge before using. I do this when chicken goes on sale, and it’s a lifesaver on busy weeks.
Serving & Storage Suggestions
These bowls are designed to be as flexible as your week is unpredictable. Here’s how to make the most of them.
Serving temperature. These bowls are delicious warm, but they also work cold if you’re packing lunches. My kids actually prefer theirs at room temperature, which makes packing school lunches a breeze. Just make sure you’re following food safety guidelines if you’re sending them to school.
Presentation ideas. For a fun family dinner, set up a bowl bar with different toppings and let everyone build their own. Put out shredded cheese, diced avocado, salsa, sour cream, hot sauce, and fresh herbs. It turns a simple meal into an interactive experience that kids love.
Complementary dishes. These bowls are a complete meal on their own, but if you want to round things out, serve with a simple side salad or some fresh fruit. A handful of grapes or apple slices on the side is always a hit with my kids.
Storage instructions. Store assembled bowls in airtight containers in the refrigerator for up to 4 days. Keep the chicken and any wet toppings separate from crunchy elements like nuts or seeds. If you’re adding fresh herbs, wait until just before serving to add them.
Reheating methods. The best way to reheat these bowls is in the microwave for 2 to 3 minutes, stirring halfway through. If you have more time, reheat in a skillet over medium heat with a splash of water or broth. The oven works too, just cover with foil and warm at 350°F (175°C) for about 15 minutes. The chicken actually gets more flavorful as it sits in the juices, so leftovers might taste even better than the first serving.
Freezer storage. You can freeze the shredded chicken alone for up to 3 months. I don’t recommend freezing the assembled bowls because the rice and vegetables can get mushy. But the chicken freezes beautifully. Just thaw overnight and assemble fresh bowls when you’re ready.
Nutritional Information & Benefits
Here’s the nutritional breakdown for one serving of the basic bowl (chicken, rice, broccoli, and carrots). Keep in mind this is an estimate and will vary based on your specific ingredients and portion sizes.
| Nutrient | Amount Per Serving |
|---|---|
| Calories | 380-420 |
| Protein | 35-40g |
| Carbohydrates | 35-40g |
| Fat | 8-10g |
| Fiber | 4-5g |
| Sodium | 500-600mg |
Health benefits. Chicken breast is an excellent source of lean protein, which helps keep kids full and focused throughout the day. Broccoli is packed with vitamin C and fiber, while carrots provide vitamin A for healthy eyes and immune function. The rice provides energy for active kids. This bowl is a balanced meal that covers all the major food groups.
Dietary considerations. This recipe is naturally gluten-free and dairy-free as written. It’s also nut-free, making it safe for school lunches in nut-free classrooms. If you’re watching sodium, use low-sodium broth and reduce or omit the added salt. You can always season individual bowls at the table.
Potential allergens. None of the common allergens are present in the basic recipe, but always check your specific ingredient labels, especially for broth and seasoning blends that might contain hidden allergens.
From a personal perspective, I love that this recipe helps me feed my family real food without spending hours in the kitchen. It’s not about being perfect, it’s about being practical. And honestly, knowing exactly what’s in my kids’ lunches gives me peace of mind that’s hard to put a price on.
Conclusion
This recipe came into my life at exactly the right moment. I was tired, overwhelmed, and convinced that feeding my family well required more time and energy than I had. My neighbor showed me otherwise with a simple crockpot and a casual shrug. That’s the thing about good recipes, they don’t need to be complicated to be life-changing.
I hope you give these meal prep bowls a try. Start with the basic version, then make them your own. Add your family’s favorite vegetables, swap in different seasonings, or let the kids build their own bowls. The beauty of this recipe is that it works with you, not against you.
I’d love to hear how it goes. Drop a comment below and let me know what your family thought. Did your picky eater clean their bowl? Did you discover a new favorite variation? Share your wins, your fails, and everything in between. That’s how we all get better at this cooking thing together.
Here’s to easier weeknights and happy kids. You’ve got this.
Frequently Asked Questions
Can I use frozen chicken breasts in the crockpot?
I don’t recommend it. Frozen chicken takes much longer to reach a safe temperature, which means it spends too long in the danger zone where bacteria can grow. Thaw your chicken in the fridge overnight first. It’s safer and the texture turns out better.
How do I keep the chicken from drying out?
The key is not overcooking it and keeping it in the cooking juices after shredding. Use a meat thermometer to check for doneness, and return the shredded chicken to the juices in the crockpot. That extra step makes a huge difference in moisture.
Can I make these bowls ahead for the whole week?
Absolutely. These bowls are designed for meal prep. Assemble them on Sunday and they’ll stay fresh in the fridge for up to 4 days. Just leave any crunchy toppings or fresh herbs off until you’re ready to eat.
What other vegetables can I use instead of broccoli?
Pretty much any vegetable your family likes will work. Green beans, peas, corn, bell peppers, or roasted sweet potatoes are all great options. I’ve even used leftover roasted vegetables from dinner the night before.
Can I double this recipe for a larger family?
Yes, just make sure your crockpot is big enough. You want the chicken in a single layer for even cooking. If your crockpot is on the smaller side, it’s better to cook two batches than to overcrowd it. The cooking time stays about the same for a double batch.
Pin This Recipe!
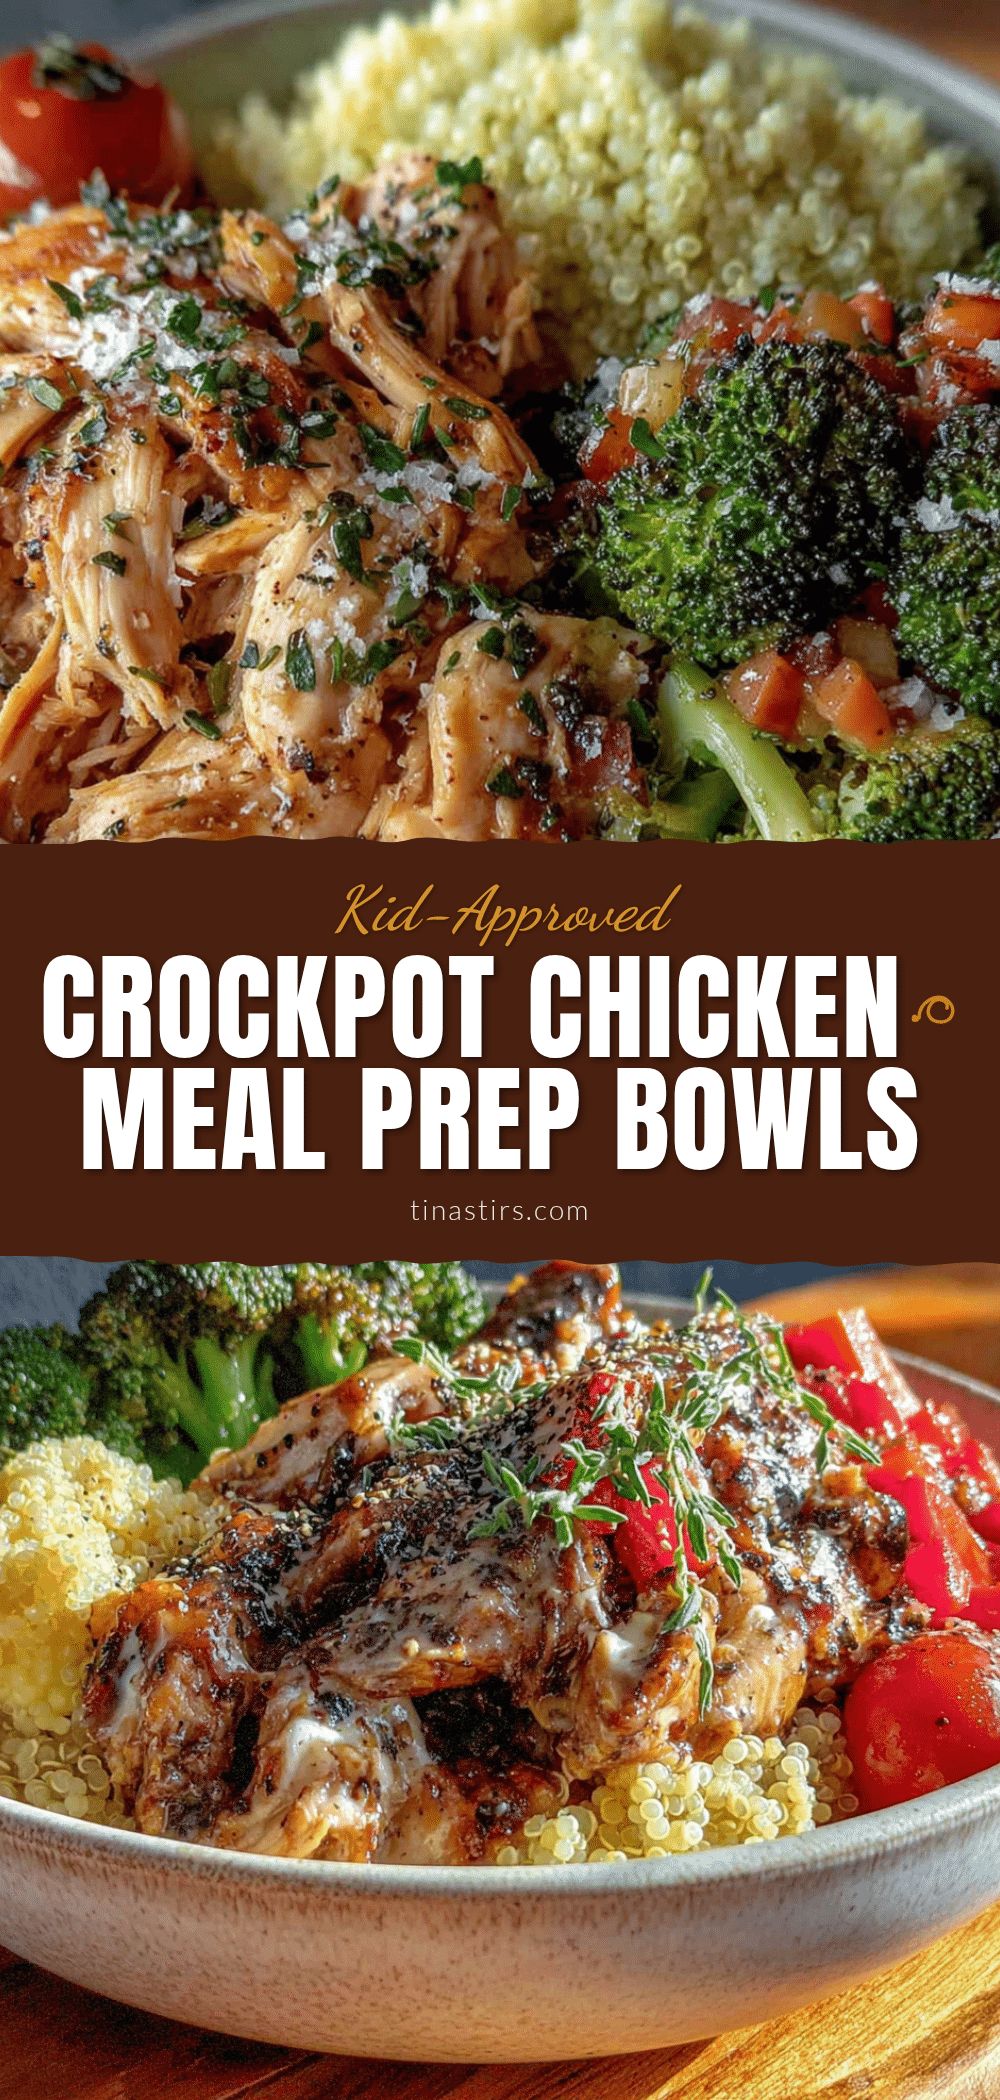
Best Easy Kid-Approved Crockpot Chicken Meal Prep Bowls
Juicy slow-cooked chicken with rice, broccoli, and carrots in easy meal prep bowls. Perfect for busy families, this recipe is simple, delicious, and kid-approved.
- Prep Time: 15 minutes
- Cook Time: 4-5 hours (low) or 2-3 hours (high)
- Total Time: 4 hours 15 minutes to 5 hours 15 minutes
- Yield: 4 servings 1x
- Category: Main Course
- Cuisine: American
Ingredients
- 2 pounds (900 g) boneless, skinless chicken breasts
- 1 cup (240 ml) low-sodium chicken broth
- 1 teaspoon garlic powder
- 1 teaspoon onion powder
- 1/2 teaspoon dried oregano
- 1/2 teaspoon dried basil
- 1 teaspoon salt (or to taste)
- 1/4 teaspoon black pepper
- 1 tablespoon olive oil
- 4 cups cooked rice (white, brown, or cauliflower)
- 2 cups steamed broccoli florets
- 1 cup shredded carrots
- Optional toppings: shredded cheese, Greek yogurt, or sauce
Instructions
- Trim excess fat from chicken breasts and pat dry with paper towels.
- In a small bowl, mix garlic powder, onion powder, oregano, basil, salt, and pepper. Sprinkle evenly over both sides of chicken. Drizzle with olive oil and rub in gently.
- Place seasoned chicken in a single layer in a 5-6 quart crockpot. Pour chicken broth around the chicken (not directly over it).
- Cover and cook on low for 4-5 hours or high for 2-3 hours, until internal temperature reaches 165°F (74°C) and chicken shreds easily.
- Remove chicken to a cutting board, let rest 5 minutes, then shred with two forks.
- Return shredded chicken to crockpot and stir into juices. Let sit 10 minutes.
- Cook rice according to package directions. Steam broccoli until tender-crisp (3-4 minutes in microwave with water).
- Assemble bowls: divide rice among containers, top with chicken, broccoli, and carrots. Add optional toppings if desired.
- Cool bowls completely (20-30 minutes) before sealing lids to prevent sogginess.
- Refrigerate for up to 4 days, or serve immediately.
Notes
For best results, don’t lift the lid while cooking. Chicken can be frozen in its juices for up to 3 months. Adjust seasoning to taste; start mild for kids. Use a meat thermometer to avoid overcooking.
Nutrition
- Serving Size: 1 bowl (chicken, ric
- Calories: 380420
- Sugar: 45
- Sodium: 500600
- Fat: 810
- Saturated Fat: 23
- Carbohydrates: 3540
- Fiber: 45
- Protein: 3540
Keywords: crockpot chicken, meal prep bowls, kid-friendly, easy dinner, slow cooker chicken, healthy meal prep


