Love this? Save it for later!
Share the inspiration with your friends
I was standing in the baking aisle of my local grocery store last June, staring at a display of graham crackers, when the strangest thing happened. A woman walked past me, and her perfume—something floral with a hint of vanilla—hit me, and suddenly I was seven years old, sitting on a sticky vinyl chair in my Aunt Carol’s backyard. It was the Fourth of July, and the air smelled like charcoal and bug spray and something sweet. That something sweet was this cake. Or at least, the first version of it. Aunt Carol wasn’t a fancy baker—she used Cool Whip straight from the tub and store-bought pudding mix—but man, that dessert was the highlight of every summer barbecue. She passed away a few years ago, and I haven’t had that cake since. Honestly, I’d forgotten all about it until that random whiff in the grocery store. I stood there for a solid minute, holding a box of graham crackers, trying to remember exactly how it tasted. Maybe you’ve been there—that weird moment when a smell or a sound just yanks you backward in time. I grabbed the crackers, some berries, and a block of cream cheese, and I drove home determined to bring that memory back. This Easy Red White and Blue Berry Icebox Cake is my attempt to recreate that exact feeling—not just the flavor, but the whole scene. The heat of the day. The laughter. The way the layers squished when you cut into them. It’s simple, it’s nostalgic, and it’s the kind of no-bake dessert that makes you wonder why you ever bothered turning on the oven in July.
Why You’ll Love This Recipe
Let me tell you, this isn’t just another berry dessert. I’ve tested this specific combination of cream layers and fruit about five times to get the texture just right. You know how some icebox cakes turn into a soggy mess after a few hours? Not this one. The graham crackers soften perfectly without falling apart, and the cream cheese layer adds just enough tang to balance all that sweetness.
- No-Bake & Easy: You don’t even need to turn on the stove. This comes together in about 20 minutes of active work, then the fridge does the rest.
- Simple Ingredients: I promise you’ll find everything at a regular grocery store. No fancy extracts or specialty flours here.
- Perfect for Celebrations: Fourth of July, Memorial Day, or just a Tuesday that needs some color. The red, white, and blue layers make it a showstopper.
- Crowd-Pleaser: I brought this to a block party last month, and three different people asked for the recipe before the fireworks even started.
- Unbelievably Delicious: The combination of creamy filling, soft graham crackers, and fresh berries is pure comfort. It’s the kind of dessert that makes you close your eyes after the first bite.
What makes this version different from the others I’ve tried? It’s the cream cheese in the middle layer. Most recipes just use whipped topping, which tastes fine, but it’s a little one-note. The cream cheese adds richness and a slight tang that cuts through the sweetness of the berries. Plus, I’ve figured out the exact ratio of pudding to milk so the layers set up firm but not stiff. It’s comfort food reimagined—faster, simpler, but with the same soul-soothing satisfaction. Perfect for impressing guests without stress, or turning a simple summer meal into something memorable.
What Ingredients You Will Need
This recipe uses simple, wholesome ingredients to deliver bold flavor and satisfying texture without the fuss. Most of these are pantry staples or easy to find at any grocery store.
- For the Cream Layers:
- 2 packages (3.4 ounces each) instant white chocolate or vanilla pudding mix (I prefer Jell-O brand for consistent results)
- 3 cups cold whole milk (2% works too, but whole milk makes it extra creamy)
- 8 ounces cream cheese, softened to room temperature (use full-fat for best texture)
- 1/4 cup powdered sugar
- 1 teaspoon vanilla extract
- 1 container (8 ounces) frozen whipped topping, thawed (like Cool Whip)
- For the Layers:
- 1 box (14.4 ounces) graham crackers (you’ll need about 24 full sheets)
- 2 cups fresh strawberries, hulled and sliced (about 1 pound)
- 1 1/2 cups fresh blueberries (about 6 ounces)
- 1 1/2 cups fresh raspberries (about 6 ounces)
- For the Topping:
- 1 cup heavy whipping cream
- 2 tablespoons powdered sugar
- 1/2 teaspoon vanilla extract
- Extra berries for garnish
Ingredient Tips: Look for firm, bright berries without any mushy spots—they’ll hold up better in the layers. If you’re using frozen berries, thaw and drain them first, or they’ll make the cake watery. I’ve tried this with reduced-fat cream cheese, and honestly, the texture just isn’t the same. It sets up softer and doesn’t slice as cleanly. For a dairy-free version, you can use dairy-free cream cheese and coconut whipped topping, but the flavor will be slightly different. Also, don’t skip the powdered sugar in the cream cheese mixture—it stabilizes the filling and keeps it from being too dense.
Equipment Needed
You don’t need any fancy gadgets for this one, which is part of the beauty. Here’s what you’ll need:
- A 9×13-inch baking dish (glass or ceramic works best so you can see the layers)
- An electric hand mixer or stand mixer (for the cream cheese and whipped cream)
- Two medium mixing bowls
- A rubber spatula
- A sharp knife and cutting board for the strawberries
- Plastic wrap or aluminum foil for covering
If you don’t have a hand mixer, you can whisk the cream cheese mixture by hand—just make sure it’s really soft first. I’ve done it that way when my mixer was broken, and it took about five extra minutes of elbow grease. Totally doable. For the whipped cream, a whisk works too, but your arm will get a workout. Also, if you don’t have a 9×13 dish, you can use a 9×9 square dish and just make fewer layers. The cooking time stays the same.
Preparation Method
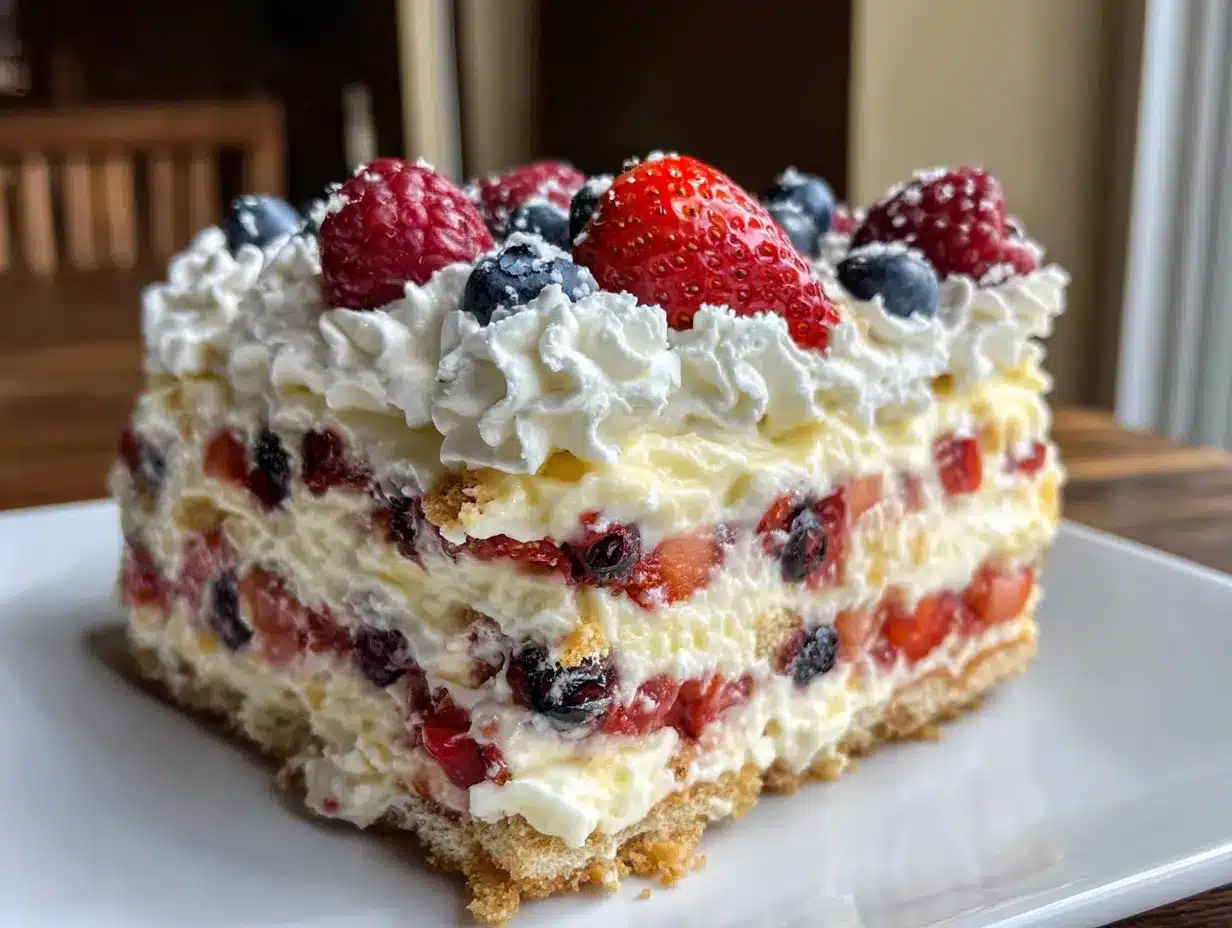
This is where the magic happens. Take your time with the layers, and you’ll be rewarded with a beautiful, sliceable cake.
- Make the Pudding Base (5 minutes): In a medium bowl, whisk together the pudding mix and cold milk. Whisk for about 2 minutes until it thickens. Set it aside for 5 minutes to fully set. It should be thick, like a soft pudding, not runny.
- Prepare the Cream Cheese Mixture (5 minutes): In a separate bowl, beat the softened cream cheese with the powdered sugar and vanilla extract until smooth and fluffy. Scrape down the sides of the bowl with a spatula. Add the prepared pudding to the cream cheese mixture and beat until combined. The mixture should be smooth and creamy.
- Fold in the Whipped Topping (3 minutes): Gently fold the thawed whipped topping into the pudding-cream cheese mixture. Use a rubber spatula and fold until just combined—don’t overmix or it will deflate. You want a light, airy texture.
- Prepare the Berries (10 minutes): Wash and dry all the berries. Hull and slice the strawberries into even slices, about 1/4-inch thick. Leave the blueberries and raspberries whole. Set aside a handful of each for the top garnish.
- Layer the First Graham Crackers (2 minutes): Arrange a single layer of graham crackers in the bottom of your 9×13 dish. You’ll need to break some crackers to fit—just snap them to fill the gaps. Don’t leave big empty spaces.
- Add the First Cream Layer (3 minutes): Spread about one-third of the cream mixture evenly over the graham crackers. Use an offset spatula or the back of a spoon to smooth it out. It doesn’t have to be perfect—just try to get it even.
- Add the First Berry Layer (5 minutes): Scatter about one-third of the sliced strawberries, blueberries, and raspberries over the cream layer. Press them in gently so they stick.
- Repeat the Layers: Place another layer of graham crackers on top of the berries. Repeat with another third of the cream mixture and another third of the berries. Do this one more time—you should have three layers of graham crackers, three layers of cream, and three layers of berries.
- Top with Final Graham Crackers (2 minutes): Finish with a final layer of graham crackers on top. This will be the base for your whipped cream topping.
- Make the Whipped Cream Topping (5 minutes): In a chilled bowl, beat the heavy cream, powdered sugar, and vanilla extract until stiff peaks form. Be careful not to overbeat—you want it fluffy, not butter. Spread the whipped cream over the top layer of graham crackers.
- Garnish and Chill (2 minutes + 6 hours): Arrange the reserved berries on top in a pretty pattern—I like to do stripes of red, white, and blue. Cover the dish with plastic wrap and refrigerate for at least 6 hours, or overnight. The longer it sits, the better the graham crackers soften and the flavors meld.
Sensory Cues: When you spread the cream mixture, it should look smooth and pillowy. The berries should be nestled in the cream, not floating on top. After chilling, the top should be firm to the touch, and when you cut into it, the layers should hold their shape without sliding apart. If the cake seems a little wobbly, give it another hour in the fridge.
Cooking Tips & Techniques
I’ve made about a dozen icebox cakes in my life, and I’ve learned a few things the hard way. Here’s what I wish someone had told me:
Don’t rush the chilling time. I know it’s tempting to dig in after four hours, but trust me—six hours is the minimum. The graham crackers need time to absorb moisture from the cream and berries. If you cut it too soon, the crackers will still be crunchy, and the layers won’t hold together. Overnight is ideal.
Pat your berries dry. This is a mistake I made the first time. I washed the berries and just tossed them in while they were still wet. The extra water made the cream mixture runny, and the cake was a little soupy. After washing, lay the berries on a paper towel-lined plate and pat them dry gently.
Use room temperature cream cheese. Cold cream cheese will give you lumpy filling. Leave it on the counter for about 30 minutes before you start. If you forget, you can microwave it in 10-second bursts until it’s soft but not warm.
Press the graham crackers down gently. After each layer, use your hand or a spatula to press the crackers down slightly. This helps them stick to the cream layer and prevents air pockets. Don’t smash them—just a gentle press.
Plan your timing. This is a great make-ahead dessert for parties. I usually make it the night before, then just add the whipped cream topping and garnishes a few hours before serving. The whipped cream stays fresh on top for about 24 hours before it starts to weep.
Variations & Adaptations
One of the best things about this cake is how easy it is to customize. Here are some variations I’ve tried and loved:
- Berry Swap: Not a fan of raspberries? Use blackberries or sliced peaches instead. In the winter, I’ve used frozen mixed berries (thawed and drained) with great results. Just avoid canned fruit—it’s too soft and watery.
- Chocolate Version: Use chocolate graham crackers and chocolate pudding mix instead of vanilla. Top with chocolate shavings and a few raspberries. It’s rich and indulgent—perfect for chocolate lovers.
- Lemon Twist: Add 1 tablespoon of lemon zest to the cream cheese mixture and use lemon pudding mix instead of vanilla. The citrus cuts through the sweetness and pairs beautifully with the berries.
- Dairy-Free Option: Use dairy-free cream cheese, coconut milk-based pudding, and coconut whipped topping. The texture will be slightly different, but it’s still delicious. I’ve made this for a friend with lactose intolerance, and she loved it.
- Mini Cakes: Make individual servings in small jars or ramekins. Layer the crackers, cream, and berries in each jar, then chill. These are perfect for picnics or parties where you want individual portions.
My personal favorite variation is the lemon version. I made it last summer for a bridal shower, and everyone raved about how fresh and light it tasted. The lemon zest really brightens up the whole dessert.
Serving & Storage Suggestions
This cake is best served cold, straight from the fridge. I like to let it sit at room temperature for about 10 minutes before slicing—it softens the cream just enough to make cutting easier. Use a sharp knife and wipe it clean between slices for neat edges.
For presentation, I arrange the top berries in a flag pattern: rows of blueberries in the top left corner, then alternating rows of strawberries and whipped cream. It looks festive without being fussy. You can also add a few mint leaves for a pop of green.
This cake pairs beautifully with a glass of cold lemonade or iced tea. If you’re serving it after a barbecue, it’s the perfect light finish to a heavy meal. I’ve also served it with a scoop of vanilla ice cream on the side—because why not?
Storage: Cover the dish tightly with plastic wrap or foil and refrigerate for up to 3 days. The flavors actually get better on day two as the layers meld together. After 3 days, the graham crackers start to get too soft, and the berries may release more juice. I don’t recommend freezing this cake—the texture changes too much when thawed.
Reheating: Don’t. This is a cold dessert. If you want to bring it to room temperature, let it sit out for 15-20 minutes, but don’t microwave it. The cream will melt and the graham crackers will turn to mush.
Nutritional Information & Benefits
Here’s an estimated nutritional breakdown per serving (based on 12 servings):
- Calories: 385
- Total Fat: 22g
- Saturated Fat: 13g
- Cholesterol: 55mg
- Sodium: 380mg
- Total Carbohydrates: 44g
- Dietary Fiber: 3g
- Sugars: 28g
- Protein: 6g
While this is definitely a treat, it does have some redeeming qualities. The berries are packed with antioxidants and vitamin C. Blueberries are great for brain health, and strawberries are full of fiber. The dairy provides calcium and protein. Plus, since it’s no-bake, you’re not adding extra heat to your kitchen on a hot summer day. It’s a dessert that feels indulgent but uses real, recognizable ingredients. I’m not saying it’s health food, but it’s a lot better than something from a box with a dozen unpronounceable ingredients.
Conclusion
This Easy Red White and Blue Berry Icebox Cake is more than just a dessert—it’s a memory you can eat. It’s the taste of summer barbecues, of fireworks lighting up the sky, of laughter and sticky fingers and the best kind of chaos. I love that it’s simple enough for a beginner to pull off, but impressive enough to steal the show at any gathering. The layers of creamy filling, soft graham crackers, and juicy berries come together in a way that feels both familiar and special.
I hope you’ll try this recipe and make it your own. Swap in your favorite berries, add a little lemon zest, or go full chocolate mode. The beauty of an icebox cake is that it’s forgiving and flexible. And when you take that first cold, creamy bite, I hope it brings back a good memory—or helps you make a new one. If you make this, I’d love to hear about it. Drop a comment below and tell me how it turned out, or share a photo on Pinterest. Happy summer, friends!
Frequently Asked Questions
Can I use frozen berries for this icebox cake?
Yes, but you need to thaw and drain them first. Frozen berries release a lot of liquid as they thaw, and that extra moisture can make the cake watery. Spread them on a paper towel-lined plate for about 30 minutes to drain excess juice before layering.
How far in advance can I make this cake?
You can make the entire cake up to 24 hours before serving. The flavors meld beautifully overnight. If you’re making it further in advance, I recommend adding the whipped cream topping and berry garnish no more than 6 hours before serving for the freshest look.
Can I use a different type of cracker instead of graham crackers?
Absolutely. Vanilla wafers, shortbread cookies, or even thin ginger snaps work well. Keep in mind that different cookies have different textures, so the final result may be slightly softer or crunchier. I’ve used vanilla wafers before, and it was delicious—just a little more delicate.
Why did my cream mixture turn out lumpy?
This usually happens when the cream cheese is too cold. Make sure your cream cheese is at room temperature before mixing. If you forget, microwave it in 10-second bursts until soft. Also, beat it alone first before adding the pudding mixture to ensure it’s completely smooth.
How do I get clean slices?
Use a sharp knife and wipe it clean between each cut. For the neatest slices, chill the cake for the full 6 hours (or overnight), and let it sit at room temperature for about 10 minutes before cutting. A hot knife—run it under warm water and dry it—can also help cut through the layers cleanly.
Pin This Recipe!
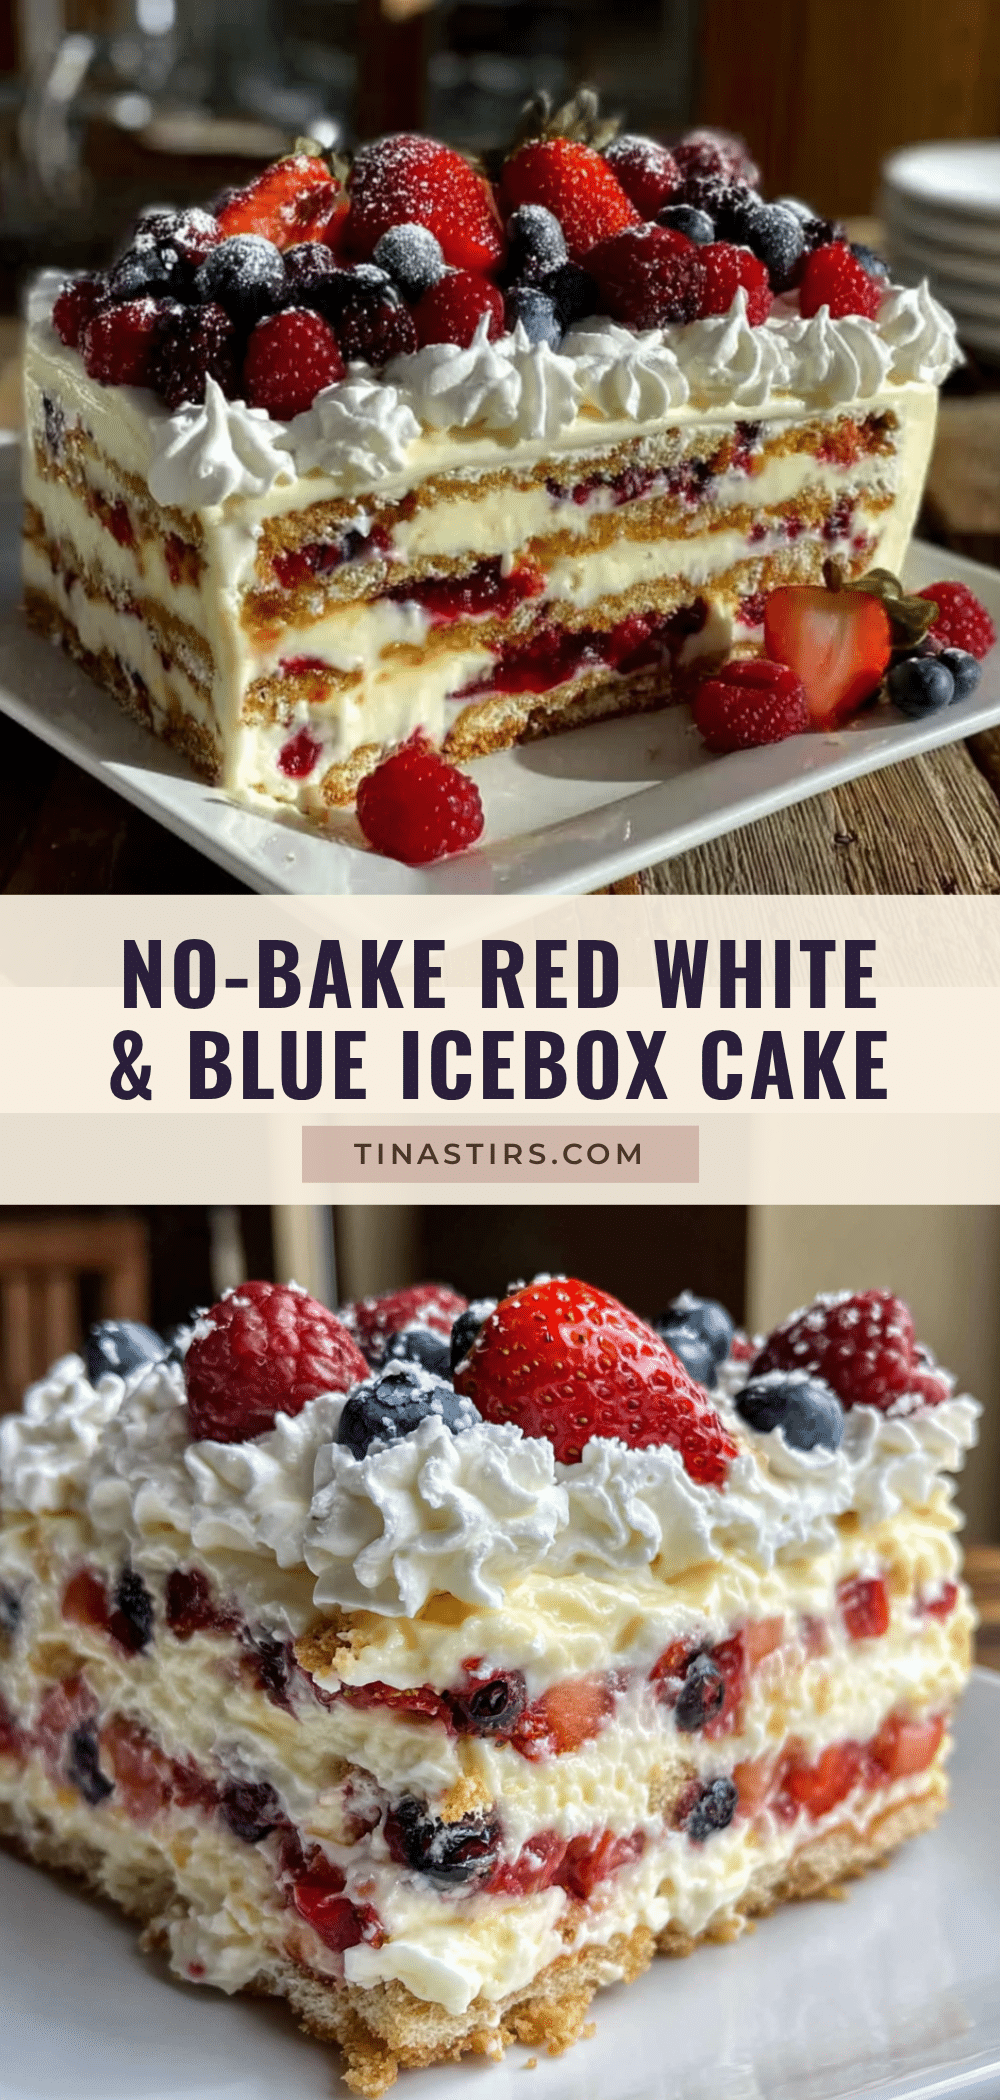
Best Easy Red White and Blue Berry Icebox Cake Recipe

This no-bake icebox cake layers creamy pudding, fresh berries, and graham crackers for a nostalgic, crowd-pleasing dessert perfect for summer celebrations.
- Prep Time: 20 minutes
- Cook Time: 0 minutes
- Total Time: 6 hours 20 minutes (includes chilling)
- Yield: 12 servings 1x
- Category: Dessert
- Cuisine: American
Ingredients
- 2 packages (3.4 ounces each) instant white chocolate or vanilla pudding mix
- 3 cups cold whole milk
- 8 ounces cream cheese, softened
- 1/4 cup powdered sugar
- 1 teaspoon vanilla extract
- 1 container (8 ounces) frozen whipped topping, thawed
- 1 box (14.4 ounces) graham crackers (about 24 full sheets)
- 2 cups fresh strawberries, hulled and sliced
- 1 1/2 cups fresh blueberries
- 1 1/2 cups fresh raspberries
- 1 cup heavy whipping cream
- 2 tablespoons powdered sugar
- 1/2 teaspoon vanilla extract
- Extra berries for garnish
Instructions
- In a medium bowl, whisk together the pudding mix and cold milk for about 2 minutes until thickened. Set aside for 5 minutes to fully set.
- In a separate bowl, beat the softened cream cheese with 1/4 cup powdered sugar and 1 teaspoon vanilla extract until smooth and fluffy. Add the prepared pudding and beat until combined.
- Gently fold the thawed whipped topping into the pudding-cream cheese mixture until just combined.
- Wash and dry all berries. Hull and slice strawberries into 1/4-inch slices. Leave blueberries and raspberries whole. Set aside a handful for garnish.
- Arrange a single layer of graham crackers in the bottom of a 9×13-inch dish, breaking crackers to fill gaps.
- Spread about one-third of the cream mixture evenly over the graham crackers.
- Scatter about one-third of the sliced strawberries, blueberries, and raspberries over the cream layer. Press gently.
- Repeat layers: graham crackers, cream mixture, berries, two more times.
- Finish with a final layer of graham crackers on top.
- In a chilled bowl, beat the heavy cream, 2 tablespoons powdered sugar, and 1/2 teaspoon vanilla extract until stiff peaks form. Spread over the top graham cracker layer.
- Arrange reserved berries on top in a decorative pattern. Cover and refrigerate for at least 6 hours or overnight.
- Serve cold, letting it sit at room temperature for about 10 minutes before slicing.
Notes
For best results, chill at least 6 hours or overnight. Pat berries dry to avoid watery layers. Use room temperature cream cheese for a smooth filling. The cake can be made up to 24 hours ahead; add whipped cream topping and garnish no more than 6 hours before serving.
Nutrition
- Serving Size: 1 slice (1/12 of cak
- Calories: 385
- Sugar: 28
- Sodium: 380
- Fat: 22
- Saturated Fat: 13
- Carbohydrates: 44
- Fiber: 3
- Protein: 6
Keywords: icebox cake, no-bake dessert, Fourth of July, berry dessert, graham cracker cake, summer dessert


