Love this? Save it for later!
Share the inspiration with your friends
My neighbor Kate wasn’t trying to impress anyone. I’d stopped by to return her tupperware—the one she’d sent me home with after a soup drop-off the week before—and the smell of vanilla and something sweetly milky hit me before I even got through her mudroom. She was standing at the counter, a giant metal bowl of freshly fallen snow in front of her, drizzling a ribbon of sweetened condensed milk over the top with the kind of casual focus you’d give to watering a houseplant. “Snow ice cream,” she said, catching my confused look. “You’ve never had it?”
Honestly, I thought she was pulling my leg. Snow? For dessert? I mean, I’d made snow angels and dodged snowballs my whole life, but eating the stuff felt like something out of a pioneer fantasy novel. But then she handed me a spoon, and let me tell you—that first bite was a revelation. It was creamy, icy, and sweet, with that unmistakable whisper of vanilla. It tasted like winter itself had decided to be kind to you. Kate shrugged when I gushed about it. “It’s just snow and milk,” she said, like it was nothing. But it wasn’t nothing. It was magic.
I stood there in her kitchen, eating spoonfuls of frozen sky, and I knew I’d be making this for the rest of my life. Maybe you’ve never thought to turn a snow day into a dessert day, but trust me—you’re about to. This best homemade snow ice cream with sweetened condensed milk is the kind of recipe that feels like a secret, even though it’s the simplest thing in the world. It’s winter’s best trick, and I’m so glad I finally learned it.
Why You’ll Love This Recipe
Look, I’ve tested a lot of snow ice cream recipes over the years. Some use regular milk and sugar, which gets icy and bland. Others call for evaporated milk, which is fine but a little thin. This version, though? It’s the one I keep coming back to, and here’s why.
- Incredibly Easy: You need exactly three main ingredients, and there’s zero cooking involved. It comes together in about 5 minutes of active work. Perfect for when the snow starts falling and you want instant gratification.
- Perfectly Creamy: Sweetened condensed milk is the secret weapon here. It adds sweetness and a thick, almost velvety texture that regular sugar just can’t match. No icy crystals, just smooth, scoopable goodness.
- Simple Ingredients: Chances are you already have sweetened condensed milk and vanilla in your pantry. The only thing you need from outside is the snow itself—and that’s free!
- Perfect for a Snow Day: This is the ultimate winter activity for kids and adults alike. It turns a weather event into a memory. It’s great for impromptu parties, cozy afternoons, or just surprising your family with something fun.
- Crowd-Pleaser: I’ve served this to everyone from picky toddlers to skeptical in-laws, and it gets rave reviews every single time. There’s something universally delightful about eating a cloud.
- Unbelievably Delicious: The combination of cold, creamy, and sweet is pure comfort. It’s like a vanilla milkshake that snow decided to adopt. Close your eyes after the first bite—I dare you not to smile.
What makes this different from other recipes is the ratio. I’ve played around with the amount of condensed milk to snow until I found the sweet spot where it’s rich but not cloying, and the texture stays fluffy instead of turning into a block of ice. It’s not just another version of snow ice cream—it’s the best version.
What Ingredients You Will Need
This recipe uses the simplest ingredients to create something truly special. You probably have most of these in your kitchen right now, which is half the fun. The star of the show is, of course, the snow, but the supporting players are what make it sing.
- 8 cups (about 1.9 liters) Fresh, Clean Snow: This is the most important ingredient. You want freshly fallen snow, ideally collected after it’s been snowing for a bit so the initial pollutants have been washed out of the air. Scoop the top layer of snow from a clean surface—like a freshly cleaned deck or a birdbath you’ve scrubbed—or just catch it on a baking sheet as it falls. Don’t use old, crusty, or yellow snow. It should be light, fluffy, and pristine. Pack it loosely into your measuring cup.
- 1 can (14 ounces or 397 grams) Sweetened Condensed Milk: This is the heart of the recipe. It provides all the sweetness and a thick, creamy texture that prevents the ice cream from becoming a hard, icy block. I prefer the classic Eagle Brand or Nestlé, but any brand works. Do not confuse this with evaporated milk, which is unsweetened and thinner. The sweetened condensed milk is non-negotiable for that perfect texture and flavor.
- 1 tablespoon (15 ml) Pure Vanilla Extract: This adds that warm, familiar flavor that makes it taste like real ice cream. I always use pure vanilla extract, not imitation, because the flavor is richer and more complex. You can really taste the difference here since the ingredient list is so short.
- ¼ teaspoon (1.25 ml) Fine Sea Salt (Optional but Recommended): A tiny pinch of salt does wonders. It doesn’t make it salty; it enhances the sweetness of the condensed milk and balances the flavor, just like in any good dessert. It’s a small step that makes a big difference.
Ingredient Selection Tips: For the vanilla, I really do recommend a good quality pure vanilla extract. It’s one of those ingredients where the cheap stuff can leave a slightly artificial aftertaste. For the sweetened condensed milk, you can find it in any grocery store baking aisle. If you’re feeling adventurous, you can even try making your own, but the canned stuff is perfectly reliable and consistent.
Substitution Guidance: To make this dairy-free, you can use a can of sweetened condensed coconut milk (like the brand Nature’s Charm). It has a slightly different, more tropical flavor, but it’s absolutely delicious. You can also experiment with other extracts—a little peppermint extract for a candy cane vibe, or almond extract for a nutty twist. Just start with a small amount, as they are much stronger than vanilla.
Equipment Needed
The beauty of this recipe is that you don’t need any fancy kitchen gadgets. No ice cream maker, no churn, no special bowls. Here’s what you’ll need:
- Large Mixing Bowl: A big metal or glass bowl works best. The cold snow will make the bowl cold, which is actually a good thing—it helps keep everything frozen as you mix. I like using a metal bowl because it conducts the cold well.
- Measuring Cups and Spoons: You’ll need a dry measuring cup for the snow (packed loosely) and standard measuring spoons for the vanilla and salt.
- Rubber Spatula or Large Spoon: This is for folding the ingredients together. A rubber spatula is ideal because it can scrape the sides of the bowl and gently incorporate everything without deflating the snow too much.
- Baking Sheet or Large Tray (for collecting snow): If you want to collect a lot of snow quickly, a clean baking sheet is perfect. Just hold it out in the falling snow for a few minutes, and you’ll have a nice layer.
- Freezer-Safe Container (for leftovers, if any): A standard loaf pan or a quart-sized deli container works great for storing any extra snow ice cream in the freezer.
Personal Note: I’ve made this with a plastic bowl and a wooden spoon, and it works fine. The metal bowl just feels more professional, and I swear it keeps the snow colder a bit longer. Don’t stress if you don’t have the perfect tools—this recipe is forgiving.
Preparation Method
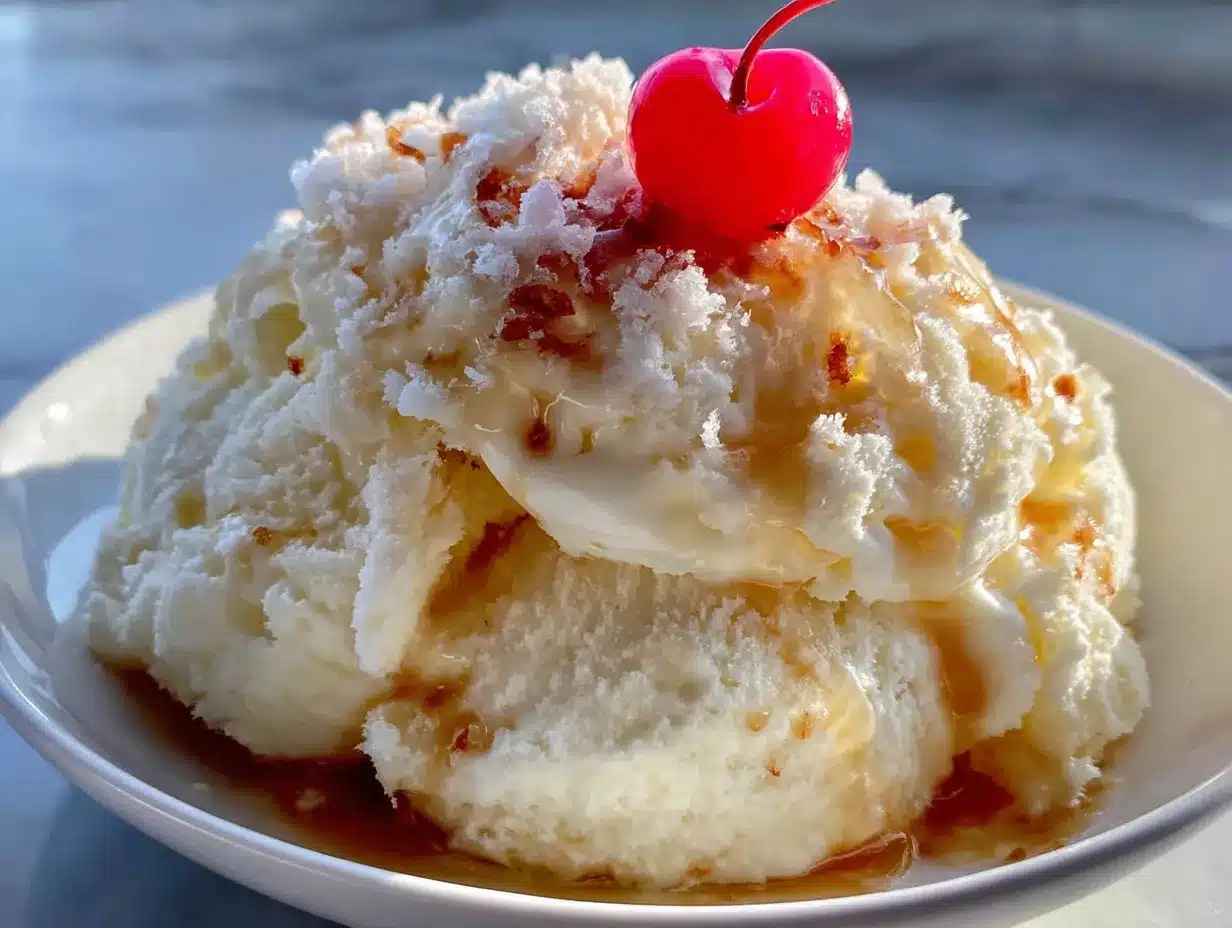
This is the fun part. The whole process takes about 5 minutes of active time, plus however long it takes you to collect the snow. It’s so simple, you’ll wonder why you haven’t been doing it your whole life.
- Collect Your Snow (5-10 minutes): This is your first and most important step. Wait for a good snowfall—the kind where big, fluffy flakes are coming down steadily. Head outside with your clean baking sheet or large bowl. Scoop up the top layer of fresh snow from a clean surface. Avoid snow that’s been sitting for more than a few hours, or snow that’s near roads or driveways. Aim for about 8 cups, packed loosely. Don’t pack it down like you’re making a snowball; you want it light and airy.
- Prepare Your Base (2 minutes): In a small bowl or liquid measuring cup, whisk together the entire can of sweetened condensed milk, the vanilla extract, and the salt (if using). Whisk until it’s smooth and well combined. The mixture will be thick and syrupy. This is your “ice cream base.”
- Combine (1 minute): Put your collected snow into the large mixing bowl. Pour the sweetened condensed milk mixture evenly over the top of the snow. Don’t dump it all in one spot—try to drizzle it around a bit so it starts to incorporate from the beginning.
- Fold Gently (1-2 minutes): Using your rubber spatula or a large spoon, gently fold the sweetened condensed milk mixture into the snow. Use a folding motion—lift the snow from the bottom and turn it over the top. Do not stir vigorously, or you’ll melt the snow and end up with a soupy mess. You want to gently combine until the snow is evenly coated and the mixture looks like soft-serve ice cream. It will be fluffy and a little bit sticky.
- Adjust Consistency (Optional, 30 seconds): If the mixture seems too dry and crumbly, add a tiny splash of milk (regular or any kind) and fold again. If it seems too wet or soupy, you may have accidentally melted the snow by mixing too hard. In that case, pop the bowl in the freezer for 10-15 minutes to firm it up before serving.
- Serve Immediately (0 minutes): This is the best part. Snow ice cream is best enjoyed right away, while it’s still light and fluffy. Scoop it into bowls and serve with your favorite toppings. The texture is like a cross between a snow cone and a scoop of ice cream—soft, creamy, and icy all at once.
Troubleshooting Tip: If your snow ice cream is too hard after freezing leftovers, let it sit on the counter for 5-10 minutes to soften before scooping. You can also microwave it for 10-15 seconds, but watch it carefully so it doesn’t melt completely.
Cooking Tips & Techniques
I’ve made this recipe more times than I can count, and I’ve definitely learned a few things the hard way. Here are my best tips for perfect snow ice cream every time.
- The fresher the snow, the better. I cannot stress this enough. Snow that’s been sitting for a day gets dense and icy. You want the light, fluffy stuff that just fell. It makes for a much more pleasant texture. I’ve made the mistake of using older snow, and the result was more like a snow cone than ice cream.
- Don’t overmix. This is the most common mistake. You’re not making a cake batter. You’re gently coaxing the snow and the sweetened condensed milk to become friends. Overmixing melts the snow, and you’ll end up with a sweet puddle. Fold just until you don’t see streaks of white anymore.
- Work quickly. Snow is, well, snow. It’s going to start melting the second it comes inside. Have all your ingredients measured and your bowl ready before you bring the snow in. Speed is your friend here.
- Use a light hand when measuring. When you measure your 8 cups of snow, don’t pack it down. Just scoop it loosely into the cup, like you’re measuring flour. Packing it will give you too much snow, and your ratios will be off.
- Chill your bowl. If you have time, pop your mixing bowl in the freezer for 15-20 minutes before you start. This helps keep the snow cold while you’re mixing, giving you a better texture.
- My biggest failure? I once tried to double the recipe and mix it in a bowl that was too small. Snow went everywhere, and I ended up with a sticky, half-melted mess on my counter. Stick to a single batch in a large bowl until you get the hang of it.
Variations & Adaptations
Once you’ve mastered the basic recipe, the possibilities are endless. Here are some of my favorite ways to change it up.
- Chocolate Snow Ice Cream: Add 2-3 tablespoons of unsweetened cocoa powder to the sweetened condensed milk mixture before combining with the snow. Whisk it in thoroughly to avoid clumps. You might need an extra tablespoon of milk to keep the texture right. It tastes like a frozen chocolate mousse.
- Peppermint Snow Ice Cream: Swap the vanilla extract for 1 teaspoon of peppermint extract. Add a drop of red food coloring if you want that classic pink color, or leave it white. Fold in some crushed candy canes at the end for a festive crunch. This is my go-to for Christmas snow days.
- Vegan/Dairy-Free Version: Use a can of sweetened condensed coconut milk (like Nature’s Charm brand). The flavor is a little more coconut-forward, but it’s incredibly creamy and delicious. Everything else stays the same. I’ve served this to dairy-free friends and they couldn’t believe it was vegan.
- Fruity Snow Ice Cream: After combining the base and snow, gently fold in ½ cup of finely chopped fresh or frozen fruit. Strawberries, raspberries, or diced peaches work beautifully. Don’t use large chunks, or they’ll be too hard to scoop. A little fruit puree swirled in is also fantastic.
- Cookie Butter or Nutella Swirl: Drizzle 2-3 tablespoons of cookie butter or Nutella over the finished snow ice cream and give it a couple of gentle folds. Don’t mix it in completely; you want ribbons of flavor running through it. This is dangerously good.
Serving & Storage Suggestions
Snow ice cream is best served immediately, but if you have leftovers (which is rare in my house), here’s how to handle them.
Serving: Scoop the snow ice cream into chilled bowls for the best experience. It’s perfect on its own, but toppings take it to the next level. Try a drizzle of chocolate syrup, a sprinkle of sprinkles, a dollop of whipped cream, or a dusting of cinnamon. For a fun presentation, serve it in a waffle cone or a small mason jar. It’s also amazing as a topping for warm brownies or a slice of apple pie—the hot-and-cold contrast is incredible.
Storage: If you have any left, transfer the snow ice cream to a freezer-safe container. Press a piece of plastic wrap directly onto the surface of the ice cream to prevent ice crystals from forming. Seal the container with a tight-fitting lid. It will keep in the freezer for up to 2 weeks, though the texture will become harder and more icy over time.
Reheating/Softening: When you’re ready to eat the leftovers, don’t try to scoop it straight from the freezer. Let it sit on the counter for 10-15 minutes to soften. You can also microwave it for 10-15 seconds at 50% power. It won’t be as fluffy as the fresh version, but it will still be delicious. I actually like the texture after a day or two—it gets a little denser, almost like a frozen custard.
Flavor Development: The flavor actually melds together overnight. The vanilla becomes more pronounced, and the sweetness evens out. It’s a different experience from the fresh version, but still wonderful.
Nutritional Information & Benefits
Let’s be honest—this is a treat. But it’s made with real, simple ingredients, and there are a few surprising benefits.
Estimated Nutritional Values (per ½ cup serving):
- Calories: 180-200
- Fat: 4-5g
- Carbohydrates: 34-38g
- Sugar: 32-36g
- Protein: 3-4g
- Calcium: 10% of Daily Value
Health Benefits: Sweetened condensed milk is a good source of calcium and vitamin D, which are important for bone health. The snow itself is, of course, just frozen water, but it makes the dessert feel light and refreshing. If you use the dairy-free coconut version, you’ll get some healthy medium-chain triglycerides (MCTs) from the coconut milk.
Dietary Considerations: This recipe is naturally vegetarian. For a gluten-free version, just ensure your vanilla extract is certified gluten-free (most are). For a lower-sugar option, you can try using a sugar-free sweetened condensed milk, but I haven’t tested that myself, so the texture might be different.
Potential Allergens: This recipe contains dairy (milk) in the traditional version. The vegan version using coconut milk is free from the top 8 allergens.
Personal Perspective: I don’t make this for its health benefits. I make it because it’s a joyful, nostalgic experience that connects me to the season. It’s a reminder that sometimes the simplest things—a bowl of snow, a drizzle of milk—can be the most satisfying. A little sweetness goes a long way toward making a winter day feel special.
Conclusion
This best homemade snow ice cream with sweetened condensed milk is more than just a recipe. It’s a snow day ritual, a childhood memory waiting to happen, and proof that you don’t need a fancy kitchen to make something magical. With just three ingredients and five minutes, you can turn a winter storm into a reason to celebrate.
I love this recipe because it’s so ridiculously easy, yet it always feels like a special occasion. It’s the kind of thing that makes you stop and appreciate the simple pleasures—the taste of fresh snow, the warmth of your kitchen, the smile on someone’s face when they take their first bite. It’s winter’s little gift to us.
So the next time the snow starts falling, don’t just shovel it. Scoop it up. Make a batch of this snow ice cream, and don’t forget to share it. I’d love to hear how it turns out for you—did you add any fun toppings? Did the kids go crazy for it? Drop a comment below and tell me about your snow day creation. And if you loved it, share this post with a friend who needs a little winter cheer. Happy snow eating!
Frequently Asked Questions
Can I use any kind of snow?
You want the freshest, cleanest snow possible. Collect it after it’s been snowing for at least 30 minutes to an hour, which gives the air time to clear out any initial pollutants. Scoop the top layer from a clean, elevated surface like a deck railing or a clean table. Avoid snow that’s been on the ground for more than a few hours or snow that’s near roads or driveways.
What if I don’t have sweetened condensed milk?
You can make a substitute by simmering 1 cup of whole milk with ⅔ cup of sugar over low heat until the sugar dissolves and the mixture thickens slightly, about 10-15 minutes. Let it cool completely before using. However, the texture won’t be quite as creamy as the canned version. I really recommend using the real thing if you can get it.
Can I make this ahead of time for a party?
You can, but it won’t be as fluffy as the fresh version. If you want to make it ahead, prepare the sweetened condensed milk base and chill it. Then, right before serving, collect the fresh snow and mix it together. The whole process takes 5 minutes, so it’s easy to do at the last minute. For leftovers, store as directed.
Why did my snow ice cream turn into soup?
This usually happens for one of two reasons: you overmixed it, or your snow was too wet/heavy. Overmixing melts the snow. Next time, fold gently and stop as soon as everything is combined. Also, make sure you’re using light, fluffy snow, not the heavy, wet snow that’s good for making snowballs.
Can I add alcohol to this for an adult version?
Absolutely! A splash of vanilla vodka, bourbon, or even a coffee liqueur like Kahlúa can be delicious. Just be aware that alcohol lowers the freezing point, so your ice cream will be softer and melt faster. Add it to the sweetened condensed milk base before mixing with the snow. Start with 1-2 tablespoons and adjust to taste.
Pin This Recipe!
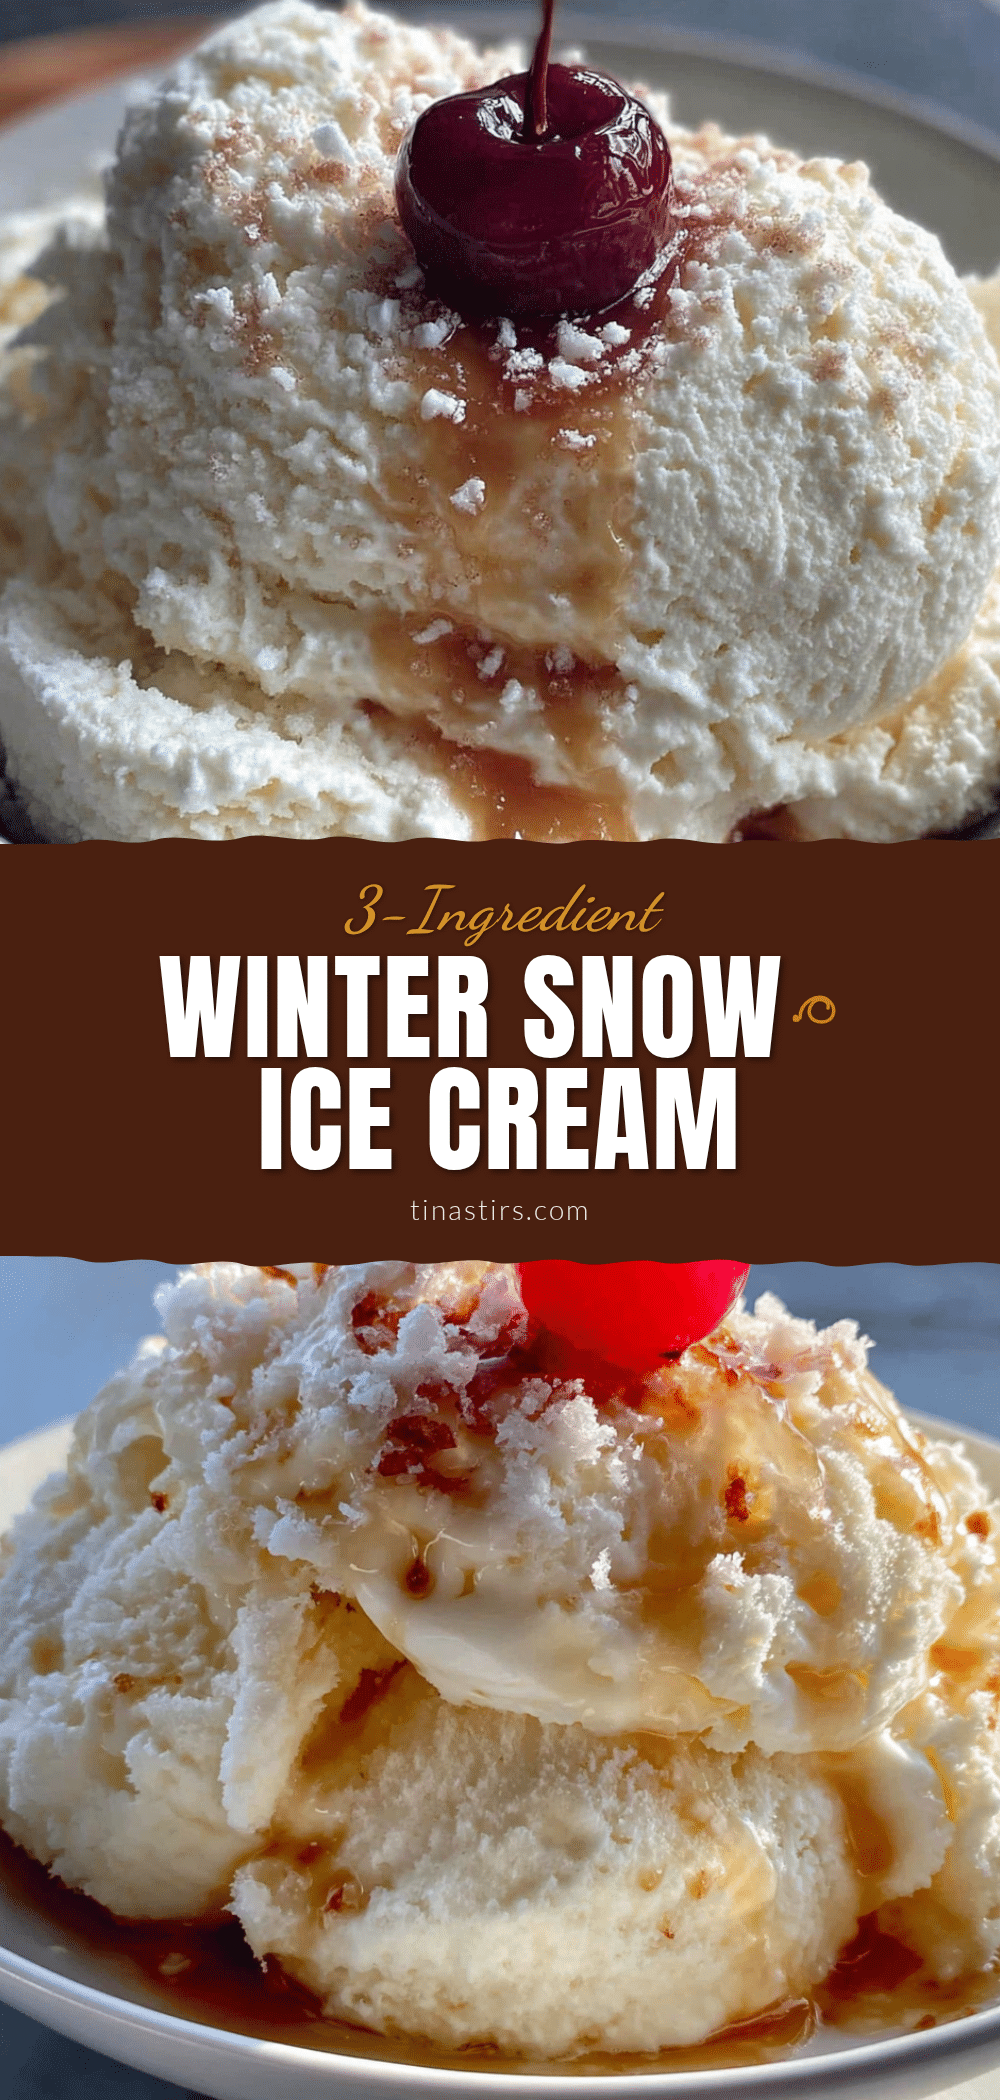
Best Homemade Snow Ice Cream with Sweetened Condensed Milk

This incredibly easy snow ice cream uses just three main ingredients and zero cooking to create a creamy, sweet treat that turns a snow day into a dessert day. Perfectly fluffy and rich, it’s a winter tradition you’ll want to make again and again.
- Prep Time: 5 minutes
- Cook Time: 0 minutes
- Total Time: 5 minutes
- Yield: 4 servings 1x
- Category: Dessert
- Cuisine: American
Ingredients
- 8 cups (about 1.9 liters) fresh, clean snow
- 1 can (14 ounces or 397 grams) sweetened condensed milk
- 1 tablespoon (15 ml) pure vanilla extract
- ¼ teaspoon (1.25 ml) fine sea salt (optional but recommended)
Instructions
- Collect your snow: Wait for a good snowfall and scoop up the top layer of fresh snow from a clean surface. Aim for about 8 cups, packed loosely.
- Prepare your base: In a small bowl or liquid measuring cup, whisk together the entire can of sweetened condensed milk, the vanilla extract, and the salt (if using) until smooth.
- Combine: Put the collected snow into a large mixing bowl. Pour the sweetened condensed milk mixture evenly over the top of the snow.
- Fold gently: Using a rubber spatula or large spoon, gently fold the sweetened condensed milk mixture into the snow until evenly coated and the mixture looks like soft-serve ice cream. Do not stir vigorously.
- Adjust consistency (optional): If the mixture seems too dry, add a tiny splash of milk and fold again. If too wet, pop the bowl in the freezer for 10-15 minutes to firm up.
- Serve immediately: Scoop into bowls and enjoy with your favorite toppings.
Notes
Use the freshest, fluffiest snow possible. Do not overmix or the snow will melt. Work quickly once the snow is brought inside. For best texture, chill the mixing bowl in the freezer for 15-20 minutes before starting. Leftovers can be stored in the freezer for up to 2 weeks; let sit at room temperature for 10-15 minutes before serving.
Nutrition
- Serving Size: ½ cup
- Calories: 190
- Sugar: 34
- Sodium: 85
- Fat: 4.5
- Saturated Fat: 3
- Carbohydrates: 36
- Protein: 3.5
Keywords: snow ice cream, sweetened condensed milk, snow day dessert, easy ice cream, winter treat, homemade ice cream


