Love this? Save it for later!
Share the inspiration with your friends
My neighbor, a retired baker named Frank, watched me one Tuesday evening as I stood in my kitchen doorway, staring at a half-empty jar of raspberry jam and wondering if I had the energy to make anything worthwhile. He didn’t say anything at first. Then he shuffled over, peered through the screen door, and said, “You look like someone who needs a cookie that doesn’t need to be perfect.”
He was right. I was tired, my counter was cluttered, and the idea of creaming butter and sugar for ten minutes felt like a marathon. Frank handed me his grandmother’s recipe for thumbprint cookies, scribbled on a torn envelope, and told me the secret was to stop overthinking things. “A thumbprint cookie,” he said, “is supposed to look like a thumbprint. Not a museum piece.” I laughed, and that night I made the quickest, most forgiving batch of cookies I’d ever pulled together. They were gone before the pan cooled.
Honestly, I’ve made these Quick Raspberry Almond Thumbprint Cookies at least a dozen times since that evening. They’ve become my weeknight baking default when I need something homemade but don’t have the time or patience for fussy techniques. The dough comes together in one bowl, the filling is basically cheating (store-bought jam, and I’m not sorry), and the whole thing is on the table in under thirty minutes. Maybe you’ve been there, standing in your kitchen on a Wednesday, craving a warm cookie but not wanting to clean a stand mixer. These are for those nights.
What makes this recipe stick with me isn’t just how fast it is. It’s that Frank’s grandmother’s cookie taught me something about letting go of perfection in the kitchen. A slightly uneven thumbprint, a little jam that bubbles over the edge, a cookie that cracks a bit on top—none of that matters. What matters is that you made something with your hands, and it tastes like warmth. That’s the kind of baking I keep coming back to.
Why You’ll Love This Recipe
Let me tell you why this recipe has become my weeknight hero. I’ve tested it on harried Tuesday evenings, lazy Sunday afternoons, and even during a power outage (gas stove for the win). Here’s why it works every single time.
- Quick & Easy: From start to finish, these cookies take about 25 minutes. No chilling the dough, no waiting for butter to soften at room temperature. You can have warm cookies in the time it takes to watch a single episode of your favorite show.
- Simple Ingredients: You probably have everything already. Butter, sugar, flour, almond extract, and a jar of raspberry jam. No trips to a specialty store, no hunting for obscure extracts. The almond flavor comes from a pantry staple.
- Perfect for Weeknights: These are the cookies you make when you need a little something sweet after dinner but don’t want to commit to a layer cake. They’re also great for last-minute guests or school bake sales that you forgot about until 9 PM.
- Crowd-Pleaser: I’ve brought these to potlucks and watched adults and kids alike grab three at a time. The combination of buttery shortbread and sweet-tart raspberry jam is universally loved. Plus, the almond adds that little something special that makes people ask for the recipe.
- Unbelievably Delicious: The texture is what gets me every time. The cookie itself is tender and slightly crumbly, with that nutty warmth from the almond extract. Then you hit the pocket of jam, which stays soft and jammy even after baking. It’s comfort food in two bites.
What makes this version different from other thumbprint cookies? It’s the technique. Instead of rolling the dough into balls and then chilling them, you use a slightly softer dough that you shape and bake immediately. The trick is using melted butter instead of softened butter, which gives you a tender cookie without the wait. I’ve tried the traditional method where you chill the dough for an hour, and honestly, the texture isn’t that much better to justify the extra time.
This recipe is the kind that makes you close your eyes after the first bite. It’s weeknight baking reimagined—faster, simpler, but with the same soul-soothing satisfaction. Perfect for when you need a cookie, and you need it now.
What Ingredients You Will Need
This recipe uses simple, pantry-friendly ingredients that come together to create something genuinely special. The magic is in the combination of butter, almond, and raspberry—a classic trio that never gets old.
- Unsalted butter, melted (½ cup / 113g): Melting the butter is the key to skipping the chilling step. It creates a tender cookie without needing to wait. Use unsalted so you can control the salt level. I’ve used Kerrygold and Land O’Lakes here, and both work beautifully.
- Granulated sugar (⅓ cup / 65g): Just enough to sweeten the cookies without making them cloying. The sugar also helps create that slightly crisp edge.
- Large egg yolk (1): The yolk adds richness and tenderness. Save the white for an omelet or scrambled eggs the next morning. Using just the yolk keeps the cookies from spreading too much.
- Almond extract (1 teaspoon): This is where the flavor lives. Use pure almond extract, not imitation, if you can find it. The difference is noticeable—pure extract has a warm, marzipan-like quality that makes these cookies feel fancy. I prefer Nielsen-Massey, but store brands work fine too.
- Vanilla extract (½ teaspoon): It rounds out the almond flavor and adds depth. Don’t skip it even though almond is the star—vanilla acts as a flavor bridge.
- All-purpose flour (1 cup / 120g): Standard AP flour gives the right structure. Spoon and level it into your measuring cup—don’t scoop directly from the bag, or you’ll end up with too much flour and dry cookies.
- Salt (¼ teaspoon): A little salt balances the sweetness and makes the almond flavor pop. I use fine sea salt here.
- Raspberry jam (about ¼ cup / 80g): Seedless or with seeds, your choice. I personally love the little seeds for texture and visual interest. Bonne Maman is my go-to brand, but any good-quality raspberry jam works. Avoid jelly, which is too firm and won’t soften properly in the oven.
- Sliced almonds (optional, for garnish, about 2 tablespoons): These add a nice crunch and make the cookies look prettier. Toast them lightly first if you have an extra minute—it brings out their nuttiness.
Substitution Guidance: If you’re out of almond extract, double the vanilla extract and add a pinch of cinnamon for warmth. It won’t taste the same, but it’ll still be delicious. For a nut-free version, skip the sliced almonds entirely. You can also use strawberry or apricot jam instead of raspberry—any tart fruit jam works well here. If you’re gluten-free, swap the all-purpose flour for a 1:1 gluten-free baking flour blend. I’ve used Bob’s Red Mill with good results.
Equipment Needed
You don’t need much for these cookies, which is part of their charm. Here’s what you’ll want to have on hand.
- Mixing bowl: Any medium-sized bowl works. I use a glass mixing bowl because I can see if everything is combined, but metal or ceramic is fine too.
- Whisk or fork: For mixing the wet ingredients together. A fork works in a pinch—I’ve done it plenty of times.
- Rubber spatula or wooden spoon: For folding the flour into the wet ingredients. A spatula is gentler and helps avoid overmixing.
- Baking sheet: A standard half-sheet pan works well. Line it with parchment paper or a silicone baking mat for easy cleanup. I’ve forgotten parchment before, and the cookies stuck—learn from my mistake.
- Measuring cups and spoons: For accuracy. I prefer using a kitchen scale for the flour, but measuring cups work if you spoon and level properly.
- Small spoon or your thumb: For making the indentations. A ½ teaspoon measure works perfectly to create uniform wells. Your thumb is the original tool, though, and it’s perfectly fine.
- Cooling rack: Optional but helpful for cooling the cookies evenly. If you don’t have one, let them cool on the baking sheet for a few extra minutes before moving them.
Budget-Friendly Tip: If you don’t have a baking sheet, a flat oven-safe pan works. Just make sure it has edges to catch any jam that might bubble over. I’ve even used a cast-iron skillet in a pinch—the cookies came out a bit thicker but still delicious.
Preparation Method
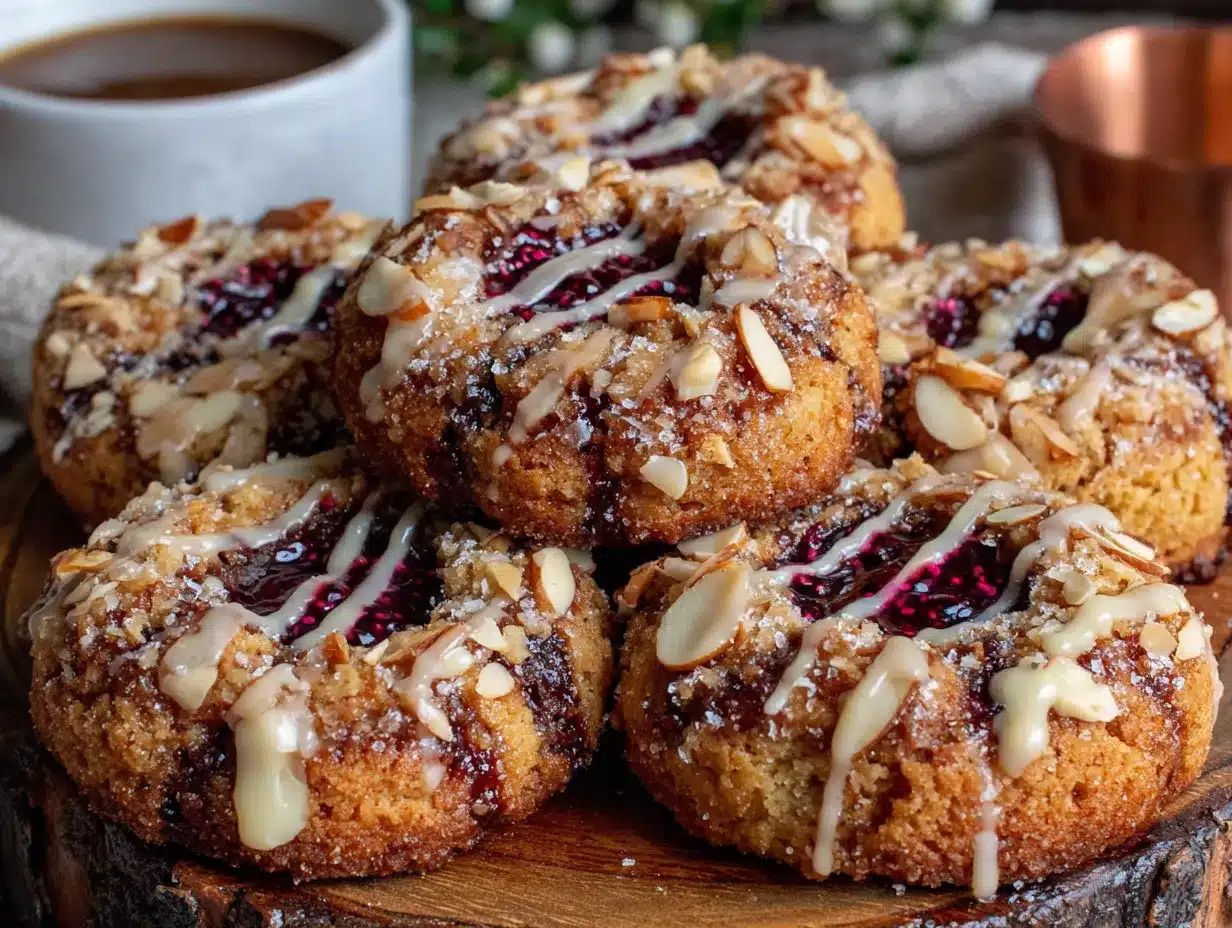
These cookies come together fast, so have everything measured and ready before you start. Here’s how to do it.
- Preheat your oven to 350°F (175°C). Line a baking sheet with parchment paper or a silicone mat. While the oven heats, you can make the dough.
- Melt the butter. In a microwave-safe bowl, melt the ½ cup (113g) of unsalted butter in 20-second bursts, stirring between each, until just melted. Don’t let it boil—you want it liquid, not hot. Let it cool for a minute while you gather the other ingredients.
- Mix the wet ingredients. In a medium mixing bowl, whisk together the melted butter, ⅓ cup (65g) granulated sugar, 1 large egg yolk, 1 teaspoon almond extract, and ½ teaspoon vanilla extract. Whisk until smooth and slightly thickened, about 30 seconds. The mixture should look glossy and smell amazing.
- Add the dry ingredients. Add the 1 cup (120g) all-purpose flour and ¼ teaspoon salt to the bowl. Use a rubber spatula to fold everything together until just combined. Stop as soon as you no longer see streaks of flour. Overmixing will make the cookies tough—trust me, I’ve done it and regretted it.
- Shape the cookies. Scoop out tablespoon-sized portions of dough (about 15g each). Roll each portion into a smooth ball between your palms. Place the balls on the prepared baking sheet, spacing them about 2 inches apart. You should get about 15 cookies.
- Make the indentations. Use your thumb or the back of a ½ teaspoon measure to press a deep well into the center of each dough ball. Press almost to the bottom but not all the way through—you want a pocket for the jam, not a hole. The edges might crack a little, and that’s totally fine. It gives them character.
- Fill with jam. Spoon about ½ teaspoon of raspberry jam into each indentation. Don’t overfill—the jam will spread as it bakes. A little bit goes a long way. If you’re using sliced almonds, press a few into the dough around the jam, not on top of it.
- Bake. Place the baking sheet in the preheated oven and bake for 10 to 12 minutes. The cookies should be lightly golden on the edges but still pale on top. The jam will be bubbly and hot. Don’t overbake—they continue to set as they cool.
- Cool. Let the cookies cool on the baking sheet for 5 minutes. The jam will be extremely hot, so resist the urge to taste one immediately. After 5 minutes, transfer the cookies to a wire rack to cool completely. If you try to move them too soon, they’ll fall apart.
Sensory Cues: When the cookies are done, the edges will look set and lightly golden. The jam will be bubbling gently, and the kitchen will smell like butter and almonds. The cookies should feel firm to a gentle touch but still soft in the center. If you press one and it feels raw, give it another minute or two.
Troubleshooting: If your cookies spread too much, the butter was too warm or you didn’t use enough flour. Next time, let the melted butter cool for a few extra minutes before mixing. If the jam sinks into the dough, you pressed the indentation too deep or the dough was too soft. Aim for a well that’s about halfway through the dough ball.
Cooking Tips & Techniques
I’ve made these cookies enough times to have learned a few things the hard way. Here’s what I wish someone had told me.
Don’t overmix the dough. This is the most common mistake I see. When you add the flour, mix just until it disappears. Overmixing develops the gluten, which makes the cookies tough and dense instead of tender and crumbly. I once mixed for an extra thirty seconds because I was distracted, and the cookies came out like hockey pucks. Learn from my distraction.
Use a light hand with the jam. It’s tempting to pile on the jam, but less is more. Too much jam will bubble over the edges and make a sticky mess on your baking sheet. It also makes the cookies soggy. A ½ teaspoon per cookie is the sweet spot. If you want more jam flavor, you can add a tiny bit more, but don’t go overboard.
Chill the dough if you have time. I know I said this recipe doesn’t need chilling, and it doesn’t. But if you have an extra 15 minutes, popping the shaped cookies in the fridge while the oven preheats helps them hold their shape better. The butter firms up, so the cookies spread less and the indentations stay deeper. It’s optional, but it’s a nice trick for prettier cookies.
Make the indentations while the dough is still soft. Once the dough balls sit for a few minutes, they develop a slight skin that makes indenting harder. Press your thumb in immediately after shaping each ball. If you wait, the dough might crack more than you’d like. A little cracking is charming, but big fissures aren’t.
Double the batch. These cookies disappear fast, and they freeze beautifully. I always make a double batch and freeze half the unbaked dough balls on a baking sheet, then transfer them to a freezer bag. When I want cookies, I just bake them straight from frozen, adding an extra 2 minutes to the bake time. It’s like having a bakery in your freezer.
Timing strategy: Start the butter melting while you measure the other ingredients. By the time you’ve gathered everything, the butter is cool enough to use. This shaves off a few minutes and keeps the process flowing.
Variations & Adaptations
One of the best things about this recipe is how adaptable it is. Here are a few ways I’ve changed it up depending on what I have on hand or what I’m craving.
Lemon Raspberry Thumbprints: Add 1 teaspoon of lemon zest to the dough along with the almond extract. The lemon brightens the raspberry jam beautifully. I made this version last spring when I had a lemon tree’s worth of zest in my fridge, and it was a revelation. You can also swap the raspberry jam for lemon curd for a double-lemon experience.
Chocolate Almond Thumbprints: Replace the raspberry jam with a small dollop of chocolate-hazelnut spread or melted dark chocolate. The combination of almond and chocolate is classic for a reason. I’ve also used Nutella here, and it’s dangerously good. If you go this route, skip the sliced almonds and sprinkle a little flaky sea salt on top instead.
Gluten-Free Version: Substitute the all-purpose flour with a 1:1 gluten-free baking flour blend that contains xanthan gum. I’ve tested this with Bob’s Red Mill 1-to-1 Baking Flour, and the texture is remarkably similar. The cookies might be slightly more delicate, so handle them gently when transferring to the cooling rack.
Vegan Adaptation: Use melted coconut oil or vegan butter in place of the dairy butter. Replace the egg yolk with 1 tablespoon of aquafaba (the liquid from a can of chickpeas) or a flax egg (1 tablespoon ground flaxseed mixed with 3 tablespoons water, let sit for 5 minutes). The texture won’t be quite as tender, but they’re still delicious. I’ve made these for a vegan friend’s birthday, and they were gone in minutes.
Spiced Version: Add ½ teaspoon of cinnamon and ¼ teaspoon of cardamom to the flour mixture. The warm spices complement the almond and raspberry beautifully. This is my go-to fall variation when I want something cozy. I also sometimes swap the raspberry jam for fig jam, which is even better with the spices.
Different Jam Flavors: Don’t limit yourself to raspberry. Apricot, strawberry, blackberry, or even a spicy pepper jelly all work wonderfully. Each jam brings its own personality to the cookie. My personal favorite is sour cherry jam, which has a tartness that cuts through the buttery sweetness perfectly.
Serving & Storage Suggestions
These cookies are best served slightly warm, when the jam is still soft and the cookie is tender. Let them cool for about 5 minutes on the baking sheet, then transfer them to a plate and serve immediately. If you’re serving them at room temperature, they’re still excellent—the jam firms up a bit but stays soft and chewy.
Presentation Idea: Arrange the cookies on a simple white plate or a wooden board. Dust them lightly with powdered sugar just before serving for a pretty, bakery-style look. If you added sliced almonds, they’ll already look beautiful, so the powdered sugar is optional.
What to Serve With Them: These cookies pair wonderfully with a cup of black coffee or a strong cup of tea. For a dessert spread, serve them alongside fresh berries and a dollop of whipped cream or vanilla ice cream. They’re also lovely with a glass of cold milk—a classic combination that never gets old.
Storage Instructions: Store the cookies in an airtight container at room temperature for up to 5 days. Place a sheet of parchment paper between layers to prevent them from sticking together. The cookies will soften slightly over time as the jam moistens the surrounding dough, but they’ll still taste great.
Freezer Instructions: You can freeze the baked cookies for up to 3 months. Place them in a single layer on a baking sheet and freeze until solid, then transfer to a freezer-safe bag or container. To thaw, let them sit at room temperature for about 30 minutes. You can also freeze the unbaked dough balls as I mentioned earlier—just bake them straight from frozen, adding 2 to 3 minutes to the bake time.
Reheating Tip: If you want warm cookies from the freezer, pop them in a 300°F (150°C) oven for 5 minutes. They’ll taste freshly baked. Avoid microwaving them, as it can make the cookies tough and the jam too hot.
Flavor Development: These cookies actually taste better the day after baking. The flavors meld together, and the jam softens the cookie just enough to create a perfect texture. If you can resist eating them all on day one, you’ll be rewarded on day two.
Nutritional Information & Benefits
Here’s the estimated nutritional breakdown for one cookie (based on 15 cookies per batch). Keep in mind that these numbers are approximate and can vary based on the specific brands and ingredients you use.
| Nutrient | Amount Per Cookie |
|---|---|
| Calories | 120 |
| Total Fat | 7g |
| Saturated Fat | 4g |
| Cholesterol | 25mg |
| Sodium | 45mg |
| Total Carbohydrates | 14g |
| Sugars | 7g |
| Protein | 1g |
Health Benefits: While these are definitely a treat, they do offer a few bright spots. The raspberry jam provides a small amount of antioxidants, particularly anthocyanins, which are linked to heart health and reduced inflammation. Almond extract, while used in small amounts, comes from almonds, which are a good source of vitamin E and healthy monounsaturated fats. The butter, in moderation, provides vitamin A and healthy fats that help with nutrient absorption.
Dietary Considerations: This recipe contains dairy (butter), eggs, and gluten (flour). For a dairy-free version, use vegan butter or coconut oil. For an egg-free version, use a flax egg as described in the variations section. For a gluten-free version, use a 1:1 gluten-free flour blend. The recipe is naturally vegetarian and can be made vegan with the substitutions mentioned.
My Personal Wellness Perspective: I believe in enjoying treats without guilt. These cookies are a small pleasure that fits into a balanced lifestyle. They’re not health food, but they’re made with real ingredients, and that counts for something. I’d rather have one or two of these homemade cookies than a handful of processed store-bought ones any day.
Conclusion
These Quick Raspberry Almond Thumbprint Cookies have become a staple in my kitchen for one simple reason: they deliver maximum flavor with minimum effort. In the time it takes to preheat the oven, you can have the dough mixed, shaped, and ready to bake. That’s the kind of recipe that saves a weeknight, and honestly, we all need more of those.
I love that this recipe doesn’t demand perfection. The cookies can be slightly uneven, the jam can bubble over the edges, and the indentations don’t have to be perfectly round. They’ll still taste incredible, and they’ll still make you feel like you accomplished something in the kitchen. There’s a freedom in that—a reminder that homemade doesn’t have to mean flawless.
I encourage you to make these your own. Try different jams, add spices, or skip the almonds if that’s your style. The recipe is forgiving enough to handle your creativity. And when you take that first bite—warm, buttery, with that burst of raspberry—you’ll understand why Frank’s grandmother’s recipe has been passed down through generations.
Have you made these cookies? I’d love to hear how they turned out. Leave a comment below and let me know what variations you tried. And if you’re looking for another quick weeknight treat, you should try my easy no-chill chocolate chip cookies—they follow the same fast, no-fuss philosophy. Happy baking, friends!
Frequently Asked Questions
Can I use salted butter instead of unsalted?
Yes, you can. Just reduce the added salt in the recipe to a tiny pinch or omit it entirely. Salted butter has varying amounts of salt depending on the brand, so the final cookies might be slightly saltier. I personally prefer unsalted butter because it gives me more control, but if salted is all you have, go for it.
Why did my cookies spread too much?
This usually happens when the butter is too warm or the dough is overmixed. Make sure your melted butter has cooled for a minute or two before adding the other ingredients. If your kitchen is particularly warm, you can chill the shaped dough balls for 10 minutes before baking. Also, be gentle when mixing the flour—stop as soon as it’s combined.
Can I use a different type of jam?
Absolutely. Any fruit jam works well here. Apricot, strawberry, blackberry, sour cherry, and even fig jam are all excellent choices. The key is to use a jam with a good fruit-to-sugar ratio—avoid jelly, which is too firm and won’t soften properly in the oven. If you’re using a very sweet jam, you might want to reduce the sugar in the dough by a tablespoon.
How do I prevent the jam from burning?
Raspberry jam has a high sugar content, which means it can burn if exposed to direct heat for too long. To prevent this, make sure the jam is fully enclosed in the cookie dough—the indentation should be deep enough that the jam sits below the top edge of the dough. Also, bake the cookies on the middle rack of the oven, not too close to the top heating element. If you notice the jam darkening too quickly, you can tent the baking sheet with foil for the last few minutes.
Can I make the dough ahead of time?
Yes, you can make the dough up to 2 days in advance. Wrap it tightly in plastic wrap and store it in the refrigerator. When you’re ready to bake, let the dough sit at room temperature for about 10 minutes to soften slightly before shaping. You can also freeze the shaped dough balls as described in the storage section—just bake them straight from frozen, adding 2 to 3 minutes to the bake time.
Pin This Recipe!
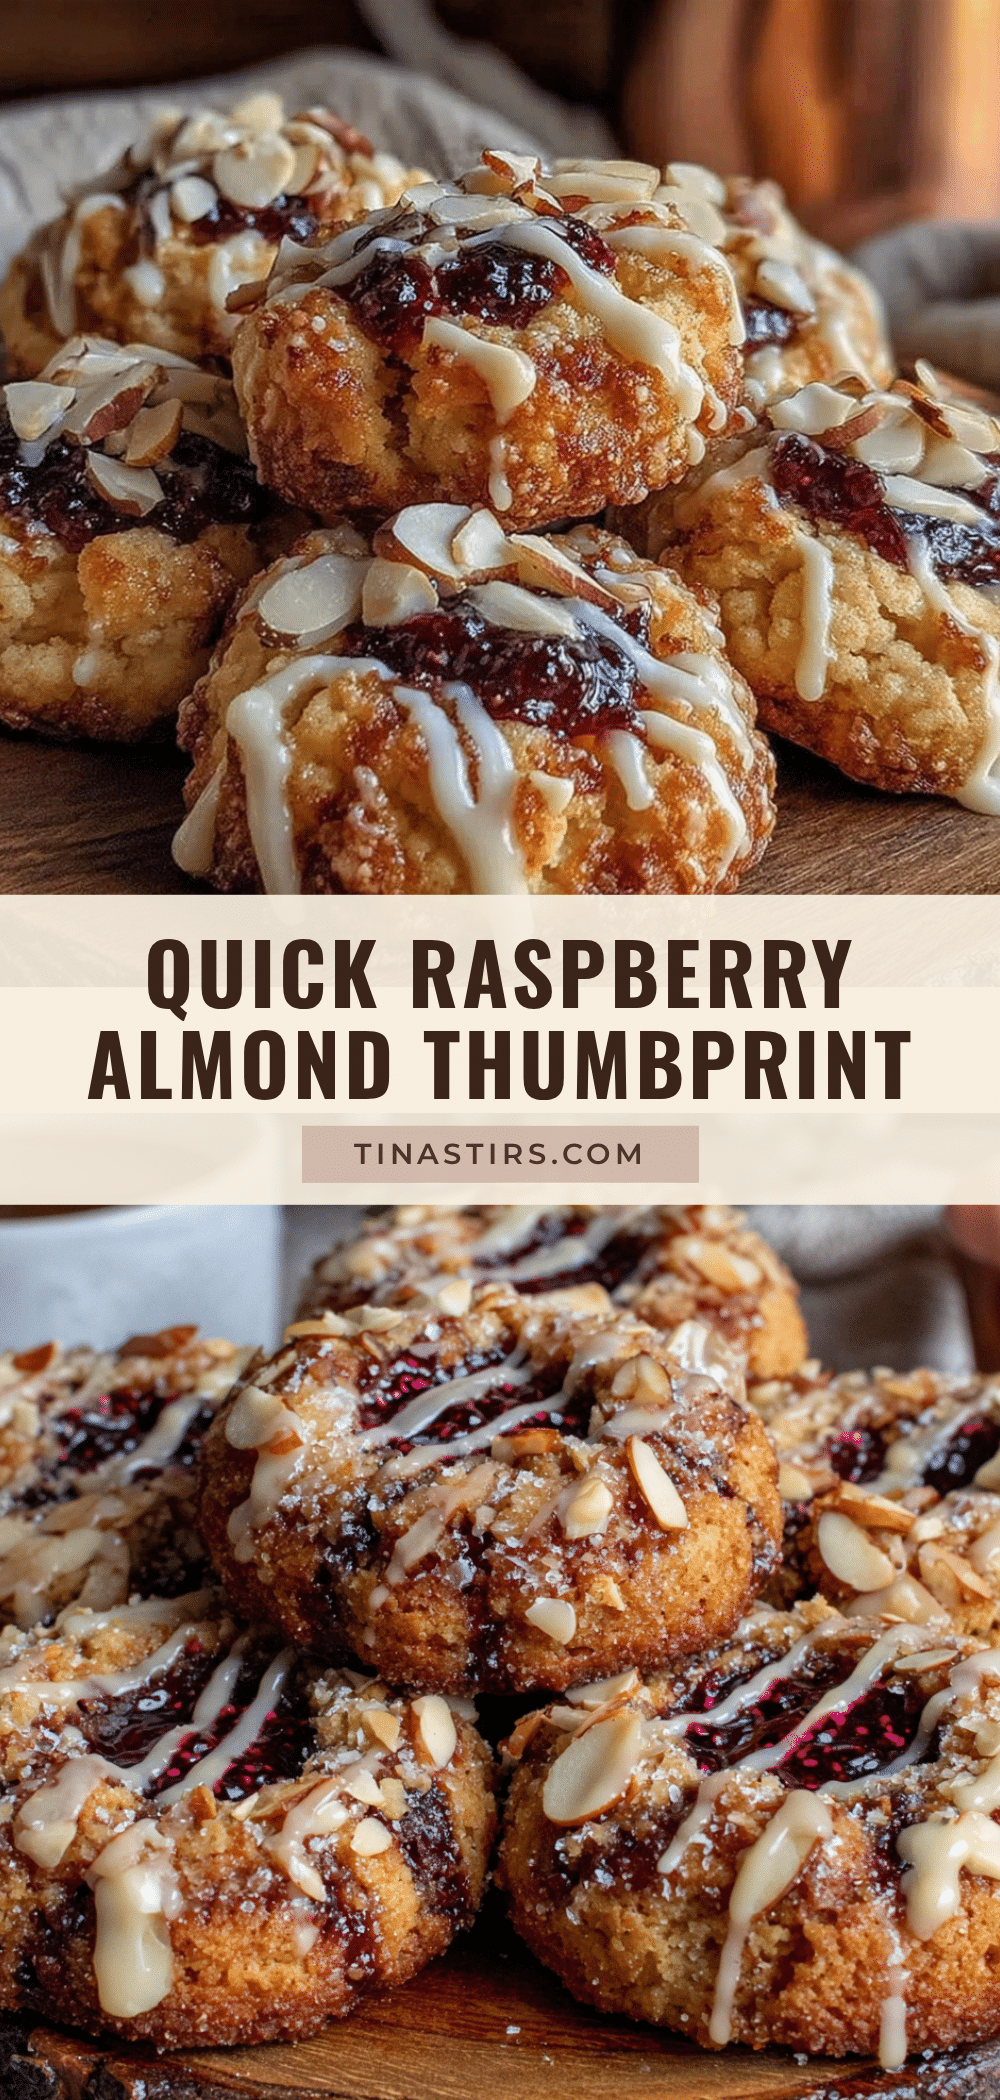
Best Quick Raspberry Almond Thumbprint Cookies Recipe

These Quick Raspberry Almond Thumbprint Cookies come together in one bowl with melted butter and store-bought jam, delivering warm, tender cookies in under 30 minutes. Perfect for weeknight baking when you need something homemade without the fuss.
- Prep Time: 15 minutes
- Cook Time: 12 minutes
- Total Time: 27 minutes
- Yield: 15 cookies 1x
- Category: Dessert
- Cuisine: American
Ingredients
- ½ cup (113g) unsalted butter, melted
- ⅓ cup (65g) granulated sugar
- 1 large egg yolk
- 1 teaspoon almond extract
- ½ teaspoon vanilla extract
- 1 cup (120g) all-purpose flour
- ¼ teaspoon salt
- ¼ cup (80g) raspberry jam
- 2 tablespoons sliced almonds (optional, for garnish)
Instructions
- Preheat your oven to 350°F (175°C). Line a baking sheet with parchment paper or a silicone mat.
- Melt the butter in a microwave-safe bowl in 20-second bursts, stirring between each, until just melted. Let it cool for a minute.
- In a medium mixing bowl, whisk together the melted butter, granulated sugar, egg yolk, almond extract, and vanilla extract until smooth and slightly thickened, about 30 seconds.
- Add the all-purpose flour and salt to the bowl. Use a rubber spatula to fold everything together until just combined. Do not overmix.
- Scoop out tablespoon-sized portions of dough (about 15g each) and roll into smooth balls. Place them on the prepared baking sheet, spacing about 2 inches apart.
- Use your thumb or the back of a ½ teaspoon measure to press a deep well into the center of each dough ball, pressing almost to the bottom but not all the way through.
- Spoon about ½ teaspoon of raspberry jam into each indentation. If using sliced almonds, press a few into the dough around the jam.
- Bake for 10 to 12 minutes, until the edges are lightly golden but the tops are still pale. The jam will be bubbly.
- Let the cookies cool on the baking sheet for 5 minutes, then transfer to a wire rack to cool completely.
Notes
Don’t overmix the dough to keep cookies tender. Use a light hand with the jam—½ teaspoon per cookie is ideal. For deeper indentations, chill shaped dough balls for 15 minutes before baking. Cookies can be frozen baked or unbaked. For unbaked, freeze dough balls on a sheet, then transfer to a bag; bake from frozen adding 2-3 minutes.
Nutrition
- Serving Size: 1 cookie
- Calories: 120
- Sugar: 7
- Sodium: 45
- Fat: 7
- Saturated Fat: 4
- Carbohydrates: 14
- Protein: 1
Keywords: thumbprint cookies, raspberry almond cookies, quick cookies, easy cookies, weeknight baking, no-chill cookies