Love this? Save it for later!
Share the inspiration with your friends
The church holiday bazaar was in eight hours and I’d completely forgotten I signed up for the dessert table. Everyone else would be bringing those elaborate multi-layer cakes with fancy piping, or those French pastries that take three days. I had a bag of sugar, a jar of marshmallow creme, and a rapidly sinking feeling in my stomach. My grandmother’s old recipe card was tucked into the back of my cookbook, stained and barely legible, but I remembered the gist of it. I mean, how hard could a stovetop fudge be?
Let me tell you, the panic was real. I was practically throwing ingredients into a pot, praying the sugar wouldn’t seize up. The kitchen timer was ticking, and I was stirring like a woman possessed. Maybe you’ve been there, that moment when you’re convinced you’ve bitten off more than you can chew. Honestly, I was ready to run to the store and buy a box of brownies to pass off as homemade. But something stopped me. My grandmother’s handwriting, maybe.
When that fudge came together, smooth and glossy, I knew I had something special. The real shock came at the bazaar. My simple, unassuming pan of fudge was completely gone within the first hour. People were actually asking me for the recipe. That’s the thing about this Classic Old-Fashioned Marshmallow Creme Fantasy Fudge—it doesn’t need fancy ingredients or complicated techniques. It just needs a little bit of patience and a whole lot of trust in the process. It’s the recipe that saved me that day, and it’s the one I keep coming back to, year after year.
Why You’ll Love This Recipe
This isn’t just another fudge recipe you’ll find online. This is the one that actually works, every single time, without any of the fuss. I’ve tested it more times than I can count, tweaking the boil time and the stirring technique until it was absolutely foolproof. It’s the kind of recipe that makes you look like a pro, even when you’re just a home cook in a hurry.
- Quick & Easy: Comes together in under 20 minutes on the stovetop. Perfect for those times you need a last-minute dessert for a holiday party or a teacher gift.
- Simple Ingredients: No fancy grocery trips needed. You likely already have sugar, butter, and chocolate chips in your pantry.
- Perfect for the Holidays: This fudge is the star of any cookie swap, Christmas Eve gathering, or Thanksgiving dessert table. It feels festive and special without the stress.
- Crowd-Pleaser: It always gets rave reviews from kids and adults alike. The texture is creamy, not grainy, and the flavor is pure, rich chocolate.
- Unbelievably Delicious: The secret is the marshmallow creme. It gives the fudge a silky, melt-in-your-mouth texture that boxed mixes just can’t replicate.
What makes this recipe different from the rest? It’s the technique. Most stovetop fudge recipes are finicky, prone to seizing or turning grainy if you look at them wrong. This one uses the marshmallow creme as a stabilizer, which means you get a perfect result every time. It’s comfort food reimagined—faster, simpler, but with the same soul-soothing satisfaction. Perfect for impressing guests without stress, or turning a simple evening into something memorable.
What Ingredients You Will Need
This recipe uses simple, wholesome ingredients to deliver that classic, creamy fudge texture without the fuss. Most of these are pantry staples, which is exactly what you want when a fudge craving hits.
For the Fudge Base
- Granulated Sugar – 3 cups (600g). This is the backbone of the fudge. Don’t substitute with brown sugar, as it will change the texture and flavor.
- Unsalted Butter – ¾ cup (1 ½ sticks, 170g). I always use unsalted so I can control the salt level. Cut it into pieces so it melts evenly.
- Evaporated Milk – ⅔ cup (160ml). This is not the same as sweetened condensed milk. It adds richness without making the fudge overly sweet. I recommend Carnation brand for consistent results.
- Semi-Sweet Chocolate Chips – 2 cups (340g). I prefer Ghirardelli or Guittard for their smooth melting quality. You can also use a good quality chocolate bar, chopped.
- Marshmallow Creme – 1 jar (7 oz or 198g). This is the magic ingredient. Brands like Jet-Puffed work perfectly. Do not substitute with mini marshmallows, as they don’t melt the same way.
- Vanilla Extract – 1 teaspoon (5ml). Pure vanilla extract is best. It enhances the chocolate flavor beautifully.
- Chopped Walnuts or Pecans – 1 cup (120g), optional. I love the crunch they add. Toast them lightly in a dry pan for extra flavor.
Ingredient Selection Tips
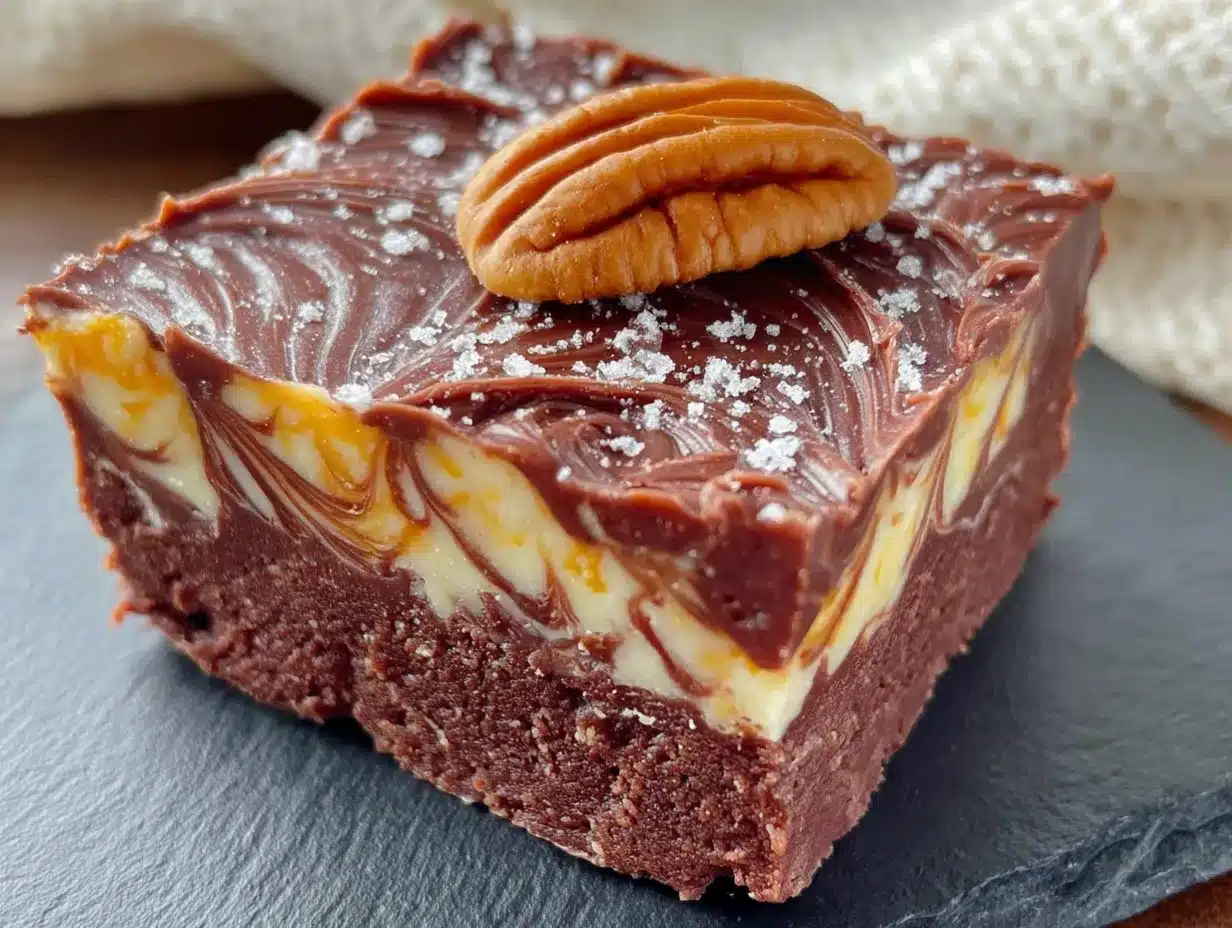
For the best texture, use a fresh jar of marshmallow creme. If it’s been sitting in your pantry for months, it can be too stiff to incorporate smoothly. Also, look for evaporated milk in the baking aisle—it’s often next to the sweetened condensed milk, so don’t grab the wrong one! If you’re in a pinch, you can use full-fat coconut milk (canned), but it will change the flavor profile slightly.
Equipment Needed
- Heavy-Bottomed Saucepan – A 3-quart or 4-quart saucepan is ideal. A heavy bottom prevents the sugar from burning. I use my trusty All-Clad for this.
- Candy Thermometer – This is non-negotiable for perfect fudge. You need to reach the softball stage (234°F or 112°C). A digital instant-read thermometer works great, too.
- Wooden Spoon or Silicone Spatula – A sturdy spoon is needed for stirring the hot mixture. Silicone is great because it won’t scratch your pan.
- 8×8-Inch Baking Pan – Line it with parchment paper, leaving some overhang. This makes lifting the fudge out a breeze.
- Measuring Cups and Spoons – For accuracy, especially with the evaporated milk.
- Mixing Bowl – For the chocolate chips and marshmallow creme.
If you don’t have a candy thermometer, you can use the cold water test. Drop a small amount of the hot syrup into a bowl of cold water. If it forms a soft ball that flattens when you pick it up, it’s ready. It takes some practice, but it works in a pinch. Budget-friendly tip: a basic candy thermometer costs less than $10 and will save you from ruined batches of fudge.
Preparation Method
- Prepare Your Pan: Line an 8×8-inch baking pan with parchment paper, leaving a 2-inch overhang on two sides. Spray the paper lightly with non-stick cooking spray. Set it aside.
- Combine Base Ingredients: In your heavy-bottomed saucepan, combine the 3 cups of granulated sugar, ¾ cup of unsalted butter, and ⅔ cup of evaporated milk. Stir them together over medium heat until the butter is completely melted and the mixture is smooth.
- Bring to a Boil: Increase the heat to medium-high and bring the mixture to a full, rolling boil. Stir constantly. This is important—if you stop stirring, the sugar can scorch on the bottom of the pan.
- Cook to Softball Stage: Once it’s boiling, attach your candy thermometer to the side of the pan. Continue to cook, stirring constantly, until the mixture reaches 234°F (112°C). This will take about 5 to 7 minutes. The mixture will be bubbling vigorously. Don’t walk away!
- Remove from Heat: As soon as the temperature hits 234°F, remove the pan from the heat. Do not let it go over 236°F, or your fudge will be dry and crumbly.
- Add Chocolate and Marshmallow: Immediately pour the hot mixture over the 2 cups of semi-sweet chocolate chips and the entire jar of marshmallow creme in a large mixing bowl. Do not stir yet! Let it sit for 2 to 3 minutes to allow the heat to melt the chocolate.
- Stir Until Smooth: After the rest, stir vigorously with a wooden spoon or spatula until the chocolate and marshmallow are completely melted and the mixture is smooth and glossy. This should take about 1 to 2 minutes. Add the 1 teaspoon of vanilla extract and stir to combine.
- Add Nuts (Optional): If you’re using nuts, fold in the 1 cup of chopped walnuts or pecans at this point. Stir just until they are evenly distributed.
- Pour and Set: Pour the fudge mixture into your prepared pan. Use a spatula to spread it evenly, but don’t overwork it. Let it cool at room temperature for about 2 hours, or until completely set. For cleaner slices, refrigerate for 1 hour before cutting.
- Cut and Serve: Once set, lift the fudge out of the pan using the parchment overhang. Place it on a cutting board and use a sharp chef’s knife to cut it into 1-inch squares. Wipe the knife clean between cuts for neat edges.
Cooking Tips & Techniques
Getting the perfect fudge texture is all about the temperature. I’ve had my share of failures—grainy fudge that tasted like sugary sand, and soft fudge that never set. The biggest lesson I learned? Humidity is the enemy. Don’t make fudge on a rainy day. The sugar absorbs moisture from the air and won’t set properly.
Another common mistake is stirring too early after adding the chocolate. Letting it sit for those 2 to 3 minutes is crucial. It allows the residual heat to melt the chocolate gently, preventing it from seizing. If you stir too soon, you can end up with a grainy texture.
For multitasking, get everything measured and ready before you start cooking. Fudge moves fast once it starts boiling. Have your chocolate chips and marshmallow creme in a bowl, your pan lined, and your nuts measured. This is not the time to be searching for a measuring cup.
If your fudge does end up grainy, don’t throw it away! You can crumble it over ice cream or use it as a mix-in for cookie dough. It’s still delicious, just not pretty. I speak from experience on that one.
Variations & Adaptations
This recipe is incredibly versatile. Here are a few ways to make it your own:
- Peppermint Bark Fudge: Add ½ teaspoon of peppermint extract along with the vanilla. Sprinkle crushed candy canes on top before the fudge sets. It’s a holiday classic.
- Rocky Road Fudge: Fold in 1 cup of mini marshmallows and ½ cup of chopped almonds along with the nuts. The marshmallows stay soft and create a fun texture.
- White Chocolate Cranberry Fudge: Swap the semi-sweet chips for 2 cups of white chocolate chips. Fold in ¾ cup of dried cranberries and ½ cup of chopped pistachios. It’s beautiful and tangy.
- Vegan Adaptation: Use a high-quality vegan butter, full-fat canned coconut milk instead of evaporated milk, and dairy-free chocolate chips. The texture will be slightly different but still delicious.
I once made a salted caramel version by adding ½ teaspoon of flaky sea salt on top. It was gone in minutes. Don’t be afraid to experiment!
Serving & Storage Suggestions
This fudge is best served at room temperature. It has a creamy, melt-in-your-mouth texture that gets a little too firm when chilled. For a pretty presentation, arrange the squares on a platter or in a festive tin lined with wax paper.
It pairs beautifully with a cup of hot coffee, a glass of cold milk, or even a scoop of vanilla ice cream. For a dessert board, arrange the fudge alongside fresh berries, shortbread cookies, and dark chocolate truffles.
For storage, keep the fudge in an airtight container at room temperature for up to 2 weeks. If you live in a warm climate, you can store it in the refrigerator, but let it sit out for 15 minutes before serving to soften. You can also freeze it for up to 3 months. Wrap the block tightly in plastic wrap, then in foil, and place it in a freezer bag. Thaw it overnight in the refrigerator before cutting.
The flavors actually develop over time. It’s even better the next day, once the chocolate and marshmallow have fully melded together. It’s a great make-ahead dessert for the holidays.
Nutritional Information & Benefits
Please note that these values are estimates and can vary based on specific brands and ingredient choices. Per 1-inch square (assuming 64 squares):
- Calories: 105
- Fat: 5g
- Saturated Fat: 3g
- Carbohydrates: 15g
- Sugar: 14g
- Protein: 1g
While this is definitely a treat, the walnuts (if used) provide a small amount of healthy omega-3 fatty acids. The dark chocolate also contains antioxidants. It’s a dessert meant for enjoyment, not daily consumption, so savor every bite! This recipe is naturally vegetarian. For gluten-free eaters, ensure your vanilla extract is certified gluten-free, as some brands use a grain-based alcohol.
Conclusion
This Classic Old-Fashioned Marshmallow Creme Fantasy Fudge is more than just a recipe—it’s a rescue mission in a pan. It’s the dessert that saved me from total embarrassment at that holiday bazaar, and it’s been a staple in my kitchen ever since. It’s simple, it’s forgiving, and it delivers that perfect, creamy fudge texture every single time.
I encourage you to make this your own. Add your favorite nuts, try a different extract, or keep it pure and simple. The beauty of this recipe is its flexibility. I really do hope you give it a try, especially during the holiday season. It’s the kind of fudge that brings people together, one sweet, chocolatey square at a time.
Let me know in the comments how yours turns out! Did you add anything fun? I’d love to hear about your variations. Happy cooking, and don’t forget to share this recipe with a friend who needs a little fudge in their life.
Frequently Asked Questions
Can I use mini marshmallows instead of marshmallow creme?
I wouldn’t recommend it. Marshmallow creme has a different consistency and melts more smoothly into the hot sugar mixture. Mini marshmallows can leave you with a grainy or uneven texture.
My fudge didn’t set. What went wrong?
This usually means the sugar mixture didn’t reach the correct temperature. Make sure your candy thermometer is accurate by testing it in boiling water (it should read 212°F at sea level). Also, don’t make fudge on a humid day.
Can I use a microwave instead of the stovetop?
This recipe is designed for the stovetop. The even, controlled heat is necessary to bring the sugar to the correct temperature without burning. I haven’t tested a microwave version that works as reliably.
How do I get clean, neat cuts on my fudge?
Use a sharp chef’s knife and wipe it clean with a damp paper towel between each cut. For the cleanest edges, chill the fudge in the refrigerator for an hour before slicing.
Can I double this recipe?
Yes, but you’ll need a larger pot (at least 6 quarts) to prevent the mixture from boiling over. The cooking time will also increase slightly. I recommend making two separate batches for the most consistent results.
Pin This Recipe!
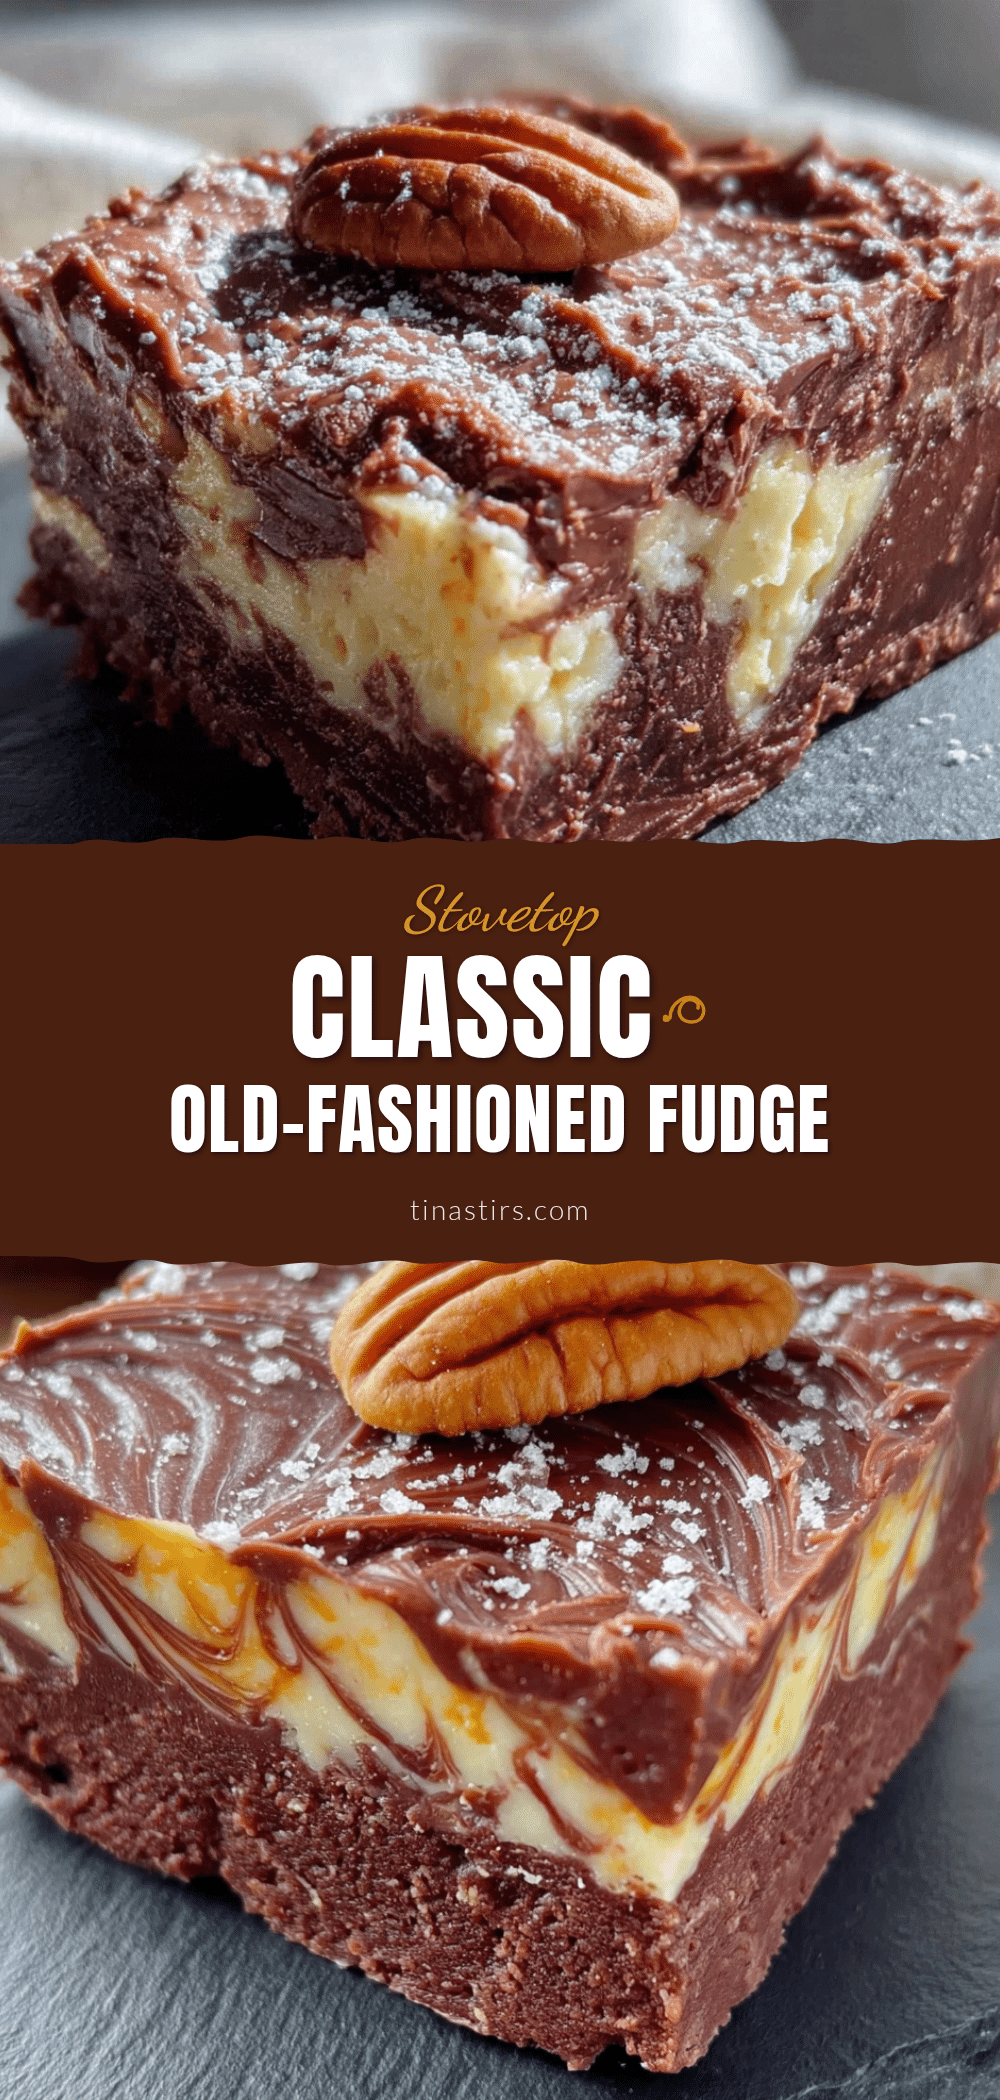
Classic Old-Fashioned Marshmallow Creme Fantasy Fudge Recipe

This foolproof stovetop fudge uses marshmallow creme for a silky, melt-in-your-mouth texture. It’s quick, easy, and perfect for holiday gatherings or last-minute desserts.
- Prep Time: 10 minutes
- Cook Time: 10 minutes
- Total Time: 20 minutes (plus 2 hours cooling)
- Yield: 64 servings (1-inch squares) 1x
- Category: Dessert
- Cuisine: American
Ingredients
- 3 cups (600g) granulated sugar
- ¾ cup (1½ sticks, 170g) unsalted butter, cut into pieces
- ⅔ cup (160ml) evaporated milk
- 2 cups (340g) semi-sweet chocolate chips
- 1 jar (7 oz or 198g) marshmallow creme
- 1 teaspoon (5ml) pure vanilla extract
- 1 cup (120g) chopped walnuts or pecans (optional)
Instructions
- Line an 8×8-inch baking pan with parchment paper, leaving a 2-inch overhang on two sides. Spray lightly with non-stick cooking spray. Set aside.
- In a heavy-bottomed saucepan, combine sugar, butter, and evaporated milk. Stir over medium heat until butter is melted and mixture is smooth.
- Increase heat to medium-high and bring to a full, rolling boil, stirring constantly.
- Attach a candy thermometer and cook, stirring constantly, until mixture reaches 234°F (112°C), about 5 to 7 minutes. Do not exceed 236°F.
- Remove from heat immediately. Pour hot mixture over chocolate chips and marshmallow creme in a large mixing bowl. Do not stir; let sit for 2 to 3 minutes.
- Stir vigorously with a wooden spoon or silicone spatula until chocolate and marshmallow are completely melted and mixture is smooth and glossy, about 1 to 2 minutes. Stir in vanilla extract.
- If using nuts, fold in chopped walnuts or pecans until evenly distributed.
- Pour fudge into prepared pan and spread evenly. Let cool at room temperature for about 2 hours, or until completely set. For cleaner slices, refrigerate for 1 hour before cutting.
- Lift fudge out of pan using parchment overhang. Place on a cutting board and cut into 1-inch squares with a sharp knife, wiping blade clean between cuts.
Notes
Do not make fudge on a humid day, as sugar absorbs moisture and may not set properly. Let the hot mixture sit over chocolate and marshmallow creme for 2-3 minutes before stirring to prevent graininess. For best results, use a fresh jar of marshmallow creme. If fudge turns out grainy, crumble over ice cream or use as a cookie mix-in.
Nutrition
- Serving Size: 1 square (1-inch)
- Calories: 105
- Sugar: 14
- Fat: 5
- Saturated Fat: 3
- Carbohydrates: 15
- Protein: 1
Keywords: fudge, marshmallow creme, chocolate fudge, holiday dessert, stovetop fudge, easy fudge, old-fashioned fudge