Love this? Save it for later!
Share the inspiration with your friends
I wasn’t expecting to get cooking advice from my accountant, but there I was, knee-deep in tax receipts on a rainy November afternoon, listening to Frank describe exactly how to make the perfect Christmas bark. He was supposed to be explaining deductions, but instead he was telling me about the year his wife was in the hospital and he needed to make gifts for the nursing staff. “Crush the candy canes in the bag with a rolling pin,” he said, “and don’t you dare use cheap chocolate.” I scribbled his instructions on the back of an envelope between spreadsheets. Honestly, I almost laughed at the image of this quiet, numbers-obsessed man covered in chocolate shards. But let me tell you, that first batch I made in my messy kitchen, with peppermint dust everywhere and the dog licking the floor, was the best Christmas bark I’d ever tasted. The way the cool mint hits the sweet white chocolate, with those satisfying crunchy bits of candy cane—it’s simple, sure, but it’s the kind of thing that makes people close their eyes after the first bite. Maybe you’ve been there, staring at a list of complicated holiday recipes and thinking, “I just need something that works.” This is it. I’ve been making Frank’s bark every December for the past six years, and it never fails to disappear at parties.
Why You’ll Love This Recipe
Look, I’ve tested a lot of Christmas bark recipes over the years. Some turn out greasy, some are too sweet, and some just look sad on the platter. This one is different. It’s the kind of recipe that makes you look like a hero without actually doing much work. Here’s why it works:
- Quick & Easy: From start to finish, this bark comes together in about 20 minutes of active time. You’re mostly waiting for chocolate to set in the fridge. Perfect for those last-minute holiday cravings or when you realize you need a hostess gift in an hour.
- Simple Ingredients: You only need three main ingredients: white chocolate, peppermint extract, and candy canes. No fancy grocery trips needed. I bet you already have most of this in your kitchen right now.
- Perfect for Gifting: This is the ultimate homemade gift. It looks stunning wrapped in a cellophane bag with a red ribbon, and it travels well. I’ve shipped boxes of this to family across the country without a single broken piece.
- Crowd-Pleaser: Kids love the crunch and sweetness, adults appreciate the nostalgic peppermint flavor. It’s the first thing to disappear at every cookie swap I’ve ever brought it to.
- Unbelievably Delicious: The texture combo is next-level. You get the creamy, smooth white chocolate, the cool burst of peppermint, and those satisfying crunchy bits of candy cane. It’s comfort food reimagined for the holidays.
What makes this recipe different from the rest? It’s the little things I’ve learned from making it year after year. The trick of tempering the chocolate just enough so it snaps cleanly. The ratio of peppermint extract that gives you flavor without making it taste like toothpaste. And the way I crush the candy canes—not too fine, not too chunky—so every bite has the perfect crunch. This isn’t just another version of Christmas bark. This is the one you’ll come back to every single year.
What Ingredients You Will Need
This recipe uses simple, wholesome ingredients to deliver bold flavor and satisfying texture without the fuss. The beauty of this bark is that you probably already have most of these items in your pantry during the holiday season. Here’s what you’ll need and why each ingredient matters:
- White Chocolate Chips or Bars (24 ounces / 680 grams): This is the foundation of your bark, so don’t skimp here. I recommend Ghirardelli or Guittard white chocolate chips for the smoothest melt and creamiest texture. Avoid generic white chips that contain vegetable oils—they won’t set properly and can turn greasy. If you’re using white chocolate bars, chop them into small, uniform pieces so they melt evenly. (Trust me, I learned this the hard way after a batch of lumpy, seizing chocolate.)
- Peppermint Extract (1 teaspoon): This is where the magic happens. Pure peppermint extract gives you that clean, cool flavor without any artificial aftertaste. I prefer Nielsen-Massey or Simply Organic brands. Do not use peppermint oil—it’s too concentrated and can make your bark taste like mouthwash. One teaspoon is the sweet spot; any more and it gets overpowering. (Pro tip: taste your chocolate mixture before pouring it onto the baking sheet. You can always add a tiny bit more, but you can’t take it out.)
- Candy Canes or Peppermint Candies (1 cup crushed / about 8-10 full-sized candy canes): These provide the signature crunch and visual appeal. Classic red-and-white striped candy canes work best for that festive look. Avoid the tiny pre-crushed peppermint pieces you find in jars—they’re often too fine and don’t give you that satisfying crunch. You want some larger shards and some finer dust. (More on my crushing technique in the tips section.)
- Optional: Crushed Peppermint Candies (1/4 cup for topping): I like to sprinkle a little extra on top right after pouring the chocolate for a more dramatic presentation. It makes the bark look like it’s dusted with snow.
- Optional: Sea Salt Flakes (1/2 teaspoon): This is my secret weapon. A light sprinkle of flaky sea salt—like Maldon—balances the sweetness and makes the peppermint flavor pop. It’s not traditional, but it’s the detail that makes people ask, “What did you put in this?”
Substitution Guidance: For a dairy-free version, use high-quality dairy-free white chocolate. I’ve had good results with the Enjoy Life brand. For a gluten-free option, double-check your candy canes—most are naturally gluten-free, but some brands use wheat-based stabilizers. Look for certified gluten-free labels if that’s a concern.
Equipment Needed
You don’t need a fancy kitchen to make this bark. Here’s what you’ll need:
- Baking Sheet (13×18 inches or similar): A rimmed baking sheet works best to contain the melted chocolate. I use my trusty Nordic Ware sheet that’s seen better days but still does the job perfectly.
- Parchment Paper or Silicone Baking Mat: This is non-negotiable. Without it, your bark will stick to the pan and you’ll end up with a mess. I prefer parchment paper because it’s easier to lift the bark off later.
- Medium-Sized Saucepan or Double Boiler: For melting the chocolate gently. If you don’t have a double boiler, a heatproof bowl set over a pot of simmering water works great. (Just make sure the bowl doesn’t touch the water.)
- Rubber Spatula: For stirring and spreading the chocolate. A silicone spatula is ideal because it won’t scratch your bowl.
- Rolling Pin or Meat Mallet: For crushing the candy canes. A rolling pin is my go-to, but a heavy-bottomed skillet works in a pinch.
- Ziploc Bag: Put your candy canes inside the bag before crushing to contain the mess. Trust me on this one.
- Wire Rack: Optional, but helpful for cooling the bark evenly.
Budget-Friendly Tip: If you don’t have a double boiler, use the microwave. Melt the white chocolate in 30-second intervals at 50% power, stirring between each interval. It’s faster and requires no special equipment.
Preparation Method
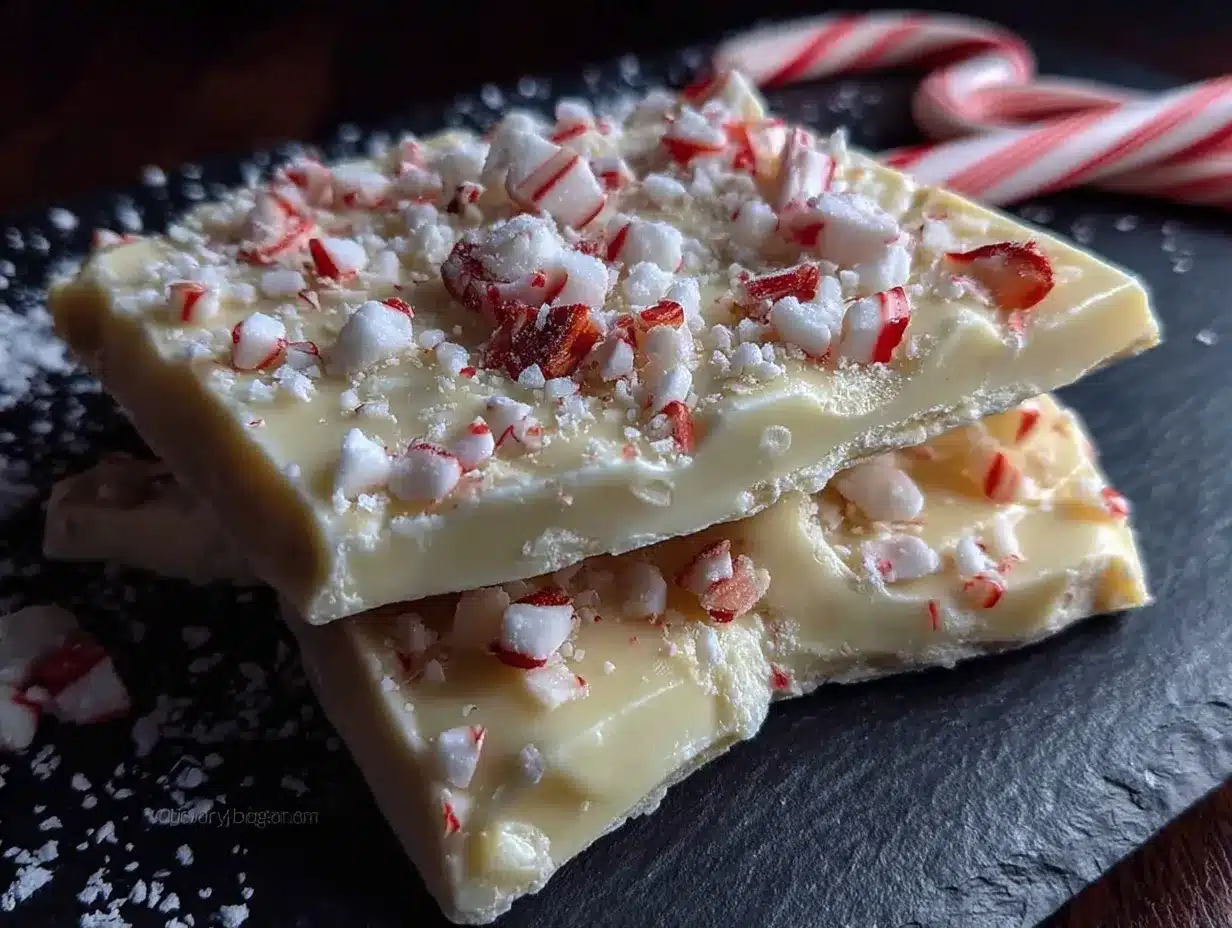
Here’s the step-by-step process for making the perfect Classic Peppermint White Chocolate Christmas Bark. Take your time with the chocolate melting—it’s the most important step.
- Prep your workspace (5 minutes): Line your baking sheet with parchment paper, making sure the paper extends up the sides slightly. This makes it easier to lift the bark out later. Crush your candy canes: place them in a Ziploc bag, seal it tight, and whack them with a rolling pin until you have a mix of fine dust and small shards. Aim for pieces about the size of a pea—not too big, not too small. Set aside 1/4 cup for topping.
- Melt the white chocolate (10 minutes): Fill a medium saucepan with about 2 inches of water and bring it to a gentle simmer. Place your white chocolate in a heatproof bowl and set it over the saucepan. The bowl should not touch the water. Stir the chocolate gently with your rubber spatula as it melts. White chocolate is finicky—it can seize and turn grainy if overheated. Remove it from the heat when about 75% of the chips are melted, then keep stirring until the residual heat melts the rest. (I once walked away for “just a second” and came back to a bowl of burnt, lumpy chocolate. Don’t be like me.)
- Add the peppermint extract (1 minute): Once your chocolate is smooth and fully melted, remove the bowl from the heat. Stir in the peppermint extract. Mix well until it’s fully incorporated. Give it a quick taste—if you want more peppermint kick, add another 1/4 teaspoon, but be careful not to overdo it.
- Pour and spread (3 minutes): Pour the melted white chocolate onto the center of your prepared baking sheet. Use your rubber spatula to spread it into an even layer, about 1/4 inch thick. Don’t worry about making it perfect—the rustic, uneven edges are part of the charm. Work quickly because white chocolate starts to set fast.
- Add the toppings (2 minutes): While the chocolate is still wet, sprinkle the crushed candy canes evenly over the surface. Press them in gently with your fingers or the spatula so they stick. If you’re using sea salt, sprinkle it lightly over the top now. The salt flecks should be visible but not clumped together.
- Set the bark (30-60 minutes): Place the baking sheet in the refrigerator for at least 30 minutes, or until the chocolate is completely firm and set. If you’re in a hurry, you can pop it in the freezer for 15 minutes, but watch it carefully—white chocolate can develop condensation if it gets too cold too fast.
- Break into pieces (5 minutes): Once the bark is fully set, lift the parchment paper out of the baking sheet. Place it on a cutting board. Use your hands to break the bark into irregular pieces. Don’t use a knife—the jagged, natural edges look more appealing. Aim for pieces about 2-3 inches across. If the bark cracks cleanly, you’ve tempered the chocolate perfectly.
- Final touch (optional): If you want a more polished look, drizzle a little melted dark chocolate over the top before breaking. It adds a beautiful contrast and an extra layer of flavor.
Cooking Tips & Techniques
After making this bark more times than I can count, I’ve picked up a few tricks that make a real difference. Let me share them so you don’t have to learn the hard way.
The Chocolate Melting Mistake I Made Twice: White chocolate is more delicate than dark or milk chocolate. It hates high heat. I once tried to melt it directly in a saucepan on the stovetop—big mistake. It scorched in seconds and turned into a grainy, unusable mess. Always use a double boiler or microwave at low power. And never, ever let water touch the chocolate. Even a single drop can cause it to seize up into a stiff, lumpy paste. If that happens, you can sometimes rescue it by stirring in a tablespoon of vegetable oil, but honestly, it’s better to start over.
The Perfect Crush: The size of your candy cane pieces matters more than you’d think. Too fine, and they dissolve into the chocolate, leaving no crunch. Too big, and they’re a choking hazard and fall off the bark. I aim for a mix of textures: some fine dust for flavor, some small shards for crunch. The rolling pin method in a Ziploc bag gives you the most control. I’ve also used a food processor with the pulse setting—just be careful not to overdo it.
Timing and Multitasking: This recipe moves fast once the chocolate is melted, so have everything ready before you start. Crush your candy canes first. Line your baking sheet. Measure your extract. The actual hands-on time is about 10 minutes, but you’ll be grateful for the prep if you’re juggling multiple holiday tasks. I usually make this while the turkey is resting on Thanksgiving or while I’m waiting for cookies to cool.
Consistency Is Key: If your bark is too thick, it’s hard to bite into. Too thin, and it breaks into tiny shards. Aim for about 1/4 inch thickness. I use the back of my spatula to spread it evenly, and I don’t worry about getting it perfect. The uneven edges are part of the homemade charm.
Variations & Adaptations
One of the best things about this bark is how easy it is to customize. Here are some variations I’ve tried and loved:
- Dark Chocolate & Peppermint Bark: Swap the white chocolate for high-quality dark chocolate (70% cacao works beautifully). The bitterness of the dark chocolate balances the sweetness of the candy canes perfectly. This is my husband’s favorite version—he says it tastes more “grown-up.”
- Mint Chocolate Chip Bark: Fold in 1/2 cup of mini chocolate chips into the melted white chocolate before spreading. The little pockets of dark chocolate against the white base look gorgeous and taste amazing. I did this accidentally one year when I grabbed the wrong bag from the pantry, and it turned out to be a happy mistake.
- Gluten-Free & Vegan Option: Use dairy-free white chocolate (I like the Enjoy Life brand) and ensure your candy canes are certified gluten-free. Everything else in the recipe is naturally gluten-free. This version works great for holiday parties with mixed dietary needs.
- Spiced Holiday Bark: Add 1/2 teaspoon of ground cinnamon and 1/4 teaspoon of nutmeg to the melted chocolate along with the peppermint extract. The warm spices add a cozy depth that’s perfect for cold winter nights. I tried this on a whim last December and it was a hit at my book club meeting.
- Cookie Crunch Bark: Sprinkle crushed gingerbread cookies or shortbread cookies over the chocolate along with the candy canes. The buttery cookie bits add another layer of texture and flavor. This is my go-to when I have leftover holiday cookies that are getting stale.
Serving & Storage Suggestions
This bark is incredibly versatile when it comes to serving. Here’s how to make the most of it:
Serving Temperature & Presentation: Serve the bark at room temperature. If it’s been in the fridge, let it sit out for 10-15 minutes before serving to take the chill off. Arrange the pieces on a festive platter or in a decorative tin. For gift-giving, stack pieces in a cellophane bag tied with a red ribbon, or layer them in a mason jar with a handwritten tag. I like to include a note that says, “Crushed by hand with love.”
Complementary Dishes & Beverages: This bark pairs beautifully with a cup of hot cocoa, a peppermint mocha, or a strong cup of black coffee. The sweetness of the white chocolate contrasts nicely with the bitterness of coffee. For a dessert spread, serve it alongside sugar cookies, gingerbread, and a cheese board with sharp cheddar and dried fruits.
Storage Instructions: Store the bark in an airtight container at room temperature for up to 2 weeks. If your kitchen is warm, you can refrigerate it, but let it come to room temperature before serving to prevent condensation. Do not freeze this bark—the texture of the white chocolate can change, and the candy canes can become sticky. I learned this the hard way when I tried to make a big batch in advance and ended up with a sad, sweaty mess.
How Flavors Develop: The peppermint flavor will mellow slightly after a day or two, which some people actually prefer. If you want a stronger mint kick, add an extra 1/4 teaspoon of extract. The bark is at its best within the first week, but it’s still delicious after 10 days.
Nutritional Information & Benefits
Let’s be real—this is a treat, not a health food. But here’s a rough breakdown of what you’re getting per serving (about 2 ounces, or 1/12 of the recipe):
- Calories: Approximately 280-320
- Fat: 16-18 grams
- Carbohydrates: 32-36 grams
- Sugar: 28-32 grams
- Protein: 3-4 grams
Health Benefits of Key Ingredients: White chocolate contains calcium from milk solids, which supports bone health. Peppermint has been used for centuries to aid digestion and freshen breath—so technically, this bark is a digestive aid! (I’m only half joking.) Candy canes are mostly sugar, but they do provide a quick energy boost when you’re wrapping presents at 11 PM.
Dietary Considerations: This recipe is vegetarian and can be made dairy-free and gluten-free with the substitutions mentioned above. It is not vegan-friendly unless you use dairy-free white chocolate. It contains dairy and may contain traces of nuts depending on the chocolate brand you choose. Always check labels if you’re serving someone with allergies.
My Personal Wellness Perspective: I believe in enjoying treats in moderation, especially during the holidays. This bark is meant to be shared, not hoarded. One or two pieces after a meal is plenty. And honestly, the joy of giving homemade gifts has its own health benefits—lower stress, stronger connections, and a happy heart.
Conclusion
This Classic Peppermint White Chocolate Christmas Bark is more than just a recipe—it’s a little piece of holiday magic that takes almost no effort to create. It’s the kind of thing that makes you feel like a kitchen wizard, even if you’re just melting chocolate and crushing candy canes. I love this recipe because it’s forgiving, adaptable, and always brings smiles. Every time I break that first piece and hear the satisfying snap, I think of Frank, my accountant, and the unexpected gift of his story.
I’d love to hear how your bark turns out. Did you add your own twist? Did it survive the holiday chaos? Leave a comment below and share your experience. And if you’re looking for more easy holiday treats, try our crispy garlic chicken for a savory break from all the sweets, or check out our chewy gingerbread cookies for another classic Christmas favorite. Happy holidays, and happy crunching!
Frequently Asked Questions
Can I use white chocolate chips instead of white chocolate bars?
Yes, you can. I actually prefer high-quality white chocolate chips from brands like Ghirardelli or Guittard because they melt smoothly. Just avoid generic chips that contain vegetable oils—they won’t set as firmly and can leave a greasy feel in your mouth.
Why did my white chocolate seize up and turn grainy?
This happens when white chocolate gets too hot or comes into contact with water. Use a double boiler or microwave at 50% power in 30-second intervals. If your chocolate seizes, you can try stirring in a tablespoon of vegetable oil or coconut oil to smooth it out, but it’s often better to start fresh.
How long does this Christmas bark last?
Stored in an airtight container at room temperature, it stays fresh for up to 2 weeks. If your kitchen is warm, you can refrigerate it, but let it come to room temperature before serving to avoid condensation. I don’t recommend freezing it—the texture changes.
Can I use peppermint oil instead of peppermint extract?
I don’t recommend it. Peppermint oil is much more concentrated and can easily overpower the bark, making it taste like toothpaste. Stick with pure peppermint extract for the best, most balanced flavor. Start with 1 teaspoon and adjust to taste.
How do I get clean, even breaks in my bark?
The key is letting the chocolate set completely—at least 30 minutes in the fridge. Once it’s firm, lift it out of the pan using the parchment paper and break it with your hands over a cutting board. The natural, jagged edges look more appealing than cut pieces. If you want neater squares, use a sharp chef’s knife to score the chocolate while it’s still slightly soft.
Pin This Recipe!
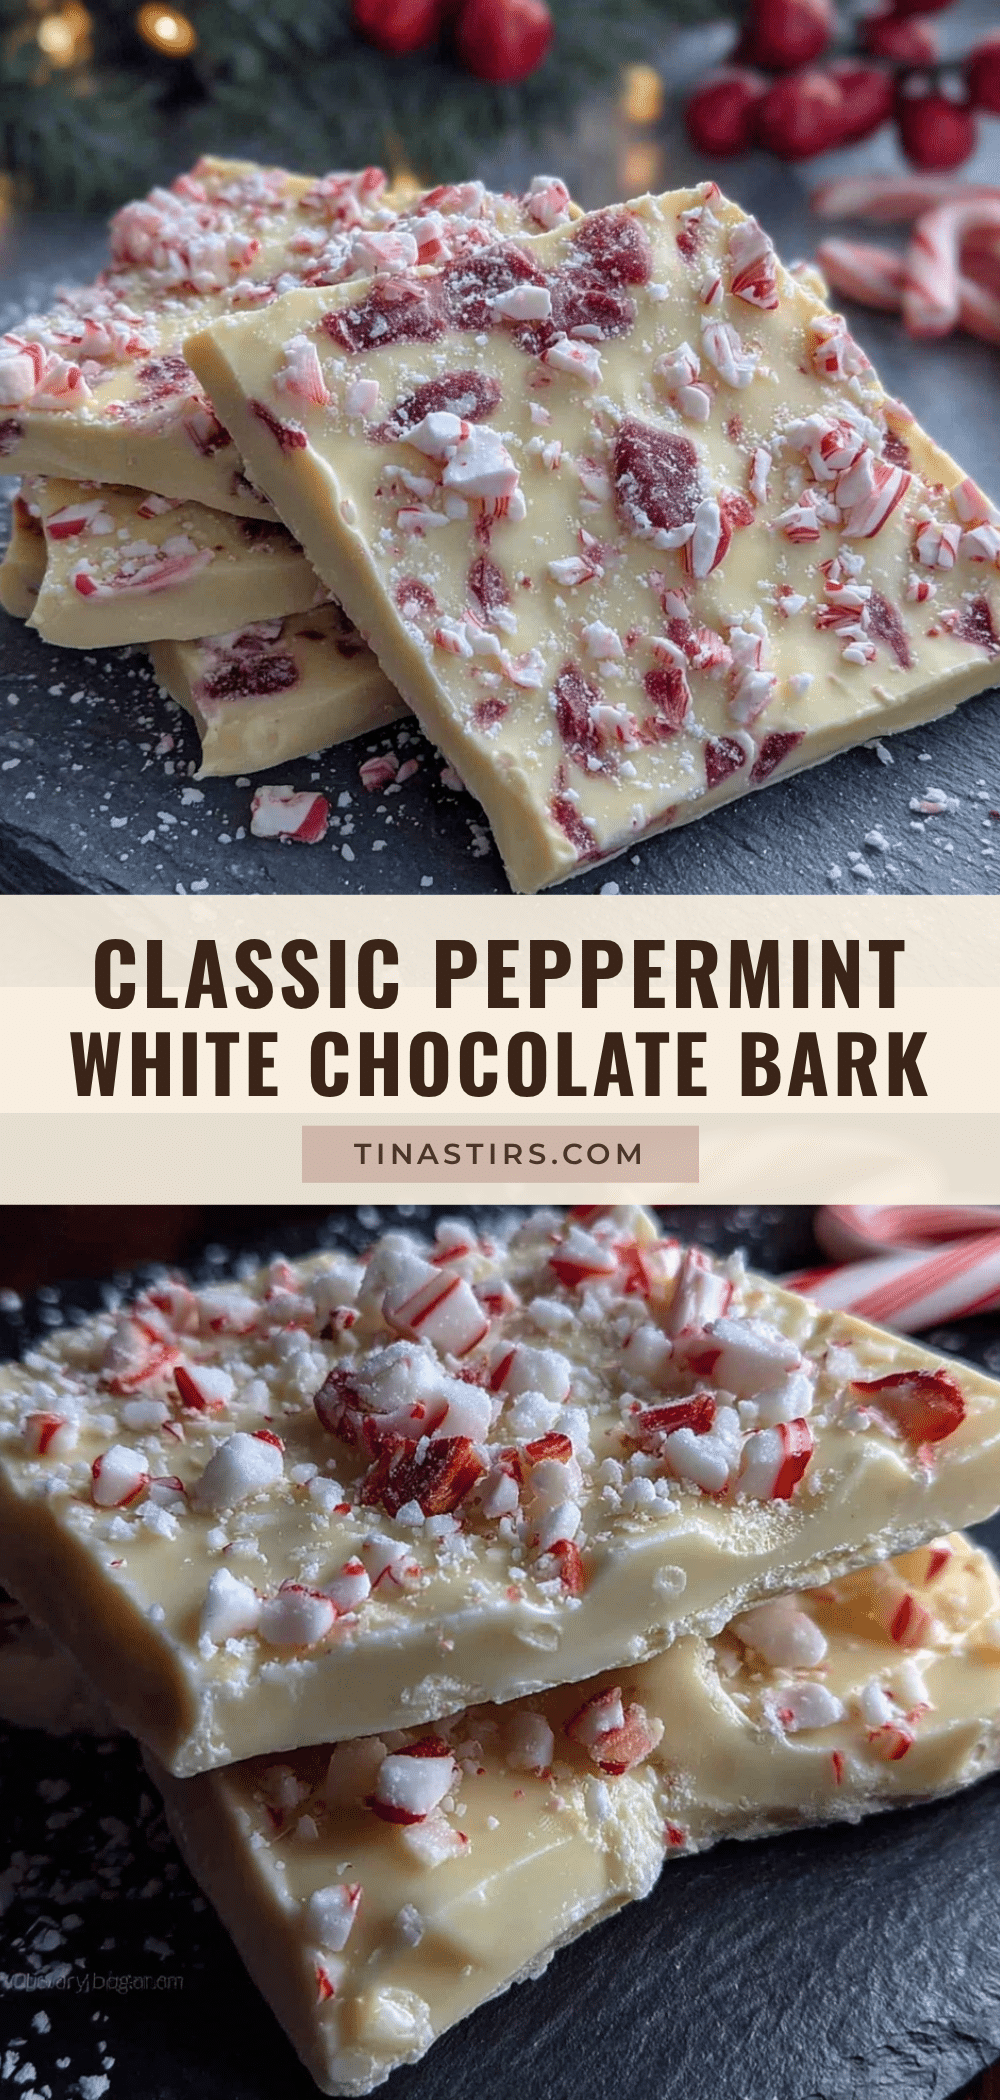
Classic Peppermint White Chocolate Christmas Bark (Easy Homemade Gift)

This easy Christmas bark combines creamy white chocolate with cool peppermint and crunchy candy cane pieces. It’s the perfect last-minute homemade gift that looks stunning and tastes amazing.
- Prep Time: 20 minutes
- Cook Time: 0 minutes
- Total Time: 50 minutes (including chilling)
- Yield: 12 servings 1x
- Category: Dessert
- Cuisine: American
Ingredients
- 24 ounces (680 grams) white chocolate chips or bars (e.g., Ghirardelli or Guittard)
- 1 teaspoon pure peppermint extract
- 1 cup crushed candy canes or peppermint candies (about 8–10 full-sized candy canes)
- 1/4 cup crushed peppermint candies (optional, for topping)
- 1/2 teaspoon flaky sea salt (optional, e.g., Maldon)
Instructions
- Line a 13×18-inch baking sheet with parchment paper, letting it extend up the sides slightly. Crush candy canes in a sealed Ziploc bag with a rolling pin until you have a mix of fine dust and small shards (pea-sized pieces). Set aside 1/4 cup for topping.
- Fill a medium saucepan with about 2 inches of water and bring to a gentle simmer. Place white chocolate in a heatproof bowl and set over the saucepan (bowl should not touch water). Stir gently until about 75% of the chips are melted, then remove from heat and stir until fully melted and smooth.
- Remove bowl from heat and stir in peppermint extract until well combined. Taste and add up to 1/4 teaspoon more if desired.
- Pour melted white chocolate onto the center of the prepared baking sheet. Use a rubber spatula to spread into an even layer about 1/4 inch thick.
- While chocolate is still wet, sprinkle crushed candy canes evenly over the surface. Press gently with fingers or spatula to adhere. If using, sprinkle sea salt flakes lightly over the top.
- Refrigerate for at least 30 minutes, or until chocolate is completely firm and set. (For faster setting, freeze for 15 minutes, but watch carefully to avoid condensation.)
- Once set, lift parchment paper out of the baking sheet and place on a cutting board. Use hands to break bark into irregular pieces about 2-3 inches across.
- Optional: Drizzle melted dark chocolate over the top before breaking for a more polished look.
Notes
White chocolate is delicate; avoid overheating and keep water away from it. For dairy-free, use high-quality dairy-free white chocolate. For gluten-free, ensure candy canes are certified gluten-free. Store in an airtight container at room temperature for up to 2 weeks. Do not freeze.
Nutrition
- Serving Size: 2 ounces (about 1/12
- Calories: 300
- Sugar: 30
- Sodium: 80
- Fat: 17
- Saturated Fat: 10
- Carbohydrates: 34
- Protein: 3.5
Keywords: Christmas bark, peppermint bark, white chocolate bark, easy holiday gift, homemade candy, candy cane bark