Love this? Save it for later!
Share the inspiration with your friends
This was supposed to be a pumpkin loaf. A simple, no-fuss pumpkin loaf that I could slice up for a weekend brunch. But somewhere between measuring the flour and realizing my loaf pan was still at my sister’s house from the last time I baked for her kids, the plan fell apart. I stood there, staring at a bowl of beautiful pumpkin batter, and just felt… defeated. My oven was preheated, my counter was a mess, and I was already running late for a coffee date. The thought of washing another pan or waiting for a different recipe felt like too much.
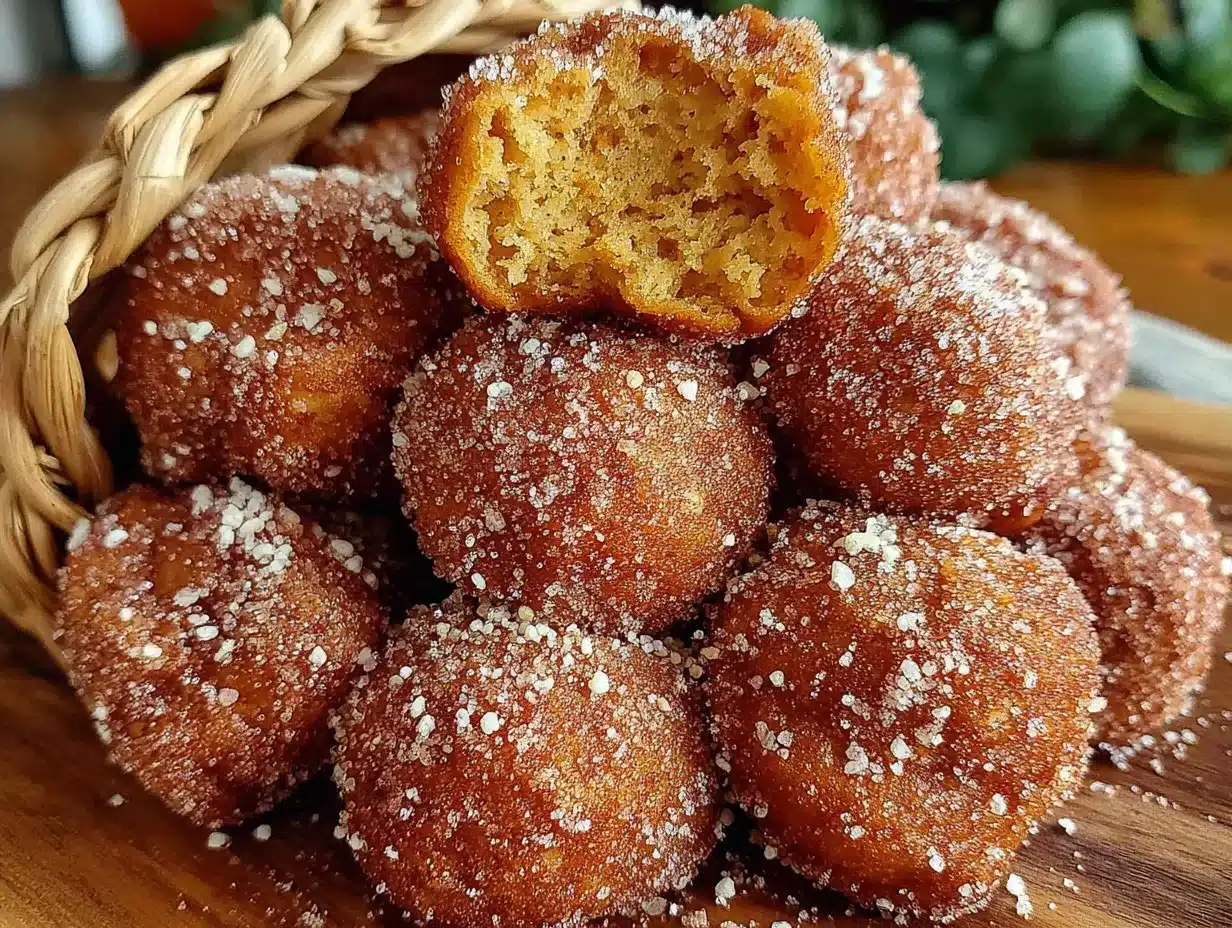
So, I did what any reasonable person would do when faced with a baking crisis. I grabbed my mini muffin tin. Honestly, I wasn’t even sure if it would work. I just greased the tiny cups, filled them to the brim, and popped them in the oven. I figured I’d have some weird, flat pumpkin pucks. When the timer went off, I opened the oven door, and there they were: perfect little domes of pumpkin bliss, golden brown and smelling like everything good about autumn. I let them cool for maybe three minutes before I tossed them in cinnamon sugar.
That first bite was a revelation. The outside was slightly crisp from the sugar, and the inside was so soft and tender, almost like a little cake. I mean, I actually laughed out loud. My failed loaf turned into something so much better—bite-sized, perfectly spiced, and dangerously easy to pop in your mouth. I’ve made them every week since that day, and they’ve become my go-to for fall mornings, cozy gatherings, and even holiday brunch tables. If you’ve ever had a baking plan go sideways, you know that feeling when something unexpected turns out to be the best thing you’ve ever made. These Baked Pumpkin Spice Donut Holes with Cinnamon Sugar are exactly that.
Why You’ll Love This Recipe
I have tested this recipe more times than I care to admit. I have tried different flours, different amounts of pumpkin, and even different spice blends. What I am sharing with you is the version that works every single time. It is the one that my neighbor, who claims she “doesn’t bake,” has made three times this month. That is the kind of trust and authority I want you to feel when you make these.
- Quick & Easy: From start to finish, these donut holes are ready in about 25 minutes. No yeast, no proofing, no deep frying. Just mix, bake, and roll.
- Simple Ingredients: You probably have most of these in your pantry right now. Canned pumpkin puree, flour, sugar, eggs, and a few warm spices. No fancy trips to a specialty store.
- Perfect for Fall Gatherings: Whether it is a cozy Sunday morning, a Halloween party, or a Thanksgiving dessert table, these little bites fit right in. They are also fantastic for a simple afternoon treat with a cup of coffee.
- Crowd-Pleaser: I have yet to meet someone who doesn’t love these. Kids go crazy for them, and adults appreciate that they aren’t overly sweet. They just hit that perfect spot.
- Unbelievably Delicious: The texture is the real star here. They are soft, almost like a mini muffin, but the cinnamon sugar coating gives them that classic donut shop feel. It is comfort food at its finest, without the guilt of deep frying.
What makes this recipe different from the dozens of other pumpkin donut recipes out there? It is the balance. The pumpkin keeps them incredibly moist, but the spice blend is warm and present without being overwhelming. Plus, baking them instead of frying means you get that soft, tender crumb without any grease. This isn’t just another pumpkin recipe—it is the one you will bookmark and come back to year after year. It is the kind of recipe that makes you close your eyes after the first bite and just enjoy the moment.
What Ingredients You Will Need
This recipe uses simple, wholesome ingredients to create something truly special. The magic happens when the warm spices meet the earthy sweetness of the pumpkin, all wrapped up in a tender, cake-like crumb. Most of these are pantry staples, which makes this an easy last-minute treat.
For the Donut Holes:
- All-purpose flour – 1 ¾ cups (220g). This gives the donut holes structure. I have tested this with a 1:1 gluten-free flour blend, and it works well, too.
- Granulated sugar – ½ cup (100g). Adds sweetness and helps with browning.
- Light brown sugar – ¼ cup (50g), packed. This adds a deeper, molasses-like sweetness that pairs beautifully with the pumpkin.
- Baking powder – 1 ½ teaspoons. This is our leavening agent, giving the donut holes their lift.
- Baking soda – ½ teaspoon. Helps neutralize the acidity from the pumpkin and aids in browning.
- Pumpkin pie spice – 2 teaspoons. You can use store-bought, but I love making my own with cinnamon, nutmeg, ginger, and cloves. It is fresher and you can control the heat.
- Ground cinnamon – 1 teaspoon. For that extra warm, cozy flavor.
- Salt – ½ teaspoon. Balances the sweetness and enhances all the flavors.
- Pumpkin puree – 1 cup (245g). Make sure you are using pure pumpkin puree, not pumpkin pie filling. I prefer Libby’s for its consistent texture, but any brand will work.
- Large egg – 1, at room temperature. It binds everything together.
- Milk – ¼ cup (60ml). Any milk works, including oat milk or almond milk. Whole milk will give a slightly richer texture.
- Unsalted butter – ¼ cup (60g), melted and slightly cooled. This adds richness and moisture.
- Vanilla extract – 1 teaspoon. Pure vanilla is best, but imitation works in a pinch.
For the Cinnamon Sugar Coating:
- Granulated sugar – ½ cup (100g).
- Ground cinnamon – 2 tablespoons. This might seem like a lot, but trust me. It creates that perfect, thick, crunchy coating.
- Unsalted butter – ¼ cup (60g), melted. This is what helps the cinnamon sugar stick to the warm donut holes.
Ingredient Tips: For the best texture, make sure your egg and milk are at room temperature. Cold ingredients can make the batter seize up. Also, when measuring your pumpkin puree, give it a good stir in the can first—it can sometimes separate. If you are out of pumpkin pie spice, you can make your own by mixing 1 teaspoon cinnamon, ½ teaspoon ginger, ¼ teaspoon nutmeg, and ¼ teaspoon cloves. It is that simple.
Equipment Needed
You do not need a lot of fancy tools for this recipe, which is part of its charm. Here is what you will need:
- Mini muffin tin: This is essential. A standard 24-cup mini muffin tin is perfect. If you only have a 12-cup tin, you will need to bake in two batches. I have an old, slightly scratched non-stick one, and it works like a charm.
- Mixing bowls: You will need one large bowl for the dry ingredients and one medium bowl for the wet ingredients.
- Whisk: For combining the dry ingredients. A fork also works if you are in a pinch.
- Rubber spatula: For folding the wet and dry ingredients together. A wooden spoon also works, but a spatula is gentler and prevents over-mixing.
- Cookie scoop or small spoon: A 1-tablespoon cookie scoop is my secret weapon. It ensures every donut hole is the same size and bakes evenly. If you don’t have one, just use a small spoon.
- Pastry brush: For brushing the melted butter onto the baked donut holes. You can also just dip them directly into the butter, but a brush is less messy.
- Shallow bowl: For the cinnamon sugar mixture. A wide, shallow bowl makes rolling the donut holes much easier.
- Cooling rack: Helps the donut holes cool evenly after baking. A plate works too, but a rack is better for airflow.
Budget-Friendly Option: If you are just starting out, you really only need the mini muffin tin. Everything else you likely already have in your kitchen. I used a basic, $10 mini muffin tin for years, and it never let me down.
Preparation Method
Let’s get to the fun part. This method is straightforward, but I have included all my little tricks to make sure you get perfect donut holes every time.
- Preheat and Prep: Preheat your oven to 350°F (175°C). Generously grease a 24-cup mini muffin tin with butter or non-stick spray. I like using a baking spray that has flour in it—it guarantees nothing sticks. Set the tin aside.
- Mix the Dry Ingredients: In a large mixing bowl, whisk together the all-purpose flour, granulated sugar, brown sugar, baking powder, baking soda, pumpkin pie spice, ground cinnamon, and salt. Whisk for about 20 seconds to make sure everything is evenly distributed. This step is important—you don’t want a pocket of baking soda in one donut hole.
- Combine the Wet Ingredients: In a separate medium bowl, whisk together the pumpkin puree, egg, milk, melted butter, and vanilla extract. Whisk until the mixture is smooth and a uniform orange color. It will look a bit thick, and that is perfectly fine.
- Make the Batter: Pour the wet ingredients into the bowl with the dry ingredients. Using a rubber spatula, gently fold the mixture together. Stir just until you no longer see any streaks of flour. Do not over-mix! Over-mixing will develop the gluten and make your donut holes tough. A few small lumps are totally okay. The batter will be thick, almost like a muffin batter.
- Fill the Muffin Tin: Using a 1-tablespoon cookie scoop or a small spoon, fill each greased muffin cup almost to the top. The batter will rise slightly, but not as much as a regular muffin. You want them full so they dome up nicely. I usually get exactly 24 donut holes from this recipe.
- Bake: Place the muffin tin in the preheated oven and bake for 10 to 12 minutes. The donut holes are done when the tops spring back when you lightly touch them, and a toothpick inserted into the center comes out clean. My oven runs a little hot, so I always check at 10 minutes. They should be a lovely golden brown.
- Cool Slightly: Let the donut holes cool in the pan for exactly 2 minutes. This is crucial. If you try to take them out too soon, they will fall apart. If you wait too long, they will stick to the pan. After 2 minutes, gently run a small offset spatula or a butter knife around the edges of each donut hole and pop them out onto a cooling rack. They will be very hot, so be careful.
- Make the Cinnamon Sugar Coating: While the donut holes are cooling slightly, prepare the coating. In a small, shallow bowl, whisk together the granulated sugar and ground cinnamon. In another small bowl, melt the remaining ¼ cup of butter.
- Coat the Donut Holes: While the donut holes are still warm (but cool enough to handle), work in batches. Dip each donut hole into the melted butter, turning to coat all sides. Let the excess butter drip off for a second, then roll the donut hole in the cinnamon sugar mixture until it is completely covered. Place the coated donut holes on a clean plate or wire rack.
- Serve Immediately: These are absolutely best enjoyed the day they are made, while they are still slightly warm. The coating will be crunchy, and the inside will be pillowy soft. Serve them with a hot cup of coffee or a cold glass of milk.
Troubleshooting Tip: If your donut holes are sticking to the pan, it usually means they needed another minute of baking, or your pan wasn’t greased well enough. Next time, try a baking spray with flour.
Cooking Tips & Techniques
Over the many batches I have made, I have learned a few things the hard way. Here are my best tips to make sure your donut holes come out perfect.
Don’t Over-mix the Batter. This is the number one mistake people make. When you combine the wet and dry ingredients, mix just until they come together. A few streaks of flour are fine. Over-mixing creates gluten, which will make your donut holes dense and tough instead of light and tender. I learned this lesson when I made a batch that came out like little hockey pucks. Not fun.
Room Temperature Ingredients Matter. I know it is tempting to use a cold egg straight from the fridge, but taking the time to bring it to room temperature makes a difference. Cold ingredients don’t emulsify as well, which can lead to a denser texture. Just place your egg in a bowl of warm water for 5 minutes, and you are good to go.
The Two-Minute Rule. Letting the donut holes cool in the pan for exactly 2 minutes is non-negotiable. I once got distracted by my phone and left them in for 5 minutes. They were a nightmare to get out, and half of them broke apart. Set a timer if you have to.
Coat While Warm. The cinnamon sugar coating sticks best when the donut holes are still warm. The warmth melts the butter slightly, which helps the sugar adhere. If they cool down completely, the butter will just slide off, and you will end up with a sad, patchy coating.
Work in Batches. Don’t try to dip and coat all 24 donut holes at once. The butter will start to solidify, and the sugar will get clumpy. Dip and coat in batches of 6 to 8. It is a little more work, but the results are worth it.
My Biggest Failure: I once tried to make these with low-fat milk and a sugar substitute. It was a disaster. The texture was weird, and the coating didn’t stick. Sometimes, you just have to use the real stuff. That is my professional opinion, born from a very disappointing breakfast.
Variations & Adaptations
One of the best things about this recipe is how easy it is to adapt. I have played around with it quite a bit, and here are some of my favorite variations.
Gluten-Free Version: I have made this with a 1:1 gluten-free all-purpose flour blend (like Bob’s Red Mill) with great success. The texture is slightly more delicate, so be extra gentle when folding the batter. The flavor is just as good, and no one at the table will know the difference.
Vegan Adaptation: To make these vegan, use a flax egg (1 tablespoon ground flaxseed mixed with 3 tablespoons water) instead of a regular egg. Use a plant-based milk like oat or almond milk, and substitute the butter with a good-quality vegan butter stick (not the spreadable kind in a tub). The texture will be a bit more cake-like, but still delicious.
Chocolate-Dipped Version: For a truly decadent treat, skip the cinnamon sugar coating and dip the cooled donut holes in a simple chocolate glaze. Melt ½ cup of semi-sweet chocolate chips with 1 tablespoon of coconut oil. Dip the tops of the donut holes and let them set on a wire rack. I did this for a Halloween party, and they were gone in minutes.
Spice It Up: If you like a little heat, add ¼ teaspoon of cayenne pepper to the cinnamon sugar coating. It gives a wonderful warm kick that pairs surprisingly well with the pumpkin. My husband, who loves spicy food, requests this version every time.
Maple Glaze: For a fall twist, replace the cinnamon sugar coating with a simple maple glaze. Whisk together 1 cup of powdered sugar, 2 tablespoons of maple syrup, and 1 tablespoon of milk. Drizzle it over the warm donut holes. It is sweeter than the cinnamon sugar version, but absolutely divine.
Serving & Storage Suggestions
These donut holes are incredibly versatile when it comes to serving. They are perfect for a weekend brunch, a dessert table, or even a quick snack on a crisp autumn afternoon.
Serving Temperature: These are best served slightly warm, right after they have been coated. The contrast between the crunchy, sugary outside and the soft, tender inside is at its peak. If you are serving them at a party, you can make them a few hours ahead and keep them covered at room temperature. A quick 10-second zap in the microwave will bring back that fresh-from-the-oven warmth.
What to Serve With Them: A hot cup of coffee or a chai latte is the perfect companion. For a fun brunch spread, serve them alongside a pumpkin spice latte or a warm mug of apple cider. They also pair beautifully with a simple vanilla ice cream for a quick dessert.
Storage Instructions: Store any leftover donut holes in an airtight container at room temperature for up to 2 days. I do not recommend refrigerating them, as it will dry them out. The cinnamon sugar coating will soften over time, but they will still taste great.
Freezing Instructions: These freeze beautifully! Place the uncoated, baked donut holes on a baking sheet and freeze for 1 hour, or until solid. Transfer them to a freezer-safe bag or container. They will keep for up to 3 months. When you are ready to enjoy them, thaw them at room temperature, then reheat them in a 300°F (150°C) oven for 5 minutes. Coat them in the melted butter and cinnamon sugar right before serving.
Flavor Development: Honestly, these are best on day one. The coating stays crunchy, and the texture is at its peak. By day two, the coating will have absorbed some moisture from the donut and become softer. They are still delicious, but they lose that initial magic.
Nutritional Information & Benefits
While these are certainly a treat, they are a lighter alternative to deep-fried donuts. Baking them instead of frying saves a significant amount of fat and calories. Here is an approximate nutritional breakdown for one donut hole (based on 24 servings):
- Calories: 135
- Fat: 6g
- Carbohydrates: 19g
- Protein: 2g
- Fiber: 1g
- Sugar: 12g
Health Highlights: Pumpkin is a fantastic source of Vitamin A, which is great for eye health and immune function. It also provides a good amount of fiber, which helps with digestion. The cinnamon in the coating has anti-inflammatory properties and can help regulate blood sugar levels. So, while you are enjoying a sweet treat, you are also getting a little nutritional boost.
Dietary Considerations: This recipe contains gluten, dairy, and eggs. For gluten-free and vegan options, please see the Variations section above. The sugar content is moderate for a dessert, but you can reduce the sugar in the coating if you prefer a less sweet version.
From my perspective, food should be enjoyed without guilt. These donut holes are a perfect example of that. They are a special treat that makes you feel good, both emotionally and physically. They are made with real ingredients, and they bring a lot of joy for a relatively small amount of effort.
Conclusion
These Baked Pumpkin Spice Donut Holes with Cinnamon Sugar are more than just a recipe—they are a little moment of happiness. They are the result of a happy accident that turned into a beloved tradition. The warm spices, the tender crumb, and that perfect crunchy coating come together to create something truly special. They are easy enough for a beginner baker to master, but impressive enough to serve to guests.
I encourage you to make these your own. Play around with the spice blend, try a different glaze, or double the batch for a party. The beauty of this recipe is its simplicity and its flexibility. I would love to hear how they turn out for you. Did you try a fun variation? Did you serve them at a special occasion? Let me know in the comments below. Your feedback and creativity are what make this community so wonderful.
So go ahead, preheat that oven, and treat yourself to something delicious. You deserve it. And remember, sometimes the best recipes come from the biggest kitchen failures. Happy baking!
Frequently Asked Questions
1. Can I use fresh pumpkin instead of canned?
Yes, you can! If you are using fresh pumpkin, make sure it is roasted and pureed until very smooth. You will need to drain any excess liquid from the puree using a cheesecloth or paper towels. Fresh pumpkin has more water than canned, which can affect the texture. Canned pumpkin is more consistent and reliable for baking, which is why I recommend it.
2. My donut holes came out flat. What went wrong?
Flat donut holes usually mean your baking powder or baking soda is old. Check the expiration dates on your leavening agents. Another reason could be that your oven wasn’t hot enough. Make sure it is fully preheated to 350°F (175°C) before baking. Also, make sure you filled the muffin cups almost to the top.
3. Can I make the batter ahead of time?
I don’t recommend it. The baking powder and baking soda will start reacting as soon as they come into contact with the wet ingredients. If you let the batter sit for too long, the donut holes will not rise properly. It is best to mix the batter and bake it immediately.
4. Can I use a donut hole pan instead of a mini muffin tin?
Absolutely! A donut hole pan will give you a more traditional shape. The baking time will be very similar, but start checking at 8 minutes. You might need to adjust the time slightly depending on your pan. Grease the pan well!
5. Why do I need to dip them in butter before the cinnamon sugar?
The melted butter acts as a glue. Without it, the cinnamon sugar would just slide off the donut holes. The butter also adds a wonderful richness and helps the coating stay crunchy for a little longer. You can use a brush for a lighter coating, or dip them for a more decadent treat.
Pin This Recipe!
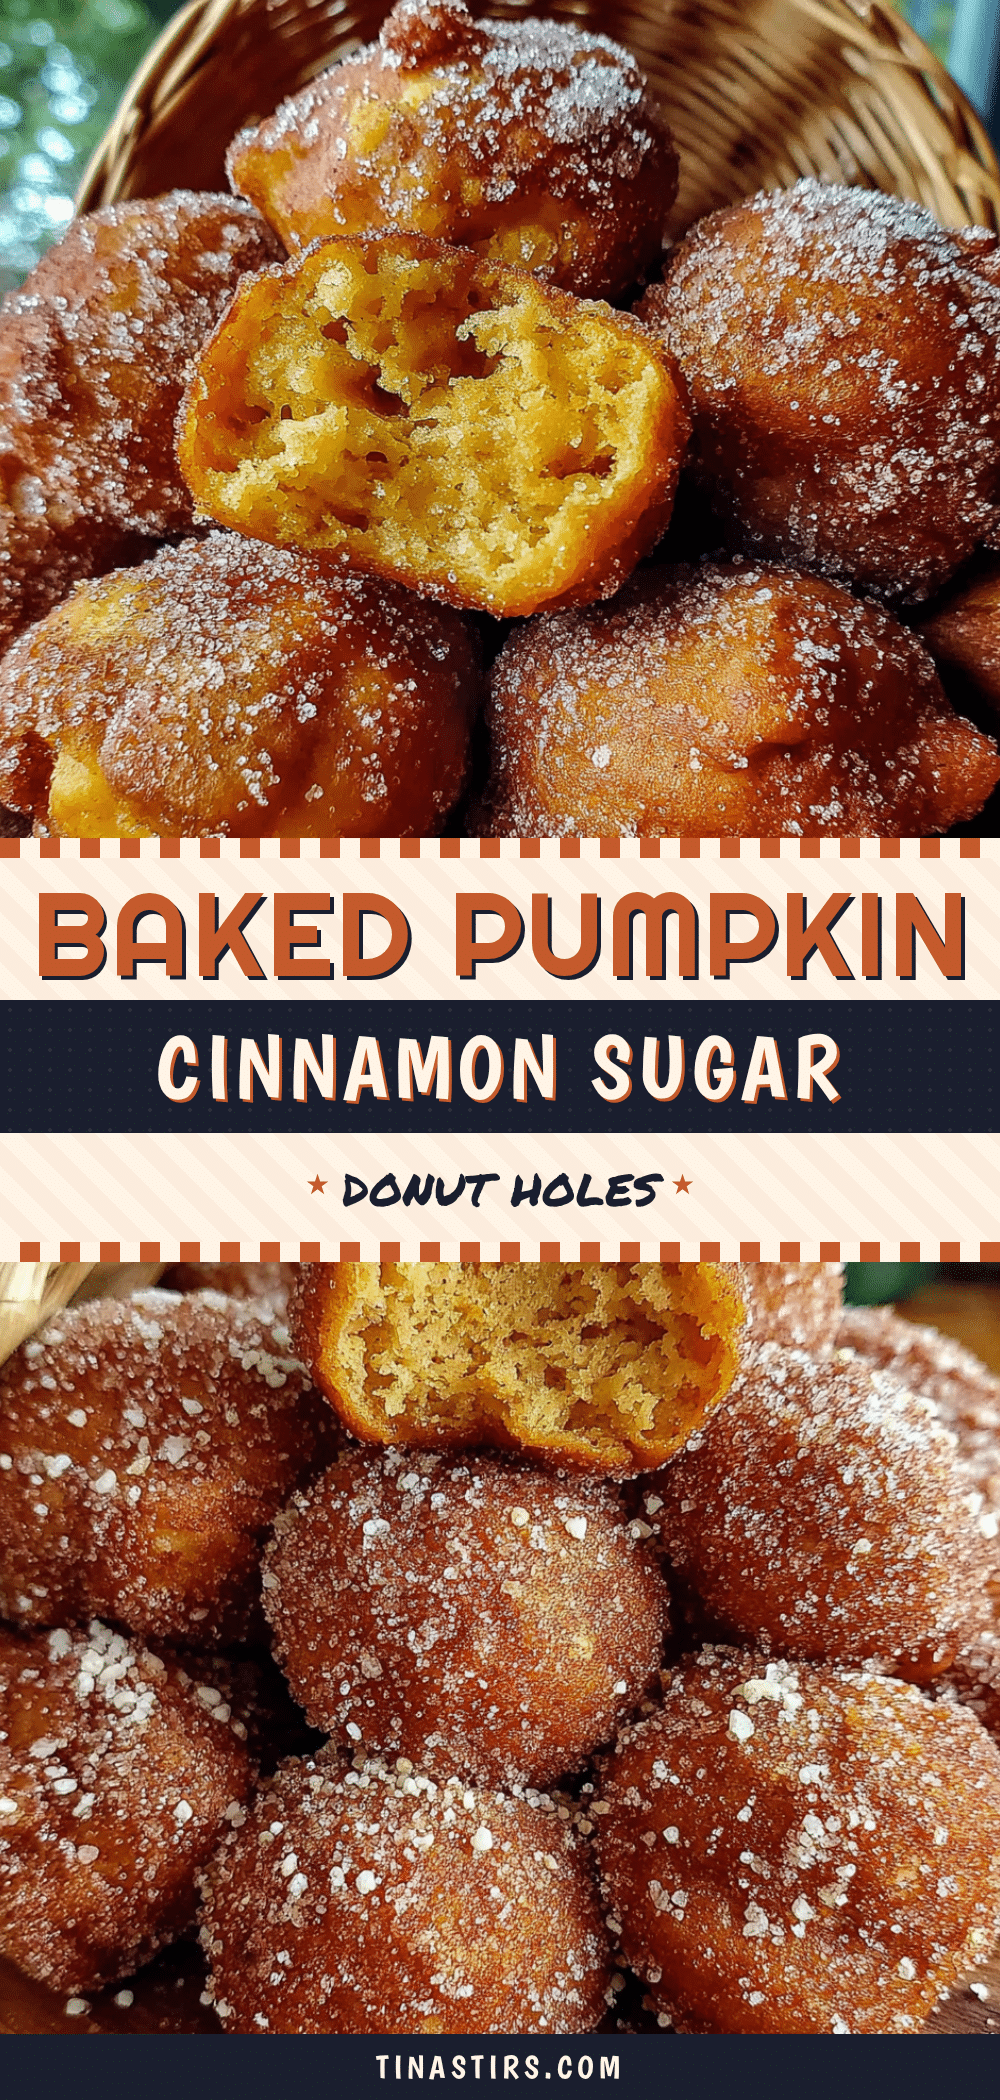
Easy Baked Pumpkin Spice Donut Holes with Cinnamon Sugar

These baked pumpkin spice donut holes are soft, tender, and coated in a crunchy cinnamon sugar. They are quick and easy to make, perfect for fall gatherings or a cozy treat.
- Prep Time: 15 minutes
- Cook Time: 12 minutes
- Total Time: 27 minutes
- Yield: 24 donut holes 1x
- Category: Dessert
- Cuisine: American
Ingredients
- 1 ¾ cups (220g) all-purpose flour
- ½ cup (100g) granulated sugar
- ¼ cup (50g) light brown sugar, packed
- 1 ½ teaspoons baking powder
- ½ teaspoon baking soda
- 2 teaspoons pumpkin pie spice
- 1 teaspoon ground cinnamon
- ½ teaspoon salt
- 1 cup (245g) pumpkin puree
- 1 large egg, at room temperature
- ¼ cup (60ml) milk
- ¼ cup (60g) unsalted butter, melted and slightly cooled
- 1 teaspoon vanilla extract
- For the Cinnamon Sugar Coating:
- ½ cup (100g) granulated sugar
- 2 tablespoons ground cinnamon
- ¼ cup (60g) unsalted butter, melted
Instructions
- Preheat your oven to 350°F (175°C). Generously grease a 24-cup mini muffin tin with butter or non-stick spray.
- In a large mixing bowl, whisk together the all-purpose flour, granulated sugar, brown sugar, baking powder, baking soda, pumpkin pie spice, ground cinnamon, and salt.
- In a separate medium bowl, whisk together the pumpkin puree, egg, milk, melted butter, and vanilla extract until smooth.
- Pour the wet ingredients into the dry ingredients. Gently fold with a rubber spatula until just combined. Do not over-mix.
- Using a 1-tablespoon cookie scoop or small spoon, fill each greased muffin cup almost to the top.
- Bake for 10 to 12 minutes, until the tops spring back when lightly touched and a toothpick inserted into the center comes out clean.
- Let the donut holes cool in the pan for exactly 2 minutes, then gently remove them and place on a cooling rack.
- In a shallow bowl, whisk together the granulated sugar and ground cinnamon for the coating. In another small bowl, melt the remaining ¼ cup of butter.
- While still warm, dip each donut hole into the melted butter, then roll in the cinnamon sugar mixture until completely coated.
- Serve immediately, while still warm.
Notes
For best results, use room temperature egg and milk. Do not over-mix the batter. Let donut holes cool in pan for exactly 2 minutes before removing. Coat while still warm for best adherence. Store leftovers in an airtight container at room temperature for up to 2 days. Freeze uncoated donut holes for up to 3 months.
Nutrition
- Serving Size: 1 donut hole
- Calories: 135
- Sugar: 12
- Sodium: 120
- Fat: 6
- Saturated Fat: 3.5
- Carbohydrates: 19
- Fiber: 1
- Protein: 2
Keywords: pumpkin, donut holes, baked, cinnamon sugar, fall, easy, quick


