Love this? Save it for later!
Share the inspiration with your friends
My neighbor, Sarah, wasn’t trying to impress anyone. I’d stopped by to borrow a lug wrench—my car had been making that weird noise again—and the smell of cinnamon and nutmeg hit me before I even got to her screen door. It was early October, the kind of crisp afternoon where you can feel fall settling in for good. She was standing in her kitchen, nonchalantly pressing a mixture into a pan, with pumpkin puree smudged on her forearm.
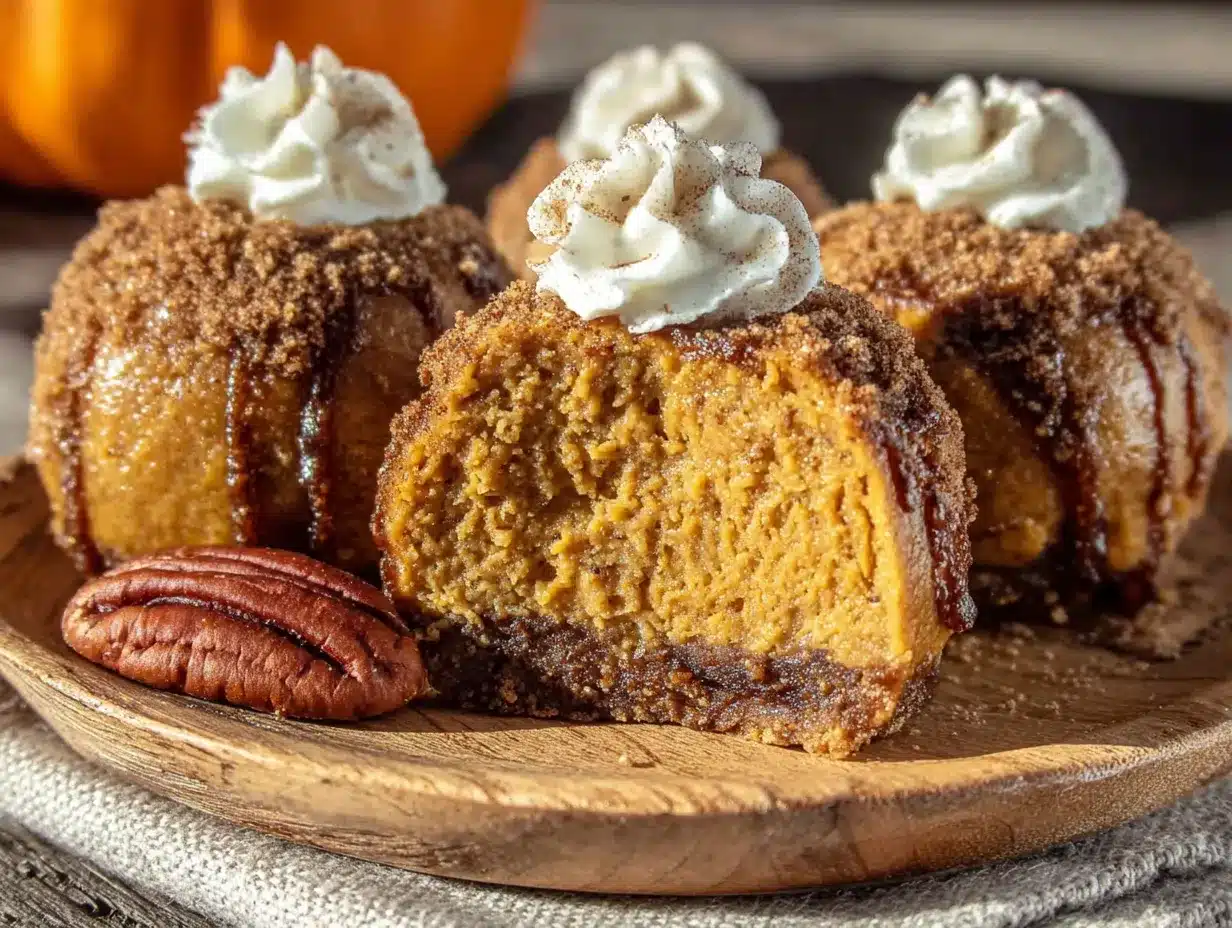
“Oh, these are nothing,” she said when I asked what she was making. “Just some no-bake pumpkin cheesecake bites. I throw them together when the kids have friends over.” She offered me one before it was even fully chilled, and honestly? That first bite stopped me mid-sentence. The texture was this perfect cross between a creamy cheesecake filling and a soft, spiced cookie dough. I mean, I’ve made a lot of pumpkin desserts in my time, but nothing that came together this fast with this much flavor.
You know that feeling when you taste something and immediately start planning when you’ll make it yourself? That was me, standing in her kitchen with a lug wrench in one hand and a pumpkin cheesecake bite in the other. She shrugged when I asked for the recipe. “It’s really not a big deal,” she said, wiping her hands on her jeans. But let me tell you—it is. It’s the kind of recipe that feels almost too simple to be this good, and that’s exactly why I keep making it. These cozy no-bake pumpkin cheesecake bites have become my go-to for everything from lazy Sunday afternoons to last-minute holiday treats. They taste like autumn in a single bite, and you don’t even have to turn on your oven.
Why You’ll Love This Recipe
I’ve tested this recipe about seven times now—tweaking the spice ratio, trying different crust options, and even accidentally using salted butter once (don’t worry, it still worked). So trust me when I say these no-bake pumpkin cheesecake bites are genuinely foolproof. Here’s what makes them stand out from every other pumpkin dessert you’ve tried:
- Ready in 10 Minutes: No oven, no mixer, no complicated steps. You can have these chilling in the fridge before you even finish your coffee.
- Simple Pantry Ingredients: You probably already have graham crackers, cream cheese, and pumpkin puree in your kitchen right now. No specialty stores required.
- Perfect for Fall Gatherings: Whether it’s a Halloween party, Thanksgiving dessert table, or just a cozy night in, these bites fit right in without any stress.
- Crowd-Pleaser Approved: I brought a batch to my book club last week, and three people asked for the recipe before I even sat down.
- Unbelievably Creamy Texture: The secret is letting the cream cheese come to room temperature and using just the right amount of pumpkin. The result is a filling that’s smooth, rich, and absolutely addictive.
What makes this recipe different isn’t some fancy technique or hard-to-find ingredient. It’s the balance—the way the warm pumpkin spice melts into the tangy cream cheese, all wrapped in a buttery graham cracker crust. It’s comfort food reimagined: faster, simpler, but with the same soul-soothing satisfaction. Honestly, it’s the kind of dessert that makes you close your eyes after the first bite. You’ll see what I mean.
What Ingredients You Will Need
This recipe uses simple, wholesome ingredients to deliver bold fall flavor without any fuss. Most of these are pantry staples, especially if you do any baking during pumpkin season. Here’s everything you’ll need, plus a few tips I’ve picked up along the way.
For the Crust
- 1 ½ cups graham cracker crumbs (about 10 full sheets, crushed finely—I use a zip-top bag and a rolling pin, no food processor needed)
- 6 tablespoons unsalted butter, melted (salted butter works in a pinch, just reduce any added salt)
- 2 tablespoons granulated sugar (adds a hint of sweetness to balance the tangy filling)
- ¼ teaspoon pumpkin pie spice (optional, but I love the extra warmth it adds to the crust)
For the Pumpkin Cheesecake Filling
- 8 ounces cream cheese, softened (full-fat is best for that ultra-creamy texture, but Neufchâtel works too)
- ½ cup pumpkin puree (not pumpkin pie filling—make sure it’s 100% pure pumpkin; I prefer Libby’s for consistent results)
- ⅓ cup powdered sugar (dissolves smoothly and keeps the filling silky)
- ¼ cup packed light brown sugar (adds that deep, molasses-like sweetness that pairs perfectly with pumpkin)
- 1 teaspoon vanilla extract (pure vanilla makes a difference here, but imitation works in a pinch)
- 1 teaspoon pumpkin pie spice (or make your own with ½ teaspoon cinnamon, ¼ teaspoon nutmeg, ¼ teaspoon ginger, and a pinch of cloves)
- ¼ teaspoon salt (just a pinch to brighten all the flavors)
For the Topping (Optional but Recommended)
- ½ cup whipped cream or Cool Whip (for piping a little rosette on top)
- ¼ cup crushed graham crackers or gingersnap cookies (for a crunchy garnish)
- A dusting of cinnamon or pumpkin pie spice (makes them look bakery-ready)
One thing I’ve learned: always use room-temperature cream cheese. I know, I know—every recipe says that. But with no-bake desserts, it’s non-negotiable. Cold cream cheese will leave you with lumpy filling, and nobody wants that. If you forget to take it out of the fridge, just microwave it in 10-second bursts until it’s soft but not warm. Also, if you’re using a different brand of pumpkin puree, check the consistency. Some are more watery than others, and you might need to drain off a little excess liquid. Trust me on this one—I learned the hard way after a batch that was too soft to roll.
Equipment Needed
You don’t need a fancy kitchen to make these no-bake pumpkin cheesecake bites. Here’s what I use every time:
- Medium mixing bowl (for the crust mixture)
- Large mixing bowl (for the filling—give yourself room to stir without splattering)
- Hand mixer or stand mixer (a whisk and some elbow grease work too, but a mixer makes the filling noticeably smoother)
- 8×8-inch baking pan (lined with parchment paper for easy removal—I love my Pyrex dish for this)
- Measuring cups and spoons (accuracy matters, especially with the spices)
- Spatula (for pressing the crust evenly and scraping every bit of filling)
- Zip-top bag and rolling pin (for crushing graham crackers—therapeutic and effective)
- Piping bag or small zip-top bag (for the whipped cream topping, if you’re feeling fancy)
If you don’t have an 8×8 pan, a 9×9 works too—your bites will just be slightly thinner. And honestly, I’ve made these in a loaf pan before, and they turned out great. The key is just pressing everything firmly so it holds together. Oh, and parchment paper? Worth every penny. It makes lifting the whole block out so much easier, and you get cleaner cuts.
Preparation Method
Alright, let’s get to it. This recipe moves fast, so I like to have everything measured out before I start. Here’s the step-by-step, with all the little details I’ve figured out along the way.
- Make the crust. In a medium bowl, combine the graham cracker crumbs, 2 tablespoons granulated sugar, and ¼ teaspoon pumpkin pie spice if using. Pour in the melted butter and stir with a fork until every crumb is moistened. It should look like wet sand and hold together when you squeeze it. If it seems dry, add another tablespoon of melted butter.
- Press the crust into the pan. Line your 8×8-inch pan with parchment paper, leaving some overhang on two sides (this makes lifting out the finished bites a breeze). Dump the crust mixture in and press it down firmly with the bottom of a flat measuring cup or a glass. I like to go over it a few times to make sure it’s compact and even. Pop the pan in the fridge while you make the filling.
- Beat the cream cheese. In a large bowl, beat the softened cream cheese with a hand mixer on medium speed until it’s completely smooth and fluffy—about 2 minutes. Scrape down the sides and the bottom of the bowl with a spatula. This step is crucial; any lumps now will show up in the final bites.
- Add the pumpkin and sugars. Add the pumpkin puree, powdered sugar, brown sugar, and vanilla extract. Beat on low speed until combined, then increase to medium and beat for another minute. The mixture should be smooth, creamy, and a gorgeous orange color. Don’t overmix, or it can get a little too soft.
- Add the spices. Sprinkle in the pumpkin pie spice and salt. Beat on low just until incorporated. Give it a taste—this is your moment to adjust. Want more cinnamon? Add another ¼ teaspoon. Prefer it less sweet? A pinch more salt balances it out beautifully.
- Spread the filling over the crust. Remove the pan from the fridge. Spoon the pumpkin cheesecake filling over the crust and spread it evenly with a spatula. Tap the pan gently on the counter to release any air bubbles. The top should be smooth and level.
- Chill until firm. Cover the pan with plastic wrap and refrigerate for at least 3 hours, but overnight is even better. The filling needs time to set up properly. If you’re in a hurry, you can pop it in the freezer for about 1 hour—just don’t forget about it!
- Cut and serve. Once firm, lift the whole block out of the pan using the parchment overhang. Place it on a cutting board and use a sharp knife to cut into 16 squares (4 rows by 4 rows). For cleaner cuts, wipe the knife clean between each slice. If you want bite-sized pieces, cut them smaller—I’ve done 25 bites before for parties.
- Add toppings (optional). Pipe a small swirl of whipped cream on each bite, then sprinkle with crushed graham crackers or a dusting of cinnamon. This step makes them look like they came from a bakery, but they’re delicious either way.
A few things I’ve learned: if the filling feels too soft to spread, it might be because your cream cheese wasn’t cold enough or your pumpkin puree was watery. Don’t panic—just pop the bowl in the fridge for 15 minutes to firm it up. And if your crust crumbles when you cut it, you probably didn’t press it firmly enough. Next time, really lean into it. I promise it’s worth the extra effort.
Cooking Tips & Techniques
After making these no-bake pumpkin cheesecake bites more times than I can count, I’ve picked up a few tricks that make a real difference. Here are the ones I swear by:
- Room temperature is your best friend. This can’t be overstated. Cold cream cheese creates lumps, and cold butter doesn’t mix evenly. Set everything out on the counter about 30 minutes before you start. If you forget, cut the cream cheese into small cubes and microwave it in 10-second bursts.
- Drain your pumpkin puree. Some brands of pumpkin puree are more watery than others. If you open your can and see liquid pooling on top, spoon the puree onto a paper towel-lined plate and let it sit for a few minutes. Blot gently with another paper towel. This prevents a soggy filling that won’t set properly.
- Press the crust like you mean it. A loose crust will fall apart when you cut the bites. Use the bottom of a glass or a measuring cup and press down firmly, especially in the corners. I like to use the back of a spoon to get the edges neat and tidy.
- Chill time is non-negotiable. I know it’s tempting to cut into these after an hour, but they really need at least 3 hours to set. Overnight is ideal. The filling firms up and the flavors meld together in a way that’s just… better. Patience pays off here.
- Use a hot knife for clean cuts. Run your knife under hot water, dry it off, and then slice. The heat glides through the filling without dragging or sticking. Wipe the knife clean between each cut for perfect squares.
One mistake I made early on? I used low-fat cream cheese to save a few calories. Big mistake. The filling never set properly, and it had a weird, grainy texture. Full-fat cream cheese is the way to go for that luscious, creamy consistency. Trust me on this one—I learned the hard way so you don’t have to.
Variations & Adaptations
One of the best things about this recipe is how flexible it is. I’ve tried quite a few variations over the past few months, and here are my favorites:
- Gluten-Free Version: Swap the graham cracker crumbs for gluten-free graham crackers or crushed gluten-free gingersnaps. I’ve used both, and they work beautifully. Just check the package to make sure they’re certified gluten-free if that’s a concern.
- Dairy-Free Option: Use dairy-free cream cheese (I like Kite Hill or Violife) and a plant-based butter for the crust. The texture will be slightly less firm, but it still tastes amazing. Let it chill overnight for best results.
- Low-Sugar Adaptation: Replace the brown sugar with a monk fruit sweetener or coconut sugar, and use a powdered sugar substitute. The flavor will be a little less rich, but it’s still wonderfully satisfying.
- Pumpkin Spice Latte Twist: Add 1 tablespoon of instant espresso powder dissolved in 1 teaspoon of hot water to the filling. It gives the bites a subtle coffee flavor that pairs perfectly with the pumpkin. I made these for a friend who’s obsessed with PSLs, and she called them “life-changing.”
- Chocolate Lover’s Version: Melt ½ cup of dark chocolate chips and drizzle it over the chilled bites. The bitterness of the dark chocolate cuts through the sweetness of the filling beautifully. Sprinkle a little sea salt on top for that sweet-salty magic.
My personal favorite variation? I swap the graham cracker crust for crushed Biscoff cookies. The caramelized spice flavor takes these bites to another level. I made them for a Thanksgiving potluck last year, and they disappeared before the turkey even hit the table. Seriously, try it at least once.
Serving & Storage Suggestions
These no-bake pumpkin cheesecake bites are best served cold, straight from the fridge. I like to arrange them on a white platter with a few fresh cranberries and a sprig of rosemary for a festive look. They’re perfect for Thanksgiving dessert tables, Halloween parties, or just a cozy treat with your afternoon coffee.
For storage, place the bites in an airtight container in the refrigerator. They’ll stay fresh for up to 5 days, though honestly, they never last that long in my house. If you’re stacking them, place a sheet of parchment paper between layers to prevent sticking. The flavors actually deepen after a day or two, so they might taste even better on day two.
You can also freeze these bites for up to 3 months. Arrange them in a single layer on a baking sheet and freeze until solid (about 2 hours), then transfer to a freezer-safe container or bag. To thaw, just move them to the fridge overnight. I wouldn’t recommend microwaving them, as the texture can get a little weird. Patience, my friend—cold is the way to go.
As for what to serve alongside them? A warm mug of spiced apple cider, a bold cup of coffee, or even a glass of cold milk. They’re also lovely on a dessert board with fresh fruit, nuts, and maybe some dark chocolate. Honestly, they’re so good on their own that you don’t really need anything else—but I’m not one to say no to a little extra indulgence.
Nutritional Information & Benefits
Here’s the nutritional breakdown for one bite (based on 16 servings, with the optional toppings excluded):
| Nutrient | Amount Per Bite |
|---|---|
| Calories | 185 |
| Total Fat | 12g |
| Saturated Fat | 7g |
| Carbohydrates | 18g |
| Sugar | 12g |
| Protein | 3g |
| Fiber | 1g |
| Sodium | 150mg |
Pumpkin is packed with vitamin A, which supports eye health and immune function. It’s also a good source of fiber, which helps with digestion. The cream cheese provides calcium and protein, making these bites a slightly more balanced treat than your average cookie. If you’re watching your sugar intake, you can easily reduce the amount of brown sugar or use a sugar substitute. And for those with dietary restrictions, the gluten-free and dairy-free variations work beautifully without sacrificing flavor.
I like to think of these as a “better-for-you” indulgence. They’re not health food, but they’re made with real ingredients, and you can feel good about serving them to your family. Plus, portion control is built right in—one or two bites is usually enough to satisfy that sweet craving without overdoing it.
Conclusion
These no-bake pumpkin cheesecake bites are the kind of recipe that makes you look like a rockstar with almost zero effort. They’re creamy, spiced perfectly, and come together in just 10 minutes. No oven, no complicated techniques, no stress. Just pure, cozy fall flavor in every single bite.
I’ve made these for potlucks, holiday parties, and lazy Sunday afternoons, and they’ve never let me down. They’re the recipe I turn to when I want something impressive but don’t have the energy for a full baking project. And honestly? That’s the best kind of recipe to have in your back pocket.
I’d love to hear how yours turn out! Did you try any of the variations? Add your own twist? Drop a comment below and let me know. And if you loved these bites as much as I do, share this post with a friend who needs a little more pumpkin in their life. Happy fall, friends—go make something delicious.
Frequently Asked Questions
Can I use pumpkin pie filling instead of pumpkin puree?
I wouldn’t recommend it. Pumpkin pie filling is already sweetened and spiced, so it will throw off the balance of the recipe. Stick with 100% pure pumpkin puree for the best results.
How long do these bites need to chill?
At least 3 hours in the fridge, but overnight is even better. The filling needs time to set up properly. If you’re short on time, you can freeze them for about 1 hour, but keep an eye on them so they don’t freeze solid.
Can I make these vegan?
Yes! Use dairy-free cream cheese and a plant-based butter for the crust. The texture will be slightly softer, so let them chill overnight. They’re still delicious.
Why is my filling too soft to spread?
This usually happens if your cream cheese wasn’t cold enough or if your pumpkin puree was watery. Pop the bowl in the fridge for 15 minutes to firm it up, then try again. Next time, blot your pumpkin puree with a paper towel before using it.
Can I double this recipe?
Absolutely. Just use a 9×13-inch pan and double all the ingredients. The chilling time might need to be extended by an hour or so, since the filling will be thicker. Perfect for larger gatherings!
Pin This Recipe!
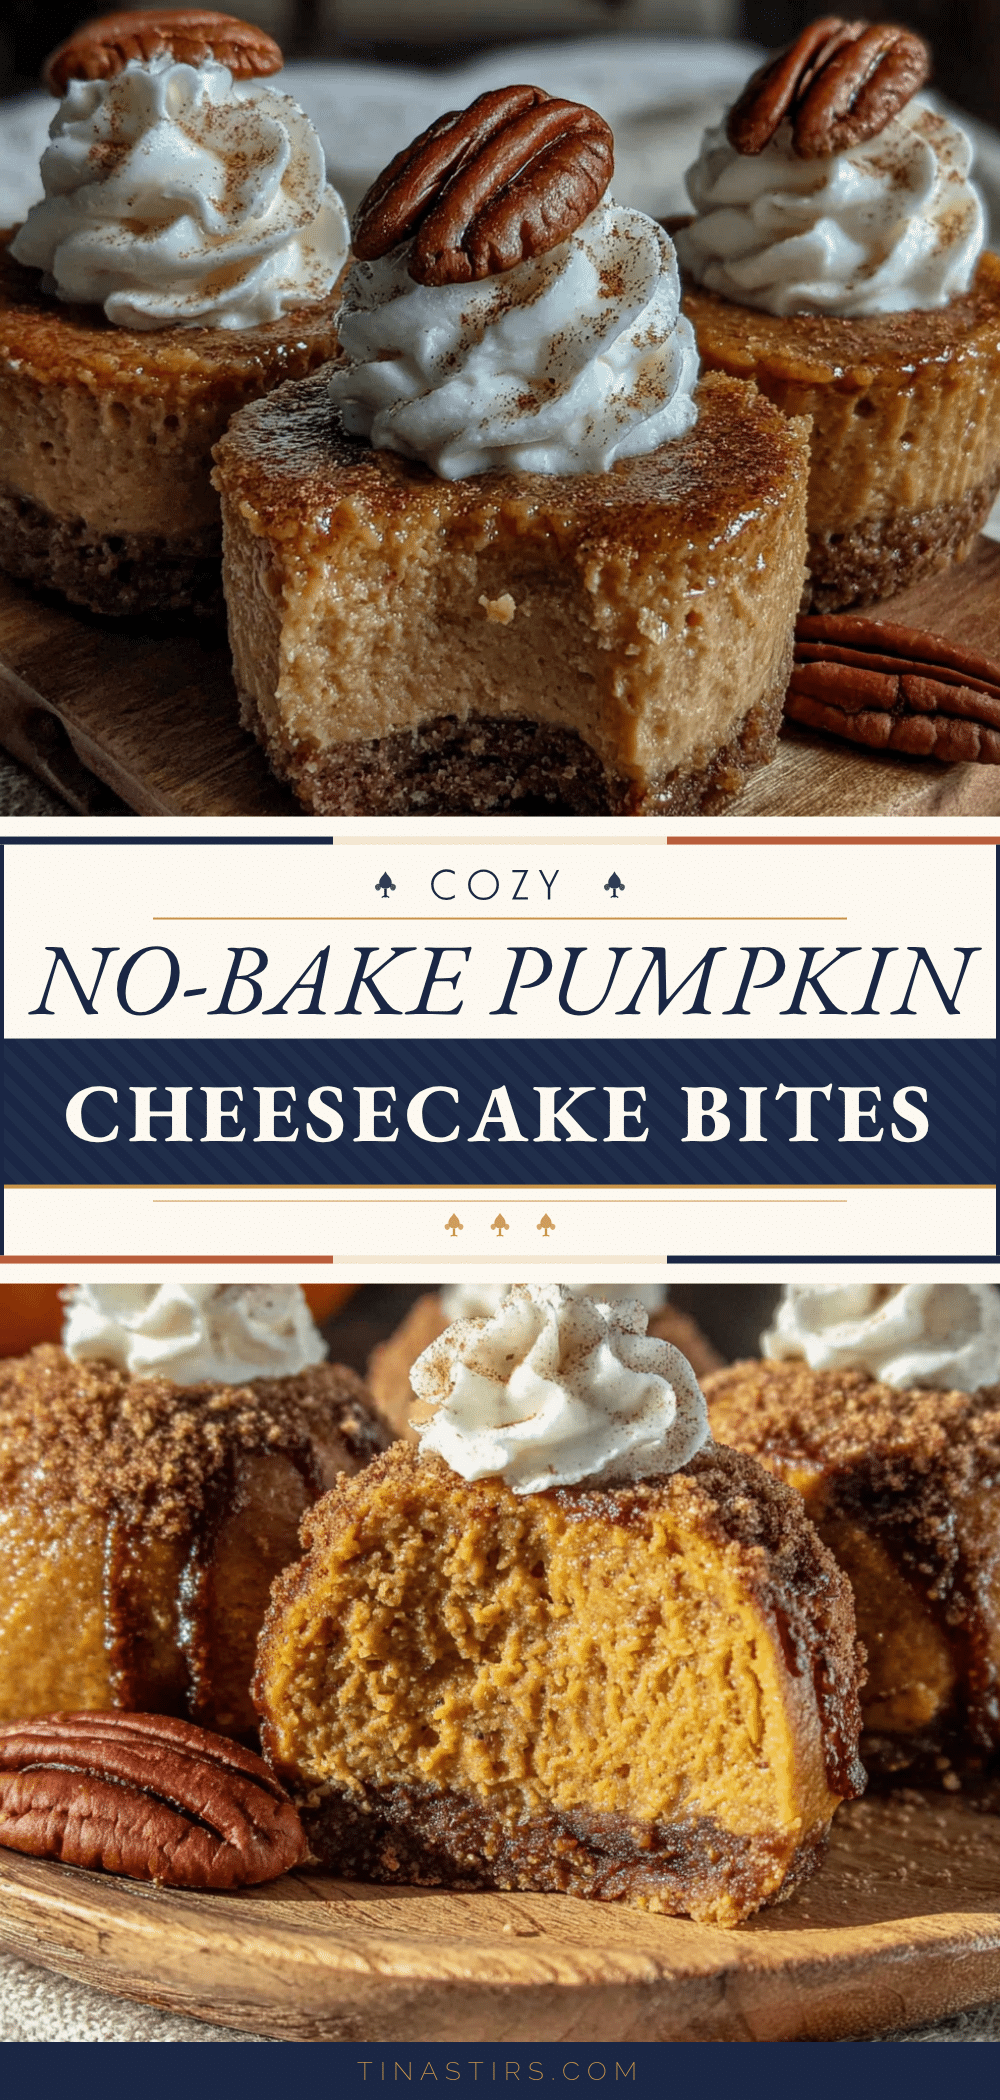
Cozy No-Bake Pumpkin Cheesecake Bites: Easy 10-Min Recipe
These no-bake pumpkin cheesecake bites are creamy, spiced perfectly, and come together in just 10 minutes. No oven required, making them the perfect easy fall dessert for any gathering.
- Prep Time: 10 minutes
- Cook Time: 0 minutes
- Total Time: 3 hours 10 minutes (includes chilling)
- Yield: 16 servings 1x
- Category: Dessert
- Cuisine: American
Ingredients
- 1 ½ cups graham cracker crumbs (about 10 full sheets, crushed finely)
- 6 tablespoons unsalted butter, melted
- 2 tablespoons granulated sugar
- ¼ teaspoon pumpkin pie spice (optional)
- 8 ounces cream cheese, softened
- ½ cup pumpkin puree (100% pure pumpkin, not pumpkin pie filling)
- ⅓ cup powdered sugar
- ¼ cup packed light brown sugar
- 1 teaspoon vanilla extract
- 1 teaspoon pumpkin pie spice
- ¼ teaspoon salt
- ½ cup whipped cream or Cool Whip (optional topping)
- ¼ cup crushed graham crackers or gingersnap cookies (optional topping)
- A dusting of cinnamon or pumpkin pie spice (optional topping)
Instructions
- Make the crust: In a medium bowl, combine graham cracker crumbs, 2 tablespoons granulated sugar, and ¼ teaspoon pumpkin pie spice if using. Pour in melted butter and stir with a fork until every crumb is moistened. It should look like wet sand and hold together when squeezed.
- Press the crust into the pan: Line an 8×8-inch pan with parchment paper, leaving overhang on two sides. Dump the crust mixture in and press down firmly with the bottom of a flat measuring cup or glass. Refrigerate while making the filling.
- Beat the cream cheese: In a large bowl, beat softened cream cheese with a hand mixer on medium speed until smooth and fluffy, about 2 minutes. Scrape down sides and bottom of bowl.
- Add the pumpkin and sugars: Add pumpkin puree, powdered sugar, brown sugar, and vanilla extract. Beat on low until combined, then increase to medium and beat for another minute until smooth and creamy.
- Add the spices: Sprinkle in pumpkin pie spice and salt. Beat on low just until incorporated. Taste and adjust spices if desired.
- Spread the filling over the crust: Remove pan from fridge. Spoon filling over crust and spread evenly with a spatula. Tap pan gently on counter to release air bubbles.
- Chill until firm: Cover pan with plastic wrap and refrigerate for at least 3 hours, preferably overnight. For a quicker set, freeze for about 1 hour.
- Cut and serve: Once firm, lift block out of pan using parchment overhang. Place on cutting board and cut into 16 squares (4×4). Wipe knife clean between cuts for neat edges.
- Add toppings (optional): Pipe whipped cream on each bite, sprinkle with crushed graham crackers or cinnamon. Serve cold.
Notes
Use room-temperature cream cheese for smooth filling. If pumpkin puree is watery, blot with paper towels before using. Press crust firmly to prevent crumbling. Chill at least 3 hours for best texture. For clean cuts, use a hot knife wiped clean between slices.
Nutrition
- Serving Size: 1 bite
- Calories: 185
- Sugar: 12
- Sodium: 150
- Fat: 12
- Saturated Fat: 7
- Carbohydrates: 18
- Fiber: 1
- Protein: 3
Keywords: no-bake pumpkin cheesecake bites, easy pumpkin dessert, fall dessert, no-bake cheesecake, pumpkin cheesecake bites, 10-minute recipe


