Love this? Save it for later!
Share the inspiration with your friends
Introduction
“Last Saturday afternoon wasn’t anything special,” I remember thinking. I’d popped over to my neighbor Marcy’s just to borrow a cup of sugar, but before I even stepped inside, the subtle floral scent of lavender mixed with something sweet and tangy stopped me dead in my tracks. Marcy wasn’t making a big fuss about it—just casually stirring a bowl on her kitchen counter, humming softly like it was no big deal. Honestly, I was half expecting some complicated gadget or a fancy ice cream maker to be involved, but nope. Just a simple, no-churn ice cream base and a handful of fresh-picked huckleberries from her weekend hike.
The bowl she cracked open had this slightly cracked rim, worn from years of use, and I almost felt like I was intruding on a secret ritual. She shrugged when I asked about it, like it was her everyday go-to treat. Maybe you’ve been there—sniffing out something that smells like summer and wildflower honey, right when you thought you were just stopping by. That little moment stuck with me, and honestly, this creamy no-churn huckleberry lavender ice cream is now one of my favorite lazy-day desserts. It’s effortless, but somehow still feels special enough to bring out when company’s coming—or just when you need a little sweet calm.
Why You’ll Love This Recipe
After making this recipe myself a handful of times, let me tell you why it has earned a permanent spot in my freezer and my heart:
- Quick & Easy: Comes together in under 15 minutes, no ice cream machine needed, which is a lifesaver on busy or lazy days.
- Simple Ingredients: You probably have everything on hand already—heavy cream, sweetened condensed milk, and a splash of lavender extract make it uniquely delicious without the hassle.
- Perfect for Summer Gatherings: Whether it’s a weekend barbecue or a casual brunch, this ice cream’s fresh huckleberry flavor and floral notes make it a standout treat.
- Crowd-Pleaser: The subtle lavender scent surprises everyone in the best way, and the creamy texture keeps kids and adults coming back for more.
- Unbelievably Delicious: The combination of tart huckleberries and fragrant lavender creates a delicate balance that’s both refreshing and soothing.
- Unique Twist: Unlike typical berry ice creams, the addition of lavender adds a gourmet flair without complicating the process. Plus, the no-churn method means you don’t need any special equipment.
This recipe isn’t just another frozen dessert. It’s that kind of treat that makes you pause, close your eyes, and savor the moment—comfort food with a floral whisper. Whether you’re an ice cream purist or looking to impress without stress, this is one recipe you’ll come back to again and again.
What Ingredients You Will Need
This recipe uses simple, wholesome ingredients to deliver a bold, creamy flavor with the perfect balance of floral and fruity notes. Most of these are pantry staples or easy to find at your local grocery store or farmers market.
- Heavy Cream (2 cups / 480 ml) – For that rich, creamy texture. I like using organic heavy cream from local dairies when possible.
- Sweetened Condensed Milk (1 can, 14 oz / 396 g) – Adds sweetness and helps the ice cream set without churning.
- Fresh or Frozen Huckleberries (1 cup / 150 g) – Tart and juicy, these give the ice cream its signature flavor. If you can’t find huckleberries, wild blueberries work as a substitute.
- Lavender Extract (1 teaspoon) – Use culinary grade extract for the best flavor; a little goes a long way here.
- Vanilla Extract (1 teaspoon) – Enhances the overall flavor profile with a warm, familiar note.
- Fresh Lemon Juice (1 tablespoon) – Balances the sweetness and brightens the berry flavor.
- Optional: A pinch of sea salt – to deepen the flavor complexity.
Pro tip: If you’re using frozen huckleberries, thaw them and drain excess juice so the ice cream isn’t watery. In summer, swapping in fresh berries makes this even more vibrant and seasonal.
Equipment Needed
- Mixing Bowls: Medium and large bowls for whipping cream and mixing ingredients.
- Electric Hand Mixer or Stand Mixer: To whip the heavy cream to soft peaks quickly. I’ve tried whisking by hand, but trust me, the mixer saves time and effort.
- Spatula: For folding ingredients gently without deflating the cream.
- Freezer-Safe Container: A loaf pan or plastic container with a lid works perfectly for freezing the ice cream.
- Measuring Cups and Spoons: Accurate measurements make a difference, especially for the lavender extract.
If you’re on a budget or missing the hand mixer, a balloon whisk can work, but be prepared for a bit of an arm workout! Also, keep your mixing bowl chilled for better whipping results.
Preparation Method
- Prepare the Huckleberries – In a small saucepan over medium heat, combine the huckleberries with the fresh lemon juice and a tablespoon of sugar (optional). Cook gently for about 5 minutes, stirring occasionally, until the berries start to break down and release their juices. Remove from heat and let cool completely. This step enhances the berry flavor and softens the texture.
- Whip the Heavy Cream – Using your electric mixer, whip the heavy cream in a chilled large bowl until soft peaks form. This usually takes about 3–5 minutes. Watch closely; over-whipping will turn it grainy, and under-whipping won’t build the right structure.
- Mix the Base – In another bowl, gently stir the sweetened condensed milk with the lavender extract and vanilla extract until combined.
- Fold the Cream and Base – Carefully fold the whipped cream into the condensed milk mixture in batches, using a spatula to maintain the airy texture. This step determines how creamy your ice cream will be, so patience is key!
- Add the Berries – Fold in the cooled huckleberry mixture, including any juices, but don’t overmix. You want pretty swirls of berry throughout, not a uniform purple color.
- Freeze – Pour the mixture into your freezer-safe container and smooth the top with a spatula. Cover tightly with a lid or plastic wrap. Freeze for at least 6 hours, preferably overnight, until firm.
- Serve – Let the ice cream sit at room temperature for 5 minutes before scooping for the perfect texture.
Tip: When folding, think slow and gentle—like giving the mixture a tender hug rather than a rough shake. Also, if you notice the ice cream is icy or too hard after freezing, try stirring it once or twice during the first two hours of freezing to keep it smooth.
Cooking Tips & Techniques
Here are some hands-on pointers I’ve picked up while mastering this creamy no-churn huckleberry lavender ice cream recipe:
- Whipping cream perfectly: Chill your bowl and beaters in the fridge for 15 minutes beforehand. It helps the cream whip faster and fluffier.
- Measuring lavender extract: Lavender can be overpowering. I learned the hard way by adding too much and ending up with a soapy taste. Start with 1 teaspoon, and adjust slightly next time if you want a stronger floral note.
- Berry preparation: Cooking the huckleberries softens them and intensifies flavor but avoid overcooking; you want some texture, not jam.
- Folding technique: Use a spatula to fold in gentle, sweeping motions. It keeps air in the cream, making the ice cream light instead of dense.
- Freezing tips: Cover the container tightly to avoid ice crystals forming on the surface. If you want an ultra-smooth texture, stirring the ice cream once or twice in the first couple of hours works wonders.
Honestly, this no-churn method is forgiving and perfect for anyone who’s tempted by homemade ice cream but intimidated by machines or complicated steps.
Variations & Adaptations
You can tweak this recipe in several ways to suit your taste or dietary needs:
- Dairy-Free Version: Swap heavy cream with full-fat coconut cream and use sweetened condensed coconut milk. It changes the flavor slightly but still keeps that creamy texture.
- Seasonal Berry Swap: Replace huckleberries with fresh strawberries or raspberries in summer, or frozen blackberries in winter.
- Herbal Twist: If lavender isn’t your thing, try swapping that extract for a bit of fresh mint or basil for a different floral profile.
- Reduced Sugar: Use a sugar-free sweetened condensed milk alternative to cut down on sugar without losing creaminess.
I once tried adding a swirl of honey lavender syrup on top before freezing for an extra floral kick—totally worth the extra step!
Serving & Storage Suggestions
This ice cream is best served slightly softened for easy scooping. The creamy texture pairs beautifully with a simple shortbread cookie or a slice of lemon pound cake. For beverages, a cup of Earl Grey tea or a light sparkling wine complements the floral and berry notes.
Store leftovers in an airtight container in the freezer for up to two weeks. To prevent ice crystals, press a piece of parchment paper directly on the ice cream’s surface before sealing. When reheating, just let it sit at room temperature for about 5 minutes and stir gently if needed.
Flavors tend to deepen overnight, so sometimes I find it tastes even better the next day, like a little frozen flower garden in a bowl.
Nutritional Information & Benefits
Per serving (about ½ cup / 125 ml):
| Calories | 250 |
|---|---|
| Fat | 18g |
| Sugar | 20g |
| Protein | 3g |
Huckleberries are packed with antioxidants, vitamin C, and fiber, making them a healthier berry choice. Lavender, used sparingly, is believed to have calming properties. This recipe is naturally gluten-free and can be adjusted for dairy-free diets. Just watch for allergies to dairy or flowers if you’re serving guests.
Conclusion
This creamy no-churn huckleberry lavender ice cream is proof that you don’t need fancy tools or complicated steps to make something truly special. The fresh berry flavor with the subtle floral twist feels like a little celebration of nature’s best, all whipped into a smooth, dreamy treat. I love how it’s both a comfort food and a bit of a surprise for anyone who tries it.
Give it a shot, and don’t be shy about tweaking the flavors to your liking—maybe a bit more lavender or extra berries, whatever feels right. I’d love to hear how you make it yours, so please share your experiences or questions below. Here’s to sweet, simple pleasures that make life a little brighter!
FAQs
Can I make this ice cream ahead of time?
Absolutely! You can prepare the mixture and freeze it for several hours or overnight. Just remember to let it soften a bit before serving.
What if I don’t have huckleberries?
Wild blueberries or blackberries make great substitutes, offering a similar tart and sweet flavor.
Is it possible to make this recipe vegan?
Yes, by replacing heavy cream with full-fat coconut cream and using a dairy-free sweetened condensed milk alternative.
How do I avoid ice crystals forming in no-churn ice cream?
Cover the ice cream tightly with a lid or plastic wrap, and consider stirring it once or twice during the first couple of hours of freezing.
Can I add mix-ins like nuts or chocolate chips?
Definitely! Fold in your favorite mix-ins gently before freezing for extra texture and flavor.
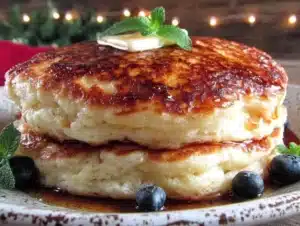
For a fun twist on frozen desserts, you might enjoy trying some of my other recipes like crispy garlic chicken or the blueberry lemon pancakes, which also celebrate fresh fruit and bold flavors in simple ways.
Pin This Recipe!
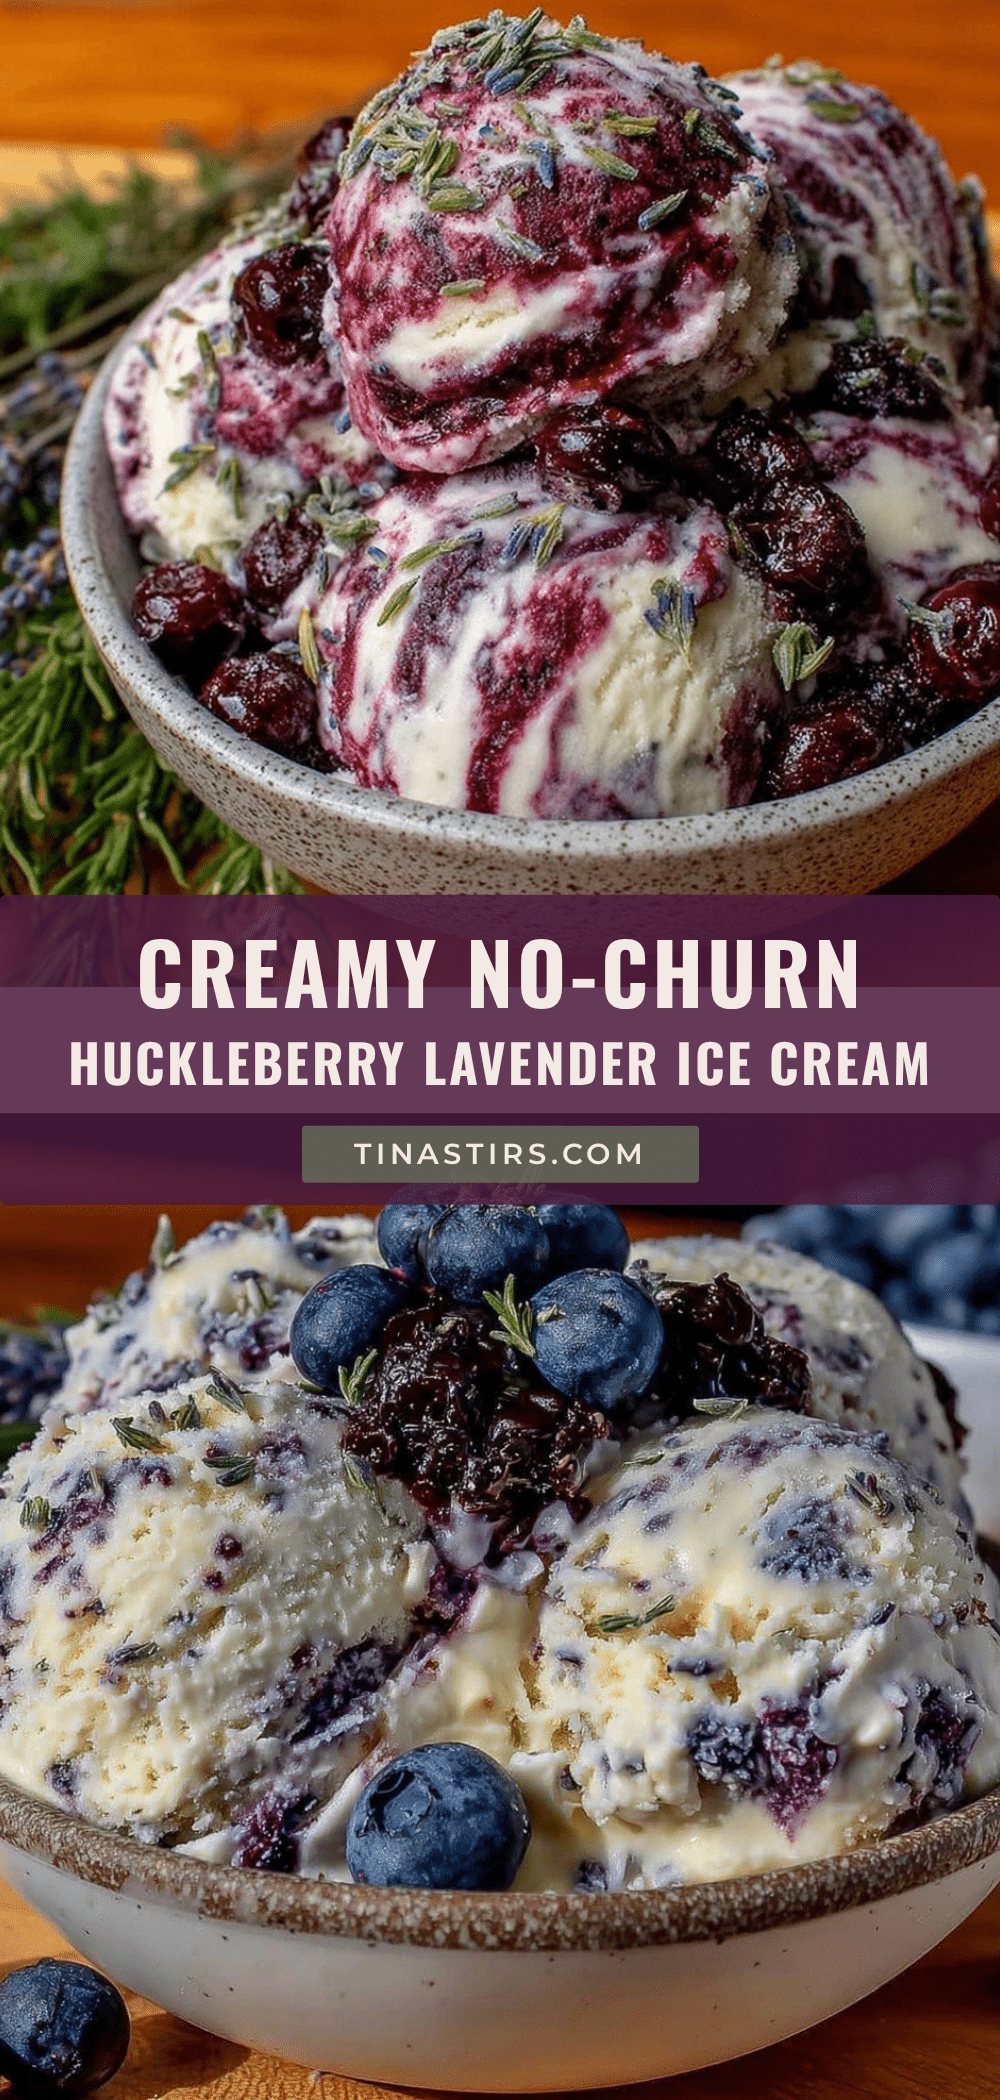
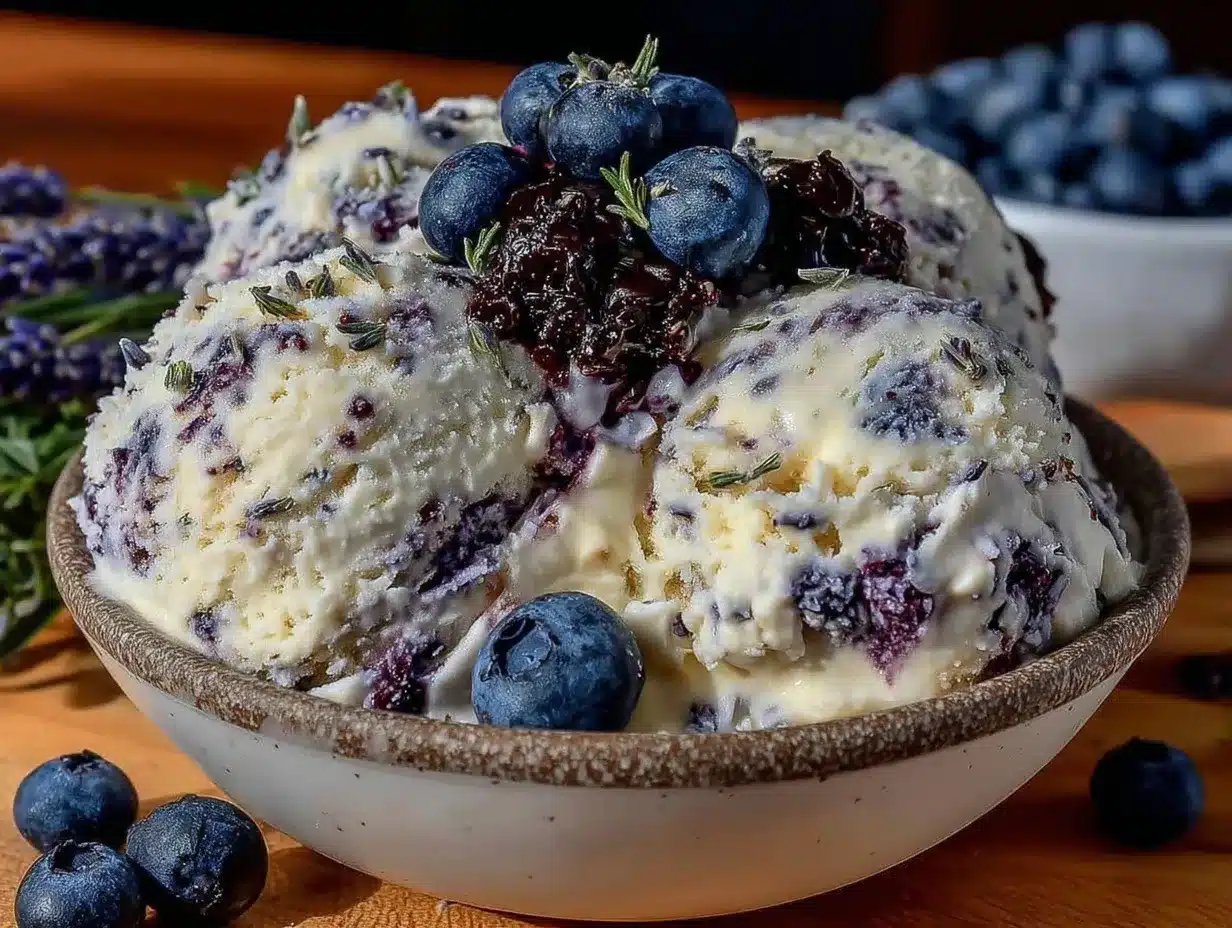
Creamy No-Churn Huckleberry Lavender Ice Cream
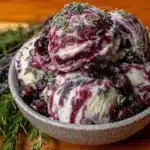
A quick and easy no-churn ice cream featuring tart huckleberries and a subtle floral lavender twist, perfect for summer gatherings and lazy days.
- Prep Time: 15 minutes
- Cook Time: 5 minutes
- Total Time: 6 hours 20 minutes
- Yield: 6 servings 1x
- Category: Dessert
- Cuisine: American
Ingredients
- 2 cups heavy cream (480 ml)
- 1 can sweetened condensed milk (14 oz / 396 g)
- 1 cup fresh or frozen huckleberries (150 g)
- 1 teaspoon culinary grade lavender extract
- 1 teaspoon vanilla extract
- 1 tablespoon fresh lemon juice
- Optional: pinch of sea salt
- Optional: 1 tablespoon sugar (for cooking berries)
Instructions
- Prepare the Huckleberries – In a small saucepan over medium heat, combine the huckleberries with the fresh lemon juice and a tablespoon of sugar (optional). Cook gently for about 5 minutes, stirring occasionally, until the berries start to break down and release their juices. Remove from heat and let cool completely.
- Whip the Heavy Cream – Using your electric mixer, whip the heavy cream in a chilled large bowl until soft peaks form, about 3–5 minutes.
- Mix the Base – In another bowl, gently stir the sweetened condensed milk with the lavender extract and vanilla extract until combined.
- Fold the Cream and Base – Carefully fold the whipped cream into the condensed milk mixture in batches using a spatula to maintain the airy texture.
- Add the Berries – Fold in the cooled huckleberry mixture, including any juices, but don’t overmix to keep pretty swirls of berry throughout.
- Freeze – Pour the mixture into a freezer-safe container and smooth the top with a spatula. Cover tightly with a lid or plastic wrap. Freeze for at least 6 hours or overnight until firm.
- Serve – Let the ice cream sit at room temperature for 5 minutes before scooping for the perfect texture.
Notes
Chill your mixing bowl and beaters before whipping cream for better results. Use culinary grade lavender extract and measure carefully to avoid overpowering flavor. Stir ice cream once or twice during the first two hours of freezing to prevent ice crystals. Frozen huckleberries should be thawed and drained to avoid watery ice cream.
Nutrition
- Serving Size: About 1/2 cup (125 m
- Calories: 250
- Sugar: 20
- Fat: 18
- Protein: 3
Keywords: no-churn ice cream, huckleberry ice cream, lavender ice cream, homemade ice cream, easy dessert, summer dessert, floral ice cream