Love this? Save it for later!
Share the inspiration with your friends
My roommate asked me why I couldn’t just dump a whole roasted butternut squash into the cheese sauce instead of mashing it separately. I started to explain why that wouldn’t work — something about texture and emulsification and the integrity of the sauce. Then I stopped. Honestly, I had no good reason. I just assumed it would turn into a watery mess.
So I tried it. I scraped the roasted squash right out of its skin and into the pot with the milk and cheese. I stirred, fully expecting to see it separate into some sad, orange puddle. Instead, it melted into the creamiest, most velvety sauce I had ever made. I stood there with my spatula mid-air, genuinely stunned. My roommate just raised an eyebrow and said, “Told you.”
That was the first time I made this creamy one-pot butternut squash mac and cheese, and let me tell you, it has become a permanent fixture in my kitchen. The squash doesn’t just add color — it creates a sauce so smooth and rich that you won’t believe there’s no heavy cream involved. Maybe you’ve been there, standing over a pot of mac and cheese, wishing for something a little more grown-up but still deeply comforting. This is that recipe.
It’s the kind of dish that makes you feel clever without doing much work. The squash brings a subtle sweetness that plays beautifully against sharp cheddar, and the one-pot method means you’re not drowning in dirty dishes. I keep making it because it solves the problem of wanting something indulgent on a Tuesday night without spending hours in the kitchen. It’s comfort food that actually works with your life.
Why You’ll Love This Recipe
I have tested this recipe more times than I care to admit — through burnt pots, overly thick sauces, and one particularly disastrous attempt with pre-shredded cheese that shall not be discussed. What I landed on is a version that works every single time, and here is exactly why it deserves a spot in your rotation.
- One-Pot Wonder: Everything happens in a single pot — the pasta boils, the sauce comes together, and dinner is served. Less cleanup means more time actually enjoying your meal.
- Hidden Veggie Genius: The butternut squash blends completely into the sauce. Even picky eaters won’t spot it. You get a full serving of vegetables without anyone feeling like they’re eating health food.
- No Heavy Cream Needed: The squash creates an incredibly creamy texture all on its own. This is lighter than traditional mac and cheese but still feels completely decadent.
- Perfect for Busy Nights: From start to finish, this takes about 30 minutes. It is fast enough for a weeknight but impressive enough for company.
- Freezer-Friendly: Make a double batch and stash one in the freezer. It reheats beautifully, which is rare for mac and cheese.
- Naturally Gluten-Free Adaptable: Swap in your favorite gluten-free pasta, and you are good to go. The sauce is naturally thick and clings perfectly to any noodle shape.
What makes this recipe different from the dozens of other butternut squash mac and cheese recipes out there is the technique. Most versions have you make a separate béchamel, then add pureed squash, then combine everything. That is extra work and extra dishes. Here, the squash goes straight into the pot with the milk and melts into the sauce as it heats. It sounds too simple to work, but it creates a silkier, more integrated sauce with less effort. I learned this trick the hard way — by stubbornly refusing to puree squash in a blender ever again.
This is the kind of recipe you will make on a Tuesday when you have nothing planned for dinner and somehow end up with a meal that feels special. It is comfort food that does not weigh you down, and honestly, that is exactly what most of us need.
What Ingredients You Will Need
This recipe relies on simple, everyday ingredients to build big flavor. The magic happens when roasted squash meets sharp cheddar, and the rest is just supporting players that make everything come together smoothly.
For the Butternut Squash Base
- 1 medium butternut squash (about 2 pounds) — Look for one that feels heavy for its size with firm, unblemished skin. You will roast it whole, so size matters more than shape.
- 1 tablespoon olive oil — Just enough to coat the squash before roasting. Any neutral oil works here.
- Salt and black pepper — A generous pinch of each to season the squash before it goes into the oven.
For the Pasta and Sauce
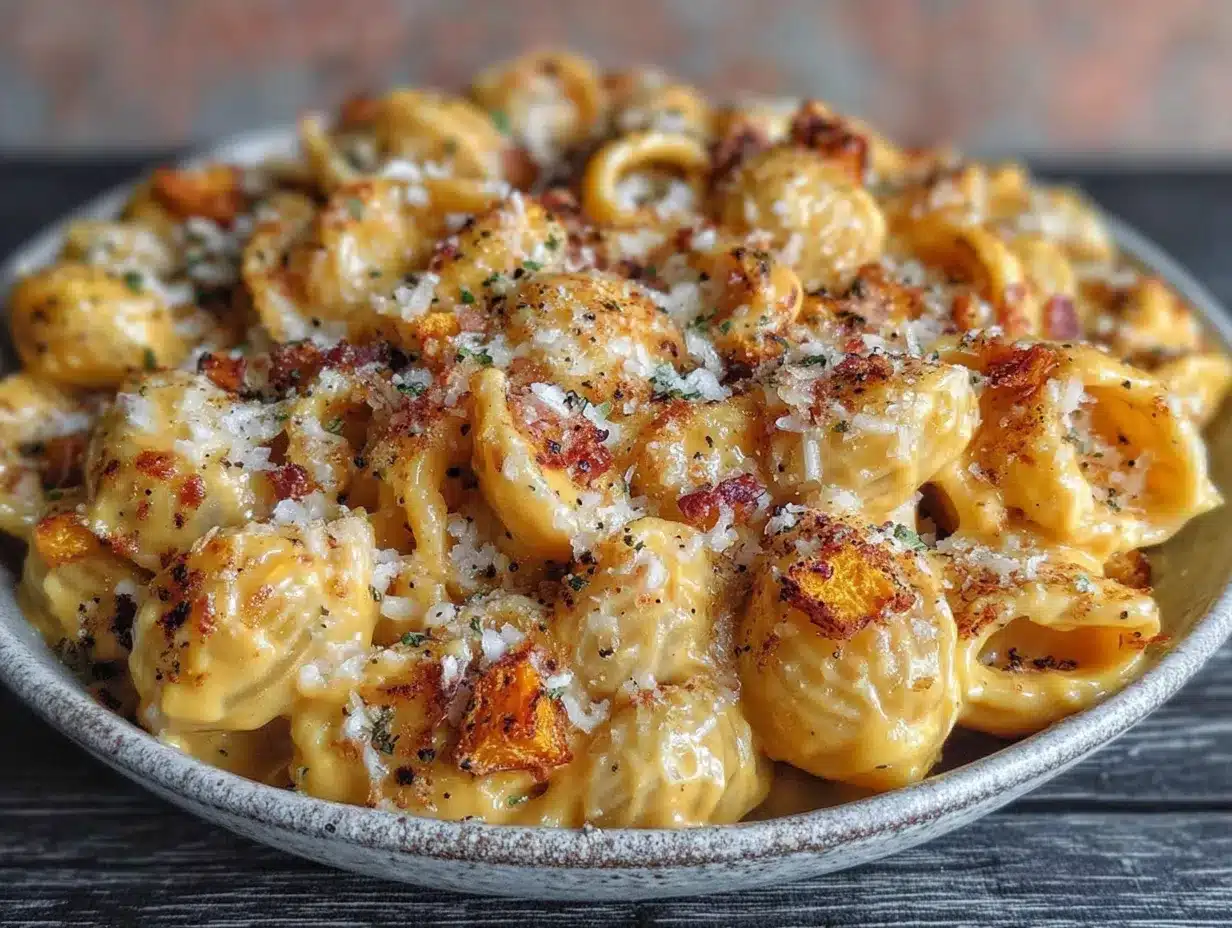
- 8 ounces elbow macaroni (about 2 cups) — You can use any small pasta shape. I love cavatappi or shells because they catch the sauce in their curves. For a gluten-free option, use your favorite gluten-free pasta — just check the cooking time as it varies by brand.
- 2 tablespoons unsalted butter — This adds richness and helps the sauce cling to the pasta. I prefer Kerrygold for its creamy flavor, but any good butter works.
- 2 cloves garlic, minced — Fresh garlic is non-negotiable here. The jarred stuff tastes flat and won’t give you that aromatic depth.
- 1 cup whole milk — Whole milk creates the creamiest sauce. You can use 2% in a pinch, but avoid skim milk as it can make the sauce watery. For a dairy-free version, unsweetened oat milk works surprisingly well.
- 1 cup vegetable broth — This adds savory depth and helps thin the sauce to the perfect consistency. Chicken broth works too if you are not keeping it vegetarian.
- 8 ounces sharp cheddar cheese, freshly grated — This is the most important step. Pre-shredded cheese contains anti-caking agents that prevent smooth melting. Grate your own — it takes two minutes and makes a huge difference. I use a sharp white cheddar for tang, but yellow cheddar works beautifully too.
- 2 ounces cream cheese, softened — This is my secret ingredient. It adds a subtle tang and makes the sauce extra creamy without making it heavy.
- ¼ teaspoon smoked paprika — A little goes a long way. It adds warmth and a hint of smokiness that complements the sweet squash perfectly.
- ⅛ teaspoon ground nutmeg — This is optional but highly recommended. Nutmeg and squash are a classic pairing, and it adds a subtle warmth that makes the dish feel complete.
For the Topping (Optional)
- ¼ cup panko breadcrumbs — For a crunchy finish. Gluten-free panko works great here.
- 1 tablespoon melted butter — To toss with the breadcrumbs before sprinkling on top.
- 2 tablespoons grated Parmesan cheese — Adds salty, nutty flavor to the topping.
Equipment Needed
You do not need a fancy kitchen to pull this off. Here is exactly what you will need:
- Baking sheet — For roasting the squash. A rimmed sheet works best to catch any drips.
- Large pot or Dutch oven — This is your main vessel. I use a 5-quart Dutch oven, but any heavy-bottomed pot with a lid works. The heavy bottom prevents the milk from scorching.
- Box grater — For grating your own cheese. A microplane works for the garlic and nutmeg if you prefer.
- Wooden spoon or silicone spatula — For stirring the sauce. Metal can scratch your pot.
- Small bowl — For mixing the breadcrumb topping if you are using it.
- Chef’s knife and cutting board — For halving the squash and mincing garlic.
If you do not have a Dutch oven, any large, deep skillet or stockpot will work. Just keep an eye on the heat to prevent sticking. I have made this in a cheap nonstick pot before, and it turned out fine — the key is stirring regularly and not cranking the heat too high.
A tip from someone who learned the hard way: use a pot with a lid for the pasta cooking stage. It helps the water come to a boil faster, and you will need that lid later when you let the sauce rest. Less energy used, less time waiting.
Preparation Method
Let me walk you through this step by step. The process is straightforward, but I have included all the little details that make the difference between good mac and cheese and unforgettable mac and cheese.
- Roast the Squash
Preheat your oven to 400°F (200°C). Carefully halve the butternut squash lengthwise using a sharp chef’s knife — go slow, that skin is tough. Scoop out the seeds and stringy bits with a spoon. Brush the cut sides with olive oil and season with salt and pepper. Place the squash cut-side down on a baking sheet. Roast for 35-40 minutes until the flesh is fork-tender and the skin is beginning to brown. Let it cool for 5 minutes — long enough to handle, but still warm. - Cook the Pasta
While the squash roasts, bring a large pot of salted water to a boil. Add the macaroni and cook according to package directions until al dente. Here is the trick: cook it 1 minute less than the package says. The pasta will continue cooking in the sauce later, and you want it to hold its shape. Reserve about ½ cup of pasta water before draining, then drain the pasta and set it aside. Do not rinse the pasta — you want that starch to help the sauce cling. - Start the Sauce Base
In the same pot you used for the pasta (see, one pot!), melt the butter over medium heat. Add the minced garlic and cook for 30 seconds until fragrant — do not let it brown or it will turn bitter. Pour in the milk and vegetable broth, stirring to combine. Scrape the roasted squash flesh from the skin — it should come off easily in large pieces — and add it directly to the pot. - Blend the Sauce
Here is where the magic happens. Use an immersion blender right in the pot to puree the squash into the milk mixture until completely smooth. If you do not have an immersion blender, carefully transfer the mixture to a regular blender, blend until smooth, and return it to the pot. Be careful with hot liquids in a blender — work in batches and hold the lid down with a towel. The sauce should be thick, velvety, and a beautiful golden-orange color. - Add the Cheese
Reduce the heat to low. Add the cream cheese and stir until completely melted and incorporated. Now add the shredded cheddar cheese in handfuls, stirring constantly after each addition until fully melted. This gradual addition prevents the sauce from breaking. Stir in the smoked paprika and nutmeg. Taste and adjust salt and pepper — the cheese adds salt, so you may not need much. - Combine Everything
Add the drained pasta to the sauce and stir until every piece is coated. If the sauce seems too thick, add a splash of the reserved pasta water — the starch helps it stay silky. Let it cook on low for 2 minutes, stirring occasionally, so the pasta absorbs some of that saucy goodness. - Optional Crispy Topping
If you want that crunchy top, preheat your broiler. In a small bowl, mix the panko breadcrumbs with melted butter and Parmesan. Sprinkle over the mac and cheese. Broil for 2-3 minutes until golden brown — watch it carefully, broilers work fast. Let it rest for 5 minutes before serving. The sauce will thicken slightly as it cools.
A few things I have learned the hard way: if your sauce looks grainy, you either added the cheese too quickly or the heat was too high. Low and slow is the rule. And if you forget to reserve pasta water (guilty), just use a splash of warm milk instead. It works fine.
Cooking Tips & Techniques
Over the many batches of this mac and cheese, I have collected some hard-won wisdom. Here is what I wish someone had told me before I started.
Grate your own cheese. I cannot stress this enough. Pre-shredded cheese is coated in cellulose and starches that prevent clumping in the bag — and prevent smooth melting in your sauce. Take the two minutes to grate a block of cheddar. Your sauce will be silky instead of grainy.
Do not skip roasting the squash. I tried steaming it once to save time. The result was a watery, bland sauce that tasted more like sad squash than creamy mac and cheese. Roasting concentrates the natural sugars and deepens the flavor. It is worth the extra 10 minutes of hands-off oven time.
Low heat is your friend. When you add the cheese, keep the heat on low. High heat causes the proteins in the cheese to seize up and separate from the fat, leaving you with a greasy, clumpy mess. If you see tiny bubbles forming around the edge of the pot, you are too hot. Pull it off the heat for a minute, then continue.
Taste as you go. The amount of salt you need depends entirely on your cheese and broth. Some cheddars are aggressively salty; others are mild. Taste the sauce before you add the pasta, then adjust. You can always add more salt, but you cannot take it out.
Let it rest before serving. This is the hardest lesson for hungry people. The sauce needs a few minutes off the heat to set up properly. If you serve it immediately, it will be looser than you want. Five minutes of patience gives you that perfect, clingy sauce that coats every noodle.
Multitask wisely. Start the squash roasting first. While it is in the oven, grate your cheese, mince your garlic, and measure your liquids. By the time the squash is done, everything else is ready to go. The actual active cooking time is about 15 minutes — the rest is just waiting.
Variations & Adaptations
One of the best things about this recipe is how flexible it is. Here are some variations I have tried and loved.
Add Some Protein: Stir in 1 cup of cooked, shredded chicken or crispy bacon bits right before serving. The smoky bacon pairs incredibly with the sweet squash. I once added leftover pulled pork, and it was a revelation — the tangy pork cut through the richness perfectly.
Make It Vegan: Use unsweetened oat milk instead of dairy milk, vegan butter, and a good quality vegan cheddar that melts well. Miyoko’s and Violife are my go-to brands. The cream cheese can be swapped for a vegan version or omitted entirely — the squash provides enough creaminess on its own.
Spice It Up: Add ¼ teaspoon of cayenne pepper or a minced jalapeño along with the garlic. The heat cuts through the richness and adds a nice kick. I have also stirred in a tablespoon of harissa paste for a North African twist — the smoky, spicy notes are fantastic.
Change the Cheese: Sharp cheddar is classic, but Gouda adds a smoky depth, Gruyère brings nuttiness, and Monterey Jack makes it extra creamy. I once made a version with half cheddar and half smoked Gouda, and it disappeared in minutes. Feel free to mix and match based on what you have in the fridge.
Add Greens: Stir in a handful of fresh spinach or chopped kale right after you add the cheese. It wilts into the sauce and adds color and nutrients without changing the flavor much. I have also added roasted broccoli florets on top for a crunchy contrast.
Baked Version: If you prefer a baked mac and cheese, transfer the finished dish to a baking dish, top with the panko mixture, and bake at 375°F (190°C) for 15 minutes until bubbly and golden. It takes a bit longer but gives you that classic crispy top that everyone fights over.
Serving & Storage Suggestions
This mac and cheese is best served hot, straight from the pot, with the sauce still loose and glossy. Spoon it into warm bowls — cold bowls will make the sauce seize up — and top with a sprinkle of fresh parsley or extra black pepper for color.
It pairs beautifully with a simple green salad dressed with lemon vinaigrette. The acidity cuts through the richness and keeps the meal balanced. I also love serving it alongside roasted chicken or a piece of crispy salmon. For a vegetarian meal, add a side of roasted asparagus or sautéed green beans.
For storage, let the mac and cheese cool completely before transferring to an airtight container. It will keep in the refrigerator for up to 4 days. The sauce will thicken as it sits — this is normal. To reheat, add a splash of milk or broth and warm it gently on the stovetop over low heat, stirring frequently. The microwave works in a pinch, but the texture won’t be as creamy.
This recipe freezes beautifully. Portion it into freezer-safe containers or zip-top bags, pressing out as much air as possible. It will keep for up to 3 months. Thaw overnight in the refrigerator before reheating. I like to freeze individual portions for quick lunches — just grab one, reheat, and you have a comforting meal in minutes.
A note on flavor development: this mac and cheese actually tastes better on day two. The flavors meld together overnight, and the sauce thickens to a perfect consistency. If you can resist eating it all on day one, you are in for a treat.
Nutritional Information & Benefits
Here is the approximate nutritional breakdown per serving (based on 6 servings, without the breadcrumb topping):
| Nutrient | Amount per Serving |
|---|---|
| Calories | 420 |
| Protein | 16g |
| Fat | 22g |
| Saturated Fat | 12g |
| Carbohydrates | 42g |
| Fiber | 4g |
| Sugar | 8g |
| Sodium | 520mg |
| Vitamin A | 180% DV |
| Vitamin C | 20% DV |
| Calcium | 30% DV |
| Iron | 10% DV |
The butternut squash is the star here nutritionally. It is packed with vitamin A in the form of beta-carotene, which supports eye health and immune function. It also provides a solid dose of vitamin C, potassium, and fiber. The cheese adds calcium and protein, making this a more balanced meal than traditional mac and cheese.
This recipe is naturally vegetarian and can easily be made gluten-free or vegan with the substitutions mentioned above. It contains dairy and gluten in its standard form, so keep that in mind for guests with allergies. I personally love that this version lets me enjoy comfort food without the heavy cream — it feels indulgent but leaves me feeling satisfied rather than sluggish.
Conclusion
This creamy one-pot butternut squash mac and cheese has become my go-to for so many reasons. It is fast enough for a hectic weeknight, fancy enough for company, and comforting enough to make you close your eyes after the first bite. The squash adds a subtle sweetness and incredible creaminess that you just cannot get from butter and flour alone.
I love that this recipe meets you where you are. Want it extra cheesy? Add more cheddar. Want it spicy? Toss in some cayenne. Want it on the table in 30 minutes? Done. It is forgiving, adaptable, and somehow always turns out delicious, even when I am rushing or distracted.
I would love to hear how this turns out for you. Did you add something unexpected? Did your family go back for seconds? Drop a comment below and let me know — your tweaks might inspire someone else’s dinner tonight. And if you loved it, share it with a friend who needs a little comfort food in their life.
Go make some mac and cheese. You deserve it.
Frequently Asked Questions
Can I use frozen butternut squash instead of fresh?
Yes, you can use frozen butternut squash cubes to save time. Thaw them first, then roast them on a baking sheet at 400°F for about 20 minutes until tender. Drain any excess liquid before adding them to the sauce — frozen squash tends to release more water, which can thin out your sauce if you are not careful.
Why did my sauce turn out grainy?
Grainy sauce usually happens when the heat is too high or the cheese is added too quickly. Always melt cheese over low heat, adding it in small handfuls and stirring constantly. Pre-shredded cheese can also cause graininess because of the anti-caking agents, so grating your own is the safest bet.
Can I make this ahead of time for a party?
Absolutely. Make the mac and cheese completely, then let it cool and refrigerate it in a baking dish. When you are ready to serve, add a splash of milk, cover with foil, and bake at 350°F for 20-25 minutes until heated through. Add the breadcrumb topping in the last 5 minutes for a crispy finish.
What is the best pasta shape for this recipe?
Short, sturdy shapes with nooks and crannies work best. Elbow macaroni is the classic choice, but cavatappi, shells, rotini, or fusilli all hold the sauce beautifully. Avoid long, thin pasta like spaghetti — the sauce tends to slide right off.
Can I skip the cream cheese?
Yes, you can leave out the cream cheese if you do not have it on hand. The sauce will still be creamy thanks to the butternut squash and cheddar. The cream cheese adds extra tang and silkiness, but the recipe works perfectly well without it. You might want to add an extra ounce of cheddar to compensate.
Pin This Recipe!
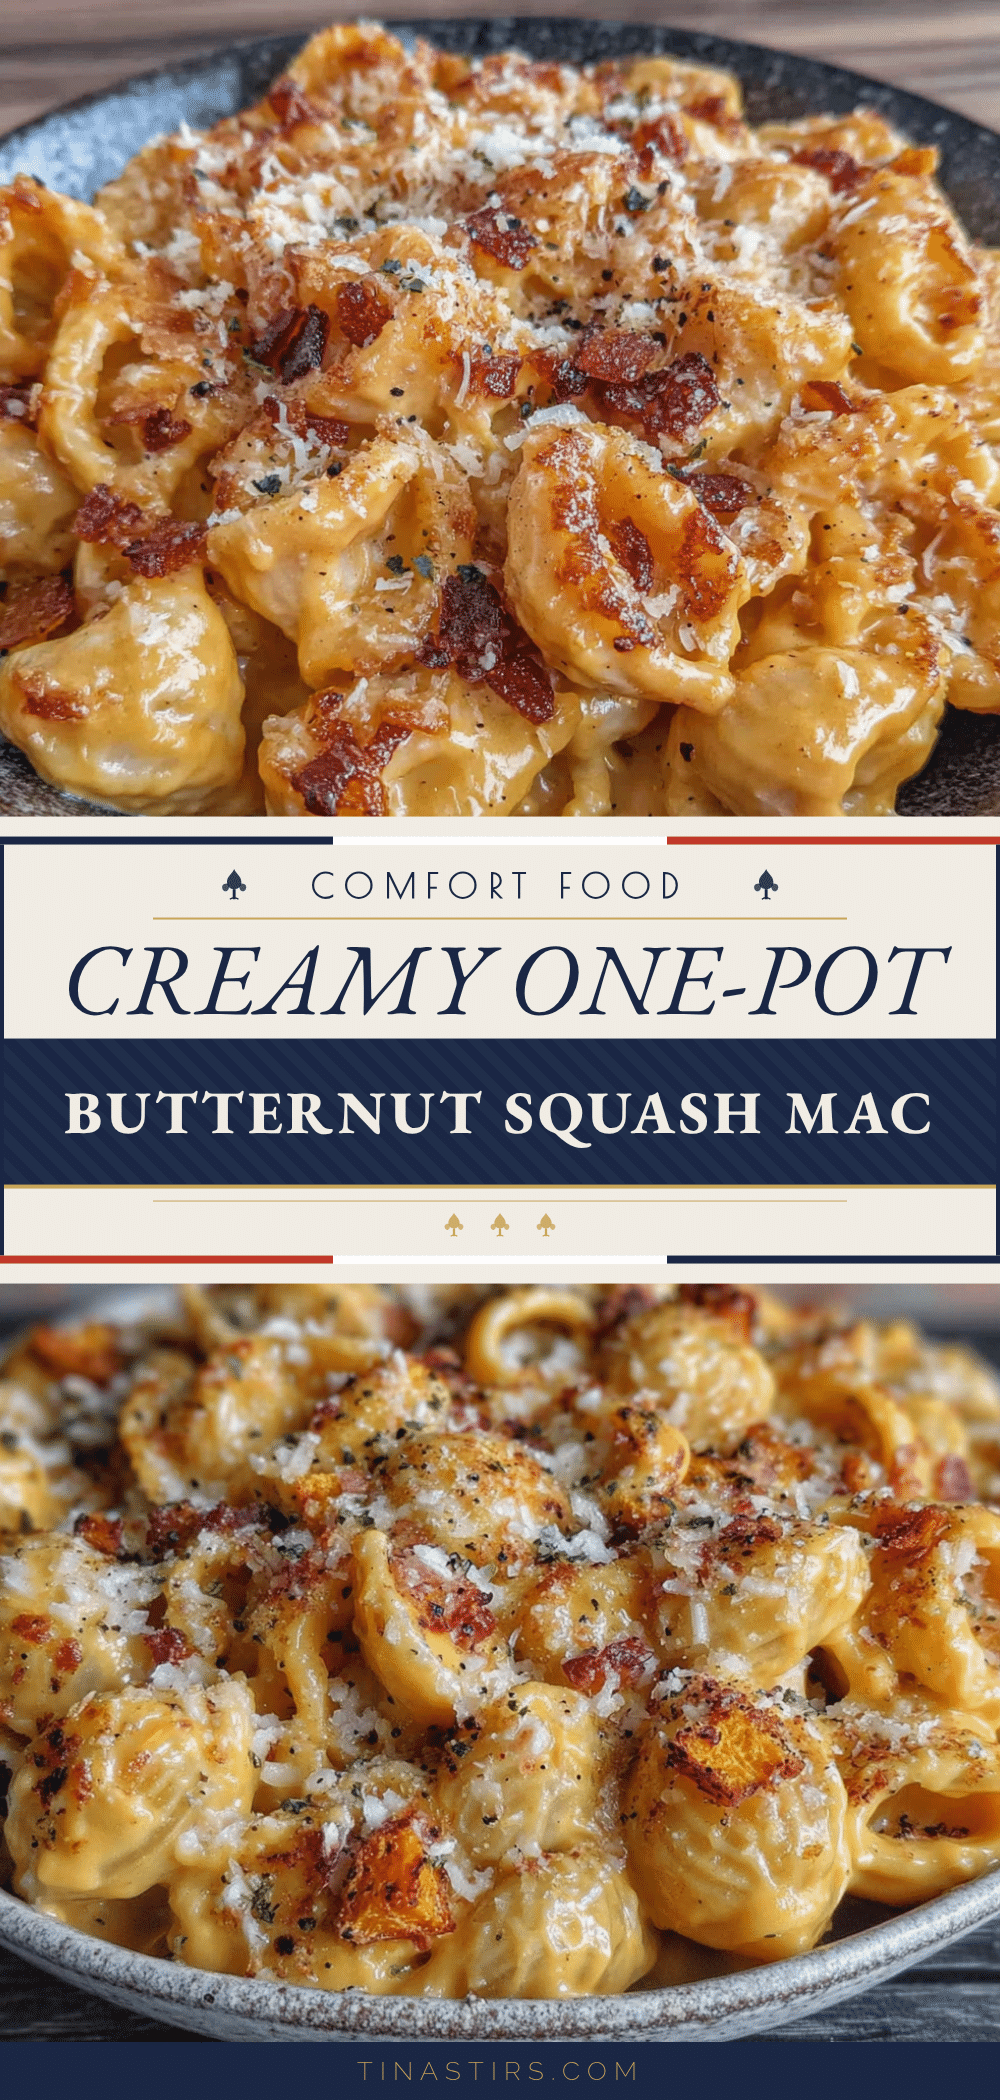
Creamy One-Pot Butternut Squash Mac and Cheese

This creamy one-pot butternut squash mac and cheese is a quick, comforting weeknight dinner where roasted squash blends into a velvety cheese sauce without any heavy cream. It’s a lighter yet indulgent twist on a classic, ready in about 30 minutes with minimal cleanup.
- Prep Time: 15 minutes
- Cook Time: 30 minutes
- Total Time: 45 minutes
- Yield: 6 servings 1x
- Category: Main Course
- Cuisine: American
Ingredients
- 1 medium butternut squash (about 2 pounds)
- 1 tablespoon olive oil
- Salt and black pepper, to taste
- 8 ounces elbow macaroni (about 2 cups)
- 2 tablespoons unsalted butter
- 2 cloves garlic, minced
- 1 cup whole milk
- 1 cup vegetable broth
- 8 ounces sharp cheddar cheese, freshly grated
- 2 ounces cream cheese, softened
- ¼ teaspoon smoked paprika
- ⅛ teaspoon ground nutmeg
- ¼ cup panko breadcrumbs (optional, for topping)
- 1 tablespoon melted butter (optional, for topping)
- 2 tablespoons grated Parmesan cheese (optional, for topping)
Instructions
- Preheat oven to 400°F (200°C). Halve the butternut squash lengthwise, scoop out seeds, and brush cut sides with olive oil. Season with salt and pepper. Place cut-side down on a baking sheet and roast for 35-40 minutes until fork-tender. Let cool for 5 minutes.
- While squash roasts, bring a large pot of salted water to a boil. Cook macaroni according to package directions until al dente, cooking 1 minute less than recommended. Reserve ½ cup pasta water, then drain pasta (do not rinse). Set aside.
- In the same pot, melt butter over medium heat. Add minced garlic and cook for 30 seconds until fragrant. Pour in milk and vegetable broth, stirring to combine. Scrape roasted squash flesh from skin and add directly to the pot.
- Use an immersion blender to puree the squash into the milk mixture until completely smooth. Alternatively, carefully transfer to a blender, blend until smooth, and return to the pot.
- Reduce heat to low. Add cream cheese and stir until melted. Gradually add shredded cheddar cheese in handfuls, stirring constantly after each addition until fully melted. Stir in smoked paprika and nutmeg. Season with salt and pepper to taste.
- Add drained pasta to the sauce and stir until coated. If sauce is too thick, add a splash of reserved pasta water. Cook on low for 2 minutes, stirring occasionally.
- For optional crispy topping: Preheat broiler. Mix panko breadcrumbs with melted butter and Parmesan. Sprinkle over mac and cheese. Broil for 2-3 minutes until golden brown. Let rest for 5 minutes before serving.
Notes
Grate your own cheese for a smooth sauce. Do not skip roasting the squash—it concentrates sweetness. Keep heat low when adding cheese to prevent graininess. Let the dish rest for 5 minutes before serving for the perfect sauce consistency. The mac and cheese tastes even better on day two.
Nutrition
- Serving Size: 1 serving (about 1.5
- Calories: 420
- Sugar: 8
- Sodium: 520
- Fat: 22
- Saturated Fat: 12
- Carbohydrates: 42
- Fiber: 4
- Protein: 16
Keywords: butternut squash mac and cheese, one-pot mac and cheese, creamy mac and cheese, healthy mac and cheese, vegetarian mac and cheese, gluten-free mac and cheese, easy weeknight dinner


