Love this? Save it for later!
Share the inspiration with your friends
There used to be this little wine bar tucked away on a side street in Charlottesville — the kind of place with mismatched chairs and a chalkboard menu that changed daily. They served this fruit and cheese board that I still think about, honest to goodness. When they closed their doors back in 2018 — landlord issues, I heard — I was genuinely bummed. Like, weirdly upset about a cheese plate. After about seven tries — some of them sad, one of them a downright disaster involving too-ripe figs — I finally cracked the code.
Now, I bring this Fall Fruit Charcuterie Board to every Friendsgiving I’m invited to. And let me tell you, it’s the first thing to disappear every single time. There’s something about the combination of crisp fall apples, honey-drizzled figs, salty prosciutto, and that creamy brie that just hits different when the leaves are changing. I mean, maybe you’ve been there — staring at a party spread thinking, “I should have brought something better.” This board fixes that. It’s the showstopper that requires almost no actual cooking.
Last year, I showed up at my friend Maria’s place with this board, and she literally pulled me aside to whisper, “Where did you get this? Don’t say you made it.” I had to show her the grocery receipt to prove it. That’s the magic of this thing — it looks like you spent hours arranging everything, but honestly, it’s just smart shopping and a little bit of styling. The hardest part is not eating all the grapes before your guests arrive.
Why You’ll Love This Recipe
This Fall Fruit Charcuterie Board isn’t just another grazing platter. It’s the one your friends will text you about the next morning asking for the “secret.” Here’s why this particular version works so well for hosting:
- No Cooking Required: Seriously. The most “work” you’ll do is slicing an apple and arranging things on a board. Perfect for when you’re already juggling a million things before guests arrive.
- Feeds a Crowd Effortlessly: This board scales beautifully. Feeding 6? Easy. Feeding 20? Just buy more stuff and grab a bigger board. No complicated math or extra recipes needed.
- All Seasonal Ingredients: Fall produce is already gorgeous on its own. Honeycrisp apples, Anjou pears, pomegranate seeds — they do the heavy lifting for you. No need to get fancy.
- Dietary Friendly for Everyone: Gluten-free friends? Covered. Vegetarian? Loads of options. Just keep the meats on one side and everyone’s happy. I’ve had guests with nut allergies, dairy issues, and keto preferences all happily grazing from this board.
- Prep It Completely Ahead: This is the real MVP feature for hosting. You can assemble this board up to 4 hours before your party starts. Just cover it with plastic wrap and pull it out when guests walk in the door. No last-minute panic.
What makes this board different from every other cheese plate you’ve seen is the layering strategy. Most people just dump things on a board and call it done. I’ve learned to build height and texture — stacking prosciutto roses, creating little wells for dips, and tucking fresh herbs in between everything. It makes the board look like it belongs on a magazine cover, but it takes maybe 20 minutes total. I’ve tested this board at three different Friendsgivings now, and it’s never let me down. It’s the kind of appetizer that makes people stand around it instead of wandering off to the kitchen.
What Ingredients You Will Need
This board uses mostly grab-and-go ingredients from the grocery store. The beauty of a fruit charcuterie board is that you don’t need to cook anything — just buy smart, arrange pretty, and let the ingredients shine on their own. Here’s exactly what I use for a board that serves 8-10 people at a Friendsgiving gathering:
Fresh Fall Fruits
- 3 Honeycrisp apples (or Fuji — they stay crisp and don’t brown too fast)
- 2 Bosc pears (they hold their shape better than Bartletts)
- 1 cup fresh figs (halved; look for ones that are soft but not mushy)
- 2 cups red seedless grapes (leave them in small clusters for visual appeal)
- 1 pomegranate (seeded; I recommend buying the pre-seeded containers to save time)
- 1 cup dried apricots (I like the Turkish ones from Trader Joe’s)
- 1/2 cup Medjool dates (pitted; these are like candy when paired with cheese)
Cheeses (The Stars of the Board)
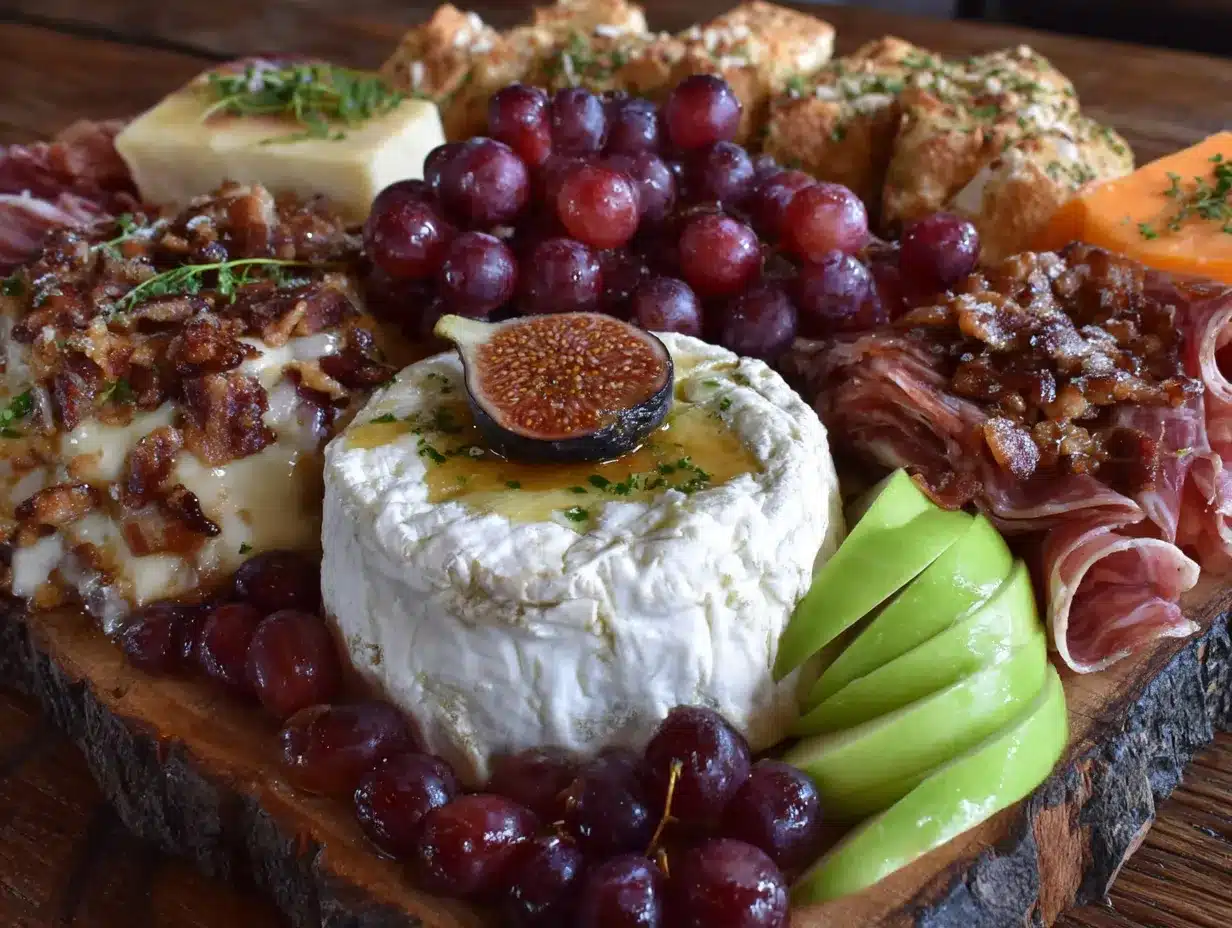
- 8 oz Brie cheese (leave it whole; the rind is edible and adds texture)
- 8 oz Aged Gouda (the little crunchy crystals in aged gouda are incredible with sweet fruit)
- 4 oz Blue cheese (I use Point Reyes — it’s sharp but not overwhelming)
- 8 oz Goat cheese log (plain or with honey; roll it in chopped pecans for extra flair)
Cured Meats
- 4 oz Prosciutto (ask the deli to slice it paper-thin)
- 4 oz Genoa salami (sliced into thin rounds)
- 3 oz Soppressata (a spicy dry salami that cuts through the sweetness)
Crunchy & Savory Additions
- 1 cup Marcona almonds (they’re buttery and already salted — addictive)
- 1 cup candied pecans (homemade or store-bought; the sweet-savory combo works great)
- 1 baguette (sliced into 1/4-inch rounds and lightly toasted)
- 1 box sea salt crackers (I prefer the simple water crackers — they don’t compete with the flavors)
Dips & Spreads
- 1/3 cup honey (local if you can find it; drizzle over brie or goat cheese)
- 1/4 cup fig jam (Bonne Maman is my go-to brand)
- 1/4 cup whole grain mustard (this with the aged gouda is a flavor bomb)
Garnish (Don’t Skip These)
- Fresh rosemary sprigs (they look like little Christmas trees and smell amazing)
- Fresh thyme (sprinkle over the goat cheese)
- Edible flowers (optional but gorgeous for photos — I find them at Whole Foods)
For substitutions: If you can’t find fresh figs, use extra dried figs or swap in sliced Fuyu persimmons. Not a fan of blue cheese? Double up on the brie. Hosting a Friendsgiving with a nut allergy? Skip the almonds and pecans, and add extra crackers and dried fruit instead. The board is super flexible — I’ve swapped out half the ingredients depending on what looked good at the store, and it always works.
Equipment Needed
You don’t need fancy tools for this board, but a few things make the process smoother:
- Large wooden cutting board or slate board (at least 18×12 inches — I found mine at Home Goods for $15)
- Small bowls or ramekins (3-4 of them for honey, jam, mustard, and olives if you add them)
- Cheese knives (at least two — one for soft cheese, one for hard)
- Sharp chef’s knife (for slicing apples and pears without bruising them)
- Small tongs (for serving — keeps things tidy)
- Parchment paper (if your board isn’t food-safe; I line mine for easy cleanup)
- Citrus juice (lemon or lime to brush on apple slices so they don’t brown)
If you don’t have a big wooden board, use a large baking sheet lined with parchment paper. I’ve done that in a pinch, and it actually looked rustic and charming. A pizza pan works too. The key is having enough surface area to spread everything out so guests can graze without reaching over each other.
Preparation Method
Here’s my exact process for building this board. I’ve refined it over several Friendsgivings, and this order saves the most time and keeps everything looking fresh:
- Set out your cheeses 30 minutes before serving. Cold cheese doesn’t taste as good. Let the brie, gouda, and goat cheese sit at room temperature while you prep everything else. Trust me on this one — I learned the hard way when my brie was still cold and rubbery at a party.
- Prep the fruit (10 minutes). Wash the apples, pears, grapes, and figs. Pat everything dry with paper towels — wet fruit makes the board soggy. Core the apples and pears, then slice them into thin wedges. Brush the cut sides with a little lemon juice to prevent browning. Halve the figs lengthwise. Cut the pomegranate in half and remove the seeds in a bowl of water (the seeds sink, the pith floats). Drain well.
- Toast the baguette slices (5 minutes). Arrange baguette slices on a baking sheet, brush with olive oil, and toast at 375°F for 5-6 minutes until golden. Let them cool completely — warm bread makes the cheese sweat.
- Make the prosciutto roses (3 minutes). Take a strip of prosciutto and fold it in half lengthwise. Roll it up loosely from one end, then gently fan out the “petals.” You’ll get about 8-10 roses from 4 ounces. They look fancy but take seconds each.
- Arrange the cheeses first. Place the brie whole in the center-left of the board. Put the wedge of aged gouda opposite it. Crumble the blue cheese into a small pile. Place the goat cheese log on the right side. Space them out so guests can reach each cheese without knocking things over.
- Add the bowls and dips. Place your small ramekins in the empty spaces between cheeses. Fill one with honey, one with fig jam, and one with whole grain mustard. This creates visual breaks and gives the board structure.
- Layer in the meats. Arrange the prosciutto roses near the brie. Fold the salami slices into quarters and pile them near the gouda. Place the soppressata slices in a small stack near the edge. Keep meats separate from fruits to prevent sogginess.
- Fill in with fruits. Start with the larger items — apple wedges and pear slices go near the cheeses. Add grape clusters in the gaps. Scatter fig halves around the board. Sprinkle pomegranate seeds over everything for pops of red. Tuck dried apricots and dates into empty spots.
- Add crunch. Pour the Marcona almonds and candied pecans into small piles around the board. Arrange the toasted baguette slices and crackers in a fan pattern near the edge. Keep them away from wet fruits so they stay crispy.
- Garnish and finish. Tuck fresh rosemary sprigs between the cheeses and fruits. Sprinkle fresh thyme leaves over the goat cheese. Add edible flowers if you’re using them. Drizzle a little honey over the brie and the goat cheese log — it makes the board look glossy and intentional.
The whole process takes about 25-30 minutes once you get the hang of it. I usually prep everything except the garnishes a few hours ahead, then add the fresh herbs right before guests arrive. The board stays beautiful for about 2 hours at room temperature — after that, the crackers start getting soft and the cheese gets a little sweaty. That’s when you know it’s time to refresh or just let people finish it off.
Cooking Tips & Techniques
After making this board probably a dozen times for various gatherings, I’ve collected some hard-won wisdom. Here are the things I wish someone had told me:
Don’t overcrowd the board. I know it’s tempting to pack everything in, but guests need room to pick things up without knocking over a ramekin of honey. Leave about 20% of the board empty — it creates visual breathing room and makes the food look more abundant. I learned this the hard way when a guest accidentally tipped a bowl of fig jam onto someone’s white sweater.
Layer strategically for height. Flat boards look boring. Use small bowls to elevate dips. Stack some crackers on a folded napkin. Place the prosciutto roses on a little mound of arugula. The eye is drawn to variation in height, so create peaks and valleys across the board.
Keep wet and dry separate. Wet fruits like grapes and figs will make crackers and nuts soggy within 20 minutes. I group all the moist items together on one side of the board and the crunchy items on the other. It’s a small thing that makes a huge difference in texture.
Use color contrast. Fall fruits are naturally gorgeous — deep red pomegranate seeds, golden pears, green grapes, purple figs. Arrange them so colors alternate. Don’t put all the red things together or the board looks flat. I mentally think of it like a painting: spread the colors around so every section has visual interest.
Prep everything before you start arranging. Once you begin placing items on the board, you don’t want to stop and wash a knife or find a bowl. Have all your fruit sliced, meats arranged, cheeses unwrapped, and garnishes ready. It makes the assembly process smooth and meditative rather than frantic.
One mistake I still make: Forgetting to put out serving utensils. Cheese knives, small tongs, and little spoons for the dips are essential. I once watched a guest try to spread fig jam with a cracker and it broke into a dozen pieces. Now I always set out utensils right before guests arrive.
Variations & Adaptations
This board is endlessly customizable. Here are some variations I’ve tried and loved:
Vegan Friendsgiving Board: Skip the cheeses and meats entirely. Load up on roasted vegetables like butternut squash wedges, marinated artichoke hearts, and roasted red peppers. Add hummus, baba ganoush, and a cashew-based “cheese” spread. Use all the same fruits and nuts — they’re already vegan. I made this version for my friend Jenna who’s vegan, and she said it was the first charcuterie board she could actually eat at a party.
Gluten-Free Option: Most cheeses and meats are naturally gluten-free. Just swap the baguette and crackers for gluten-free crackers or rice cakes. I like the Simple Mills almond flour crackers — they hold up well and taste great with cheese. Also check your fig jam and mustard labels, as some brands use wheat-based thickeners.
Spicy Fall Board: Add a kick by including spicy soppressata, jalapeño-stuffed olives, and a drizzle of hot honey over the brie. The heat contrasts beautifully with the sweet fruits. I tried this at a Friendsgiving where everyone brought spicy dishes, and the board was the surprise hit of the night.
Breakfast Charcuterie Board: For a brunch Friendsgiving, swap the meats for bacon and breakfast sausage. Add mini pancakes, yogurt dip, and granola clusters. Keep the fruits and cheeses — they work perfectly for breakfast too. I’ve done this for a Saturday morning gathering and it was a huge hit with kids and adults.
Budget-Friendly Version: Skip the expensive prosciutto and use only one or two cheeses. Focus on seasonal fruits that are on sale — apples and pears are usually cheap in the fall. Use store-brand crackers and make your own candied pecans (it’s cheaper and takes 10 minutes). The board will still look gorgeous and taste amazing.
Serving & Storage Suggestions
This board is designed to be served at room temperature, so pull it out about 20 minutes before guests start eating. I set it on a low coffee table or kitchen island where people can gather around it. It’s the perfect centerpiece for a Friendsgiving because it encourages mingling and conversation.
What to serve alongside: This board pairs beautifully with a crisp white wine like Sauvignon Blanc or a dry rosé. For a fall twist, serve it with a warm apple cider or a spiced hot toddy. If you’re doing a full Friendsgiving dinner, this is your appetizer — follow it with turkey, stuffing, and all the sides. I usually put out the board about an hour before dinner so people can nibble while the final dishes come together.
Storage: Leftovers (if you have any!) should be broken down and stored separately. Cheeses go in the fridge wrapped in parchment paper, then in a zip-top bag. Meats can be refrigerated in their original packaging. Fruits should be eaten within a day or two — sliced apples and pears don’t keep well once cut. Nuts and crackers stay fresh in airtight containers for up to a week. I usually repurpose leftover cheese into grilled cheese sandwiches or omelets the next day.
Reheating: Nothing on this board needs reheating. If the brie has firmed up in the fridge, let it sit at room temperature for 30 minutes before serving again. The baguette slices can be re-toasted in a 350°F oven for 3 minutes to crisp them back up.
Flavor development: The cheeses actually taste better after a day in the fridge — the flavors mellow and blend. I’ve had leftover aged gouda that was even creamier the next day. The fruits, though, are best fresh. So if you’re planning to have leftovers, slice only as much fruit as you think will be eaten, and store the rest whole.
Nutritional Information & Benefits
This board is surprisingly nutritious for something that feels so indulgent. Here’s a rough estimate per serving (assuming the board serves 10 people):
| Nutrient | Amount Per Serving |
|---|---|
| Calories | 380-420 |
| Protein | 15g |
| Fat | 24g |
| Carbohydrates | 32g |
| Fiber | 6g |
| Sugar | 18g (mostly natural from fruit) |
| Sodium | 680mg |
The health benefits are pretty impressive. Apples and pears are packed with fiber and vitamin C. Pomegranate seeds are loaded with antioxidants — they’re basically nature’s superfood. Nuts provide healthy fats and protein that keep you full. Cheese offers calcium and protein, though it’s higher in saturated fat, so moderation is key. The honey has antibacterial properties and local honey can help with seasonal allergies.
If you’re watching your sodium, go easy on the cured meats and crackers. The cheeses also have significant sodium, but you can balance it by loading up on fresh fruits. This board works for most dietary patterns — it’s naturally gluten-free if you skip the crackers, and it’s easy to make vegetarian by leaving off the meats. Just be aware that it’s not low-calorie, but for a special occasion like Friendsgiving, that’s perfectly fine.
Conclusion
This Fall Fruit Charcuterie Board has become my signature Friendsgiving contribution, and I honestly can’t imagine showing up to a fall gathering without it. It’s the dish that makes people stop and take a photo before they even take a bite — and then they can’t stop eating it. There’s something deeply satisfying about watching a group of friends gather around a beautiful board, reaching for this and that, discovering new flavor combinations they hadn’t thought of.
What I love most about this recipe is that it doesn’t pretend to be something it’s not. It’s not complicated, it’s not fancy, and it doesn’t require any special skills. It’s just good ingredients arranged with a little thought and care — and that’s exactly what Friendsgiving is all about. The people you love, gathered around good food, celebrating the season together.
I’d love to hear how your board turns out! Leave a comment below and tell me what combinations you tried — did you add something unexpected? Swap out a cheese? Make it for a different occasion? Share your photos and tag me so I can see your beautiful creations. And if you’re looking for more Friendsgiving inspiration, check out my recipe for easy pumpkin dessert lasagna — it’s the perfect sweet finish after this savory board. Happy hosting, friends!
Frequently Asked Questions
How far in advance can I assemble this charcuterie board?
You can assemble the board up to 4 hours before serving. Just cover it loosely with plastic wrap and refrigerate. Add the fresh herbs and any delicate garnishes right before guests arrive. If you’re using sliced apples, brush them with lemon juice to prevent browning.
Can I make this board dairy-free?
Absolutely! Skip the cheeses and load up on roasted vegetables, hummus, guacamole, and marinated olives. Use dairy-free crackers and add extra nuts and dried fruits. The fruit part of the board is already dairy-free, so you’re just replacing the cheese and meat sections with plant-based options.
How do I keep the crackers from getting soggy?
Keep crackers and nuts on the opposite side of the board from wet fruits like grapes and figs. Don’t place them directly next to anything moist. If you’re worried, serve crackers in a separate bowl on the side and let guests grab them as needed. You can also toast the baguette slices extra crispy so they hold up better.
What’s the best way to slice cheese for a charcuterie board?
Soft cheeses like brie should be served whole or in wedges — don’t pre-slice them or they’ll dry out. Hard cheeses like aged gouda should be cut into thin wedges or cubes. Blue cheese can be crumbled into small pieces. Let all cheeses come to room temperature before serving for the best flavor and texture.
How much food should I plan per person?
For a Friendsgiving appetizer board, plan on about 3-4 ounces of cheese per person, 2 ounces of meat per person, and about 1 cup of fruit per person. If the board is the main event (like for a party without a full dinner), double those amounts. It’s always better to have too much than too little — leftovers make great snacks the next day.
Pin This Recipe!
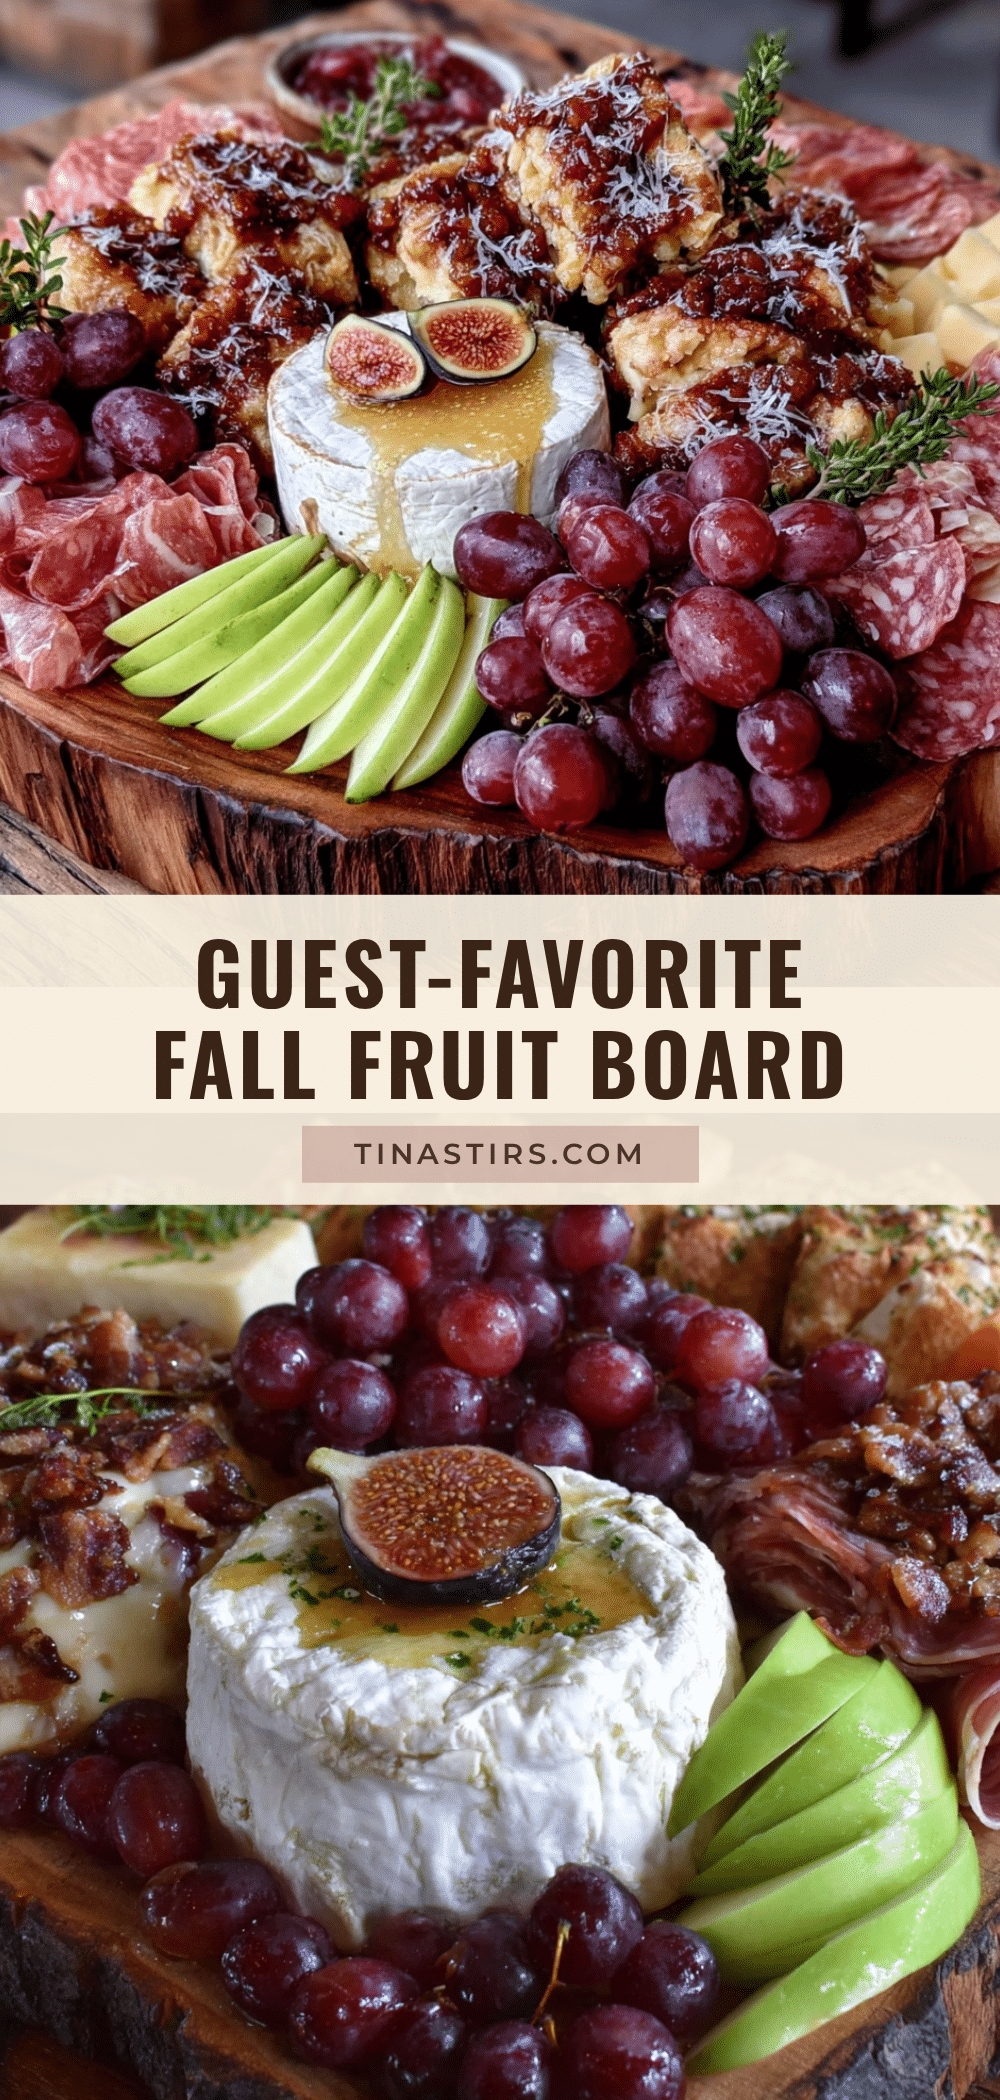
Easy Fall Fruit Charcuterie Board: Guest-Favorite Friendsgiving
A stunning no-cook charcuterie board featuring crisp fall apples, honey-drizzled figs, salty prosciutto, and creamy brie. Perfect for Friendsgiving gatherings, this board looks like it took hours but comes together in just 25-30 minutes.
- Prep Time: 25 minutes
- Cook Time: 5 minutes
- Total Time: 30 minutes
- Yield: 8-10 servings 1x
- Category: Appetizer
- Cuisine: American
Ingredients
- 3 Honeycrisp apples (or Fuji)
- 2 Bosc pears
- 1 cup fresh figs (halved)
- 2 cups red seedless grapes
- 1 pomegranate (seeded)
- 1 cup dried apricots
- 1/2 cup Medjool dates (pitted)
- 8 oz Brie cheese
- 8 oz Aged Gouda
- 4 oz Blue cheese (e.g., Point Reyes)
- 8 oz Goat cheese log
- 4 oz Prosciutto (paper-thin)
- 4 oz Genoa salami (sliced into thin rounds)
- 3 oz Soppressata (sliced)
- 1 cup Marcona almonds
- 1 cup candied pecans
- 1 baguette (sliced into 1/4-inch rounds and lightly toasted)
- 1 box sea salt crackers
- 1/3 cup honey
- 1/4 cup fig jam
- 1/4 cup whole grain mustard
- Fresh rosemary sprigs
- Fresh thyme
- Edible flowers (optional)
Instructions
- Set out your cheeses 30 minutes before serving to let them come to room temperature.
- Prep the fruit: Wash and dry apples, pears, grapes, and figs. Core and slice apples and pears into thin wedges, brush with lemon juice to prevent browning. Halve figs lengthwise. Remove pomegranate seeds in a bowl of water, drain well.
- Toast baguette slices: Arrange on a baking sheet, brush with olive oil, and toast at 375°F for 5-6 minutes until golden. Let cool completely.
- Make prosciutto roses: Fold a strip of prosciutto in half lengthwise, roll loosely from one end, and gently fan out the ‘petals.’ Repeat to make 8-10 roses.
- Arrange cheeses first: Place brie whole in center-left, aged gouda wedge opposite, crumbled blue cheese in a small pile, and goat cheese log on the right side.
- Add bowls and dips: Place small ramekins in empty spaces between cheeses. Fill one with honey, one with fig jam, and one with whole grain mustard.
- Layer in meats: Arrange prosciutto roses near brie, fold salami slices into quarters and pile near gouda, place soppressata slices in a small stack near the edge.
- Fill in with fruits: Place apple wedges and pear slices near cheeses, add grape clusters in gaps, scatter fig halves, sprinkle pomegranate seeds, and tuck dried apricots and dates into empty spots.
- Add crunch: Pour Marcona almonds and candied pecans into small piles. Arrange toasted baguette slices and crackers in a fan pattern near the edge, away from wet fruits.
- Garnish and finish: Tuck fresh rosemary sprigs between cheeses and fruits, sprinkle fresh thyme over goat cheese, add edible flowers if using, and drizzle honey over brie and goat cheese log.
Notes
Assemble up to 4 hours ahead, cover with plastic wrap, and refrigerate. Add fresh herbs and garnishes just before serving. Keep wet and dry ingredients separate to prevent sogginess. Let cheeses come to room temperature for best flavor.
Nutrition
- Serving Size: 1 serving (based on
- Calories: 400
- Sugar: 18
- Sodium: 680
- Fat: 24
- Saturated Fat: 10
- Carbohydrates: 32
- Fiber: 6
- Protein: 15
Keywords: fall fruit charcuterie board, Friendsgiving appetizer, no-cook appetizer, cheese board, fruit and cheese platter, fall entertaining


