Love this? Save it for later!
Share the inspiration with your friends
I’m not supposed to play favorites with recipes, but if I’m being honest, this one sits at the very top of the pile. It’s the one I reach for when the air gets that particular crispness in late October, the one that makes my kitchen smell like a memory before it even hits the table. This isn’t just any pumpkin pie—it’s the one that made my pie-avoiding neighbor, a man who claimed for thirty years that “pie is just a vehicle for too much sugar,” ask for the recipe. Twice. Then he asked if he could come over next time I made one. That’s the kind of pull this crust has.
Let me tell you, I didn’t set out to convert anyone. I was just tired of soggy bottoms and fillings that tasted more like spiced paste than actual pumpkin. I wanted something that tasted like the feeling of a wool blanket on a cold night. So I went back to basics—real butter, cold water, a little patience. And somewhere between rolling out that first flaky layer and watching it puff up golden in the oven, I realized I had stumbled onto something worth keeping. Honestly, I almost didn’t share it. But then I thought about you, maybe sitting there with a can of pumpkin and a store-bought crust, wondering if there’s something better. There is. And I’m about to show you.
The secret? It’s not one thing. It’s a dozen small things—chilling the butter, resting the dough, using a hot oven right from the start. But the biggest secret? This pie doesn’t need to be perfect. It just needs to be made with a little love and a lot of butter. I’ve burned the edges, forgotten the sugar once (don’t ask), and even dropped the whole thing on the floor. I picked it up, dusted it off, and served it anyway. That pie got devoured. So trust me when I say: you’ve got this. And once you taste that first bite—warm, spiced, flaky—you’ll understand why this recipe stayed with me, and why I keep coming back to it year after year.
Why You’ll Love This Recipe
This isn’t just another pumpkin pie recipe floating around the internet. I’ve tested this one more times than I care to count, tweaking the butter temperature, the spice blend, the baking time until everything clicked. What you get here is the result of real kitchen experience—not theory, not guesswork. Just honest, tried-and-true cooking that works every single time.
- Quick & Easy: The filling comes together in about 10 minutes flat. The crust needs a little chill time, but the active work is minimal. Perfect for Thanksgiving morning chaos or a random Tuesday craving.
- Simple Ingredients: No weird extracts, no hard-to-find spices. You probably have most of this in your pantry right now. If you don’t, a quick trip to the store will sort you out.
- Perfect for Cozy Evenings: This pie was made for cold weather. It’s the kind of dessert you want after a long walk in the rain or a day spent curled up with a book. It warms you from the inside out.
- Crowd-Pleaser: I’ve served this to pie purists, pumpkin skeptics, and kids who usually only want chocolate. Every single one of them went back for seconds. It’s that good.
- Unbelievably Delicious: The crust shatters when you bite into it. The filling is silky, spiced just right, and not overly sweet. It’s the kind of pie that makes you close your eyes after the first bite.
What makes this recipe different from the rest? It’s the technique. I use a combination of butter and a tiny bit of shortening in the crust for the perfect flake. I pre-bake the crust just enough to avoid that dreaded soggy bottom. And I use a touch of maple syrup in the filling—not enough to taste it directly, but just enough to deepen the pumpkin flavor in a way that feels almost magical. This isn’t just another version of pumpkin pie. It’s the best version I’ve ever made, and I think it might become yours too.
This recipe is comfort food reimagined. It’s familiar enough to feel like home, but special enough to impress anyone who takes a bite. Whether you’re making it for a holiday table or just because it’s Tuesday and you deserve something good, this pie delivers every single time.
What Ingredients You Will Need
This recipe uses simple, honest ingredients that work together to create something truly special. Most of these are pantry staples, which means you’re probably already halfway there. Let me walk you through each one and share a few tips I’ve picked up along the way.
For the Flaky Crust
- All-purpose flour, 2 ½ cups (315g): I use King Arthur Flour for consistent results, but any good brand works. Don’t use bread flour—too much protein makes the crust tough.
- Unsalted butter, 1 cup (226g), very cold and cut into small cubes: This is non-negotiable. The butter needs to be ice-cold so it creates steam pockets in the oven, which gives you those beautiful flaky layers. I pop my butter in the freezer for 15 minutes before I start.
- Vegetable shortening, ¼ cup (50g), cold: Just a little bit. The shortening adds tenderness and makes the crust easier to work with. If you’re a butter purist, you can use all butter, but the shortening really does make a difference.
- Ice water, 6-8 tablespoons (90-120ml): Not just cold water—ice water. I fill a glass with ice and water and let it sit while I measure everything else. The colder the water, the flakier the crust.
- Salt, 1 teaspoon (6g): Fine sea salt works best. Don’t skip it—salt is what makes the crust taste like something, not just a buttery blank.
- Sugar, 1 tablespoon (12g): Just a touch. It helps with browning and adds a whisper of sweetness that balances the savory notes.
For the Pumpkin Filling
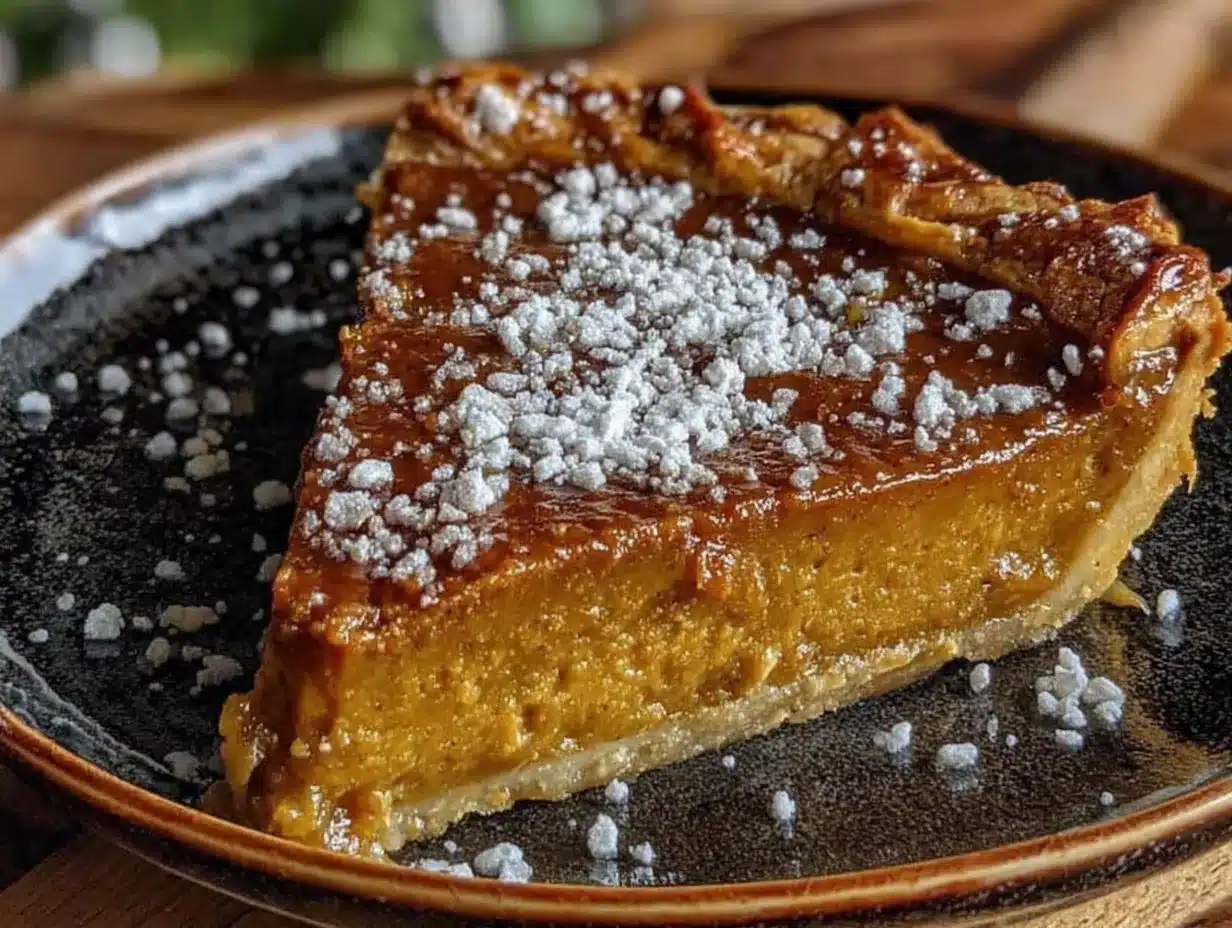
- Pumpkin puree, 1 can (15 oz or 425g): I recommend Libby’s for consistent texture and flavor. Don’t use pumpkin pie filling—that’s already sweetened and spiced, and it will throw off the balance of this recipe.
- Sweetened condensed milk, 1 can (14 oz or 396g): This is the secret to that silky, luscious texture. Some recipes use evaporated milk, but condensed milk gives you a richer, creamier result without any extra work.
- Large eggs, 2, at room temperature: Room temperature eggs blend more smoothly into the filling. If you forgot to take them out of the fridge, place them in a bowl of warm water for 5 minutes.
- Maple syrup, 2 tablespoons (30ml): Pure maple syrup, not pancake syrup. This is my little trick for deepening the pumpkin flavor without making the pie taste like maple. It adds complexity that you can’t quite name but definitely notice.
- Vanilla extract, 1 teaspoon (5ml): Pure vanilla, if you have it. Imitation works in a pinch, but pure vanilla adds a warmth that really shines here.
- Pumpkin pie spice, 2 teaspoons (4g): I use store-bought for convenience, but you can make your own with 1 teaspoon cinnamon, ½ teaspoon ginger, ¼ teaspoon nutmeg, ¼ teaspoon allspice, and a pinch of cloves. Adjust to your taste.
- Cinnamon, ½ teaspoon (1g): Extra cinnamon because I believe in it. It rounds out the spice blend and makes the kitchen smell incredible.
- Salt, ¼ teaspoon (1.5g): A little salt in the filling balances the sweetness and makes the spices pop.
Ingredient Tips I’ve Learned the Hard Way
One time I used a cheap pumpkin puree that was watery and thin. The pie never set properly, and I ended up with pumpkin soup in a crust. Not my finest moment. Stick with a trusted brand, and if your puree looks watery, drain it through a fine-mesh sieve for 30 minutes before using. Also, don’t over-mix the filling. Whisk until everything is combined, but stop there. Too much air in the filling can cause cracks on the surface.
Equipment Needed
You don’t need a fancy kitchen to make this pie. Here’s what you’ll need, along with a few alternatives if you’re working with limited tools.
- 9-inch pie dish: Glass or ceramic works best. Glass lets you see when the bottom crust is golden, which is helpful. I use a deep-dish Pyrex pie plate. If you only have a metal pan, reduce the oven temperature by 25°F to prevent over-browning.
- Rolling pin: A standard rolling pin works fine. No rolling pin? A clean wine bottle works in a pinch—just make sure it’s smooth and chill it first.
- Pastry cutter or food processor: For cutting the butter into the flour. A pastry cutter gives you more control, but a food processor is faster. I’ve used two forks in a pinch. It takes longer, but it gets the job done.
- Mixing bowls: One large bowl for the crust, one medium bowl for the filling. Stainless steel or glass—doesn’t matter.
- Whisk: For the filling. A fork works if you’re in a bind, but a whisk gives you a smoother result.
- Plastic wrap: For wrapping the dough while it chills. Reusable beeswax wrap works too.
- Parchment paper and pie weights: For blind baking the crust. Dried beans or uncooked rice work perfectly as pie weights. I keep a bag of dried beans in my pantry just for this purpose.
- Cooling rack: Essential for letting the pie cool evenly. If you don’t have one, you can use a trivet or even an upside-down muffin tin.
My best advice? Invest in a good pie dish. I used a thin metal one for years and wondered why my crust always burned on the edges. Switching to glass was a game-changer. Also, keep your rolling pin in the fridge while you make the dough. A cold rolling pin helps keep the butter cold, which means a flakier crust.
Preparation Method
Step 1: Make the Crust Dough (15 minutes active + 1 hour chilling)
In a large bowl, whisk together the flour, salt, and sugar. Add the cold butter cubes and shortening. Using a pastry cutter or your fingertips, work the fats into the flour until the mixture looks like coarse meal with some pea-sized butter pieces remaining. Don’t overwork it—those little butter chunks are what create the flaky layers.
Sprinkle the ice water over the mixture, 1 tablespoon at a time, tossing with a fork after each addition. Stop adding water when the dough holds together when you squeeze a handful. It should feel moist but not sticky. Flatten the dough into a disk, wrap it tightly in plastic wrap, and refrigerate for at least 1 hour. Overnight is even better.
Step 2: Roll Out the Dough (10 minutes)
On a lightly floured surface, roll the chilled dough into a 12-inch circle, about ⅛-inch thick. Work from the center outward, rotating the dough occasionally to prevent sticking. If the dough cracks at the edges, let it sit at room temperature for 5 minutes to soften slightly. Carefully transfer the dough to your pie dish by rolling it around your rolling pin, then unrolling it over the dish. Gently press the dough into the bottom and sides, then trim the excess to about ½ inch overhang. Fold the overhang under and crimp the edges however you like—I use my thumb and forefinger for a classic fluted edge.
Place the crust in the freezer for 15 minutes while you preheat the oven. This step is crucial for preventing shrinkage.
Step 3: Blind Bake the Crust (20 minutes)
Preheat your oven to 425°F (220°C). Line the frozen crust with parchment paper, leaving some overhang, and fill with pie weights or dried beans. Bake for 15 minutes, then remove the parchment and weights. Prick the bottom of the crust with a fork (this prevents bubbles) and bake for another 5 minutes, until the bottom looks dry and lightly golden. Set aside to cool slightly while you make the filling. Reduce the oven temperature to 375°F (190°C).
Step 4: Make the Filling (10 minutes)
In a medium bowl, whisk together the pumpkin puree, sweetened condensed milk, eggs, maple syrup, vanilla extract, pumpkin pie spice, cinnamon, and salt. Whisk until smooth and fully combined. Don’t over-whisk—you don’t want to incorporate too much air. The filling should be thick and glossy, with a beautiful orange color.
Step 5: Assemble and Bake (50-60 minutes)
Pour the filling into the pre-baked crust. It will fill the crust almost to the top—that’s normal. Place the pie on the middle rack of the oven and bake at 375°F (190°C) for 50-60 minutes. The edges should be set, and the center should jiggle slightly when you gently shake the pan. A knife inserted near the center should come out mostly clean.
If the crust edges start browning too quickly, loosely cover them with aluminum foil or a pie shield after about 25 minutes. I always forget to do this and end up with dark edges—learn from my mistakes!
Step 6: Cool Completely (2-3 hours)
Transfer the pie to a cooling rack and let it cool completely at room temperature. This takes at least 2 hours. The filling will continue to set as it cools. Don’t rush this step—cutting into a warm pumpkin pie will give you a runny mess. I know because I’ve done it. Patience, my friend.
Cooking Tips & Techniques
I’ve made this pie more times than I can count, and I’ve learned a few things along the way. Let me share the good stuff so you don’t have to make the same mistakes I did.
Keep everything cold. This is the golden rule of flaky pie crust. The butter, the water, even your hands if possible. If the butter melts before it hits the oven, you lose those steam pockets that create flaky layers. I keep a bowl of ice water nearby and dip my fingers in if they start feeling warm. It sounds fussy, but it works.
Don’t skip the blind bake. I used to think blind baking was an unnecessary extra step. Then I made a pumpkin pie with a raw, soggy bottom and realized my error. Blind baking gives the crust a head start, ensuring it stays crisp even under the moist filling. Trust me on this one.
Watch your oven temperature. Ovens run hot or cold, and it makes a difference. I burned my first three pies before I bought an oven thermometer. Turns out my oven runs 25°F hotter than the dial says. If your crust is browning too fast, lower the temperature by 25°F and bake a little longer.
Let the pie rest overnight. This is my favorite tip. Pumpkin pie actually tastes better the next day. The spices mellow and meld together, and the texture becomes even silkier. I always make my pie the day before I plan to serve it. It takes the pressure off, and the flavor is noticeably better.
Use a pie shield. Aluminum foil works, but a silicone pie shield is one of the best investments I’ve made. It fits perfectly over the edges and prevents burning without trapping steam. If you make pie regularly, it’s worth the few dollars.
Variations & Adaptations
One of the things I love about this recipe is how flexible it is. Here are a few ways to make it your own.
Gluten-Free Version: Substitute the all-purpose flour with a 1:1 gluten-free baking blend. I use Bob’s Red Mill. The crust will be a bit more delicate, so handle it gently. The filling is naturally gluten-free, so you’re halfway there.
Dairy-Free Version: Use coconut oil or vegan butter in place of the butter and shortening. For the filling, use full-fat coconut milk instead of sweetened condensed milk (you’ll need to add about ¼ cup of sugar to compensate). It won’t be quite as creamy, but it’s still delicious.
Spice It Up: Add a pinch of cayenne pepper or black pepper to the filling for a subtle warmth that catches you by surprise. I tried this on a whim one year and now I can’t go back. It doesn’t make the pie spicy—just more interesting.
Maple Pecan Twist: Sprinkle ½ cup of chopped pecans over the bottom of the crust before pouring in the filling. The pecans toast as the pie bakes, adding a nutty crunch that pairs beautifully with the pumpkin. Drizzle a little extra maple syrup on top before serving for maximum effect.
Mini Pies: Use a muffin tin instead of a pie dish. Roll the dough, cut circles, and press them into the muffin cups. Fill each with about ¼ cup of filling. Bake at 375°F for 20-25 minutes. These are perfect for parties or portion control.
Serving & Storage Suggestions
This pie is at its best when served slightly warm or at room temperature. If you’re warming it up, pop it in a 300°F oven for 10 minutes—just enough to take the chill off without melting the filling. A dollop of lightly sweetened whipped cream is classic for a reason. The cool, airy cream balances the rich, spiced filling perfectly.
For a truly cozy presentation, serve each slice with a drizzle of warm caramel sauce and a sprinkle of flaky sea salt. The salt cuts through the sweetness and makes everything taste more like itself. I also love serving this pie with a scoop of vanilla bean ice cream—the temperature contrast is heavenly.
Storage: Cover the pie loosely with plastic wrap or foil and store it in the refrigerator for up to 4 days. The flavor actually improves after a day or two. If you’ve already sliced it, press a piece of plastic wrap directly onto the cut edges to prevent the filling from drying out.
Freezing: You can freeze the unbaked pie for up to 3 months. Assemble the pie completely, wrap it tightly in plastic wrap and then foil, and freeze. Bake directly from frozen, adding about 15 minutes to the baking time. Baked pie also freezes well—cool completely, wrap, and freeze for up to 2 months. Thaw overnight in the refrigerator and warm gently before serving.
Reheating: The best way to reheat individual slices is in a toaster oven at 300°F for 5-7 minutes. For a whole pie, use a regular oven. The microwave will make the crust soggy, so avoid it if you can.
Nutritional Information & Benefits
Let’s be real—this is dessert, not health food. But there are a few bright spots worth mentioning. Pumpkin is packed with vitamin A, which is great for your eyes and immune system. It’s also a good source of fiber, which helps keep you full and satisfied. The eggs add protein, and the butter… well, the butter adds joy, and I think that counts for something.
Here are the approximate nutritional values per slice (based on 8 servings):
| Nutrient | Amount per Slice |
|---|---|
| Calories | 380 |
| Total Fat | 20g |
| Saturated Fat | 12g |
| Cholesterol | 85mg |
| Sodium | 320mg |
| Total Carbohydrates | 45g |
| Dietary Fiber | 3g |
| Sugars | 28g |
| Protein | 6g |
| Vitamin A | 180% DV |
Dietary Considerations: This recipe contains gluten, dairy, and eggs. For a gluten-free option, see the variations section. For a dairy-free option, use the substitutions listed above. The filling can be made with a flax egg if you’re vegan, but the texture will be slightly different.
My personal take? I don’t make this pie every day. It’s a treat, and I think treats should be enjoyed without guilt. One slice of homemade pie is not going to derail your health goals. It’s going to make your day better. And honestly, that matters too.
Conclusion
This easy homemade pumpkin pie with flaky crust is more than just a dessert—it’s a moment. It’s the smell that fills your kitchen on a cold November afternoon. It’s the first bite that makes everyone at the table go quiet. It’s the recipe you’ll pull out year after year, the one your family starts asking about in September.
I’ve made this pie for Thanksgiving dinners, for Friendsgiving potlucks, for random Tuesday nights when I needed something warm and familiar. Every single time, it delivers. The crust is flaky, the filling is silky, and the whole thing tastes like the best kind of comfort. I hope you make it your own—add a little extra cinnamon, or a pinch of something unexpected. That’s what cooking is all about.
If you try this recipe, I’d love to hear about it. Leave a comment below and tell me how it turned out. Did you add your own twist? Did your picky eater ask for seconds? I want to know. And if you’re looking for more cozy dessert ideas, check out my easy apple crisp recipe or these pumpkin crumb cake muffins—they’re perfect for fall mornings.
Now go make some pie. You deserve it.
Frequently Asked Questions
Can I use a store-bought crust instead?
Absolutely. If you’re short on time, a good quality refrigerated pie crust works fine. Just blind bake it according to the package directions before adding the filling. The texture won’t be as flaky as homemade, but the filling is so good that no one will complain.
Why is my pumpkin pie cracking on top?
Cracks usually happen when the pie is overbaked or when the filling has too much air whipped into it. Bake until the center jiggles slightly—it will continue to set as it cools. Also, whisk the filling gently rather than beating it vigorously. If your pie does crack, cover it with whipped cream. Problem solved.
Can I make this pie ahead of time?
Yes, and I actually recommend it. Pumpkin pie tastes better the next day when the spices have had time to meld. Make it a day ahead, cool it completely, and store it covered in the refrigerator. Let it sit at room temperature for 30 minutes before serving.
How do I know when the pie is done?
The edges should be set and slightly puffed, while the center should jiggle like Jell-O when you gently shake the pan. A knife inserted about 2 inches from the center should come out clean. The internal temperature should be around 175°F if you want to use a thermometer.
Can I use fresh pumpkin instead of canned?
You can, but you’ll need to cook and puree the pumpkin first, then drain it thoroughly to remove excess water. Fresh pumpkin has more water than canned, which can make the filling watery. If you’re using fresh, roast the pumpkin until tender, puree it, and let it drain in a cheesecloth-lined sieve for at least an hour before using.
Pin This Recipe!
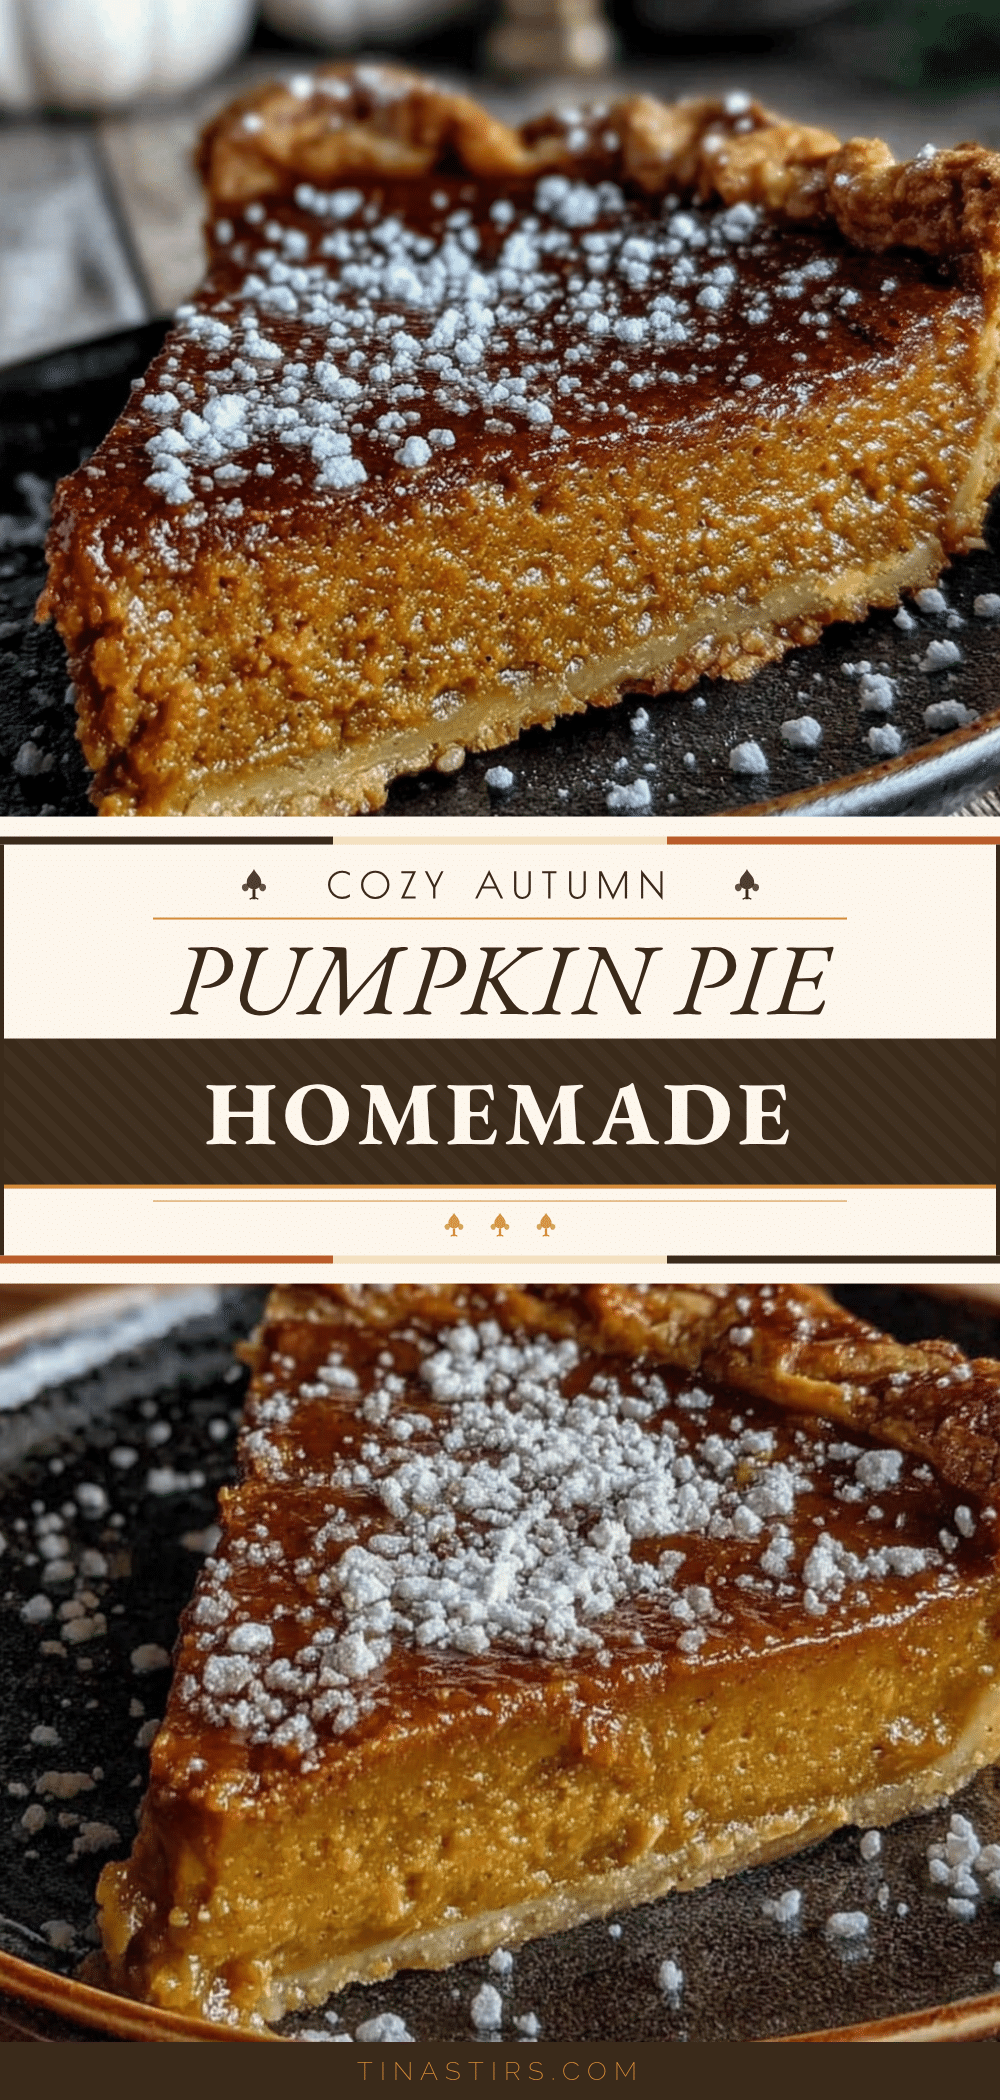
Easy Homemade Pumpkin Pie with Flaky Crust
This easy homemade pumpkin pie features a flaky, buttery crust and a silky, perfectly spiced filling. It’s the ultimate comfort dessert for fall, made with simple ingredients and a few key techniques for a show-stopping result.
- Prep Time: 15 minutes
- Cook Time: 50-60 minutes
- Total Time: 2 hours 15 minutes (plus 1 hour chilling)
- Yield: 8 servings
- Category: Dessert
- Cuisine: American
Ingredients
- All-purpose flour, 2 ½ cups (315g)
- Unsalted butter, 1 cup (226g), very cold and cut into small cubes
- Vegetable shortening, ¼ cup (50g), cold
- Ice water, 6-8 tablespoons (90-120ml)
- Salt, 1 teaspoon (6g)
- Sugar, 1 tablespoon (12g)
- Pumpkin puree, 1 can (15 oz or 425g)
- Sweetened condensed milk, 1 can (14 oz or 396g)
- Large eggs, 2, at room temperature
- Maple syrup, 2 tablespoons (30ml)
- Vanilla extract, 1 teaspoon (5ml)
- Pumpkin pie spice, 2 teaspoons (4g)
- Cinnamon, ½ teaspoon (1g)
- Salt, ¼ teaspoon (1.5g)
Instructions
- Make the Crust Dough: In a large bowl, whisk together flour, salt, and sugar. Add cold butter cubes and shortening. Using a pastry cutter or fingertips, work the fats into the flour until the mixture looks like coarse meal with some pea-sized butter pieces remaining. Sprinkle ice water over the mixture, 1 tablespoon at a time, tossing with a fork after each addition. Stop when the dough holds together when squeezed. Flatten into a disk, wrap in plastic wrap, and refrigerate for at least 1 hour.
- Roll Out the Dough: On a lightly floured surface, roll the chilled dough into a 12-inch circle, about ⅛-inch thick. Transfer to a 9-inch pie dish, press into the bottom and sides, trim excess to ½-inch overhang, fold under, and crimp edges. Freeze for 15 minutes.
- Blind Bake the Crust: Preheat oven to 425°F (220°C). Line frozen crust with parchment paper and fill with pie weights or dried beans. Bake for 15 minutes. Remove parchment and weights, prick bottom with a fork, and bake for another 5 minutes until lightly golden. Set aside to cool slightly. Reduce oven temperature to 375°F (190°C).
- Make the Filling: In a medium bowl, whisk together pumpkin puree, sweetened condensed milk, eggs, maple syrup, vanilla extract, pumpkin pie spice, cinnamon, and salt until smooth and fully combined. Do not over-whisk.
- Assemble and Bake: Pour filling into pre-baked crust. Bake at 375°F (190°C) for 50-60 minutes, until edges are set and center jiggles slightly. If edges brown too quickly, cover with foil after 25 minutes.
- Cool Completely: Transfer pie to a cooling rack and let cool completely at room temperature, at least 2 hours. The filling will continue to set as it cools.
Notes
Keep all ingredients cold for a flaky crust. Blind baking is essential to avoid a soggy bottom. The pie tastes even better the next day. For a dairy-free version, use coconut oil or vegan butter and full-fat coconut milk instead of sweetened condensed milk (add ¼ cup sugar). For a gluten-free version, use a 1:1 gluten-free baking blend.
Nutrition
- Serving Size: 1 slice
- Calories: 380
- Sugar: 28
- Sodium: 320
- Fat: 20
- Saturated Fat: 12
- Carbohydrates: 45
- Fiber: 3
- Protein: 6
Keywords: pumpkin pie, homemade pie, flaky crust, fall dessert, Thanksgiving pie, easy pumpkin pie


