Love this? Save it for later!
Share the inspiration with your friends
There used to be a quirky little deli tucked between two bookstores on a side street in Portland that made these ridiculously good no-bake granola bars with chocolate chips. When that deli shuttered unexpectedly one rainy Monday morning, I felt this weird, stubborn loss—like saying goodbye to a friend who knew exactly how you liked your snacks. I swear, those bars were the perfect mix of sweet, chewy, and just a little bit crunchy.
After about five attempts—which included everything from accidentally setting the mixture too wet and a few too many chocolate chips melting into a gooey mess—I finally nailed it. Honestly, this recipe kept me up some nights (and made a bit of a kitchen disaster), but it stuck with me because it wasn’t just about making granola bars. It was about recapturing that little moment of joy from a place I couldn’t visit anymore. Maybe you’ve been there—craving something so specific that nothing else quite hits the spot.
So, let me tell you how I recreated those easy no-bake granola bars with chocolate chips right at home. It’s simple, satisfying, and honestly, a bit of a nostalgic comfort food that I keep making whenever I need a quick, homemade snack fix.
Why You’ll Love This Recipe
I’ve put this easy no-bake granola bars with chocolate chips recipe through the wringer, and here’s why it’s become my go-to:
- Quick & Easy: Comes together in under 20 minutes, perfect for last-minute snack cravings or busy mornings.
- Simple Ingredients: Uses pantry staples—oats, honey, peanut butter, and some chocolate chips—no fancy trips to specialty stores needed.
- Perfect for On-the-Go: Great for packing in lunchboxes, hiking trips, or even an afternoon pick-me-up at work.
- Crowd-Pleaser: Kids, adults, and even picky eaters tend to ask for seconds—there’s just something about those chocolate chips!
- Unbelievably Delicious: The chewy texture combined with melty chocolate bits is pure snack-time magic.
What makes this recipe stand out? It’s the balance—I blend the oats and peanut butter just enough to hold together without turning into a dense block, and I fold in chocolate chips at just the right moment to keep them intact but soft. Plus, no baking means less mess and faster snack prep.
Honestly, this isn’t just a granola bar recipe; it’s the kind of treat where you close your eyes after that first bite and smile. Whether you’re trying to impress guests with homemade snacks or just want a reliable, tasty bite between meals, these bars deliver.
What Ingredients You Will Need
This recipe uses simple, wholesome ingredients to deliver bold flavor and satisfying texture without the fuss. Most of these you probably already have on hand, making it a perfect anytime snack.
- Old-fashioned rolled oats: 2 cups (about 180g) – the base providing chewy texture. I recommend Bob’s Red Mill for best consistency.
- Peanut butter: 1/2 cup (125g), smooth or crunchy – adds richness and binds the bars together. Natural peanut butter works beautifully here.
- Honey: 1/2 cup (170g) – for sweetness and stickiness. You can swap with maple syrup for a vegan option.
- Mini chocolate chips: 3/4 cup (130g) – the star ingredient. I like Ghirardelli’s mini chips because they melt just right without losing shape.
- Vanilla extract: 1 teaspoon – boosts overall flavor depth.
- Salt: 1/4 teaspoon – balances sweetness and enhances flavor.
- Optional add-ins: 1/4 cup chopped nuts or seeds for extra crunch, dried fruit like cranberries or raisins for a tart twist.
Feel free to swap peanut butter with almond or sunflower seed butter if you have allergies or prefer a different nutty flavor. And if you want gluten-free, just make sure to use certified gluten-free oats.
Equipment Needed
- Mixing bowl: A large one to combine all ingredients comfortably.
- Spatula or wooden spoon: For mixing (a silicone spatula works wonders for scraping the bowl clean).
- 8×8 inch baking pan: To press and shape the bars (line it with parchment paper for easy removal).
- Measuring cups and spoons: For accuracy.
- Microwave-safe bowl or small saucepan: To gently warm peanut butter and honey for easier mixing.
If you don’t have a baking pan, a shallow dish or square container works fine. I’ve even pressed the mixture into a large plate lined with foil when I was in a pinch. Just remember, firm pressing is key to bars that hold together.
Preparation Method
- Warm the peanut butter and honey: In a microwave-safe bowl, gently heat the peanut butter and honey together for about 30-40 seconds until slightly warm and easy to stir. (If you don’t have a microwave, use a small saucepan over low heat.) This step makes mixing smoother and helps bind the bars.
- Mix wet ingredients: Stir in the vanilla extract and salt into the peanut butter and honey mixture until fully combined. This mix should be smooth and glossy.
- Combine oats and optional add-ins: In your large mixing bowl, add the rolled oats and any nuts or dried fruits you want to include. Give them a quick stir to spread evenly.
- Incorporate the wet mixture: Pour the peanut butter mixture over the oats. Using your spatula or wooden spoon, mix thoroughly until the oats are well coated and the mixture begins to stick together. If it feels too dry, add a teaspoon of water or more honey, but don’t make it too wet.
- Fold in chocolate chips: Gently fold in the mini chocolate chips. Be careful not to overmix—this keeps the chips from melting into a clump.
- Press into the pan: Line your 8×8 inch pan with parchment paper and transfer the mixture into it. Using the back of a spoon or clean hands, press firmly and evenly to compact the mixture. Firm pressure here is crucial for bars that won’t crumble.
- Chill and set: Place the pan in the fridge for at least 2 hours (or 30 minutes in the freezer if you’re impatient). The bars should be firm and hold together when cut.
- Slice and enjoy: Lift the set mixture out of the pan using the parchment edges. Cut into bars or squares with a sharp knife. Store in an airtight container in the fridge.
Quick tip: If your bars feel crumbly, give them another 30 minutes chilled. I once rushed this step and regretted the crumbly mess—patience pays off.
Cooking Tips & Techniques
- Warm mixtures blend better: Heating peanut butter and honey makes them easier to combine and helps the bars hold together without baking.
- Press firmly: Don’t skimp on this step. The firmer you press the mixture into the pan, the better the bars stay intact.
- Don’t overmix chocolate chips: Fold them in last and stir gently to avoid melting.
- Adjust sweetness: Depending on your peanut butter and personal taste, you can add more or less honey.
- Watch the texture: The mixture should be sticky but not wet. If it’s too loose, bars won’t hold—add more oats or nuts.
- Keep bars chilled: These bars soften at room temperature, so store them in the fridge especially in warm weather.
Honestly, the first time I made these, I didn’t press hard enough. The bars fell apart at the first bite. Lesson learned: your forearm strength is part of the recipe!
Variations & Adaptations
- Nut-free version: Swap peanut butter for sunflower seed butter and use pumpkin seeds instead of nuts.
- Seasonal twist: Add dried cranberries or chopped dried apricots in fall and winter, or fresh chopped strawberries (folded in just before pressing) for summer freshness.
- Protein boost: Stir in a scoop of your favorite protein powder or add chia seeds to the oat mixture.
- Flavor swaps: Use almond butter and dark chocolate chips for a richer, slightly different flavor profile.
- Baking method: If you’re feeling adventurous, bake the bars at 350°F (175°C) for 15 minutes for a crunchier texture, but that changes the chewy character.
One time I added toasted coconut flakes and a pinch of cinnamon for a holiday vibe—it was a hit at the office potluck and super easy.
Serving & Storage Suggestions
These bars are best served chilled or at room temperature. They’re perfect for a quick breakfast, a snack with your afternoon coffee, or a hiking treat.
Try pairing them with a glass of cold milk, a cup of herbal tea, or your favorite smoothie for a balanced snack combo. They also travel well, making them ideal for school lunches or road trips.
Store leftovers in an airtight container in the refrigerator for up to a week. For longer storage, freeze them wrapped individually in plastic wrap and then placed in a freezer bag—thaw at room temperature when ready to eat.
Flavors tend to meld and intensify a bit after a day or two, which means sometimes they taste even better after sitting for a while. Just keep an eye on the chocolate chips in warm weather—they can soften or melt if left out too long.
Nutritional Information & Benefits
Each bar (assuming 12 bars per batch) contains approximately:
| Calories | 180-200 kcal |
|---|---|
| Protein | 5-6 grams |
| Fat | 8-10 grams (mostly from healthy fats in peanut butter) |
| Carbohydrates | 22-25 grams |
| Fiber | 3-4 grams |
This recipe offers a balanced energy boost thanks to oats and nut butter, plus antioxidants from chocolate chips. It’s naturally gluten-free if you use certified oats, and you can make it dairy-free by selecting dairy-free chocolate chips. Just watch for nut allergies if serving to kids.
From my perspective, these bars are a wholesome way to satisfy sweet cravings without processed sugars or additives. They keep me energized during busy days without feeling weighed down.
Conclusion
So, there you have it—easy no-bake granola bars with chocolate chips that bring a bit of that lost deli magic right into your kitchen. They’re quick to make, use simple ingredients, and taste way better than most store-bought bars. Honestly, I keep coming back to this recipe because it’s comfort food in a bar, perfect for so many occasions.
Don’t hesitate to tweak it—add your favorite nuts, swap butters, or toss in some seeds. It’s all about making it your own and enjoying every bite. If you try it, I’d love to hear how you customized your bars or if you have any tips from your kitchen adventures.
Happy snacking, and here’s to finding your own little food memories in every bite!
FAQs About Easy No-Bake Granola Bars with Chocolate Chips
Can I substitute peanut butter with another nut or seed butter?
Absolutely! Almond butter, cashew butter, or sunflower seed butter all work well. Just make sure the consistency is similar to peanut butter for best results.
How long do these granola bars last?
Stored in an airtight container in the refrigerator, they last up to one week. You can freeze them for up to three months.
Can I make these bars vegan?
Yes! Use maple syrup instead of honey and choose dairy-free chocolate chips to keep it vegan-friendly.
What if my bars are too crumbly?
Try pressing the mixture more firmly into the pan and chilling them longer. If still crumbly, add a bit more peanut butter or honey next time for extra binding.
Is there a way to make these bars crunchy instead of chewy?
Yes, baking them at 350°F (175°C) for about 15 minutes will give a crunchier texture, but they won’t be as soft and chewy as the no-bake version.
Pin This Recipe!
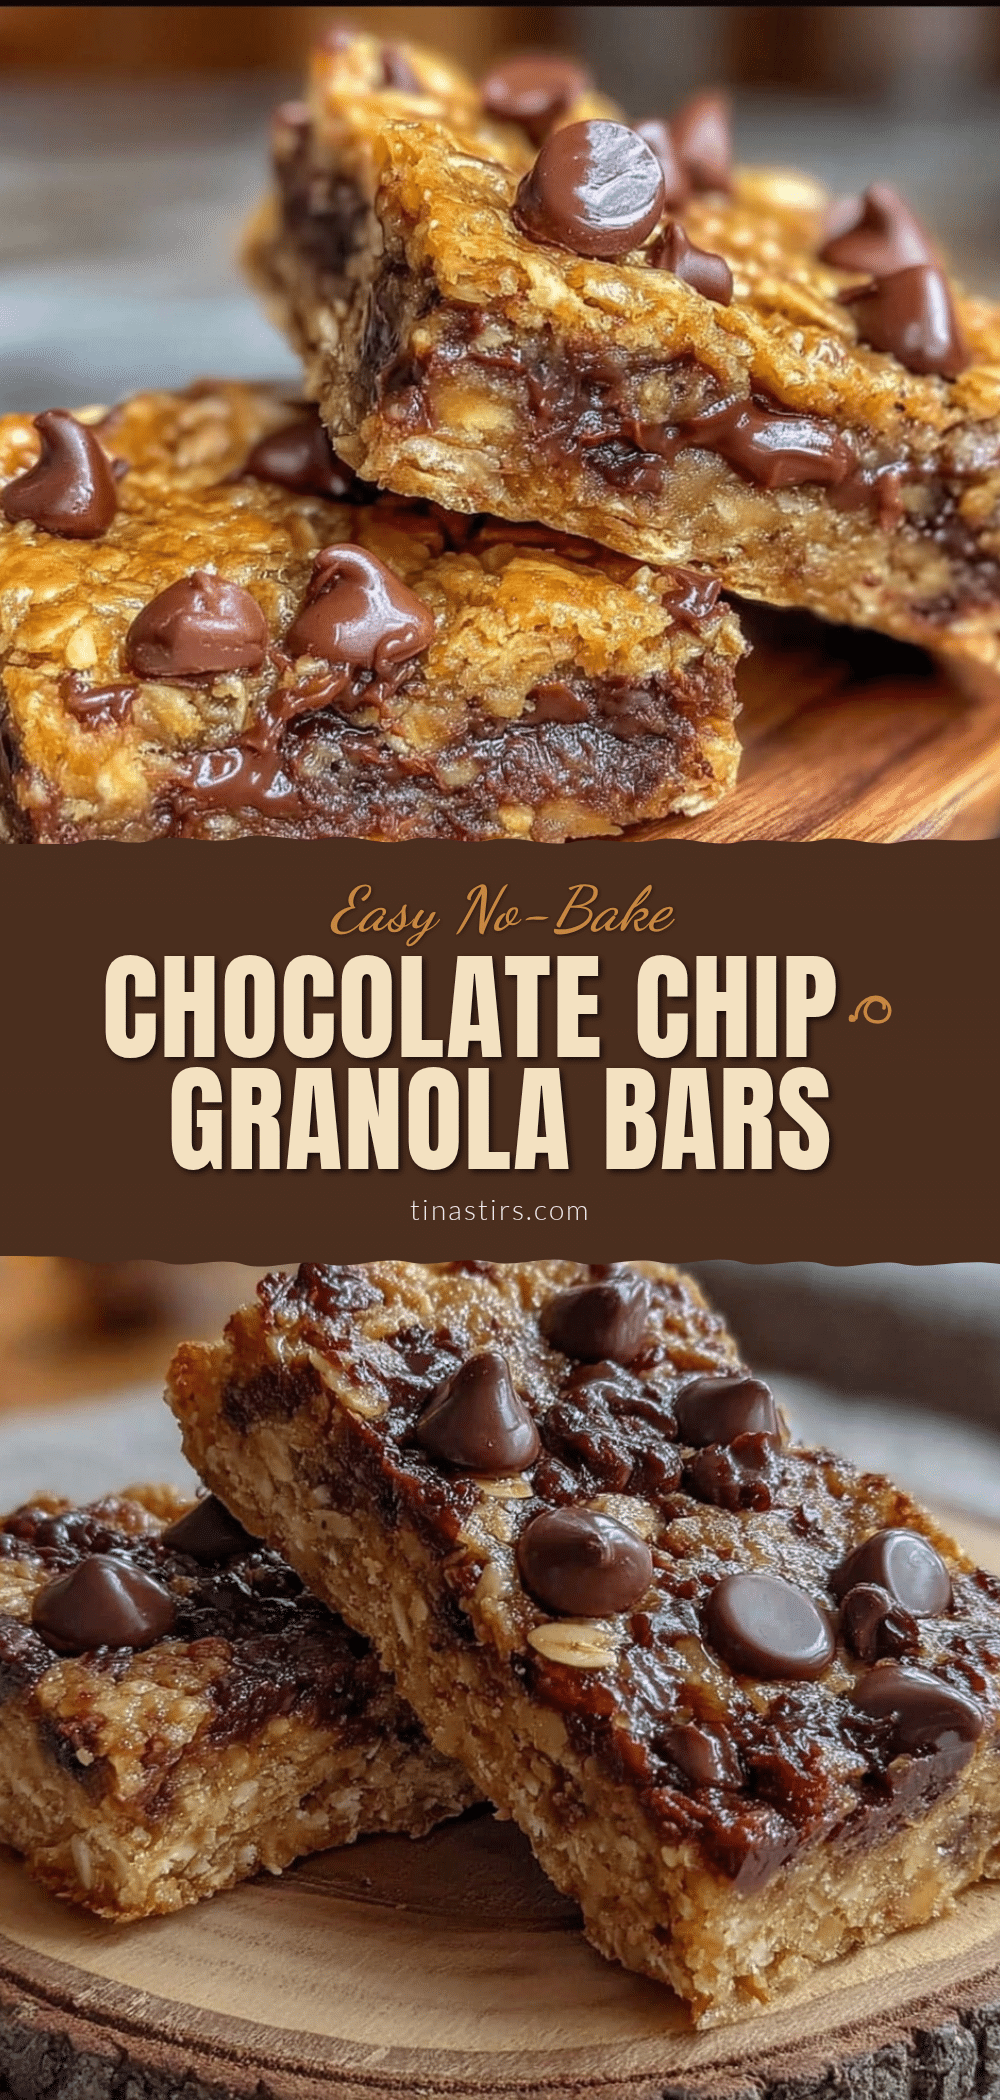
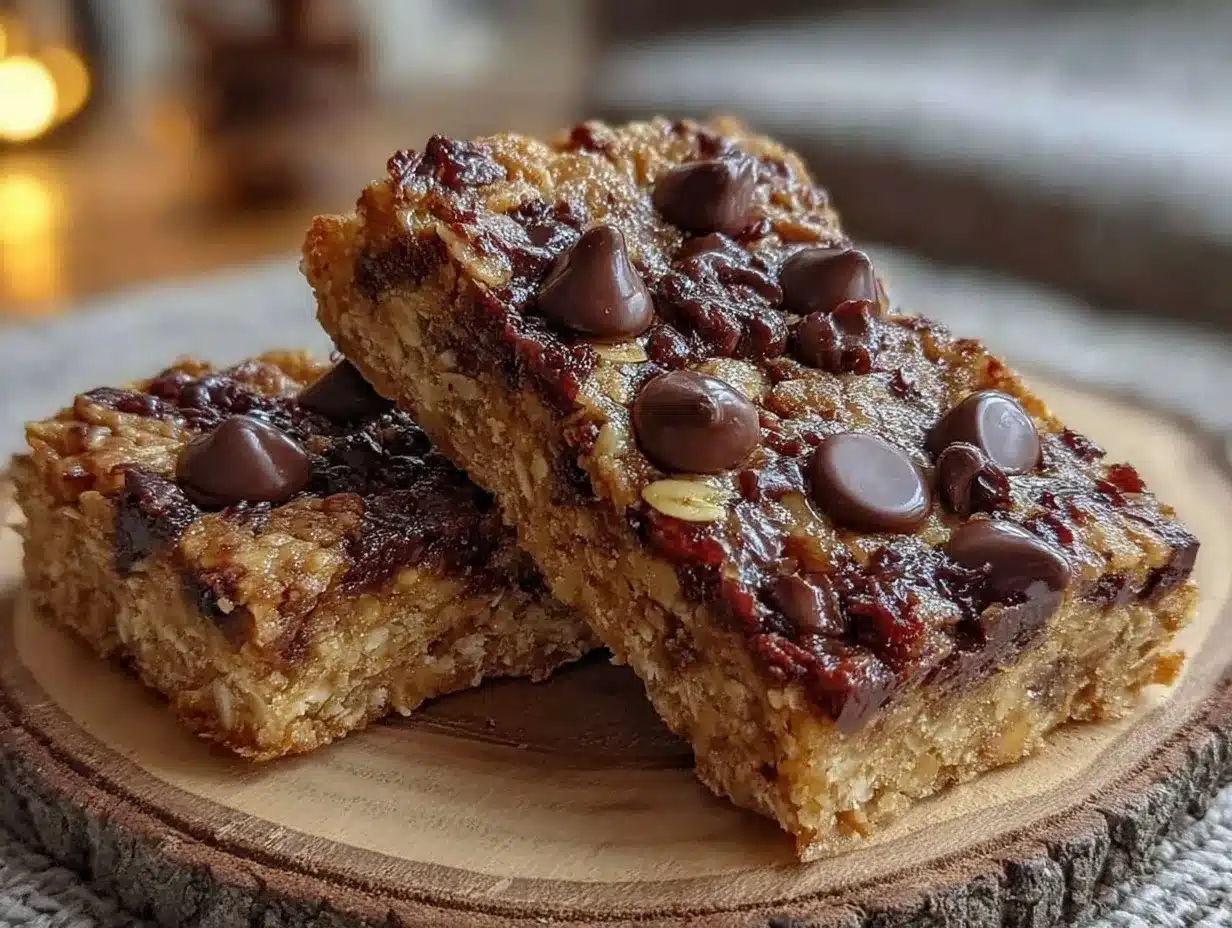
Easy No-Bake Granola Bars with Chocolate Chips
A quick and easy no-bake granola bar recipe featuring oats, peanut butter, honey, and mini chocolate chips for a chewy, sweet, and satisfying snack.
- Prep Time: 10 minutes
- Cook Time: 0 minutes
- Total Time: 2 hours 10 minutes
- Yield: 12 bars 1x
- Category: Snack
- Cuisine: American
Ingredients
- 2 cups old-fashioned rolled oats (about 180g)
- 1/2 cup peanut butter (125g), smooth or crunchy
- 1/2 cup honey (170g) or maple syrup for vegan option
- 3/4 cup mini chocolate chips (130g)
- 1 teaspoon vanilla extract
- 1/4 teaspoon salt
- Optional: 1/4 cup chopped nuts or seeds
- Optional: dried fruit like cranberries or raisins
Instructions
- Warm the peanut butter and honey together in a microwave-safe bowl for 30-40 seconds until slightly warm and easy to stir. Alternatively, use a small saucepan over low heat.
- Stir in vanilla extract and salt into the peanut butter and honey mixture until fully combined and smooth.
- In a large mixing bowl, combine the rolled oats and any optional nuts or dried fruits.
- Pour the peanut butter mixture over the oats and mix thoroughly until the oats are well coated and the mixture begins to stick together. Add a teaspoon of water or more honey if too dry, but do not make it too wet.
- Gently fold in the mini chocolate chips, being careful not to overmix to avoid melting the chips.
- Line an 8×8 inch baking pan with parchment paper and transfer the mixture into it. Press firmly and evenly to compact the mixture.
- Chill the pan in the refrigerator for at least 2 hours or in the freezer for 30 minutes until bars are firm.
- Lift the set mixture out using the parchment edges and cut into bars or squares. Store in an airtight container in the refrigerator.
Notes
Press the mixture firmly into the pan to ensure bars hold together. Chill bars for at least 2 hours for best results. Avoid overmixing chocolate chips to prevent melting. Store bars in the refrigerator to keep firm, especially in warm weather. For a crunchier texture, bake at 350°F (175°C) for 15 minutes instead of no-bake.
Nutrition
- Serving Size: 1 bar
- Calories: 190
- Sugar: 12
- Sodium: 70
- Fat: 9
- Saturated Fat: 1.5
- Carbohydrates: 24
- Fiber: 3.5
- Protein: 5.5
Keywords: no-bake granola bars, chocolate chip granola bars, easy snack recipe, healthy snacks, peanut butter granola bars, quick granola bars