Love this? Save it for later!
Share the inspiration with your friends
The neighborhood cookie exchange was in twelve hours and I’d completely forgotten. Not just forgotten—I’d RSVP’d yes, promised a dozen “something special,” and then let the email vanish into the abyss of my inbox. Everyone else would be bringing those elaborate, three-day projects—the kind with homemade caramel and tempered chocolate and ingredients you have to special-order. I had three overripe bananas on the counter, a half-empty bag of flour, and the sinking feeling that I was about to show up empty-handed to a room full of overachievers.
Honestly, I almost didn’t go. But my neighbor Maria texted me at 9 PM: “You’re still bringing those banana bread bites, right? Everyone’s talking about them.” I hadn’t made banana bread bites. I hadn’t made anything. But I had those bananas, and I had a bowl, and I figured—what’s the worst that could happen? I threw together this easy one-bowl banana bread, no mixer needed, because my KitchenAid was buried under a pile of laundry and I wasn’t about to dig it out at 10 PM on a Tuesday.
I walked in the next day with a loaf wrapped in foil, still warm, feeling like I was bringing a bag of chips to a potluck. You know that feeling when you’re the underdog and you know it? That was me. But then something funny happened. People started cutting slices. Then they started coming back for seconds. By the end of the night, three different people had asked for the recipe, and Maria was giving me this look like, “I told you so.” The loaf that took me fifteen minutes to prep and zero special equipment had somehow won the cookie exchange. I’ve been making it ever since, and honestly? I still laugh every time someone asks for the recipe. It’s the easiest thing I make, and it’s the one people can’t stop talking about.
Why You’ll Love This Recipe
Let me be real with you for a second. I’ve tested a lot of banana bread recipes over the years—some that required multiple bowls, some that called for buttermilk I never had, some that demanded I pull out the stand mixer and then spend twenty minutes cleaning it. This one is different. This one respects your time and your energy, which is exactly what you need on a busy weeknight when you’re staring at those sad, spotty bananas and wondering what to do with them.
- Quick & Easy: This comes together in about 15 minutes of active prep. No mixer, no fuss, no complicated techniques. Just a bowl, a fork, and a little elbow grease.
- Simple Ingredients: You probably already have everything in your pantry. Flour, sugar, eggs, butter, baking soda, salt—and those bananas that are begging to be used.
- Perfect for Weeknights: When you’re tired and hungry and the last thing you want to do is wash a bunch of dishes, this recipe has your back. One bowl. One loaf pan. Minimal cleanup.
- Crowd-Pleaser: I’ve made this for neighbors, coworkers, and family gatherings, and it never fails to get requests for the recipe. Kids love it, adults love it, and it freezes beautifully for later.
- Unbelievably Delicious: The texture is perfectly moist without being gummy, the banana flavor is front and center, and the edges get that slightly caramelized crust that makes you go back for “just one more slice.”
What makes this recipe different from all the others? It’s the technique. By mashing the bananas first and then mixing the wet and dry ingredients separately before combining, you get a batter that’s perfectly smooth without overmixing. No dense, tough banana bread here—just tender, moist, bakery-quality results from a single bowl. And honestly? That’s the kind of win we all need on a Tuesday night.
What Ingredients You Will Need
This recipe uses simple, wholesome ingredients that come together to create something truly special. The beauty of this banana bread is that it doesn’t rely on fancy additions or hard-to-find items—just good, honest ingredients that do their job perfectly.
- 3 large ripe bananas, mashed (the spottier, the better—those brown spots mean maximum sweetness and flavor)
- 1/3 cup unsalted butter, melted and slightly cooled (I use Kerrygold for the richest flavor, but any good unsalted butter works)
- 3/4 cup granulated sugar (you can reduce to 1/2 cup if your bananas are very ripe, but 3/4 gives the perfect sweetness)
- 1 large egg, room temperature (cold eggs can seize the butter, so let it sit out for 15 minutes)
- 1 teaspoon vanilla extract (pure vanilla, not imitation—it makes a real difference here)
- 1 1/2 cups all-purpose flour, spooned and leveled (don’t scoop directly from the bag or you’ll pack in too much flour)
- 1 teaspoon baking soda (check the expiration—old baking soda is the #1 reason banana bread doesn’t rise properly)
- 1/4 teaspoon salt (fine sea salt or table salt, not coarse kosher)
- Optional: 1/2 cup mix-ins of your choice—chocolate chips, chopped walnuts, or dried fruit all work beautifully
For the best texture, make sure your bananas are truly ripe—not just yellow with a few spots, but heavily speckled or even mostly brown. The natural sugars in overripe bananas are what give this bread its incredible sweetness and moisture. If your bananas aren’t quite there yet, you can speed up the process by roasting them in a 300°F oven for 15-20 minutes until the skins turn black. Let them cool before using.
I’ve tested this recipe with both all-purpose and whole wheat pastry flour, and both work well. If you’re using whole wheat, add an extra tablespoon of milk or water to compensate for the extra absorbency. For a gluten-free version, a good 1:1 gluten-free baking flour blend works perfectly—just don’t overmix the batter.
Equipment Needed
The beauty of this recipe is that you probably already own everything you need. No fancy gadgets required.
- One large mixing bowl—any size works, but a 3-quart bowl gives you room to mix without splashing
- A fork or potato masher for mashing the bananas (a fork works great; a masher is slightly faster)
- A whisk or wooden spoon for mixing the batter (I prefer a wooden spoon because it gives me more control)
- A 9×5-inch loaf pan—glass, metal, or ceramic all work, but metal gives the best browning
- Parchment paper (optional but highly recommended for easy removal and minimal cleanup)
- Measuring cups and spoons—dry measuring cups for flour, liquid measuring cup for melted butter
- A rubber spatula for scraping every last bit of batter into the pan
If you don’t have a loaf pan, you can bake this in an 8×8-inch square pan for about 25-30 minutes, or even in a muffin tin for banana bread muffins (bake for 18-22 minutes). I’ve also made it in a cast-iron skillet for a rustic, crispy-edged version that’s absolutely gorgeous. No loaf pan? No problem.
Preparation Method
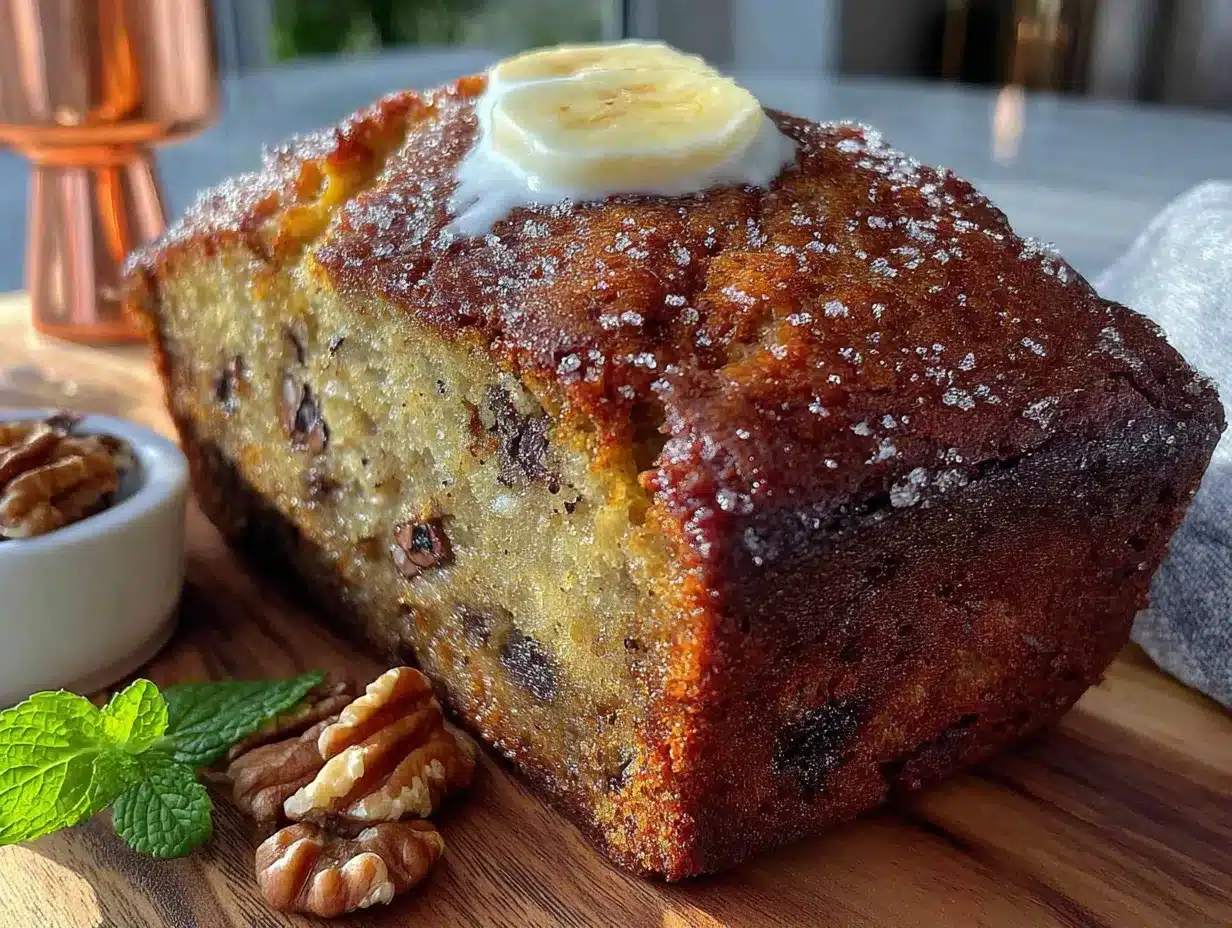
This is where the magic happens. Follow these steps, and you’ll have perfect banana bread every single time.
- Preheat your oven to 350°F (175°C). Position the rack in the center of the oven. Grease your 9×5-inch loaf pan with butter or non-stick spray, or line it with parchment paper, leaving a 2-inch overhang on the long sides for easy lifting.
- Mash the bananas. In your large mixing bowl, add the three ripe bananas. Mash them with a fork or potato masher until they’re mostly smooth with a few small lumps remaining. You want some texture, not baby food. This should take about 30 seconds.
- Add the melted butter. Pour the slightly cooled melted butter over the mashed bananas and stir until combined. The butter should be warm but not hot—if it’s too hot, it might cook the egg in the next step. Let it cool for a minute if needed.
- Mix in the sugar, egg, and vanilla. Add the granulated sugar and stir until well combined. Crack the egg into the bowl and add the vanilla extract. Whisk or stir vigorously until the mixture is smooth and slightly lighter in color, about 30 seconds. The batter should look glossy and well-emulsified at this point.
- Add the dry ingredients. Sprinkle the flour, baking soda, and salt evenly over the wet mixture. Use a wooden spoon or rubber spatula to fold everything together gently. Stir just until you no longer see streaks of flour—about 10 to 12 strokes. A few small lumps are perfectly fine. Overmixing will develop the gluten and make your banana bread tough and dense.
- Fold in any mix-ins. If you’re using chocolate chips, nuts, or dried fruit, gently fold them in at this point. Don’t overmix—just a few folds to distribute them evenly. The batter should be thick and slightly lumpy.
- Pour the batter into the prepared pan. Use your rubber spatula to scrape every bit of batter into the loaf pan. Spread it evenly and tap the pan gently on the counter a few times to release any air bubbles.
- Bake for 55-65 minutes. Place the pan in the preheated oven and bake until a toothpick inserted into the center comes out clean or with just a few moist crumbs. The top should be golden brown and cracked in a few places—that’s a good sign! If the top is browning too quickly (around 45 minutes), tent the pan loosely with aluminum foil.
- Cool in the pan for 10 minutes. Remove the loaf from the oven and place it on a wire rack. Let it cool in the pan for exactly 10 minutes. This allows the structure to set so the bread doesn’t fall apart when you remove it.
- Remove and cool completely. After 10 minutes, use the parchment paper overhang to lift the loaf out of the pan. Transfer it to the wire rack and let it cool completely before slicing—about 1 hour. I know it’s tempting to cut into it while it’s warm, but slicing too early will give you gummy, crumbly slices.
Cooking Tips & Techniques
After making this banana bread more times than I can count, I’ve learned a few things the hard way. Here are my best tips for perfect results every time.
Don’t overmix the batter. This is the most common mistake I see. When you stir the flour into the wet ingredients, you’re developing gluten. Too much gluten means tough, dense banana bread. Stir just until the flour disappears—a few lumps are fine. They’ll disappear during baking.
Check your baking soda. I once made a flat, dense loaf and couldn’t figure out why. Turns out my baking soda was expired. To test if yours is still active, drop a teaspoon into a small bowl of vinegar. If it fizzes vigorously, it’s good. If it barely bubbles, toss it and buy a fresh box.
Room temperature ingredients matter. I know, I know—who has time to wait for eggs to come to room temperature? But here’s the thing: a cold egg can seize the melted butter, creating lumps in your batter that never fully incorporate. If you’re in a hurry, place the egg in a bowl of warm water for 5 minutes. Problem solved.
Use the spoon-and-level method for flour. Scooping your measuring cup directly into the flour bag packs in up to 20% more flour than the recipe intends. Instead, spoon the flour into the cup and level it off with a knife. Your banana bread will be noticeably more tender.
Let it cool completely. I know it’s hard. The smell of warm banana bread fills your kitchen and all you want is a slice with butter melting into it. But cutting into it too early will give you a gummy, crumbly texture. The bread continues to set as it cools. Trust me on this one—I’ve ruined more loaves than I care to admit by being impatient.
Variations & Adaptations
This recipe is endlessly adaptable. Here are some of my favorite variations, all tested and approved.
Chocolate Chip Banana Bread: Fold in 1/2 cup semi-sweet or dark chocolate chips along with the dry ingredients. I like to reserve a tablespoon of chips and press them into the top of the batter before baking for a prettier presentation. This version is always a hit with kids.
Nutty Banana Bread: Add 1/2 cup toasted walnuts or pecans, roughly chopped. Toast them first in a dry skillet over medium heat for 3-4 minutes until fragrant—this brings out their oils and adds incredible depth of flavor. My personal favorite is pecans; they have a natural sweetness that complements the bananas perfectly.
Vegan Banana Bread: Replace the butter with 1/3 cup melted coconut oil or vegetable oil, and use a flax egg (1 tablespoon ground flaxseed mixed with 3 tablespoons water, let sit for 5 minutes). The coconut oil version has a subtle tropical flavor that’s absolutely delicious. Bake for the same amount of time.
Gluten-Free Banana Bread: Substitute the all-purpose flour with a 1:1 gluten-free baking blend that contains xanthan gum. I’ve had great results with King Arthur’s Measure for Measure flour. The texture is slightly more delicate, so let it cool completely before slicing.
Spiced Banana Bread: Add 1 teaspoon cinnamon, 1/2 teaspoon nutmeg, and 1/4 teaspoon ground ginger to the dry ingredients. This warm spice combination makes the bread taste like fall in a slice. I love this version with a dollop of apple butter on top.
Serving & Storage Suggestions
This banana bread is wonderful served warm or at room temperature. For the ultimate experience, toast a slice lightly and spread it with salted butter—the contrast of warm, buttery bread with the sweet banana flavor is unbeatable. It’s also delicious with a smear of cream cheese, a drizzle of honey, or even a scoop of vanilla ice cream for dessert.
For storage, wrap the completely cooled loaf tightly in plastic wrap or aluminum foil. It will keep at room temperature for up to 4 days. I don’t recommend refrigerating it—the cold temperature actually speeds up staling and makes the bread dry out faster.
This banana bread freezes beautifully. Wrap the cooled loaf (or individual slices) tightly in plastic wrap, then in a layer of aluminum foil, and place in a freezer-safe bag. It will keep for up to 3 months. To thaw, leave it at room temperature for a few hours or pop individual slices in the toaster for a quick treat. I always keep a loaf in the freezer for unexpected guests or those days when I need a little comfort.
The flavors actually deepen after a day or two—the banana flavor becomes more pronounced and the texture evens out. If you can resist eating it all on day one, you’ll be rewarded with an even better loaf on day two.
Nutritional Information & Benefits
Per slice (based on 10 slices, without mix-ins): approximately 220 calories, 8g fat, 34g carbohydrates, 2g fiber, 18g sugar, and 4g protein. These values will vary based on your specific ingredients and any mix-ins you add.
Bananas are a fantastic source of potassium, vitamin B6, and vitamin C. They also contain resistant starch, which acts as a prebiotic and supports gut health. The butter provides vitamin A and healthy fats that help your body absorb fat-soluble nutrients. And let’s be honest—sometimes you just need a slice of something homemade that makes you feel good, and this banana bread delivers on that front.
This recipe is vegetarian-friendly and can easily be made vegan or gluten-free with the substitutions mentioned above. It contains dairy (butter) and gluten (flour), so those with sensitivities should use appropriate alternatives. The optional nuts add healthy fats and protein, making the bread more satiating.
Conclusion
This easy one-bowl banana bread is the kind of recipe that becomes a staple in your kitchen—not because it’s fancy or complicated, but because it works every single time. It’s the recipe you turn to when you’re tired, when you need something comforting, when you have bananas that are past their prime and you refuse to throw them away. It’s the recipe that makes you look like a hero at a potluck or a cookie exchange, even when you threw it together in fifteen minutes flat.
I hope you’ll try this recipe and make it your own. Add chocolate chips if that’s your thing, throw in some nuts, or keep it simple and pure. The beauty of banana bread is that it’s forgiving—it welcomes your personal touch. Let me know in the comments how yours turns out, or share your own favorite variation. I love hearing how this recipe works in different kitchens, with different hands making it their own.
Here’s to simple recipes that feel like a hug. Here’s to one bowl and no mixer. And here’s to those spotty bananas that were just waiting to become something beautiful.
Frequently Asked Questions
Can I use frozen bananas for this banana bread?
Absolutely! Frozen bananas actually work wonderfully. Thaw them completely at room temperature, then drain off any excess liquid before mashing. The freezing process breaks down the cell walls, making them even easier to mash and giving you incredibly moist banana bread.
Why did my banana bread sink in the middle?
This usually happens for one of three reasons: the bread was underbaked, the oven temperature was too low, or the batter was overmixed. Make sure your oven is properly preheated to 350°F, and always test with a toothpick before removing from the oven. If the top is browning too quickly, tent with foil and continue baking.
Can I reduce the sugar in this recipe?
Yes, you can reduce the sugar to 1/2 cup if your bananas are very ripe and sweet. The natural sugars in overripe bananas do a lot of the heavy lifting here. I’ve also successfully used 1/2 cup coconut sugar or 1/3 cup honey (reduce the butter slightly if using honey).
How do I make this banana bread dairy-free?
Replace the butter with an equal amount of melted coconut oil, vegetable oil, or a dairy-free butter substitute like Earth Balance. The coconut oil version has a subtle coconut flavor that pairs beautifully with banana. Everything else in the recipe is naturally dairy-free.
Can I make this into muffins instead of a loaf?
Definitely! Divide the batter among a 12-cup muffin tin lined with paper liners or greased well. Bake at 350°F for 18-22 minutes, until a toothpick inserted into the center comes out clean. You’ll get about 12 standard muffins. This is my go-to for bake sales and breakfast meal prep.
Pin This Recipe!
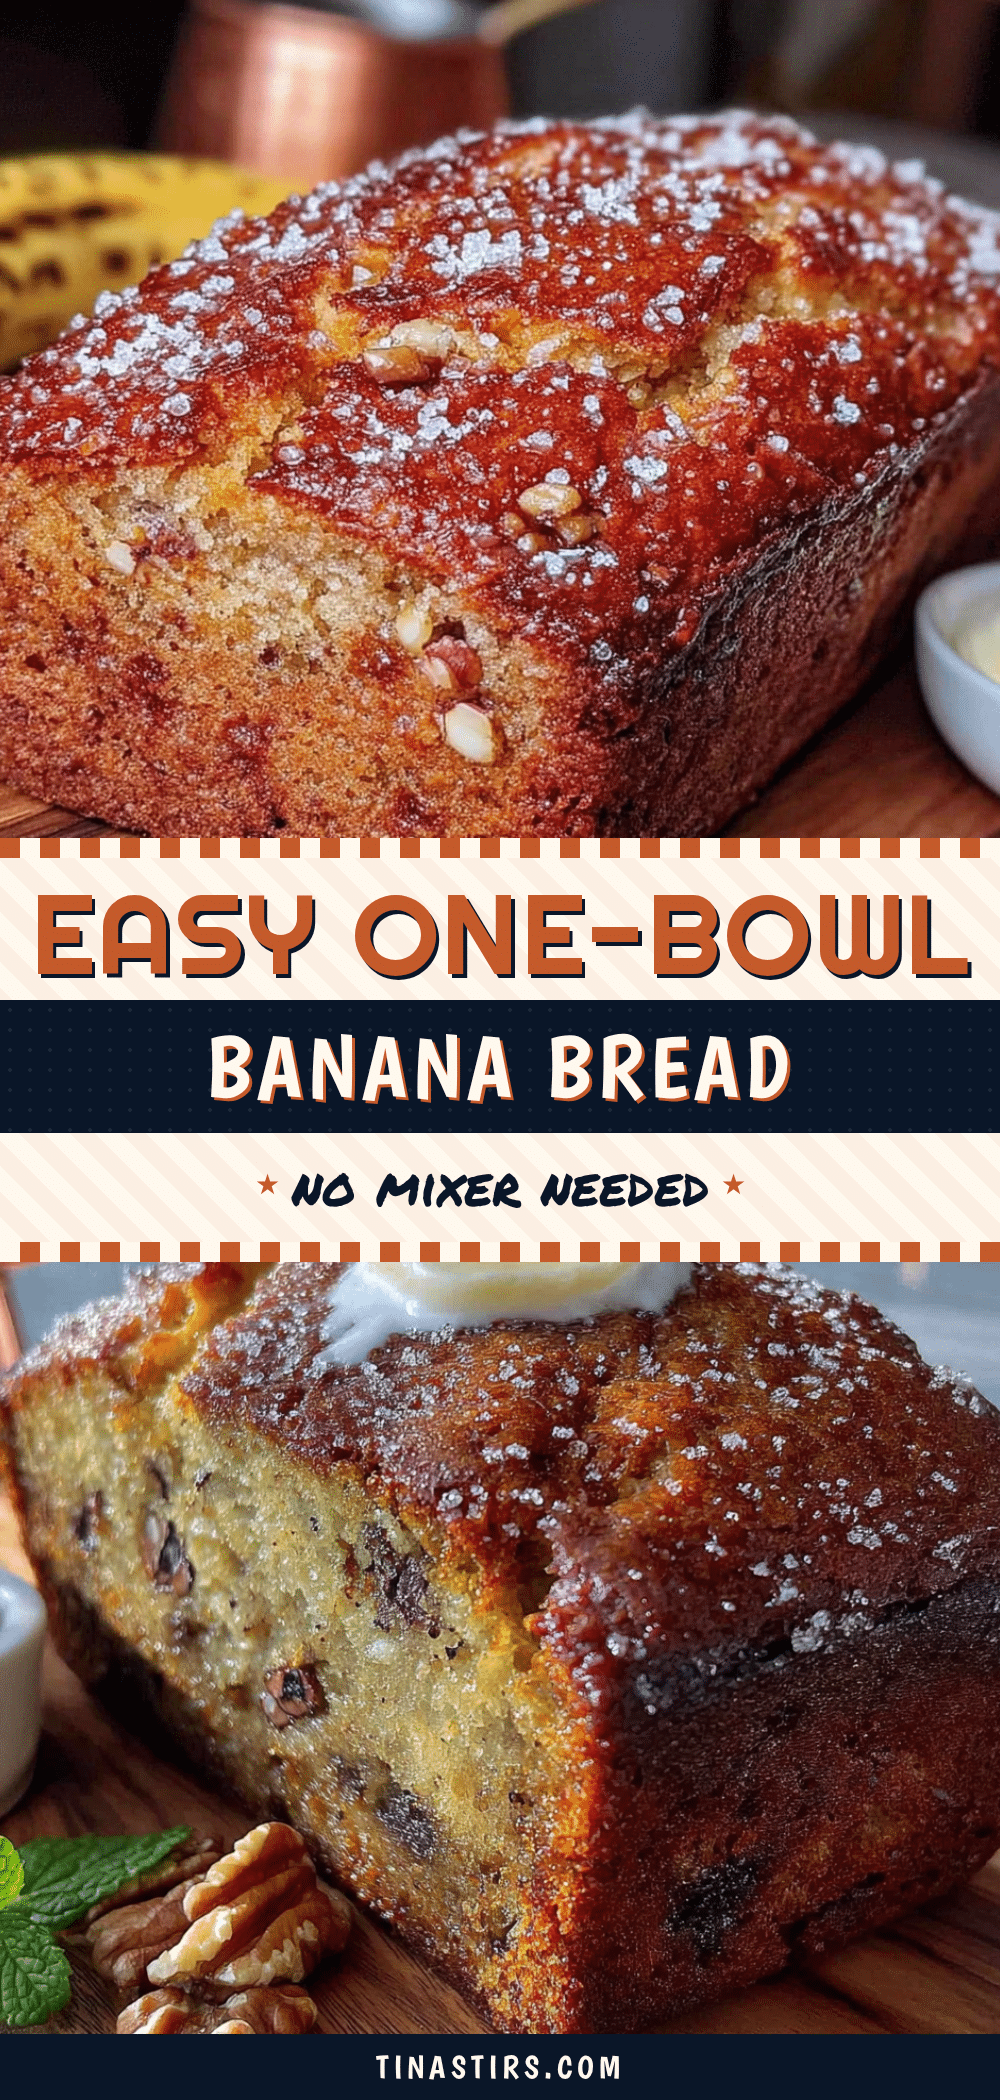
Easy One-Bowl Banana Bread: Best Homemade Recipe
This easy one-bowl banana bread is the perfect solution for busy weeknights when you have overripe bananas and need a quick, delicious treat. No mixer required, minimal cleanup, and it’s always a crowd-pleaser.
- Prep Time: 15 minutes
- Cook Time: 55-65 minutes
- Total Time: 1 hour 10 minutes to 1 hour 20 minutes
- Yield: 10 servings 1x
- Category: Dessert
- Cuisine: American
Ingredients
- 3 large ripe bananas, mashed
- 1/3 cup unsalted butter, melted and slightly cooled
- 3/4 cup granulated sugar
- 1 large egg, room temperature
- 1 teaspoon vanilla extract
- 1 1/2 cups all-purpose flour, spooned and leveled
- 1 teaspoon baking soda
- 1/4 teaspoon salt
- Optional: 1/2 cup mix-ins (chocolate chips, chopped walnuts, or dried fruit)
Instructions
- Preheat your oven to 350°F (175°C). Position the rack in the center of the oven. Grease your 9×5-inch loaf pan with butter or non-stick spray, or line it with parchment paper, leaving a 2-inch overhang on the long sides for easy lifting.
- In your large mixing bowl, add the three ripe bananas. Mash them with a fork or potato masher until they’re mostly smooth with a few small lumps remaining.
- Pour the slightly cooled melted butter over the mashed bananas and stir until combined.
- Add the granulated sugar and stir until well combined. Crack the egg into the bowl and add the vanilla extract. Whisk or stir vigorously until the mixture is smooth and slightly lighter in color, about 30 seconds.
- Sprinkle the flour, baking soda, and salt evenly over the wet mixture. Use a wooden spoon or rubber spatula to fold everything together gently. Stir just until you no longer see streaks of flour—about 10 to 12 strokes. A few small lumps are fine.
- If using mix-ins, gently fold them in at this point. Don’t overmix.
- Pour the batter into the prepared pan. Use your rubber spatula to scrape every bit of batter into the loaf pan. Spread it evenly and tap the pan gently on the counter a few times to release any air bubbles.
- Bake for 55-65 minutes until a toothpick inserted into the center comes out clean or with just a few moist crumbs. If the top is browning too quickly (around 45 minutes), tent the pan loosely with aluminum foil.
- Remove the loaf from the oven and place it on a wire rack. Let it cool in the pan for exactly 10 minutes.
- After 10 minutes, use the parchment paper overhang to lift the loaf out of the pan. Transfer it to the wire rack and let it cool completely before slicing—about 1 hour.
Notes
For best results, use very ripe bananas (heavily speckled or mostly brown). Don’t overmix the batter to avoid tough bread. Check that your baking soda is fresh by testing it in vinegar. Let the bread cool completely before slicing to prevent a gummy texture. The flavors deepen after a day or two. Store at room temperature for up to 4 days, or freeze for up to 3 months.
Nutrition
- Serving Size: 1 slice
- Calories: 220
- Sugar: 18
- Sodium: 200
- Fat: 8
- Saturated Fat: 5
- Carbohydrates: 34
- Fiber: 2
- Protein: 4
Keywords: banana bread, easy banana bread, one-bowl banana bread, homemade banana bread, quick bread, banana recipe


