Love this? Save it for later!
Share the inspiration with your friends
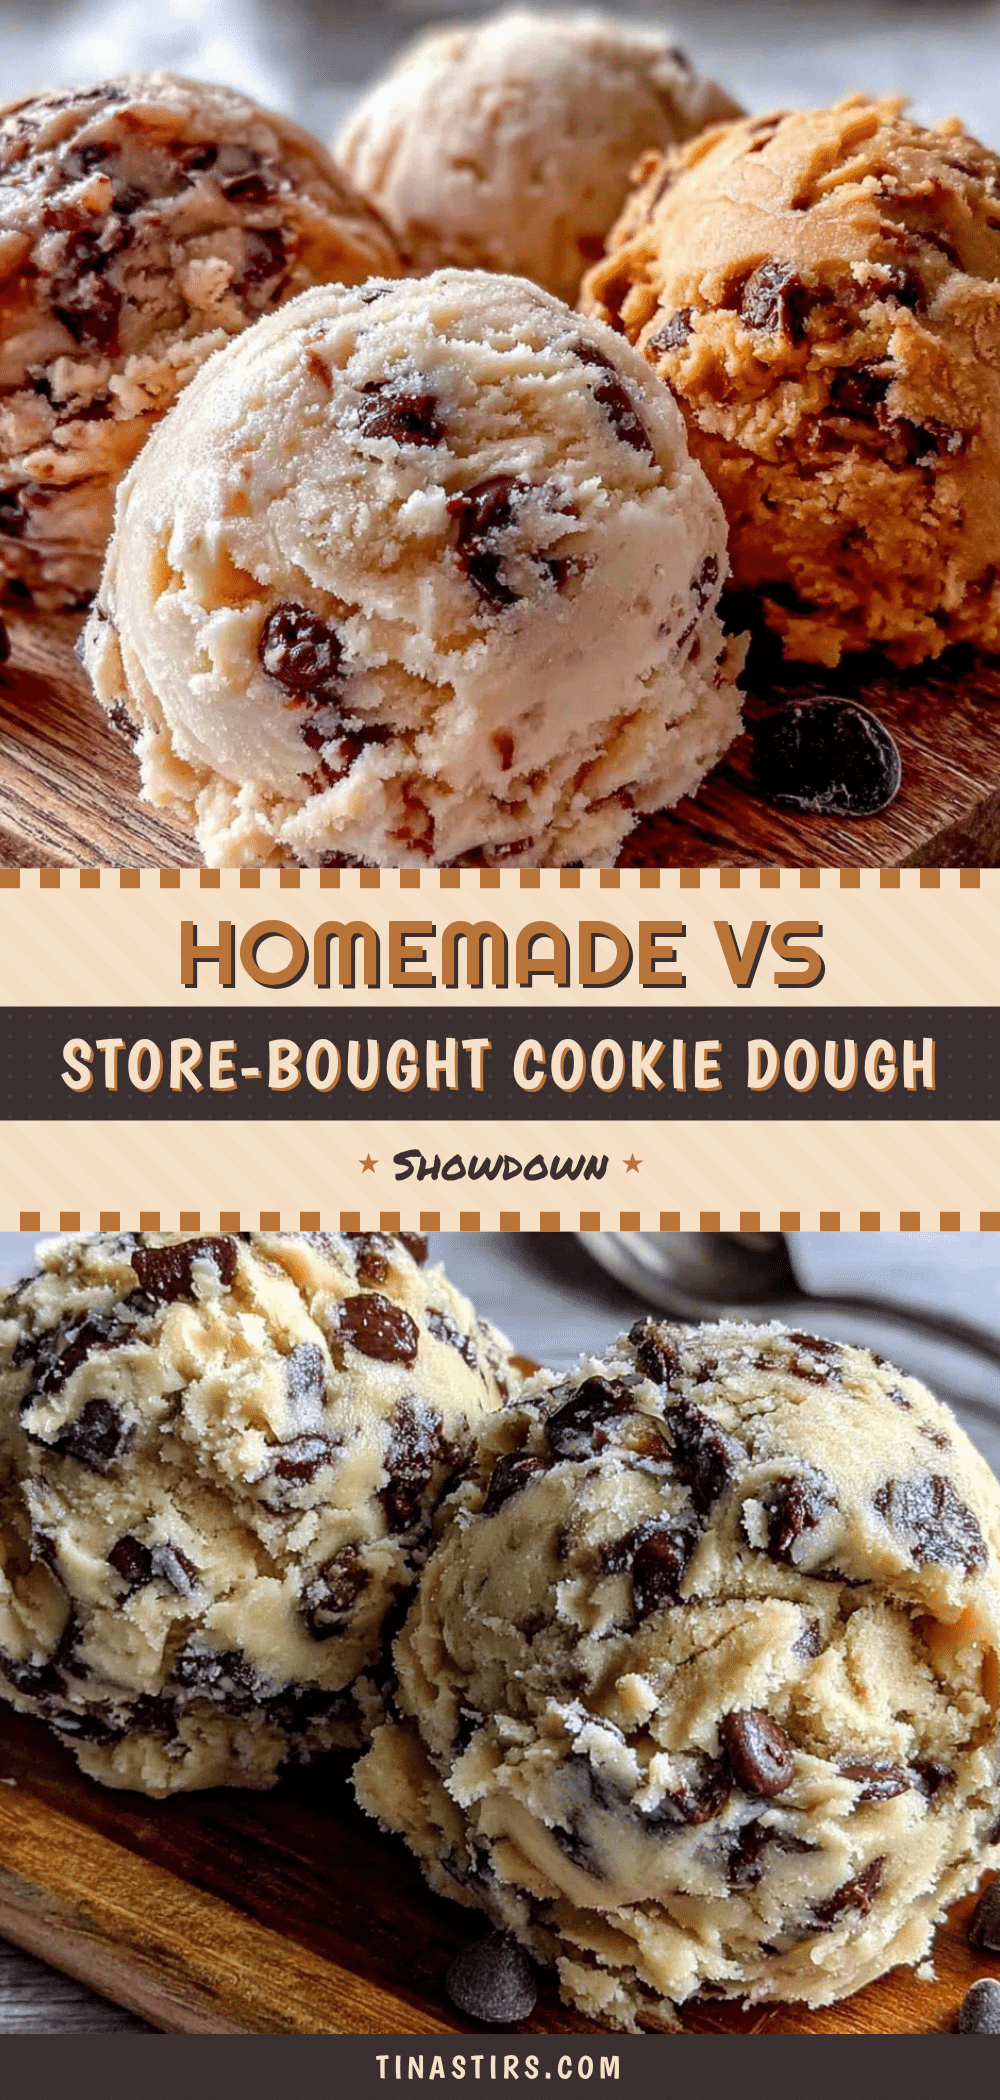
“I never thought I’d turn a casual grocery run into a full-on taste test, but there I was—cart loaded with tubs of store-bought cookie dough and a mixing bowl waiting at home,” I confessed to my friend Jen last Friday. You see, this all started when I stumbled across a new brand of cookie dough that promised “bakery-quality” results in minutes. Naturally, I had to know: how does this store-bought contender stack up against the homemade recipe I’ve perfected over countless weekend baking sessions?
Honestly, the whole idea came from a bit of kitchen chaos. I was in a rush to bake something for a last-minute potluck, and my usual method felt too time-consuming. So, I grabbed a few varieties of store-bought dough on impulse, figuring I’d test them side-by-side with my homemade go-to. The kitchen quickly turned into a battlefield of flavors and textures—flour dust on the counter, a slightly cracked mixing bowl, and me scribbling notes in the margin of my recipe book.
Maybe you’ve been there too: torn between convenience and the authenticity that only homemade can bring. I can tell you, what I discovered surprised me. This cookie dough showdown became less about picking a winner and more about appreciating what each version brings to the table. Whether you’re team homemade or leaning on store-bought ease, this guide will help you understand the nuances, pros, and quirks of each approach.
So, let me tell you why this taste test isn’t just a simple comparison—it’s a little adventure in your kitchen that might change how you think about cookie dough forever.
Why You’ll Love This Recipe
After testing both homemade and store-bought cookie dough multiple times, I can confidently say this showdown shines a light on what really makes cookie dough special. Here’s why you’ll enjoy diving into this comparison:
- Quick & Easy: Store-bought options come ready to bake in under 5 minutes, perfect for those last-minute cravings or when you’re juggling a million things.
- Simple Ingredients: The homemade dough calls for pantry staples you probably already have, no unexpected additives or preservatives.
- Perfect for Any Occasion: Whether it’s a cozy night in, a birthday party, or just a sweet treat after dinner, both options have their place.
- Crowd-Pleaser: I’ve never met a kid or adult who turned down a warm, freshly baked cookie—whether from homemade dough or store-bought.
- Unbelievably Delicious: The homemade dough offers that classic, buttery richness while some store-bought brands surprise with unique flavor twists.
What sets my homemade cookie dough apart is the balance of texture and flavor—thanks to a subtle blend of brown and white sugars and a pinch of sea salt that brings out the sweetness without overpowering. Plus, I always use high-quality vanilla extract and fresh butter, which adds a depth store-bought doughs often miss.
But, honestly, some store-bought doughs get impressively close, and I appreciate how they make baking accessible for anyone, anytime. This recipe comparison will give you all the insights to decide which side suits your taste buds and lifestyle best.
What Ingredients You Will Need
For this showdown, I’ll list the ingredients for the homemade cookie dough since store-bought versions come pre-made. These ingredients are straightforward but carefully chosen for the best results.
For the Homemade Cookie Dough
- All-purpose flour – 2 ¼ cups (280g) (provides the structure)
- Baking soda – 1 teaspoon (helps cookies rise)
- Salt – ½ teaspoon (balances sweetness)
- Unsalted butter – 1 cup (227g), softened (adds richness and moisture) (I prefer Kerrygold for creaminess)
- Granulated sugar – ¾ cup (150g) (sweetness and texture)
- Brown sugar – ¾ cup (165g), packed (adds chewiness and depth)
- Large egg – 1, room temperature (binds ingredients)
- Vanilla extract – 1 teaspoon (for flavor) (use pure vanilla extract if possible)
- Chocolate chips – 2 cups (340g) (semi-sweet or mix of milk and dark chocolate, depending on preference)
For store-bought dough, look for options without artificial preservatives or excessive additives. Some brands offer organic or gluten-free versions that are surprisingly tasty.
If you want to tweak the homemade dough, you can swap out regular all-purpose flour for a gluten-free blend, or use coconut oil instead of butter for a dairy-free alternative. For vegan options, replace the egg with a flax egg (1 tablespoon ground flaxseed + 3 tablespoons water).
Equipment Needed

- Mixing bowls: One large bowl for the dough and another smaller one for dry ingredients. A good set of nesting bowls goes a long way.
- Electric mixer or hand mixer: Makes creaming butter and sugars easier; though you can do it by hand if you’re patient.
- Measuring cups and spoons: Precise measurements are key for cookie success.
- Spatula: For scraping down the bowl and folding in chocolate chips.
- Baking sheets: Heavy-duty, rimmed sheets work best to prevent spreading.
- Parchment paper or silicone baking mats: To prevent sticking and make cleanup a breeze.
- Cooling rack: Helps cookies cool evenly and stay crisp on the outside.
If you don’t have an electric mixer, a sturdy wooden spoon and some elbow grease will do just fine. I once baked an entire batch with just a fork and a bowl — took longer, but still delicious!
Preparation Method
- Preheat your oven: Set to 350°F (175°C) to warm up while you prepare the dough. This usually takes about 10 minutes.
- Mix dry ingredients: In a medium bowl, whisk together 2 ¼ cups (280g) all-purpose flour, 1 teaspoon baking soda, and ½ teaspoon salt. Set aside.
- Cream butter and sugars: In a large bowl, beat 1 cup (227g) softened unsalted butter with ¾ cup (150g) granulated sugar and ¾ cup (165g) packed brown sugar until the mixture is light and fluffy. This step takes roughly 3 to 5 minutes with a mixer.
- Add egg and vanilla: Beat in 1 large room-temperature egg and 1 teaspoon vanilla extract until just combined. If it looks a little curdled, don’t worry—that’s normal.
- Combine wet and dry: Gradually add the flour mixture to the butter mixture, mixing on low speed until just combined. Overmixing can make cookies tough, so stop as soon as there are no visible flour streaks.
- Fold in chocolate chips: Gently stir in 2 cups (340g) of chocolate chips with a spatula, ensuring even distribution without breaking them.
- Portion the dough: Use a cookie scoop or tablespoon to drop dough balls about 2 inches apart on parchment-lined baking sheets. This spacing prevents sticking and allows even spreading.
- Bake: Place sheets in the preheated oven and bake for 10-12 minutes. Look for edges turning golden brown while centers stay soft. If you prefer crispier cookies, give them an extra minute or two.
- Cool: Let cookies rest on the baking sheet for 5 minutes before transferring to a wire rack. This resting time helps them set so they don’t fall apart.
- Taste and enjoy: Once cooled enough, take a bite and savor the warm, fresh-from-the-oven goodness. Repeat with store-bought dough baked according to its package instructions for a fair comparison.
Pro tip: If dough feels too sticky to handle, chill it in the fridge for 20 minutes. This also helps control spreading during baking.
Cooking Tips & Techniques
One thing I’ve learned over years of baking cookies is that temperature truly matters. Room temperature butter creams better with sugar, creating those tiny air pockets that make cookies light and chewy. I once skipped softening the butter (because, honestly, I was impatient), and the cookies came out dense and flat—not my favorite.
Another key is not to overmix after adding flour. The gluten development can make your cookies tough, and no one wants that. I recommend folding gently by hand once the flour is added.
If you’re working with store-bought cookie dough, check the ingredient list carefully. Some brands add stabilizers that change how the dough behaves in the oven. I’ve noticed some doughs spread more, so chilling them briefly before baking can help maintain shape.
Multitasking tip: While your first batch bakes, prepare the next tray. This keeps a steady flow going and ensures warm cookies for everyone. But watch the oven closely—baking times can vary slightly depending on your oven’s quirks.
Lastly, don’t be afraid to experiment with mix-ins. Nuts, dried fruit, or different types of chocolate can add texture and surprise to your cookies. One time, I tossed in chopped pretzels for a salty crunch that people couldn’t stop talking about.
Variations & Adaptations
If you want to shake things up a bit, here are some easy variations to try with your cookie dough showdown:
- Gluten-Free: Swap regular flour for a gluten-free all-purpose blend. Add an extra ¼ teaspoon xanthan gum if your blend doesn’t already contain it.
- Vegan: Use coconut oil instead of butter and replace the egg with a flax or chia egg. Dairy-free chocolate chips complete the swap.
- Flavor Twists: Add a teaspoon of cinnamon or espresso powder to the dough for a subtle flavor boost.
- Seasonal Mix-ins: Try dried cranberries and white chocolate chips in winter, or chopped fresh strawberries and macadamia nuts in summer.
- Cooking Method: For a fun twist, bake cookie dough in mini muffin tins for cookie cups, or pan-fry spoonfuls in a skillet for a crispy edge and chewy center.
Personally, I once swapped half the chocolate chips for chopped pistachios and orange zest. The result was unexpectedly delightful—bright, nutty, and perfect for a brunch dessert.
Serving & Storage Suggestions
Cookies are best enjoyed fresh and slightly warm from the oven, but they also store quite well.
- Serving: Serve cookies with a cold glass of milk, coffee, or even a scoop of vanilla ice cream for an indulgent treat.
- Storage: Store leftovers in an airtight container at room temperature for up to 4 days. For longer storage, freeze cookies in a sealed bag for up to 3 months.
- Reheating: Reheat cookies in a 300°F (150°C) oven for 5-7 minutes or microwave briefly to regain that fresh-baked warmth.
- Flavor Development: Cookie flavors often mellow and deepen after a day, so if you can wait, letting them rest in the container overnight can improve taste.
Nutritional Information & Benefits
Here’s an estimated nutritional breakdown per homemade cookie (based on 24 cookies per batch):
| Calories | ~180 kcal |
|---|---|
| Fat | 9g |
| Carbohydrates | 25g |
| Protein | 2g |
| Sugar | 15g |
The homemade cookie dough includes wholesome ingredients like butter and eggs which provide essential fats and protein. Using real vanilla and fresh ingredients means no unwanted additives. For those watching sugar intake, reducing the granulated sugar by ¼ cup can lower sweetness without sacrificing texture.
Store-bought doughs vary widely, so check labels for allergens like nuts or dairy, and watch out for added preservatives if that concerns you. This homemade recipe can easily be adapted for dietary needs, making it a flexible choice for your baking repertoire.
Conclusion
So, what’s the verdict in the homemade vs store-bought cookie dough showdown? Honestly, both have their merits depending on your mood, time, and craving intensity. The homemade dough offers that nostalgic, buttery chewiness with a personal touch, while store-bought options provide convenience and surprisingly good flavor on busy days.
I love this recipe because it reminds me that great cookies don’t have to be complicated or time-consuming to be satisfying. Whether you’re pulling out your mixer or grabbing a tub from the fridge, you’re in for a treat.
Try this comparison yourself, play with the variations, and share your favorite version with friends and family. Let me know in the comments which side you land on or if you’ve come up with your own twist—because, honestly, there’s no wrong way to love cookie dough!
FAQs
Can I eat cookie dough raw?
Traditional homemade cookie dough contains raw eggs and flour, which can carry a risk of bacteria. To safely enjoy raw dough, use pasteurized eggs and heat-treated flour, or look for recipes specifically designed for edible dough.
How long does homemade cookie dough last in the fridge?
Homemade cookie dough can be stored in an airtight container in the refrigerator for up to 3 days before baking. For longer storage, freeze it for up to 3 months.
Can I use store-bought cookie dough for cookies other than chocolate chip?
Yes! Many store-bought doughs come in flavors like sugar, peanut butter, or oatmeal raisin. Baking times may vary slightly, so check the package instructions.
What’s the best way to prevent cookies from spreading too much?
Chilling your dough for at least 30 minutes before baking helps control spreading. Also, avoid using too much butter or sugar, which can cause cookies to flatten.
Can I make cookie dough ahead of time?
Absolutely! Cookie dough can be prepared a day or two in advance and kept in the fridge or frozen for longer. Just thaw in the fridge before baking.
Pin This Recipe!
Homemade Chocolate Chip Cookie Dough

A classic homemade chocolate chip cookie dough recipe that balances texture and flavor with simple pantry ingredients, perfect for baking fresh cookies anytime.
- Prep Time: 15 minutes
- Cook Time: 12 minutes
- Total Time: 27 minutes
- Yield: 24 cookies 1x
- Category: Dessert
- Cuisine: American
Ingredients
- 2 1/4 cups (280g) all-purpose flour
- 1 teaspoon baking soda
- 1/2 teaspoon salt
- 1 cup (227g) unsalted butter, softened
- 3/4 cup (150g) granulated sugar
- 3/4 cup (165g) packed brown sugar
- 1 large egg, room temperature
- 1 teaspoon vanilla extract
- 2 cups (340g) chocolate chips (semi-sweet or mix of milk and dark chocolate)
Instructions
- Preheat your oven to 350°F (175°C).
- In a medium bowl, whisk together the flour, baking soda, and salt. Set aside.
- In a large bowl, beat the softened butter with granulated sugar and brown sugar until light and fluffy, about 3 to 5 minutes.
- Beat in the egg and vanilla extract until just combined.
- Gradually add the flour mixture to the butter mixture, mixing on low speed until just combined. Avoid overmixing.
- Fold in the chocolate chips gently with a spatula.
- Drop dough balls about 2 inches apart on parchment-lined baking sheets using a cookie scoop or tablespoon.
- Bake for 10-12 minutes until edges are golden brown and centers are soft. For crispier cookies, bake an additional 1-2 minutes.
- Let cookies rest on the baking sheet for 5 minutes before transferring to a wire rack to cool completely.
- Enjoy warm or at room temperature.
Notes
If dough feels too sticky, chill in the fridge for 20 minutes before baking to control spreading. Avoid overmixing after adding flour to prevent tough cookies. Use room temperature butter for best creaming results. Variations include gluten-free flour blends, vegan substitutions with flax egg and coconut oil, and adding mix-ins like nuts or dried fruit.
Nutrition
- Serving Size: 1 cookie
- Calories: 180
- Sugar: 15
- Fat: 9
- Carbohydrates: 25
- Protein: 2
Keywords: cookie dough, homemade cookie dough, chocolate chip cookies, easy cookie recipe, baking, dessert, quick cookies