Love this? Save it for later!
Share the inspiration with your friends
I was at the farmers’ market last October, juggling a bag of apples and a too-heavy squash, when the woman at the next stall watched me drop a pumpkin for the third time. She didn’t say anything at first. Then she reached over, picked up the rogue pumpkin, and handed me a napkin with a recipe scribbled on it. “For the bars,” she said. “My kids fight over the last one.” Her name was Maria, and she ran a tiny bakery out of her home kitchen. She told me the trick was to not overmix the batter and to let the cream cheese sit out for a full hour. I nodded like I was taking notes for a final exam. Honestly, I was just trying not to drop the pumpkin again.
That napkin sat on my counter for a week before I tried the recipe. I mean, I had all the ingredients—canned pumpkin, flour, sugar, the usual suspects—but I was skeptical. Would these really be the pumpkin bars my kids would beg for? My youngest, Leo, is the picky one. He sniffs anything with a vegetable in it like it might bite back. But Maria’s note said “kid-approved,” and let me tell you, she wasn’t kidding. The first batch vanished in under an hour. Leo asked for them in his lunchbox the next day. That never happens.
These Kid-Approved Pumpkin Bars with Maple Cream Cheese Frosting are now a staple in our house every fall. They’re the kind of recipe that makes you feel like a hero—minimal effort, maximum smiles. The pumpkin keeps them incredibly moist, and that maple frosting? It’s the kind of sweet, tangy finish that makes you close your eyes after the first bite. Maybe you’ve been there, staring at a pumpkin and wondering if you have the energy for another complicated dessert. Trust me, this one is worth the mess.
Why You’ll Love This Recipe
I’ve tested this recipe six times over the past two years, tweaking the spices and the frosting ratio until it felt just right. As a home cook feeding a family on a sensible budget, I need recipes that work without a lot of fuss. These pumpkin bars deliver every single time. Here’s what makes them stand out from the dozens of pumpkin recipes I’ve tried:
- Quick & Easy: From start to finish, these bars come together in about 45 minutes. The active prep time is only 15 minutes, which is perfect for busy weeknights or last-minute school bake sales.
- Simple Ingredients: You probably have most of these in your pantry right now. Canned pumpkin, flour, sugar, eggs, and basic spices. No fancy trips to a specialty store required.
- Perfect for Family Meals: These bars work for after-school snacks, Thanksgiving dessert, or even a quick breakfast on the go. They’re versatile enough for any occasion.
- Crowd-Pleaser: My kids devour them, my husband packs them for work, and the neighbors always ask for the recipe. Even the pickiest eaters at playdates go back for seconds.
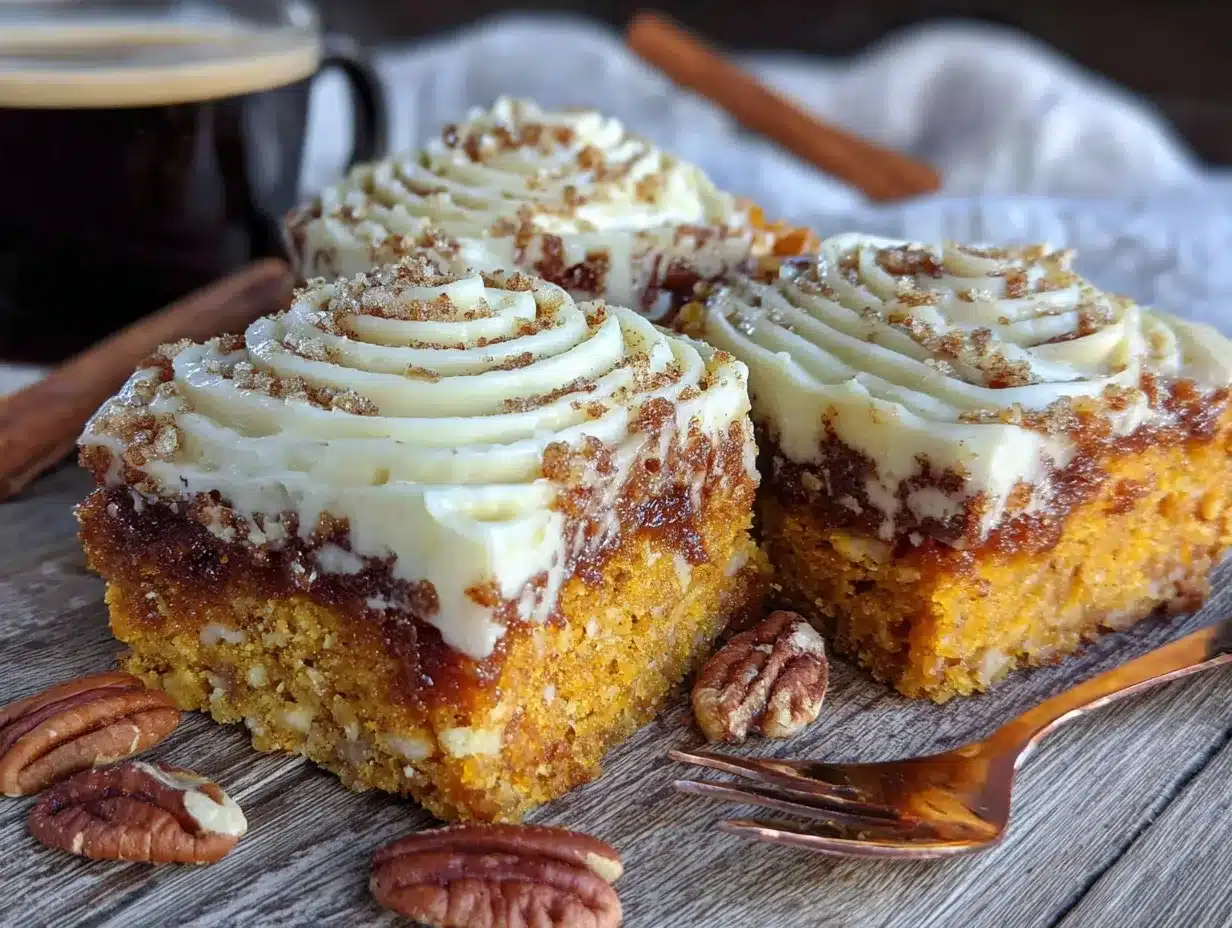
- Unbelievably Delicious: The texture is what gets me every time—soft, tender, and almost cake-like. The maple cream cheese frosting adds a tangy sweetness that balances the warm pumpkin spices perfectly.
What makes this recipe different from the rest? It’s the ratio of pumpkin to spice. Most recipes go heavy on the cinnamon and nutmeg, but Maria’s version lets the pumpkin flavor shine. The frosting is also a game-changer—real maple syrup gives it a depth that powdered sugar alone can’t match. This isn’t just another pumpkin bar recipe. It’s the one you’ll come back to year after year.
What Ingredients You Will Need
This recipe uses simple, wholesome ingredients that come together to create something truly special. Most of these are pantry staples, so you can whip up a batch anytime the craving hits. Here’s what you’ll need:
For the Pumpkin Bars
- 1 ¾ cups all-purpose flour (220 grams) – Spoon and level for best results. Too much flour makes the bars dense.
- 1 ½ cups granulated sugar (300 grams) – Regular white sugar works perfectly. You can reduce it to 1 cup if you prefer less sweetness.
- 1 teaspoon baking powder – Make sure it’s fresh. Old baking powder won’t give you the lift you need.
- 1 teaspoon baking soda – This helps the bars rise and stay tender.
- 2 teaspoons ground cinnamon – I use McCormick, but any brand works. For a warmer flavor, try Vietnamese cinnamon.
- ½ teaspoon ground nutmeg – Freshly grated if you have it, but pre-ground is fine.
- ½ teaspoon ground ginger – Adds a subtle warmth that kids won’t notice but adults will love.
- ½ teaspoon salt – Balances the sweetness and enhances the spices.
- 1 cup canned pumpkin puree (240 grams) – Not pumpkin pie filling. Make sure it’s 100% pure pumpkin. I prefer Libby’s for consistent texture.
- ½ cup vegetable oil (120 ml) – Canola or avocado oil also works. Avoid olive oil—it’s too strong.
- 2 large eggs – Room temperature. Cold eggs can make the batter seize up.
- 1 teaspoon vanilla extract – Pure vanilla extract is best, but imitation works in a pinch.
For the Maple Cream Cheese Frosting
- 8 ounces cream cheese (226 grams) – Full-fat is non-negotiable here. Low-fat cream cheese makes the frosting runny. Let it soften at room temperature for 30 minutes.
- ¼ cup unsalted butter (57 grams) – Softened to room temperature. Salted butter works if you reduce the added salt.
- ¼ cup pure maple syrup (60 ml) – Real maple syrup, not pancake syrup. Grade A dark amber gives the best flavor.
- 2 cups powdered sugar (240 grams) – Sift it to avoid lumps. You can add more for a thicker frosting.
- 1 teaspoon vanilla extract – Enhances the maple flavor.
Equipment Needed
You don’t need a fancy kitchen to make these bars. Here’s what I use every time:
- 9×13-inch baking pan – A metal pan gives the best browning, but glass works too. If using glass, reduce the oven temperature by 25°F.
- Parchment paper – Lining the pan makes cleanup a breeze. Let the paper hang over the edges for easy lifting.
- Large mixing bowls – One for dry ingredients, one for wet. I use Pyrex glass bowls because they’re sturdy and easy to clean.
- Whisk – For combining dry ingredients. A fork works in a pinch, but a whisk is more efficient.
- Electric hand mixer or stand mixer – For the frosting. You can beat it by hand, but your arm will thank you for using a mixer.
- Rubber spatula – For scraping the bowl clean. I prefer silicone spatulas because they don’t scratch.
- Cooling rack – Essential for even cooling. If you don’t have one, let the bars cool in the pan, but it takes longer.
- Offset spatula – For spreading the frosting evenly. A butter knife works too, but an offset spatula gives a smoother finish.
Preparation Method
Follow these steps carefully, and you’ll have perfect pumpkin bars every time. I’ve included some sensory cues to help you know when each stage is done right.
- Preheat your oven to 350°F (175°C). Line a 9×13-inch baking pan with parchment paper, leaving a 2-inch overhang on the long sides. Lightly grease the paper with cooking spray or butter.
- In a large mixing bowl, whisk together the dry ingredients: 1 ¾ cups all-purpose flour, 1 ½ cups granulated sugar, 1 teaspoon baking powder, 1 teaspoon baking soda, 2 teaspoons ground cinnamon, ½ teaspoon ground nutmeg, ½ teaspoon ground ginger, and ½ teaspoon salt. Whisk until everything is evenly combined. The mixture should smell warm and spicy.
- In a separate bowl, combine the wet ingredients: 1 cup canned pumpkin puree, ½ cup vegetable oil, 2 large eggs, and 1 teaspoon vanilla extract. Stir with a fork or whisk until smooth. The mixture will be thick and a beautiful orange color.
- Pour the wet ingredients into the dry ingredients. Use a rubber spatula to fold them together gently. Stir just until no streaks of flour remain. Do not overmix—overmixing develops gluten and makes the bars tough. The batter will be thick and slightly lumpy. That’s okay.
- Spread the batter evenly into the prepared pan. Use the spatula to smooth the top. Tap the pan on the counter once or twice to release any air bubbles.
- Bake for 22 to 26 minutes, or until a toothpick inserted into the center comes out clean or with a few moist crumbs. The edges should be lightly golden, and the center should spring back when touched gently. My oven runs hot, so I check at 22 minutes.
- Let the bars cool completely in the pan on a cooling rack. This takes about 1 hour. Do not rush this step—if the bars are warm, the frosting will melt into a puddle.
- While the bars cool, make the frosting. In a medium bowl, beat 8 ounces softened cream cheese and ¼ cup softened unsalted butter together with an electric mixer on medium speed until smooth and creamy, about 2 minutes. Scrape down the sides of the bowl.
- Add ¼ cup pure maple syrup and 1 teaspoon vanilla extract. Beat on low speed until combined. The mixture might look a little curdled at this point—don’t worry, that’s normal.
- Gradually add 2 cups powdered sugar, beating on low speed after each addition. Once all the sugar is added, increase the speed to medium and beat for 1 minute until the frosting is light and fluffy. If it’s too thick, add a teaspoon of milk. If it’s too thin, add more powdered sugar.
- Spread the frosting evenly over the cooled bars. Use an offset spatula or butter knife to create swirls. For clean slices, refrigerate the frosted bars for 20 minutes before cutting.
- Cut into 24 squares. Wipe the knife clean between cuts for neat edges. Serve immediately or store in the refrigerator.
Cooking Tips & Techniques
After making these bars more times than I can count, I’ve learned a few tricks that make a real difference. Here are my best tips:
- Let the cream cheese soften properly. Cold cream cheese creates lumpy frosting. I leave mine on the counter for at least 30 minutes. If you’re in a hurry, microwave it for 10 seconds on low power—but watch it carefully. You don’t want melted cream cheese.
- Don’t overmix the batter. I learned this the hard way. The first time I made these bars, I beat the batter until it was perfectly smooth. The result was dense, tough bars. Now I stop mixing as soon as the flour disappears. A few lumps are fine—they’ll bake out.
- Use real maple syrup. I tried making the frosting with pancake syrup once because that’s what I had on hand. It was a disaster. The flavor was artificial, and the texture was thin. Real maple syrup is worth the splurge. It thickens the frosting naturally and adds a complex sweetness.
- Check your baking soda and powder. Expired leavening agents won’t give you the lift you need. I test my baking soda by dropping a little into vinegar—if it fizzes vigorously, it’s good. For baking powder, drop some into hot water. If it bubbles, you’re set.
- Let the bars cool completely. I know it’s tempting to frost them while they’re warm, but trust me on this. Warm bars turn the frosting into a runny mess. I usually make the bars in the evening, let them cool overnight, and frost them the next morning. The wait is worth it.
Variations & Adaptations
These pumpkin bars are incredibly versatile. Here are some ways to make them your own:
- Gluten-Free Version: Substitute the all-purpose flour with a 1:1 gluten-free baking flour blend. I’ve used Bob’s Red Mill with great results. Add an extra tablespoon of flour to compensate for the lack of gluten structure.
- Dairy-Free Frosting: Use dairy-free cream cheese and vegan butter. I like Miyoko’s brand for its creamy texture. The frosting will be slightly softer, so refrigerate the bars longer before cutting.
- Spice It Up: Add ¼ teaspoon of cloves or allspice for a deeper, warmer flavor. My husband loves this variation—it reminds him of his grandmother’s pumpkin pie.
- Add Mix-Ins: Fold in ½ cup of chocolate chips or chopped pecans before baking. The chocolate version is a huge hit with my kids. For a healthier twist, add ¼ cup of flaxseed meal.
- Pumpkin Roll Style: Bake the batter in a jelly roll pan lined with parchment. When it’s cool, spread the frosting over the top and roll it up tightly. Chill for an hour before slicing. It looks impressive but is just as easy to make.
Serving & Storage Suggestions
These bars are best served chilled or at room temperature. I prefer them straight from the fridge—the frosting firms up nicely, and the texture is almost fudge-like. Here’s how to store them:
- Refrigerator: Store in an airtight container for up to 5 days. Place a sheet of parchment paper between layers to prevent sticking. The flavors actually deepen after a day or two.
- Freezer: Wrap individual bars tightly in plastic wrap, then place them in a freezer-safe bag. They’ll keep for up to 3 months. Thaw in the refrigerator overnight or at room temperature for 30 minutes.
- Reheating: For a warm treat, microwave a bar for 10 to 15 seconds. The frosting will soften but won’t melt completely. Serve with a scoop of vanilla ice cream for an extra indulgence.
- Pairing Suggestions: These bars go beautifully with a hot cup of coffee or a glass of cold milk. For a fall-themed dessert board, arrange them alongside apple slices, caramel dip, and spiced nuts.
Nutritional Information & Benefits
One bar (based on 24 servings) contains approximately 210 calories, 9 grams of fat, 31 grams of carbohydrates, and 3 grams of protein. These numbers are estimates and can vary based on ingredient brands and substitutions.
Pumpkin is packed with vitamin A, which supports eye health and immune function. It’s also a good source of fiber, which helps keep you full longer. The cream cheese frosting provides calcium, while the maple syrup offers small amounts of zinc and manganese. I love that these bars feel indulgent but have a hidden nutritional boost. They’re a treat you can feel good about serving to your family.
For a lighter version, reduce the sugar to 1 cup and use low-fat cream cheese. The texture will be slightly less tender, but the flavor will still be delicious. If you’re watching your sodium intake, use unsalted butter and skip the added salt in the frosting.
Conclusion
These Kid-Approved Pumpkin Bars with Maple Cream Cheese Frosting have earned a permanent spot in my fall baking rotation. They’re the recipe I turn to when I need something quick, reliable, and guaranteed to please. The pumpkin keeps them moist, the spices warm your soul, and that maple frosting is the kind of finishing touch that makes everyone ask for the recipe.
I love that this recipe came from a chance encounter at the farmers’ market. It reminds me that the best recipes aren’t always in cookbooks—they’re shared between strangers who become friends over a dropped pumpkin. I hope you’ll make these bars your own, whether you add chocolate chips, swap the spices, or leave them exactly as Maria wrote them on that napkin.
Have you tried these pumpkin bars? I’d love to hear how they turned out. Leave a comment below and let me know if your kids asked for seconds. And if you have a favorite fall recipe, share it—I’m always looking for the next great find. Happy baking!
Frequently Asked Questions
Can I use fresh pumpkin instead of canned?
Yes, you can. Roast a small sugar pumpkin until tender, then puree the flesh in a food processor. Drain any excess liquid through a cheesecloth or fine-mesh strainer. Fresh pumpkin puree is thinner than canned, so you may need to reduce the oil by 1 tablespoon to compensate.
Why did my frosting turn out runny?
Runny frosting usually means the cream cheese or butter was too warm. Make sure both are softened but not melted. If your frosting is already runny, pop it in the refrigerator for 15 minutes, then beat it again. You can also add more powdered sugar, 1 tablespoon at a time, until it thickens.
Can I make these bars ahead of time?
Absolutely. Bake the bars up to 2 days in advance and store them unfrosted in an airtight container. Make the frosting the day you plan to serve them. Frosted bars keep well in the refrigerator for up to 5 days, so you can also make the full recipe ahead.
How do I get clean slices without the frosting smudging?
Chill the frosted bars in the refrigerator for at least 20 minutes before cutting. Use a sharp knife and wipe it clean with a damp paper towel between each cut. For the neatest slices, use a long, serrated knife and saw gently through the bars.
Can I freeze the unfrosted bars?
Yes, unfrosted bars freeze beautifully. Wrap the entire slab in plastic wrap, then aluminum foil, and freeze for up to 3 months. Thaw in the refrigerator overnight, then bring to room temperature before frosting. The texture will be just as tender as fresh.
Pin This Recipe!
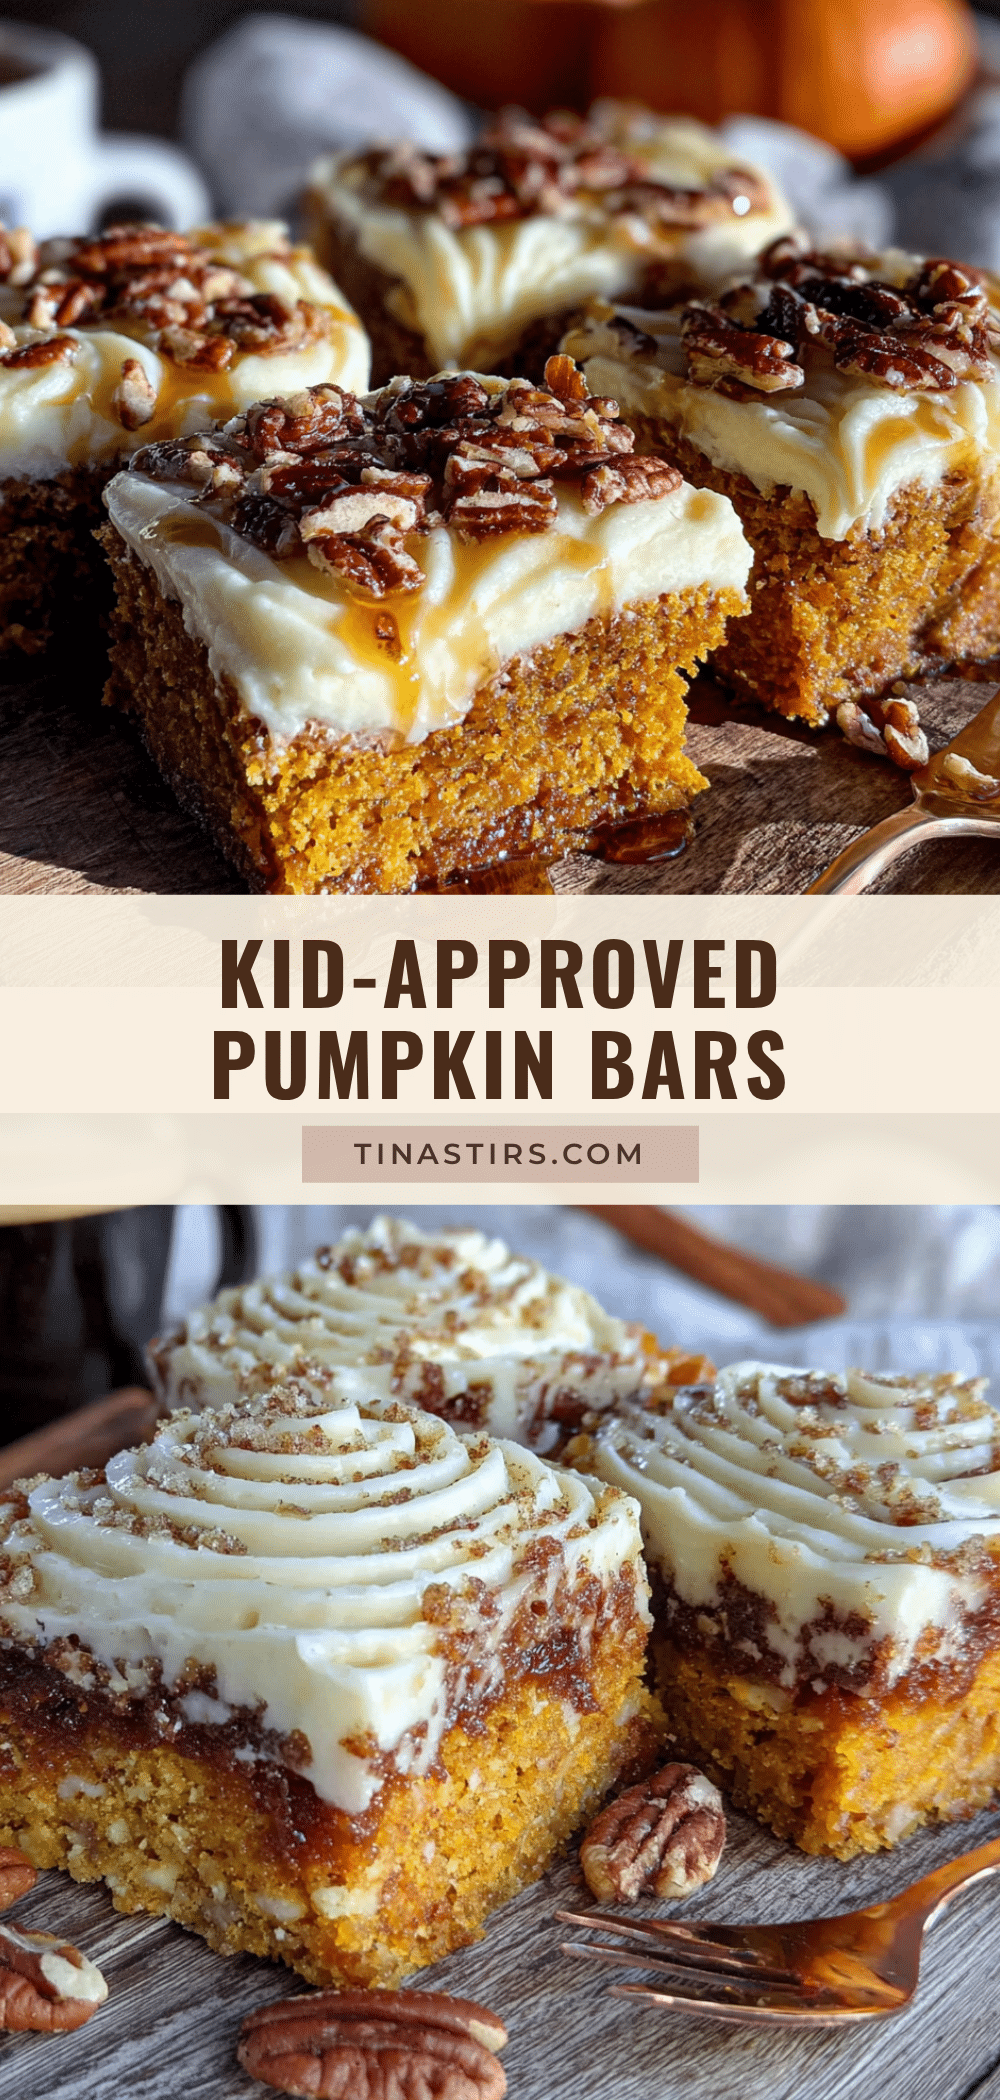
Kid-Approved Pumpkin Bars with Maple Cream Cheese Frosting
These moist, tender pumpkin bars are topped with a tangy maple cream cheese frosting. A quick and easy fall dessert that kids and adults alike will love, perfect for after-school snacks, bake sales, or Thanksgiving dessert.
- Prep Time: 15 minutes
- Cook Time: 26 minutes
- Total Time: 45 minutes
- Yield: 24 servings 1x
- Category: Dessert
- Cuisine: American
Ingredients
- 1 ¾ cups all-purpose flour (220 grams)
- 1 ½ cups granulated sugar (300 grams)
- 1 teaspoon baking powder
- 1 teaspoon baking soda
- 2 teaspoons ground cinnamon
- ½ teaspoon ground nutmeg
- ½ teaspoon ground ginger
- ½ teaspoon salt
- 1 cup canned pumpkin puree (240 grams)
- ½ cup vegetable oil (120 ml)
- 2 large eggs, room temperature
- 1 teaspoon vanilla extract
- 8 ounces cream cheese (226 grams), softened
- ¼ cup unsalted butter (57 grams), softened
- ¼ cup pure maple syrup (60 ml)
- 2 cups powdered sugar (240 grams), sifted
- 1 teaspoon vanilla extract
Instructions
- Preheat your oven to 350°F (175°C). Line a 9×13-inch baking pan with parchment paper, leaving a 2-inch overhang on the long sides. Lightly grease the paper with cooking spray or butter.
- In a large mixing bowl, whisk together the dry ingredients: 1 ¾ cups all-purpose flour, 1 ½ cups granulated sugar, 1 teaspoon baking powder, 1 teaspoon baking soda, 2 teaspoons ground cinnamon, ½ teaspoon ground nutmeg, ½ teaspoon ground ginger, and ½ teaspoon salt. Whisk until evenly combined.
- In a separate bowl, combine the wet ingredients: 1 cup canned pumpkin puree, ½ cup vegetable oil, 2 large eggs, and 1 teaspoon vanilla extract. Stir with a fork or whisk until smooth.
- Pour the wet ingredients into the dry ingredients. Use a rubber spatula to fold them together gently. Stir just until no streaks of flour remain. Do not overmix. The batter will be thick and slightly lumpy.
- Spread the batter evenly into the prepared pan. Use the spatula to smooth the top. Tap the pan on the counter once or twice to release any air bubbles.
- Bake for 22 to 26 minutes, or until a toothpick inserted into the center comes out clean or with a few moist crumbs. The edges should be lightly golden, and the center should spring back when touched gently.
- Let the bars cool completely in the pan on a cooling rack. This takes about 1 hour.
- While the bars cool, make the frosting. In a medium bowl, beat 8 ounces softened cream cheese and ¼ cup softened unsalted butter together with an electric mixer on medium speed until smooth and creamy, about 2 minutes. Scrape down the sides of the bowl.
- Add ¼ cup pure maple syrup and 1 teaspoon vanilla extract. Beat on low speed until combined.
- Gradually add 2 cups powdered sugar, beating on low speed after each addition. Once all the sugar is added, increase the speed to medium and beat for 1 minute until the frosting is light and fluffy. If it’s too thick, add a teaspoon of milk. If it’s too thin, add more powdered sugar.
- Spread the frosting evenly over the cooled bars. Use an offset spatula or butter knife to create swirls. For clean slices, refrigerate the frosted bars for 20 minutes before cutting.
- Cut into 24 squares. Wipe the knife clean between cuts for neat edges. Serve immediately or store in the refrigerator.
Notes
Let cream cheese soften properly for lump-free frosting. Do not overmix the batter. Use real maple syrup for best flavor. Let bars cool completely before frosting to prevent melting. For clean slices, chill frosted bars for 20 minutes before cutting.
Nutrition
- Serving Size: 1 bar
- Calories: 210
- Sugar: 22
- Sodium: 180
- Fat: 9
- Saturated Fat: 4
- Carbohydrates: 31
- Fiber: 1
- Protein: 3
Keywords: pumpkin bars, maple cream cheese frosting, fall dessert, kid-friendly, easy pumpkin recipe, pumpkin dessert, cream cheese frosting


