Love this? Save it for later!
Share the inspiration with your friends
The school holiday bake sale was in twelve hours and I’d completely forgotten. My son had reminded me—three times, actually—but somewhere between packing lunches and wrestling with a broken washing machine, it slipped my mind completely. Everyone else would be bringing those elaborate decorated sugar cookies that look like they belong in a bakery window. Pinterest-perfect cakes. Homemade caramels wrapped in little twisted papers. And me? I had a half-empty bag of semi-sweet chocolate chips, a box of Oreos that were already starting to get stale, and one sad candy cane I found rolling around in the back of the pantry. Honestly, I almost just sent him with store-bought cookies and called it a day.
But you know how it is—you get that stubborn little voice that says, “No, you can figure this out.” So I stood there in my kitchen at 9 PM, staring at those pathetic ingredients, and started layering things together. I melted chocolate, crushed cookies with a rolling pin (which made a spectacular mess, let me tell you), and somehow ended up with this ridiculously good peppermint bark situation. My husband walked in and said, “What on earth are you making?” I told him I had no idea, but it smelled like Christmas exploded in a good way.
The next morning, I cut it into jagged little pieces and crossed my fingers. That bark sold out in twenty minutes. The PTA moms were asking me for the recipe. My son—who is not exactly easy to impress—told me it was “the best thing I’ve ever made.” Maybe you’ve been there, right? That moment when something thrown together under pressure turns out way better than anything you planned. This kid-approved triple-layer peppermint bark with Oreo crumble became our holiday tradition from that night on, and honestly? I’m still a little surprised it worked.
Why You’ll Love This Recipe
Let me tell you why this particular bark has earned a permanent spot in our holiday rotation. I’ve tested it about seven times now—yes, purely for “research purposes”—and every single batch disappears faster than I expect.
- Quick & Easy : From start to finish, this comes together in about 20 minutes of active time. The hardest part is waiting for the layers to set in the fridge. Perfect for those “oh no, I need something for tomorrow” moments.
- Simple Ingredients : You probably already have most of this in your pantry right now. No special trips to a fancy baking supply store. No obscure ingredients you’ll never use again.
- Perfect for Holiday Chaos : Great for classroom parties, neighbor gifts, cookie exchanges, or just keeping your family happy during December madness. It travels well and doesn’t need to be kept warm or cold.
- Crowd-Pleaser : Kids legitimately love this stuff. Adults pretend to be sophisticated about it while sneaking thirds. The Oreo crumble is what hooks everyone—I promise.
- Unbelievably Delicious : That combination of creamy white chocolate, rich semi-sweet chocolate, crunchy Oreo bits, and fresh peppermint? It’s the kind of thing that makes you close your eyes after the first bite. No joke.
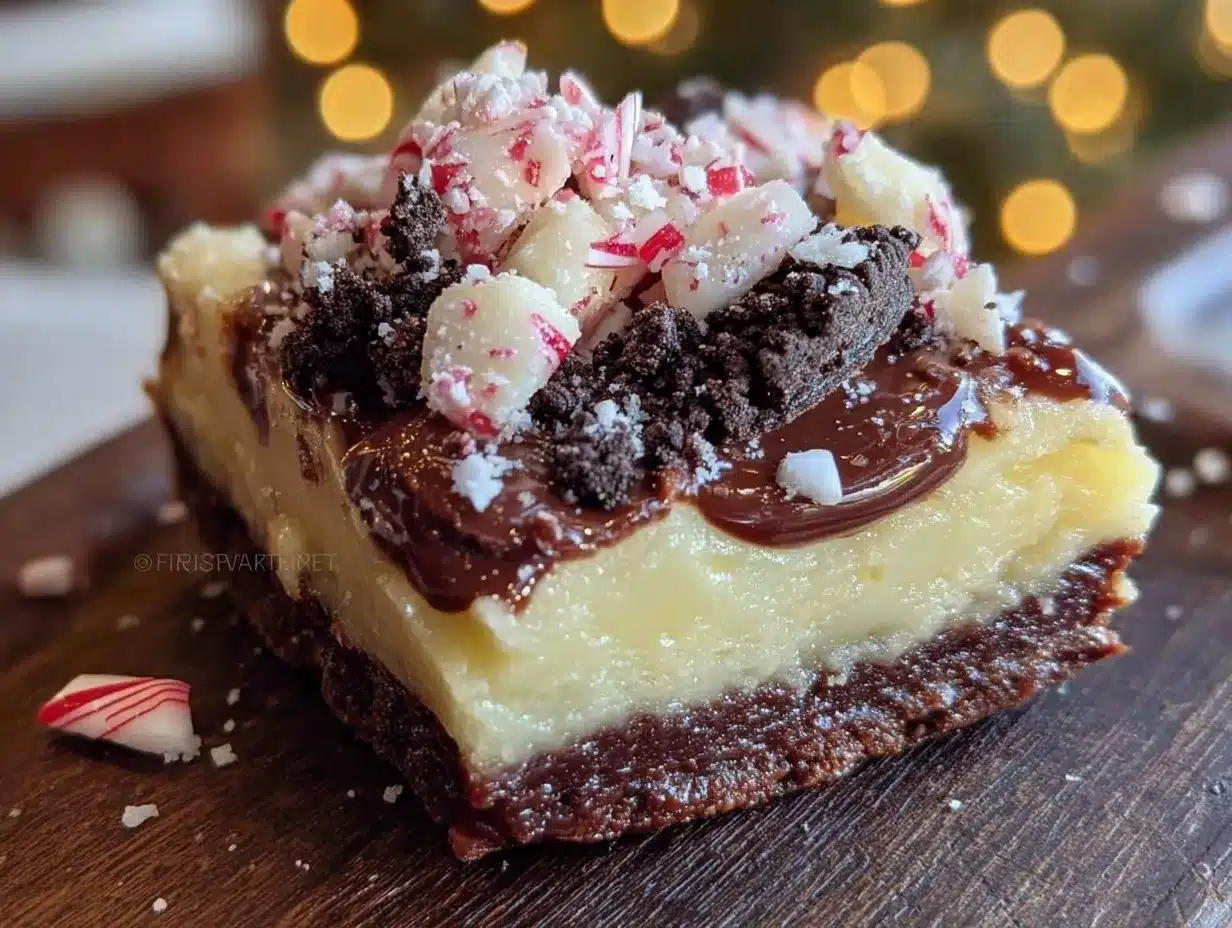
What makes this different from every other peppermint bark recipe out there? It’s the Oreo layer. Most bark recipes are just chocolate and peppermint—good, but predictable. The crushed cookies add this texture that keeps people coming back for “just one more piece.” Plus, the triple-layer approach means you get that satisfying snap when you break it apart, with each layer distinct and beautiful.
This isn’t just another holiday dessert. It’s the one your kids will ask for by name next year. It’s the one that makes you look like you spent hours when you really didn’t. And honestly? That’s my favorite kind of recipe.
What Ingredients You Will Need
This recipe uses simple, everyday ingredients to create something that tastes surprisingly fancy. Most of these are pantry staples during the holiday season, which makes this perfect for last-minute baking emergencies.
For the Base Layer (Oreo Crumble)
- 2 cups crushed Oreo cookies (about 20-24 cookies, cream filling included—don’t scrape it out, that’s where the magic is)
- 2 tablespoons unsalted butter, melted (adds richness and helps the crumble hold together)
For the Middle Layer (Semi-Sweet Chocolate)
- 2 cups semi-sweet chocolate chips (I prefer Ghirardelli or Toll House for consistent melting)
- 1 tablespoon coconut oil or vegetable shortening (helps the chocolate temper smoothly and gives that nice snap)
For the Top Layer (White Chocolate Peppermint)
- 2 cups white chocolate chips or chopped white chocolate (look for real white chocolate with cocoa butter for best results)
- 1 tablespoon coconut oil or vegetable shortening
- 1/2 teaspoon peppermint extract (not mint extract—peppermint is stronger and more traditional for holiday baking)
- 1/4 cup crushed candy canes or peppermint candies (about 4-5 candy canes, crushed into small pieces)
- Optional: red food coloring or natural red color (for that classic swirled look if you want to get fancy)
Ingredient Tips and Substitutions
For the Oreos, any variety works—regular, Double Stuf, even the seasonal flavors if you’re feeling adventurous. I’ve used gluten-free Oreo-style cookies before and they worked perfectly. For the chocolate, don’t use chocolate chips that are old or have bloomed (that white discoloration from temperature changes). They won’t melt smoothly and your bark will look streaky. If you’re dairy-free, use dairy-free chocolate chips and vegan butter. The coconut oil helps everything set up nicely regardless of dietary restrictions.
Equipment Needed
- 9×13-inch baking sheet or jelly roll pan (rimmed is important—keeps everything contained)
- Parchment paper or aluminum foil (parchment is easier, foil works in a pinch)
- Medium mixing bowls (2-3, microwave-safe or for double boiler)
- Ziploc bag and rolling pin (for crushing Oreos and candy canes—way less messy than a food processor)
- Rubber spatula (for spreading chocolate layers evenly)
- Sharp knife (for cutting finished bark into pieces)
- Refrigerator space (you need a flat spot for the pan to chill)
If you don’t have a rolling pin, a heavy-bottomed skillet works great for crushing. No microwave? Use a double boiler setup—a heatproof bowl over a pot of simmering water. I’ve done it both ways and honestly prefer the double boiler for white chocolate since it’s less likely to seize up on you.
Preparation Method
- Prep your pan. Line your 9×13 baking sheet with parchment paper, leaving some overhang on the sides. This makes lifting the finished bark out so much easier. Trust me on this one—I learned the hard way when I had to chisel bark out of a pan with a butter knife.
- Make the Oreo crumble base. Put your Oreos in a sturdy ziploc bag (double bag it if you’re worried about leaks). Seal it up and crush them with a rolling pin until you have a mix of fine crumbs and some small chunks—you want texture, not dust. Pour the crumbs into a bowl, add the melted butter, and stir until everything looks like wet sand. Press this mixture firmly into the bottom of your prepared pan. Use the bottom of a measuring cup to really pack it down. Pop this in the fridge while you work on the chocolate layers.
- Melt the semi-sweet chocolate. Put your chocolate chips and 1 tablespoon coconut oil in a microwave-safe bowl. Microwave in 30-second bursts, stirring well between each, until completely smooth. This usually takes about 1.5 to 2 minutes total. Don’t rush it—burnt chocolate is sad chocolate. Pour the melted chocolate over the chilled Oreo base and spread it evenly with your spatula. Tap the pan gently on the counter to smooth out any bubbles. Back in the fridge for 15-20 minutes until firm to the touch.
- Prepare the white chocolate layer. While that sets, melt your white chocolate chips with the remaining coconut oil using the same microwave method. White chocolate is more temperamental, so go slow—30 seconds, stir, 20 seconds, stir, 15 seconds if needed. It should look glossy and smooth. Stir in the peppermint extract. If you want that pretty pink swirl, separate about 1/4 cup of the white chocolate and stir in a drop of red food coloring.
- Assemble the top layer. Pour the white chocolate mixture over the set semi-sweet layer. Spread it gently—don’t press too hard or you’ll disturb the chocolate underneath. If you’re doing the swirl, drop spoonfuls of the pink chocolate on top and drag a knife through it in figure-eights. Sprinkle the crushed candy canes evenly over the top while the white chocolate is still wet. Give it a gentle tap to help them stick.
- Final chill. Refrigerate for at least 2 hours, or until completely firm. I usually leave it overnight—it makes the layers set up perfectly and the flavors meld together.
- Cut and serve. Lift the bark out using the parchment overhang. Place it on a cutting board and let it sit at room temperature for about 5 minutes. Use a sharp knife to cut it into irregular pieces—some people like perfect squares, but I think the jagged edges look more rustic and inviting. Store in an airtight container.
Cooking Tips & Techniques
Here’s the thing about making layered bark—temperature control is everything. I learned this the hard way when my first attempt ended up with the layers bleeding into each other like a bad watercolor painting. Each layer needs to be fully set before you add the next one. If the Oreo base is still warm when you pour the chocolate, you’ll get a muddy mess.
Another mistake I’ve made? Using cheap white chocolate. Look, I get it—budget matters. But white chocolate “chips” that are mostly palm oil and sugar will seize up, turn grainy, and never set properly. Spend the extra dollar or two on real white chocolate. Your bark will snap cleanly instead of bending and oozing.
For crushing candy canes, don’t pulverize them into powder. You want little pieces that provide crunch and visual appeal. I put mine in a ziploc and give them about five solid whacks with the rolling pin. Tiny dust gets everywhere and melts into the chocolate, which isn’t terrible, but the chunks are what make it pretty.
Timing wise, I like to make this the night before I need it. The layers have plenty of time to set, and honestly, the flavors get better overnight. The peppermint mellows out a bit and the Oreo crumble softens just slightly, which creates this perfect texture contrast.
Variations & Adaptations
Dark Chocolate Version : Swap the semi-sweet for dark chocolate (60-70% cacao) for a less sweet, more sophisticated bark. My sister-in-law prefers this and says it tastes “more grown up.” Whatever that means.
Mint Chocolate Twist : Use mint Oreos instead of regular ones and add a drop of green food coloring to the white chocolate layer. It looks incredibly festive and tastes like a Thin Mint in bark form.
Nutty Crunch : Add 1/2 cup toasted chopped almonds or pecans to the Oreo crumble layer. The extra crunch is fantastic, and it makes the bark feel more substantial. Just make sure nobody at your holiday gathering has nut allergies.
Vegan Friendly : Use dairy-free chocolate chips (Enjoy Life brand works great), vegan butter, and vegan white chocolate. The coconut oil helps everything set up nicely. I’ve made this for a vegan friend’s holiday party and nobody could tell the difference.
Spiced Holiday Version : Add 1/2 teaspoon cinnamon and a pinch of nutmeg to the Oreo crumble. It gives the bark a warm, gingerbread-adjacent flavor that pairs beautifully with the peppermint. This was a happy accident when I grabbed the wrong spice jar—turned out to be a great mistake.
Serving & Storage Suggestions
This bark is best served at room temperature. Take it out of the fridge about 10-15 minutes before you want to serve it. The chocolate softens just slightly, making it easier to bite into, and the flavors open up more.
For presentation, I like to arrange the pieces on a festive platter or in a clear glass jar tied with a ribbon. It makes a great hostess gift or teacher appreciation treat. Layer the pieces between sheets of parchment paper if you’re stacking them.
Storage is straightforward. Keep the bark in an airtight container in the refrigerator for up to 2 weeks. It also freezes beautifully—wrap it tightly in plastic wrap, then foil, and freeze for up to 3 months. Thaw in the refrigerator overnight before serving. The texture stays perfect, which is rare for homemade candy.
One thing to note: if your kitchen is warm or humid, the white chocolate layer might get a little sticky. That’s normal. Just keep it chilled until serving time and it’ll be fine. The Oreo crumble base stays sturdy even in warmer conditions.
Nutritional Information & Benefits
Let’s be real—this is a treat, not a health food. But here’s what you’re working with per piece (assuming you cut it into about 24 pieces):
- Calories: approximately 180-200 per piece
- Fat: 10-12g
- Carbohydrates: 22-25g
- Sugar: 18-20g
- Protein: 2-3g
That said, dark chocolate does contain antioxidants, and peppermint can aid digestion—so there’s that. Oreos have… well, they have joy. That counts for something, right? I think the key is portion control. One or two pieces feels satisfying without overdoing it. And honestly, during the holidays, a little indulgence is part of the fun.
If you’re watching sugar intake, you can use sugar-free chocolate chips and candy canes. The texture will be slightly different, but it works in a pinch. I’ve done it for a diabetic family member and it was well-received.
Conclusion
This kid-approved triple-layer peppermint bark with Oreo crumble is the kind of recipe that proves you don’t need fancy skills or expensive ingredients to make something memorable. It came from a moment of panic and a pantry full of odds and ends, and now it’s the thing my family requests every single December.
I love that it’s forgiving—if your layers aren’t perfectly even, if your candy cane pieces are a little uneven, it doesn’t matter. It still tastes amazing. It still looks beautiful on a plate. And it still makes people smile when they bite into it and get that combination of creamy chocolate, crunchy cookies, and cool peppermint.
Try it for your next holiday gathering. Customize it however you like—that’s the beauty of bark. And when someone asks for the recipe (they will), you can tell them the story about the bake sale and the broken washing machine. I’d love to hear how yours turns out! Drop a comment below or tag me in your photos. Happy holidays, and happy baking!
Frequently Asked Questions
Can I use white chocolate melting wafers instead of white chocolate chips?
Yes, absolutely. Melting wafers are actually designed to melt smoothly and set firmly, so they work great for bark. Just be aware they tend to be sweeter than real white chocolate. You might want to reduce the peppermint extract slightly since the sweetness can overpower the mint flavor.
How do I keep the layers from mixing together?
The key is patience. Let each layer chill completely before adding the next one. The Oreo crumble needs about 15 minutes in the fridge, the semi-sweet chocolate needs 15-20 minutes, and the final white chocolate layer needs at least 2 hours. If you try to rush it, the warm chocolate will melt the layer underneath and you’ll get a swirl effect instead of distinct layers.
My white chocolate seized up and got grainy. What went wrong?
White chocolate is sensitive to heat and moisture. A few drops of water can cause it to seize. Make sure your bowl and spatula are completely dry. Also, don’t overheat it—white chocolate burns easily. Use low power in the microwave and stir frequently. If it does seize, you can try adding a teaspoon of coconut oil and stirring gently to bring it back, but sometimes it’s better to start fresh.
Can I make this without a microwave?
Definitely. Use a double boiler setup—a heatproof bowl placed over a pot of simmering water (not boiling, and the bowl shouldn’t touch the water). Stir the chocolate constantly until melted. It takes a few minutes longer but gives you more control, especially with white chocolate.
How far in advance can I make this bark?
You can make it up to 2 weeks ahead if stored properly in the refrigerator. For longer storage, freeze it for up to 3 months. Just make sure it’s wrapped tightly to prevent freezer burn. I actually prefer making it a few days ahead because the flavors meld together and the texture improves.
Pin This Recipe!
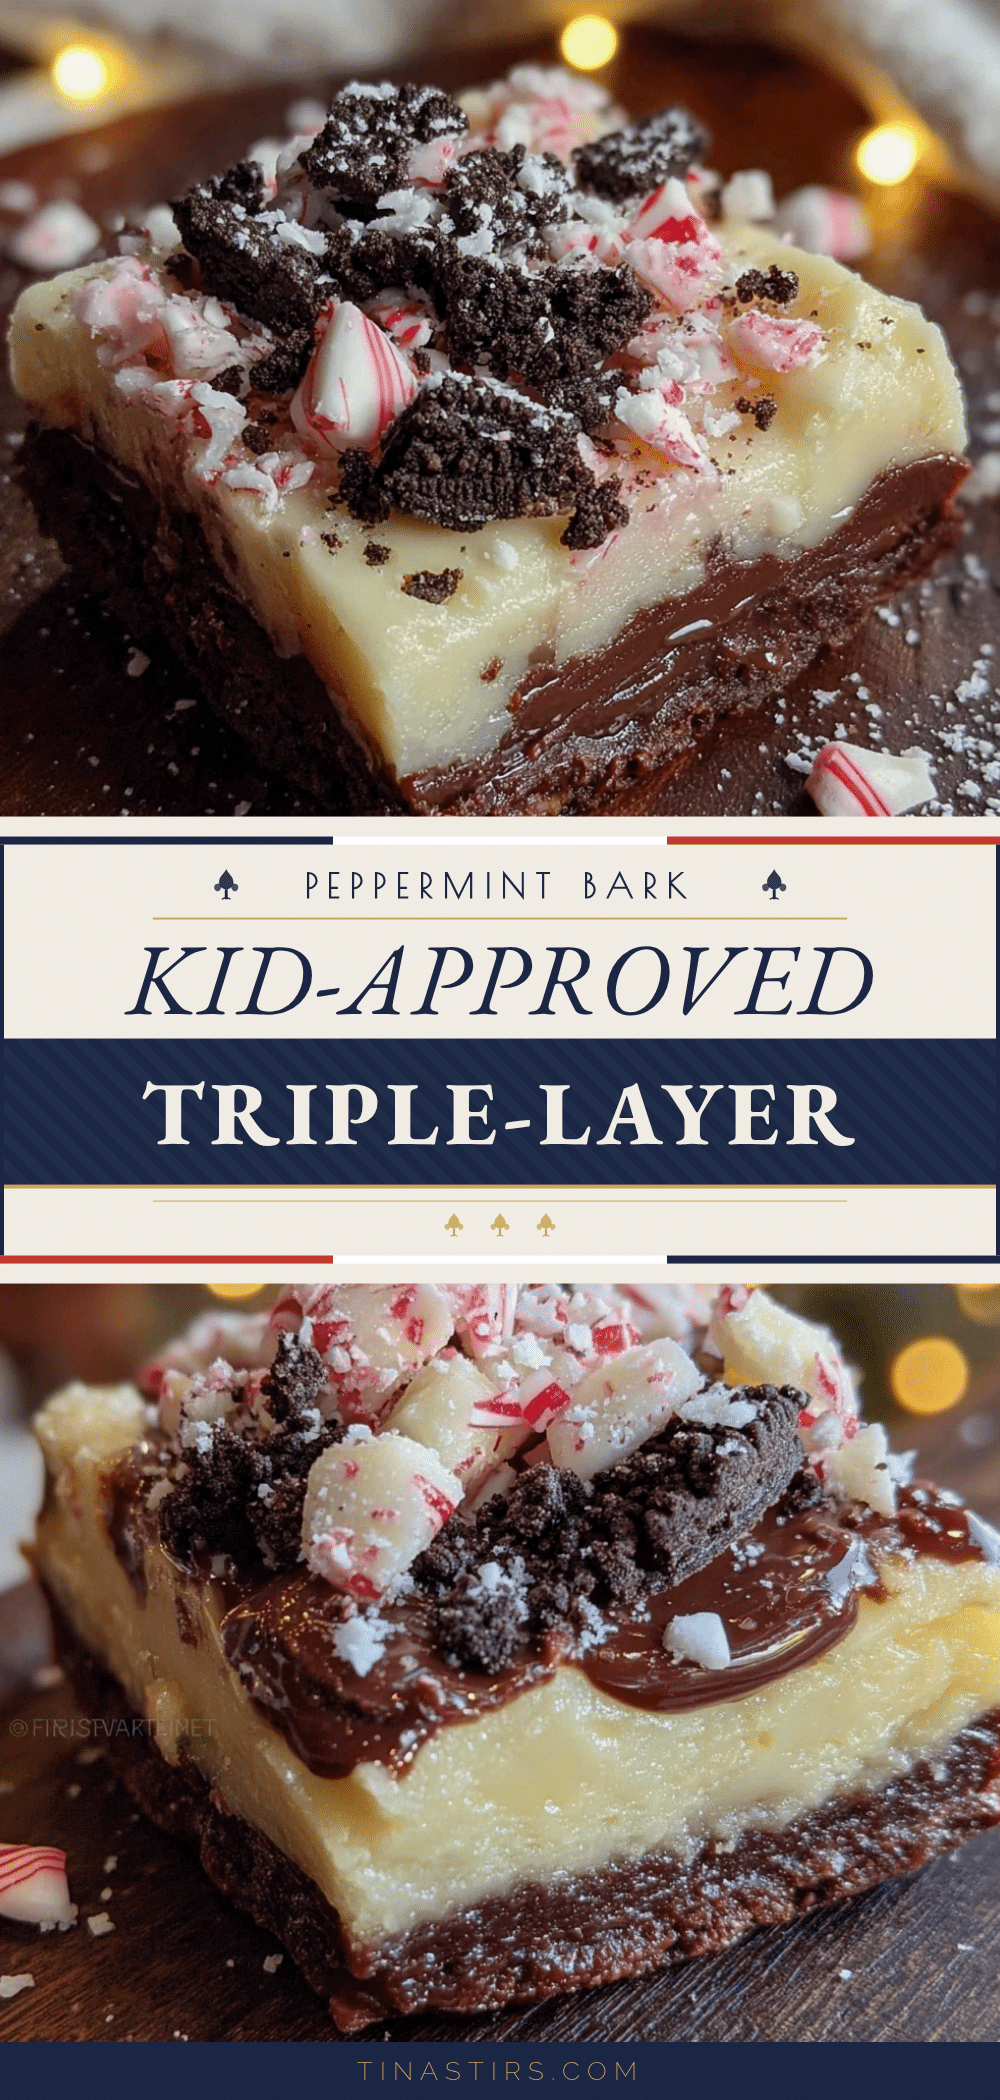
Kid-Approved Triple-Layer Peppermint Bark with Oreo Crumble

A quick and easy holiday treat made with layers of Oreo crumble, semi-sweet chocolate, and white chocolate peppermint. Perfect for last-minute bake sales, gifts, or festive gatherings.
- Prep Time: 20 minutes
- Cook Time: 0 minutes
- Total Time: 2 hours 20 minutes (includes chilling time)
- Yield: 24 pieces 1x
- Category: Dessert
- Cuisine: American
Ingredients
- 2 cups crushed Oreo cookies (about 20–24 cookies, cream filling included)
- 2 tablespoons unsalted butter, melted
- 2 cups semi-sweet chocolate chips
- 1 tablespoon coconut oil or vegetable shortening
- 2 cups white chocolate chips or chopped white chocolate
- 1 tablespoon coconut oil or vegetable shortening
- 1/2 teaspoon peppermint extract
- 1/4 cup crushed candy canes or peppermint candies (about 4–5 candy canes)
- Optional: red food coloring or natural red color
Instructions
- Line a 9×13-inch baking sheet with parchment paper, leaving overhang on the sides.
- Place Oreos in a sturdy ziploc bag and crush with a rolling pin until you have a mix of fine crumbs and small chunks. Pour into a bowl, add melted butter, and stir until mixture resembles wet sand. Press firmly into the bottom of the prepared pan using the bottom of a measuring cup. Refrigerate while preparing chocolate layers.
- In a microwave-safe bowl, combine semi-sweet chocolate chips and 1 tablespoon coconut oil. Microwave in 30-second bursts, stirring well between each, until completely smooth (about 1.5 to 2 minutes total). Pour over chilled Oreo base and spread evenly. Tap pan gently on counter to smooth out bubbles. Refrigerate for 15-20 minutes until firm.
- In another microwave-safe bowl, combine white chocolate chips and remaining 1 tablespoon coconut oil. Microwave in 30-second bursts, stirring well between each, until glossy and smooth (white chocolate is more temperamental, so go slow). Stir in peppermint extract. If desired, separate 1/4 cup of white chocolate and stir in a drop of red food coloring for a swirl effect.
- Pour white chocolate mixture over set semi-sweet layer and spread gently. If using pink swirl, drop spoonfuls of pink chocolate on top and drag a knife through it in figure-eights. Sprinkle crushed candy canes evenly over top while white chocolate is still wet. Tap gently to help them stick.
- Refrigerate for at least 2 hours, or until completely firm (overnight is best).
- Lift bark out using parchment overhang. Let sit at room temperature for about 5 minutes. Use a sharp knife to cut into irregular pieces. Store in an airtight container.
Notes
Temperature control is key—let each layer chill completely before adding the next. Use real white chocolate with cocoa butter for best results. For crushing candy canes, aim for small chunks rather than powder. The bark can be stored in an airtight container in the refrigerator for up to 2 weeks or frozen for up to 3 months. Let sit at room temperature for 10-15 minutes before serving.
Nutrition
- Serving Size: 1 piece
- Calories: 180200
- Sugar: 1820
- Sodium: 80100
- Fat: 1012
- Saturated Fat: 68
- Carbohydrates: 2225
- Fiber: 12
- Protein: 23
Keywords: peppermint bark, Oreo crumble, holiday dessert, easy recipe, no-bake, Christmas treat, kid-friendly