Love this? Save it for later!
Share the inspiration with your friends
My friend Jenna watched me wrestling with a giant wheel of brie at the grocery store last November. I was trying to figure out how to fit it into my cart alongside a massive turkey, three different pies, and enough sweet potatoes to feed a small army. She didn’t say anything at first. Then she just laughed, shook her head, and said, “You know, we’re not doing the big cheese board this year. I’m making little cups for everyone.” I honestly thought she was joking. But she showed me a picture on her phone, and let me tell you, it was like a light bulb went off over my head right there in the dairy aisle.
The thing about Friendsgiving is that it’s supposed to be relaxed, right? But somehow, we always end up with this huge spread that takes all day to put together. I mean, I love a good grazing board as much as the next person, but by the time everyone’s mingling with a drink in one hand, trying to balance a plate with a napkin and a fork is basically a circus act. You know that feeling when you’re just trying to have a conversation and you accidentally drop a slice of salami on someone’s rug? Yeah, me too.
These Light & Easy Individual Charcuterie Cups for Friendsgiving solve that problem completely. They’re these adorable little cups filled with all the best parts of a charcuterie board, but portioned out so everyone gets their own perfect little bite. No sharing, no double-dipping, no awkward balancing acts. The recipe came from that conversation with Jenna, and I’ve been tweaking it ever since. It stayed with me because it’s the kind of idea that makes you wonder why you didn’t think of it yourself. It’s simple, it’s clever, and it makes everyone feel a little bit special.
Why You’ll Love This Recipe
Let me tell you why these little cups have become my go-to for every gathering, not just Friendsgiving. I’ve tested this concept at potlucks, game nights, and even a casual birthday party, and they always disappear first. It’s not just about the food—it’s about the experience.
- Quick & Easy: These come together in under 20 minutes. Seriously, you can assemble a whole tray of these while your turkey is resting or your guests are arriving. No cooking required, which is a huge win on a busy holiday.
- Simple Ingredients: You probably have most of these items in your fridge already. A few good cheeses, some cured meats, and whatever fresh fruit or nuts you have on hand. No fancy grocery trip needed.
- Perfect for Friendsgiving: These are ideal for a casual gathering where everyone’s mingling. They’re self-contained, so guests can grab one and keep chatting without needing a plate or a fork. It’s the ultimate no-fuss appetizer.
- Crowd-Pleaser: I’ve yet to meet someone who doesn’t love a good charcuterie bite. These cups have all the variety of a big board but in a neat, personal package. Kids and adults both go crazy for them.
- Unbelievably Delicious: The combination of creamy cheese, salty meat, sweet fruit, and a little crunch is just perfection. It’s that next-level comfort food feeling, but lighter and fresher.
What makes these different from every other charcuterie idea out there is the individual serving concept. It’s not just a smaller version of a big board—it’s a curated experience for each person. You can customize each cup to your guests’ preferences, which makes everyone feel thought of. Plus, it’s portion-controlled, so nobody overdoes it before the main meal. Honestly, it’s the kind of smart hosting trick that makes you look like a pro without any of the stress.
What Ingredients You Will Need
This recipe uses simple, wholesome ingredients to deliver that perfect savory-sweet-salty balance without any fuss. Most of these are pantry staples or easy to find at any grocery store. Here’s what you’ll need to build your cups:
For the Base
- Small clear plastic cups or mini mason jars (4-ounce size works best) – These are what hold everything together. I like the little plastic cups from the party supply store because they’re cheap and disposable, but mini mason jars are adorable if you want something reusable.
- Fresh arugula or mixed greens (about 1 cup total) – This creates a little bed at the bottom of each cup. It adds freshness and a peppery bite that cuts through the richness of the cheese and meat.
The Cheeses
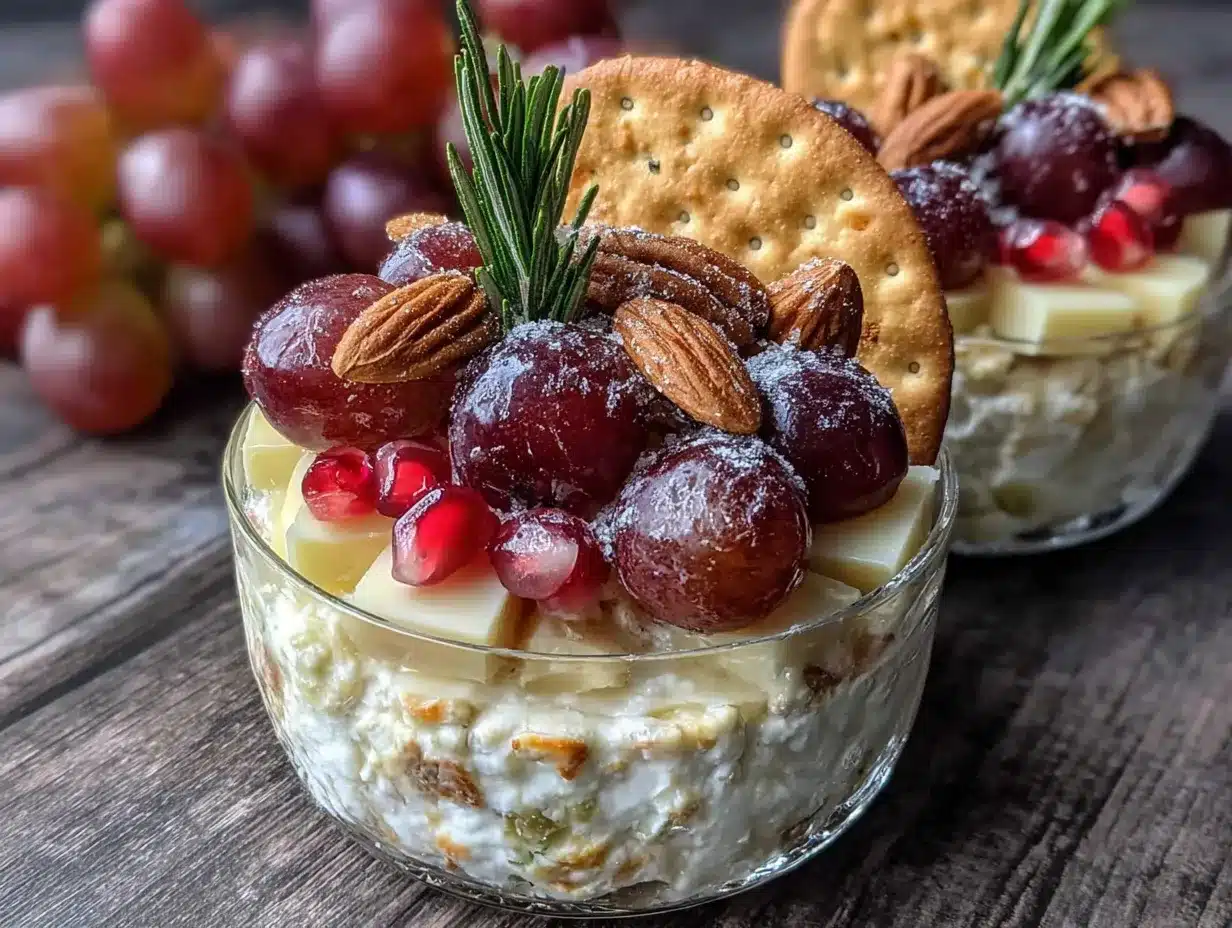
- 4 ounces of sharp cheddar, cut into small cubes – I prefer a good aged cheddar for its bold flavor. Cabot or Kerrygold are my go-to brands for consistent quality.
- 4 ounces of soft goat cheese or brie – Goat cheese adds a tangy creaminess, while brie gives you that buttery, melt-in-your-mouth texture. Use whichever you prefer or have on hand.
- 2 ounces of fresh mozzarella pearls (optional) – These little balls are fun and add a mild, milky flavor. They’re especially nice if you’re serving these with a balsamic drizzle.
The Meats
- 4 ounces of prosciutto, thinly sliced and torn into pieces – Prosciutto is salty and delicate. I like to buy it pre-sliced from the deli counter for convenience.
- 4 ounces of salami or soppressata, cut into small strips or rolled into little roses – Genoa salami is my favorite for its classic flavor. You can also use pepperoni for a spicier kick.
The Accompaniments
- 1/2 cup of seedless red grapes, halved – Grapes add a burst of sweetness and juicy texture. They’re a classic pairing with cheese.
- 1/4 cup of dried cranberries or cherries – These are perfect for Friendsgiving because they’re festive and add a chewy, tart element.
- 1/4 cup of toasted walnuts or almonds – Nuts add crunch and a little healthy fat. Toast them lightly in a dry pan for extra flavor.
- 2 tablespoons of honey or balsamic glaze – A tiny drizzle over the top finishes the cup beautifully. Honey pairs wonderfully with goat cheese, while balsamic glaze is great with cheddar and salami.
Optional Extras
- Fresh rosemary sprigs for garnish – They look pretty and smell amazing.
- Cornichons or small pickles – For a briny, acidic pop. Place one in each cup for a nice surprise.
- Olive oil and flaky sea salt – A light drizzle and a pinch of salt can really elevate the flavors.
Equipment Needed
You don’t need much for this recipe, which is part of its charm. Here’s what you’ll want to have on hand:
- Small clear plastic cups or mini mason jars (4-ounce size) – These are the stars of the show. You can find them at any party supply store or online. I’ve used both, and honestly, the plastic cups are easier for cleanup, but the jars are prettier for photos.
- Cutting board and a sharp knife – You’ll be doing a fair bit of chopping, so a good knife makes the job quick and easy.
- Small spoon or toothpicks – For drizzling honey or balsamic glaze and for serving. Toothpicks are great if you want guests to be able to pick up individual bites.
- Serving tray or platter – To arrange the cups on. A large wooden board or a simple white platter works beautifully.
If you don’t have mini mason jars, you can use shot glasses or even small paper cups. The key is that they’re sturdy enough to hold the ingredients without tipping over. I’ve used everything from recycled yogurt containers to tiny ramekins in a pinch—it all works!
Preparation Method
Alright, let’s get to the fun part. This is so simple, you’ll be done before you know it. Follow these steps, and you’ll have a tray of beautiful, personalized charcuterie cups ready for your Friendsgiving celebration.
- Prep your ingredients. Start by washing and drying your grapes. Cut them in half. Cube your cheddar cheese into bite-sized pieces, about 1/2-inch each. If you’re using brie, cut it into similar-sized wedges. Tear your prosciutto into strips or fold them into little ribbons. Slice your salami into thin strips or roll each slice into a small rose shape. Set everything aside in separate small bowls.
- Toast your nuts. If you’re using walnuts or almonds, place them in a dry skillet over medium heat. Shake the pan occasionally and toast for 2-3 minutes until they’re fragrant and lightly browned. Be careful—they burn quickly! Let them cool for a minute before using.
- Assemble the cups. Take your cups or jars and place them on your serving tray. Add a small handful of arugula or mixed greens to the bottom of each cup. This creates a nice little bed and adds color. Don’t pack it down too much—you want it to stay light and airy.
- Add the cheese. Drop in a few cubes of cheddar and a small piece of goat cheese or brie into each cup. If you’re using mozzarella pearls, add one or two. Try to distribute the cheeses evenly so each cup has a good variety.
- Layer in the meat. Tuck in a few pieces of prosciutto and a couple of salami strips or roses. Let some of the meat peek out over the top of the cup for a nice visual effect. It should look abundant, not crammed.
- Add the fruits and nuts. Sprinkle in a few grape halves, a pinch of dried cranberries, and a few toasted walnuts or almonds. Again, distribute them evenly across all the cups. This is where the sweet and savory magic happens.
- Finish with a drizzle. Using a small spoon, drizzle a tiny amount of honey or balsamic glaze over the top of each cup. Be sparing—you want a hint of sweetness, not a pool of syrup. If you’re using honey, warm it slightly to make it easier to drizzle.
- Garnish and serve. Top each cup with a small sprig of fresh rosemary for a festive touch. If you’re using cornichons, tuck one into the side of each cup. Serve immediately, or cover and refrigerate for up to 2 hours before serving.
A few things to watch for: If the cups feel too full, don’t force everything in. You can always make an extra cup with the leftovers. Also, if you’re making these ahead of time, leave out the arugula until just before serving—it can get soggy if it sits too long. Trust me, I learned that the hard way at a party last year!
Cooking Tips & Techniques
Over the years, I’ve made these cups more times than I can count, and I’ve picked up a few tricks along the way. Here’s what I’ve learned—sometimes through trial and error, honestly.
- Keep it balanced. The key to a great charcuterie cup is variety. You want each bite to have a little bit of everything: creamy cheese, salty meat, sweet fruit, and crunchy nuts. If you overload one cup with cheese, it throws off the whole experience. I like to think of it as a tiny symphony of flavors.
- Don’t overfill the cups. I know it’s tempting to pack them to the brim, but leave a little room at the top. It makes them easier to eat and looks more elegant. Plus, guests can see all the layers, which is half the fun.
- Prep everything first. This is a big one. Chop all your ingredients and have them in separate bowls before you start assembling. It makes the process so much faster and less messy. I once tried to do it all at once and ended up with cheese crumbs everywhere.
- Use room temperature cheese. Cheese tastes so much better when it’s not straight out of the fridge. Let your cheeses sit at room temperature for about 20 minutes before you start. It brings out their flavor and makes them creamier.
- Toast your nuts fresh. I cannot stress this enough. Pre-toasted nuts from a bag are fine, but freshly toasted nuts have a depth of flavor that’s unbeatable. It takes two minutes and makes a huge difference.
- Make extra. Trust me on this one. These cups go fast, and you’ll want to have a few backup ones for yourself. I always make a couple of extra cups just in case someone wants seconds—or in case I want one later.
One of my biggest failures was the time I forgot to add the honey drizzle. The cups were still good, but they were missing that little something. A tiny bit of sweetness really ties everything together. Don’t skip it!
Variations & Adaptations
One of the best things about this recipe is how easy it is to adapt. You can switch things up based on what you have, what your guests like, or what’s in season. Here are some of my favorite variations.
- Dietary Adaptations: For a vegetarian version, simply skip the meat and add extra cheese, roasted red peppers, or marinated artichoke hearts. For a gluten-free option, all the ingredients are naturally gluten-free—just double-check your balsamic glaze if you’re using it. For a dairy-free version, use vegan cheese alternatives and skip the cheese entirely, loading up on nuts, fruits, and veggies instead.
- Seasonal Swaps: In the fall, use sliced apple or pear instead of grapes, and add a sprinkle of pumpkin seeds for crunch. In the summer, fresh berries and mint are a lovely addition. In the winter, dried figs and candied pecans give it a cozy, festive feel. I love making these for a summer picnic with fresh peaches and basil—it’s a whole different vibe.
- Flavor Twists: Try a Mediterranean version with feta cheese, kalamata olives, sun-dried tomatoes, and a drizzle of olive oil. Or go for a spicy version with pepperoni, jalapeño slices, and pepper jack cheese. My personal favorite is a sweet-and-spicy combo with honey, chili flakes, and manchego cheese.
- Different Cooking Methods: While these are no-cook cups, you could warm them slightly in a low oven for 5 minutes if you want the cheese to soften. Just remove any arugula first and add it fresh after warming. I’ve also made these as a breakfast board with hard-boiled eggs and breakfast sausage—so good!
- Customization for Preferences: If you know one guest loves blue cheese and another hates it, you can make a few customized cups. Just use a marker to write names on the cups. It’s a small touch that makes people feel special.
I once made a batch with smoked gouda and fig jam instead of honey, and it was a huge hit. The smoky flavor paired beautifully with the sweet jam. Don’t be afraid to experiment—that’s half the fun!
Serving & Storage Suggestions
These cups are best served at room temperature, so take them out of the fridge about 15-20 minutes before your guests arrive. Arrange them on a large platter or wooden board with a few extra toothpicks on the side. You can also add a small bowl of extra nuts or dried fruit for refills.
For presentation, I like to group the cups in rows or a circle on a rustic wooden board. A few sprigs of fresh rosemary or thyme scattered around the board add a nice touch. If you’re feeling fancy, you can even add a few edible flowers for color.
As for what to serve with them, these cups pair beautifully with a crisp white wine like Sauvignon Blanc or a light red like Pinot Noir. A sparkling water with a slice of lemon is also a great non-alcoholic option. If you’re serving them as part of a larger Friendsgiving spread, they’re perfect alongside a simple salad or a bowl of soup.
For storage, these cups can be assembled up to 4 hours ahead of time. Just cover the tray with plastic wrap and keep it in the refrigerator. If you’re making them the night before, I recommend leaving out the arugula and nuts until just before serving to keep them fresh and crunchy. The flavors actually meld together nicely overnight, so the cups might even taste better the next day!
Leftover cups can be stored in an airtight container in the fridge for up to 2 days. The arugula might wilt a bit, but the flavors will still be delicious. Honestly, I’ve eaten them cold straight from the fridge the next day, and they’re still fantastic.
Nutritional Information & Benefits
These Light & Easy Individual Charcuterie Cups are a balanced little snack that packs a surprising amount of nutrition. Each cup (using the suggested ingredients) contains approximately:
- Calories: 180-220
- Protein: 12-15 grams
- Fat: 14-18 grams
- Carbohydrates: 8-10 grams
- Fiber: 2-3 grams
- Sugar: 5-7 grams (mostly from fruit and honey)
The cheese provides a good dose of calcium and protein, while the nuts offer healthy fats and vitamin E. Grapes and dried cranberries add antioxidants and natural sweetness. The arugula gives you a little hit of vitamins A and K. It’s a satisfying snack that won’t weigh you down before the main meal.
If you’re watching your sodium intake, you can use low-sodium meats or reduce the amount of cheese. For a lower-fat option, swap the nuts for seeds and use part-skim mozzarella. These cups are naturally gluten-free and can be made dairy-free with simple substitutions. Just be aware of potential allergens like nuts and dairy if you’re serving a crowd.
From a personal wellness perspective, I love that these cups let me enjoy all the flavors of a charcuterie board without overdoing it. The portion control is built right in, so I can have a few bites and feel satisfied without feeling stuffed. It’s all about balance, right?
Conclusion
So there you have it—my take on the perfect Friendsgiving appetizer. These Light & Easy Individual Charcuterie Cups are everything I want in a party snack: they’re quick to make, beautiful to look at, and absolutely delicious to eat. They take the stress out of hosting and let you actually enjoy your own party. Honestly, what more could you ask for?
I hope you give these a try for your next gathering, whether it’s Friendsgiving, a holiday party, or just a casual get-together with friends. Feel free to customize them with your favorite ingredients—that’s the beauty of this recipe. It’s more of a template than a strict set of rules.
I’d love to hear how yours turn out! Drop a comment below and let me know what combinations you tried. Did you add something unexpected? Did your guests love them? Share your photos and tag me on social media—I’m always looking for new ideas. Until next time, happy snacking!
Frequently Asked Questions
Can I make these charcuterie cups ahead of time?
Yes, you can assemble them up to 4 hours ahead. Just cover and refrigerate. Add the arugula and nuts right before serving to keep them fresh and crunchy.
What size cups should I use?
4-ounce cups or mini mason jars work best. They’re big enough to hold a good variety of ingredients but small enough to be a single serving. Shot glasses can work for a smaller version.
Can I use different meats and cheeses?
Absolutely! Feel free to swap in your favorites. Try pepperoni, turkey, or ham for the meat, and use any cheese you like—gouda, blue cheese, or even cream cheese work great.
How do I keep the cups from getting soggy?
Add the arugula just before serving, and pat dry any wet ingredients like grapes or pickles before adding them. This helps keep everything crisp and fresh.
Can I make these for a non-holiday event?
Definitely! These are perfect for any party, picnic, or even a fancy snack for yourself. Swap the dried cranberries for seasonal fruit and adjust the garnishes to match the occasion.
Pin This Recipe!
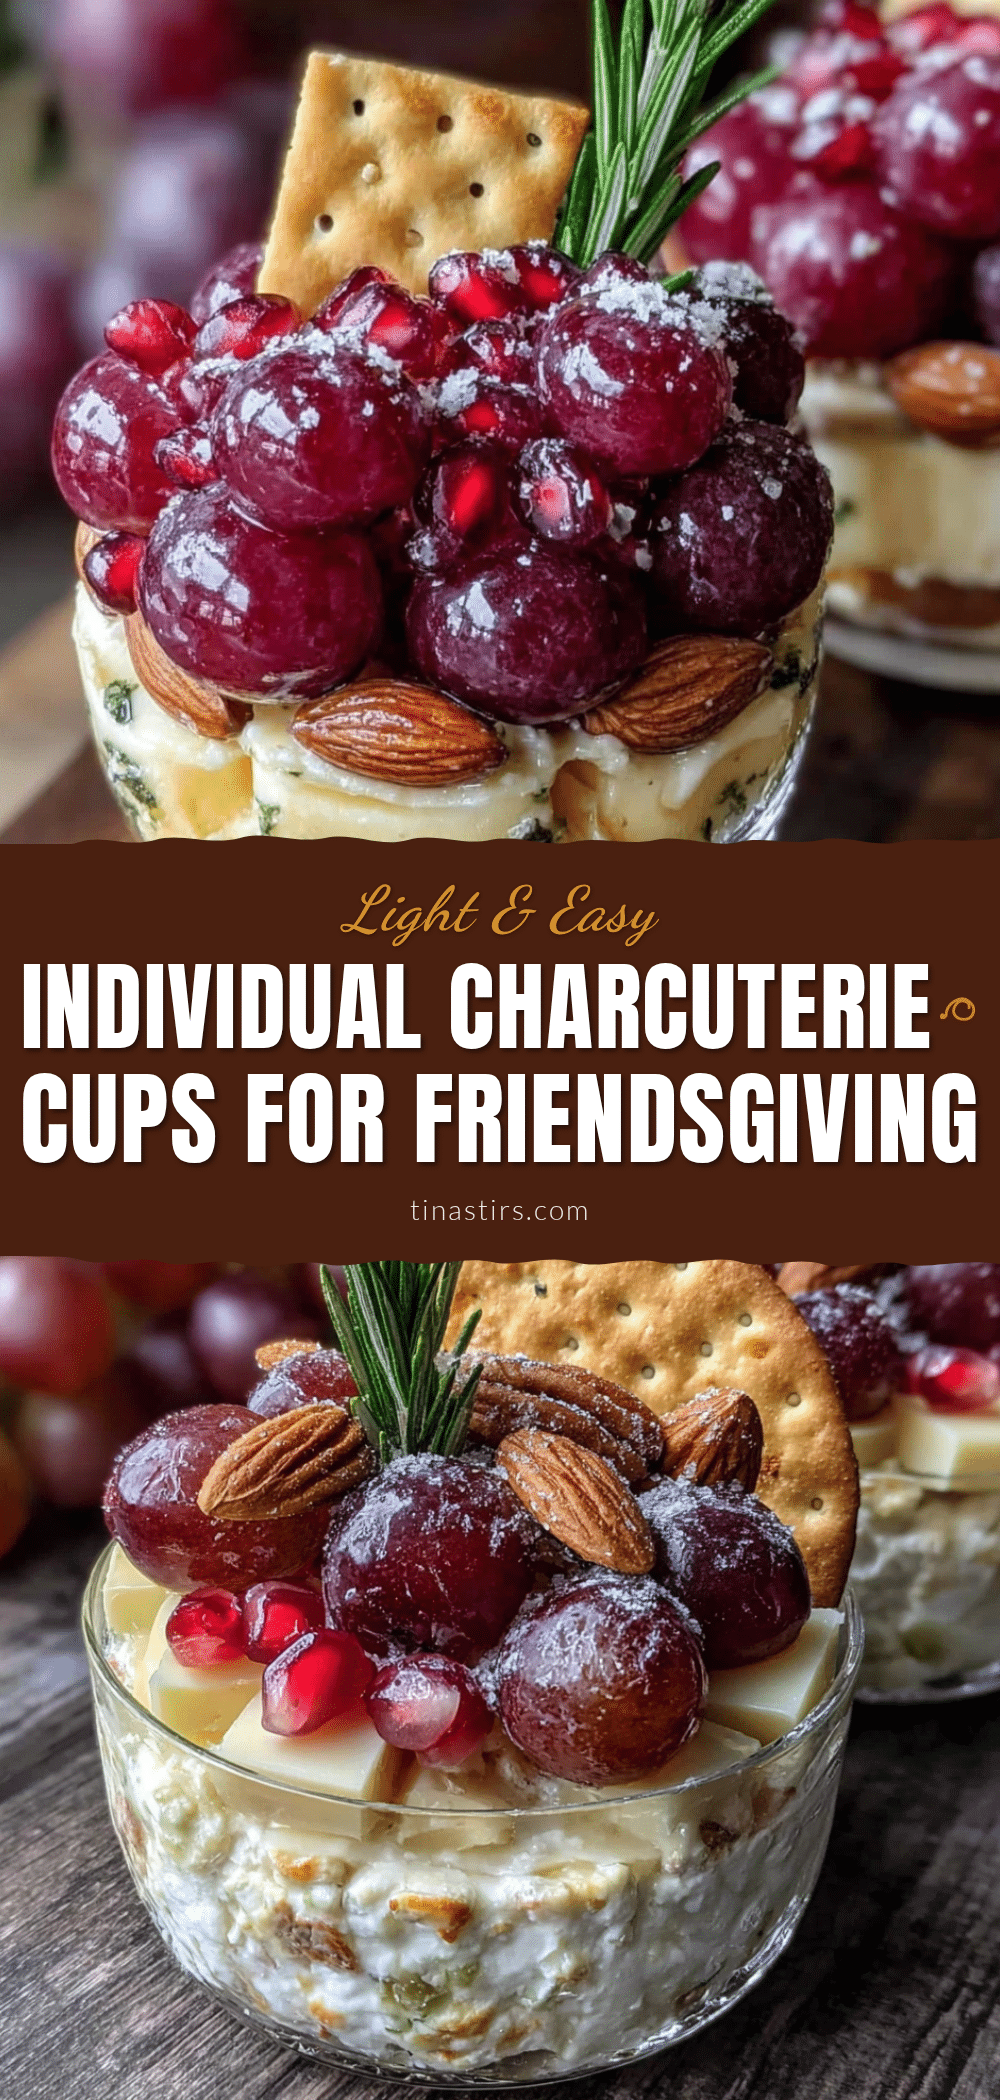
Light & Easy Charcuterie Cups: Best Friendsgiving Appetizer
These adorable individual charcuterie cups are filled with all the best parts of a charcuterie board, portioned out so everyone gets their own perfect little bite. No sharing, no double-dipping, no awkward balancing acts.
- Prep Time: 15 minutes
- Cook Time: 0 minutes
- Total Time: 15 minutes
- Yield: 8 servings 1x
- Category: Appetizer
- Cuisine: American
Ingredients
- Small clear plastic cups or mini mason jars (4-ounce size)
- 1 cup fresh arugula or mixed greens
- 4 ounces sharp cheddar, cut into small cubes
- 4 ounces soft goat cheese or brie
- 2 ounces fresh mozzarella pearls (optional)
- 4 ounces prosciutto, thinly sliced and torn into pieces
- 4 ounces salami or soppressata, cut into small strips or rolled into roses
- 1/2 cup seedless red grapes, halved
- 1/4 cup dried cranberries or cherries
- 1/4 cup toasted walnuts or almonds
- 2 tablespoons honey or balsamic glaze
- Fresh rosemary sprigs for garnish (optional)
- Cornichons or small pickles (optional)
- Olive oil and flaky sea salt (optional)
Instructions
- Prep your ingredients. Wash and dry grapes and cut them in half. Cube cheddar cheese into bite-sized pieces (about 1/2-inch each). If using brie, cut into similar-sized wedges. Tear prosciutto into strips or fold into ribbons. Slice salami into thin strips or roll each slice into a small rose shape. Set everything aside in separate small bowls.
- Toast your nuts. Place walnuts or almonds in a dry skillet over medium heat. Shake the pan occasionally and toast for 2-3 minutes until fragrant and lightly browned. Let cool for a minute before using.
- Assemble the cups. Place cups or jars on a serving tray. Add a small handful of arugula or mixed greens to the bottom of each cup, keeping it light and airy.
- Add the cheese. Drop in a few cubes of cheddar and a small piece of goat cheese or brie into each cup. If using mozzarella pearls, add one or two. Distribute evenly.
- Layer in the meat. Tuck in a few pieces of prosciutto and a couple of salami strips or roses. Let some meat peek out over the top for visual effect.
- Add the fruits and nuts. Sprinkle in a few grape halves, a pinch of dried cranberries, and a few toasted walnuts or almonds. Distribute evenly.
- Finish with a drizzle. Using a small spoon, drizzle a tiny amount of honey or balsamic glaze over the top of each cup. Be sparing.
- Garnish and serve. Top each cup with a small sprig of fresh rosemary. If using cornichons, tuck one into the side of each cup. Serve immediately, or cover and refrigerate for up to 2 hours before serving.
Notes
For best results, let cheeses sit at room temperature for 20 minutes before assembling. If making ahead, leave out arugula and nuts until just before serving to keep them fresh. The cups can be assembled up to 4 hours ahead and refrigerated. Leftover cups can be stored in an airtight container in the fridge for up to 2 days.
Nutrition
- Serving Size: 1 cup
- Calories: 200
- Sugar: 6
- Sodium: 450
- Fat: 16
- Saturated Fat: 7
- Carbohydrates: 9
- Fiber: 2
- Protein: 13
Keywords: charcuterie cups, Friendsgiving appetizer, individual charcuterie, no-cook appetizer, party snack, easy appetizer


