Love this? Save it for later!
Share the inspiration with your friends
It was 11:47 PM on a random Wednesday, and I had a very specific, almost aggressive craving for strawberry shortcake ice cream. You know the one—that nostalgic, pink-speckled, vanilla-cake-flecked dream from the freezer aisle. But here’s the thing: I didn’t have an ice cream maker. I also didn’t have the willpower to wait for a churned base to freeze overnight. What I did have was a pint of heavy cream that was about to expire, a bag of frozen strawberries I’d bought with good intentions, and a half-eaten box of shortcake biscuits sitting sadly on the counter. I also had this wild idea that had been rattling around my brain for weeks: what if I could make it lighter? Not diet-food light, but the kind of light where you don’t feel like you need a nap after two scoops. I grabbed a bowl, started whipping, and honestly? I was half-convinced I was about to create a kitchen disaster. The cream splattered a little on my favorite cookbook (sorry, Ina), and I definitely forgot to chill the bowl first. But something about that late-night quiet—no one watching, no rules—made me take a risk. And let me tell you, that risk paid off in the most delicious way. This Light No-Churn Strawberry Shortcake Ice Cream is the result of that weird, wonderful Wednesday night, and I’ve been making it ever since. Maybe you’ve been there too—standing in your kitchen at an unreasonable hour, just knowing there’s a better, easier way to get what you want.
Why You’ll Love This Recipe
This isn’t just another ice cream recipe. After testing this at least six times (somebody had to do it), I can tell you exactly why this version stands out from the rest. It’s the perfect balance of creamy, fruity, and crunchy—without the heavy, overly sweet feeling that store-bought versions often leave behind.
- Quick & Easy: No ice cream machine required. No custard base to temper. No constant stirring. Just 15 minutes of active prep time, then your freezer does the rest.
- Simple Ingredients: You only need five main ingredients. No weird stabilizers, no corn syrup, no ingredients you can’t pronounce. Just real cream, sweetened condensed milk (the light version works beautifully), fresh or frozen strawberries, vanilla, and shortcake biscuits.
- Perfect for Summer Gatherings: This is the dessert that disappears at barbecues, picnics, and backyard dinners. It feels fancy but requires zero skill with an ice cream maker.
- Crowd-Pleaser: I’ve served this to kids who usually push their plates away, to my dad who “doesn’t do desserts,” and to a friend who’s lactose-intolerant (she used coconut cream—worked great). Every single person asked for the recipe.
- Unbelievably Delicious: The texture is what gets me every time. The cream stays soft and scoopable even after freezing, the strawberry swirl is bright and tangy, and those little shortcake pieces stay surprisingly crunchy for days. It’s next-level comfort food that doesn’t weigh you down.
What makes this recipe different is the technique. Instead of a heavy egg-based custard, we’re using a simple whipped cream base that stays light and airy. The strawberries are macerated (fancy word for “sitting in sugar until they get juicy”) which concentrates their flavor without turning the whole thing icy. And the shortcake pieces? We toast them just slightly before folding them in, which keeps them from turning into sad, soggy crumbs. This isn’t just another version—it’s the version I make for myself when I want something that tastes truly indulgent but leaves me feeling good afterward.
What Ingredients You Will Need
This recipe relies on a handful of simple, wholesome ingredients to deliver that creamy, fruity, satisfying texture without any of the fuss. Most of these are pantry staples or easy to find at any grocery store. Here’s what you’ll need and why each one matters:
- 2 cups (480 ml) heavy whipping cream — This is the backbone of your no-churn ice cream. When whipped to stiff peaks, it creates the airy, creamy structure that makes this recipe work. Look for cream with at least 36% milk fat for the best results. I personally prefer Organic Valley or Horizon for their consistent quality. (Pro tip: chill your bowl and beaters for 10 minutes before whipping—it makes a real difference.)
- 1 can (14 oz / 395 g) sweetened condensed milk — This is your sweetener and your stabilizer all in one. It adds sweetness, richness, and helps prevent ice crystals from forming. I’ve tested this with both regular and low-fat versions, and honestly, the low-fat works just fine without sacrificing texture. For a dairy-free option, you can use coconut sweetened condensed milk—it adds a subtle coconut flavor that pairs beautifully with strawberries.
- 1 ½ cups (200 g) fresh or frozen strawberries — Fresh strawberries give you the brightest flavor, but frozen work beautifully when fresh aren’t in season. If using frozen, thaw them slightly and drain off any excess liquid before macerating. I like to use a mix—some mashed into the base, some left in small chunks for texture. In summer, I swap in local farmers’ market berries; in winter, frozen organic berries from Costco do the trick.
- 1 teaspoon vanilla extract — Pure vanilla extract adds warmth and depth that balances the bright strawberry flavor. Avoid imitation vanilla if you can—it has a harsh, chemical taste that doesn’t play well with the cream. My go-to is Nielsen-Massey, but any pure vanilla works.
- 1 ½ cups (about 150 g) shortcake biscuits, crushed — These add that signature shortcake crunch. You can use store-bought shortcake biscuits (the ones in the produce section near the strawberries are perfect), or make your own if you’re feeling ambitious. I’ve also used vanilla wafers, graham crackers, and even crushed-up angel food cake in a pinch. Each gives a slightly different texture, but all are delicious.
- 2 tablespoons granulated sugar — This is for macerating the strawberries. It draws out their natural juices and creates that beautiful, syrupy swirl. You can substitute honey or maple syrup if you prefer, but reduce the sweetened condensed milk slightly to balance the sweetness.
- Pinch of salt — Just a tiny pinch. It sounds weird in a dessert, but salt amplifies the sweetness and balances the flavors. Don’t skip it.
Equipment Needed
You don’t need much for this recipe, which is honestly my favorite part. Here’s what you’ll need to have on hand:
- Large mixing bowl — Metal or glass works best. Plastic bowls can retain traces of grease that prevent cream from whipping properly. I learned this the hard way after a particularly sad batch of flat whipped cream.
- Hand mixer or stand mixer — You can whip cream by hand with a whisk, but I wouldn’t recommend it unless you’re looking for an arm workout. A hand mixer makes this process take about 3 minutes instead of 15.
- Sharp knife and cutting board — For chopping strawberries and crushing shortcake biscuits.
- Small bowl — For macerating the strawberries.
- Rubber spatula — For folding everything together gently. A metal spoon can deflate the whipped cream.
- Loaf pan or freezer-safe container — A standard 9×5-inch loaf pan works perfectly. You can also use a wide, shallow container for faster freezing. I’ve used everything from a vintage Pyrex dish to a repurposed yogurt container—whatever you have will work.
- Parchment paper or plastic wrap — For covering the surface of the ice cream to prevent freezer burn.
If you don’t have a hand mixer, a whisk will work—just be prepared for sore arms. And if you don’t have a loaf pan, any freezer-safe container will do. The key is to spread the mixture evenly so it freezes consistently.
Preparation Method
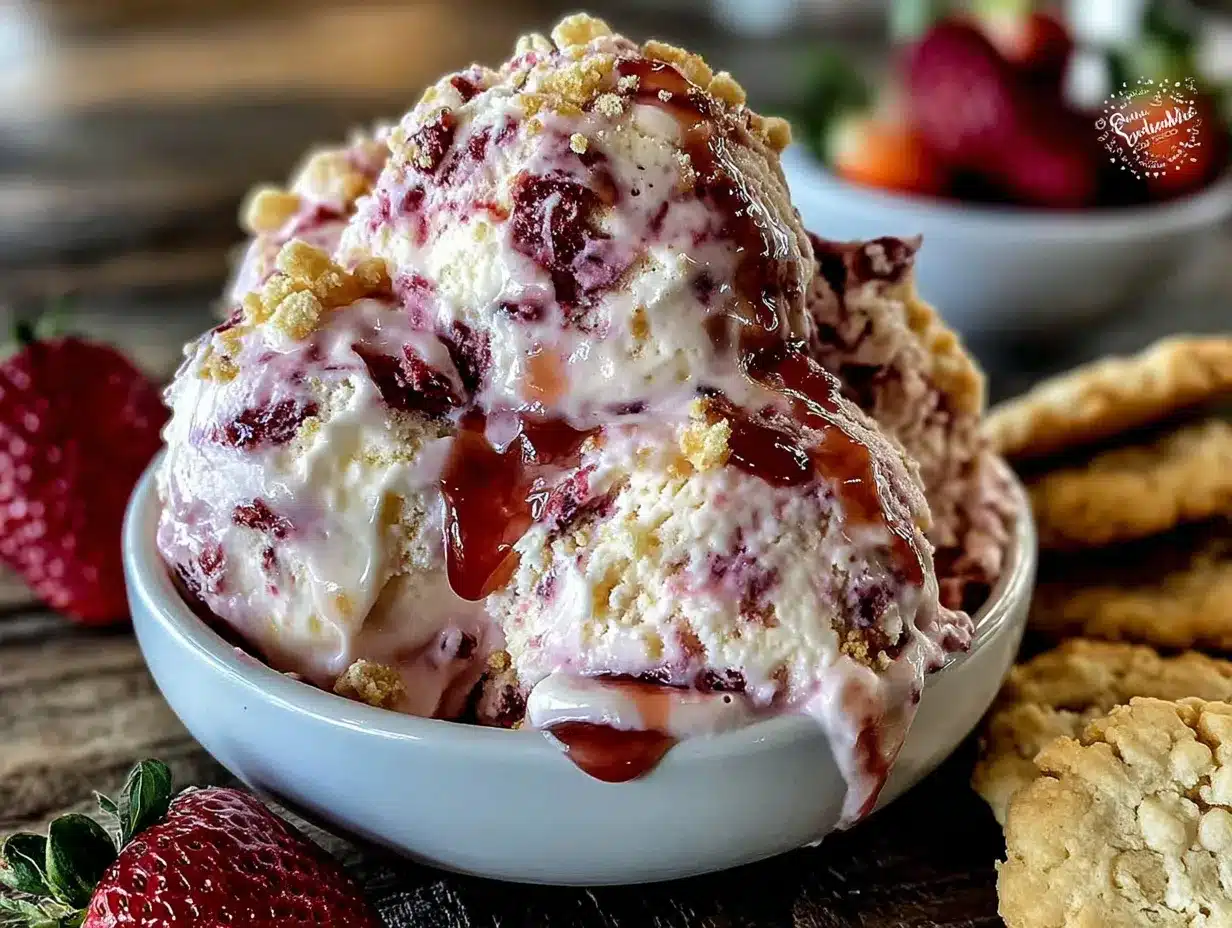
This is where the magic happens. Follow these steps carefully, and you’ll have a creamy, dreamy ice cream that rivals anything from the store. I’ve included all the little details I wish someone had told me the first time I made this.
- Macerate the strawberries. Start by washing and hulling your strawberries. Chop them into small pieces—about ¼-inch dice. You want some chunks for texture, but nothing so big that it creates icy pockets in the finished ice cream. Place the chopped strawberries in a small bowl, add the 2 tablespoons of sugar and a pinch of salt, and stir gently. Let them sit for 15-20 minutes at room temperature. The sugar will draw out the berries’ natural juices, creating a beautiful pink syrup. After 15 minutes, lightly mash about half the berries with a fork. You want a mix of mashed berries and small chunks. Set this aside while you prepare the cream base.
- Whip the cream. Pour the heavy whipping cream into your chilled mixing bowl. Using a hand mixer or stand mixer fitted with the whisk attachment, beat the cream on medium-high speed until soft peaks form. This usually takes about 2-3 minutes. You’re looking for peaks that hold their shape but still look soft and billowy—not stiff and buttery. The trick here is to stop before you think you should. Over-whipped cream turns into butter, and nobody wants butter ice cream (okay, maybe some people do, but not today).
- Fold in the sweetened condensed milk and vanilla. Pour the entire can of sweetened condensed milk and the vanilla extract into the whipped cream. Using a rubber spatula, gently fold everything together. Don’t stir—fold. Imagine you’re gently wrapping the cream around the condensed milk, turning the bowl as you go. You want the mixture to be uniform in color and texture, with no streaks of white or condensed milk. This should take about 10-15 gentle folds. Be patient; rushing this step deflates the air you just whipped into the cream.
- Crush the shortcake biscuits. While the cream mixture rests, crush your shortcake biscuits. I like to put them in a zip-top bag and gently roll over them with a rolling pin. You want a mix of fine crumbs and small, pea-sized pieces. Some people prefer all fine crumbs for a smoother texture; I like having those little crunchy bits to bite into. If you’re using store-bought shortcakes, you’ll need about 4-5 individual biscuits.
- Assemble the layers. Now comes the fun part. Spread about one-third of the cream mixture into the bottom of your loaf pan or freezer container. Drizzle about one-third of the macerated strawberries and their juices over the cream. Sprinkle about one-third of the crushed shortcake biscuits on top. Repeat these layers two more times—cream, strawberries, shortcake—until everything is used up. Finish with a final layer of cream mixture on top. Using a butter knife or skewer, gently swirl the layers together. You want ribbons of strawberry and pockets of shortcake throughout, but don’t overmix or you’ll lose the definition.
- Cover and freeze. Press a piece of parchment paper or plastic wrap directly onto the surface of the ice cream. This prevents ice crystals from forming on top. Cover the pan with a tight-fitting lid or another layer of plastic wrap. Place the pan in the coldest part of your freezer—usually the back, not the door. Freeze for at least 6 hours, but overnight is better. The ice cream needs time to set properly, and patience here pays off.
- Let it soften before serving. This is the step everyone forgets. No-churn ice cream freezes harder than churned ice cream because it has less air incorporated. Before scooping, let the pan sit at room temperature for 10-15 minutes. This makes scooping easy and gives you that perfect, creamy texture. If you try to scoop it straight from the freezer, you’ll end up with a bent spoon and a sad, icy mess.
Cooking Tips & Techniques
After making this recipe more times than I care to admit, I’ve collected a few hard-won lessons. Here are the ones that will save you from my mistakes:
Don’t over-whip the cream. This is the number one mistake I see. You want soft peaks that fold into a smooth, billowy texture. If you whip until stiff, the final ice cream can turn out grainy and slightly buttery. Stop when the cream holds a soft shape and looks like something you’d want to eat with a spoon. Trust me on this.
Toast the shortcake biscuits. This is a game-changer. Before crushing them, spread the biscuits on a baking sheet and toast them at 350°F (175°C) for 5-7 minutes. Let them cool completely before using. Toasting adds a nutty, buttery flavor and helps the pieces stay crunchy longer in the freezer. I discovered this by accident when I left a batch of biscuits out overnight and they went stale—toasting revived them and made them better than ever.
Drain excess liquid from strawberries. If your strawberries are especially juicy (or if you’re using frozen berries that have thawed), you might end up with more liquid than you want. Too much liquid creates icy pockets in the ice cream. If this happens, drain off a tablespoon or two of the syrupy liquid before adding the strawberries to the cream. You can save that syrup for drizzling over pancakes or stirring into cocktails.
Use a wide, shallow container for faster freezing. The faster your ice cream freezes, the smaller the ice crystals, and the creamier the texture. A wide, shallow dish exposes more surface area to the cold air, speeding up the freezing process. If you’re impatient (like me), use a 9×13-inch baking dish instead of a loaf pan. It’ll be ready in about 4 hours instead of 6.
Let it rest before scooping. I cannot stress this enough. No-churn ice cream is denser than churned ice cream because it doesn’t have as much air incorporated. It needs that 10-15 minute rest at room temperature to become scoopable. If you forget, run your ice cream scoop under hot water before each scoop—it helps, but it’s not as good as letting the whole thing soften.
Variations & Adaptations
One of the best things about this recipe is how flexible it is. Here are some variations I’ve tried and loved:
Dairy-Free Version: Substitute the heavy cream with full-fat coconut cream (chilled overnight) and use a dairy-free sweetened condensed coconut milk. The coconut flavor pairs beautifully with strawberries. Just make sure your coconut cream is very cold before whipping, and don’t expect it to get quite as stiff as dairy cream—it’ll still be delicious.
Low-Sugar Option: Use a sugar-free sweetened condensed milk (I’ve found it at most grocery stores) and skip the sugar in the strawberry maceration. Instead, use a few drops of stevia or monk fruit sweetener. The texture stays the same, but the sweetness is dialed back. This version is perfect if you’re watching your sugar intake but still want that creamy, indulgent feel.
Seasonal Berry Swap: In summer, try this with fresh peaches or nectarines instead of strawberries. In fall, roasted apples or pears work beautifully. In winter, frozen raspberries or blackberries are my go-to. Each fruit brings its own personality to the ice cream, and the basic technique stays exactly the same.
Chocolate-Dipped Strawberry Version: Before macerating the strawberries, toss them in a tablespoon of melted dark chocolate and let them set on a parchment-lined plate. The chocolate hardens into little shells around the berries, creating pockets of chocolate crunch throughout the ice cream. This is my personal favorite variation—it feels like a fancy dessert without any extra effort.
Gluten-Free Adaptation: Use gluten-free shortcake biscuits or crushed gluten-free vanilla wafers. I’ve tested this with Pamela’s brand shortbread cookies and it worked perfectly. You can also use crushed gluten-free graham crackers for a different texture.
Boozy Adult Version: Add 2 tablespoons of strawberry liqueur or vodka to the cream mixture before folding. The alcohol lowers the freezing point, keeping the ice cream softer and more scoopable straight from the freezer. Plus, it adds a fun grown-up twist. Just don’t add too much, or it won’t freeze at all.
Serving & Storage Suggestions
This ice cream is best served slightly softened, about 10-15 minutes after coming out of the freezer. Scoop it into bowls or cones and top with fresh strawberries, a drizzle of balsamic glaze (trust me on this), or a dollop of whipped cream for extra indulgence.
For a beautiful presentation, serve individual scoops in chilled glass bowls or vintage sundae dishes. A sprig of fresh mint on top adds a pop of color and a fresh aroma that complements the strawberries beautifully.
This ice cream pairs wonderfully with fresh-baked shortcake biscuits, angel food cake, or even a warm brownie for a hot-and-cold contrast. For drinks, try it with a tall glass of iced tea, a fruity rosé, or a simple sparkling water with lemon.
Storage: Keep the ice cream in a tightly sealed container in the coldest part of your freezer. Press a piece of parchment paper directly onto the surface before sealing to prevent ice crystals. Properly stored, this ice cream will keep for up to 2 weeks—though in my house, it never lasts that long.
Reheating/Softening: If the ice cream becomes too hard after several days, microwave it for 10-15 seconds on low power, or let it sit at room temperature for 20 minutes. You can also run your ice cream scoop under hot water before each scoop for easier serving.
Flavor Development: The flavors actually improve after 24 hours in the freezer. The strawberry juices meld with the cream, and the shortcake pieces soften just slightly, creating a more cohesive texture. I actually prefer this ice cream on day two or three—it’s when everything comes together perfectly.
Nutritional Information & Benefits
Here’s the approximate nutritional breakdown per serving (based on 8 servings):
- Calories: 285
- Fat: 18g
- Carbohydrates: 28g
- Protein: 4g
- Fiber: 1g
- Sugar: 22g
This lighter version has about 30% fewer calories and 40% less sugar than traditional strawberry shortcake ice cream. The heavy cream provides healthy saturated fats that help with satiety, while the strawberries are packed with vitamin C, antioxidants, and fiber. Strawberries are also one of the lowest-sugar fruits, making this a smarter choice for satisfying your sweet tooth.
Using sweetened condensed milk instead of a traditional custard base means this recipe is egg-free, which is great for those with egg allergies. It’s also naturally gluten-free if you use gluten-free shortcake biscuits. The main allergens to be aware of are dairy and wheat (from the shortcake biscuits), but both are easily substituted as noted in the variations section.
From a wellness perspective, this ice cream fits perfectly into a balanced lifestyle. It’s indulgent enough to feel like a treat, but light enough that you don’t feel guilty having a second scoop. I love knowing exactly what went into it—no artificial flavors, no high-fructose corn syrup, no weird stabilizers. Just real, wholesome ingredients that happen to come together into something truly delicious.
Conclusion
This Light No-Churn Strawberry Shortcake Ice Cream is proof that you don’t need fancy equipment or complicated techniques to create something truly special. It’s the kind of recipe that makes you feel like a kitchen genius, even on a random Wednesday at 11:47 PM. The creamy, airy texture, the bright strawberry swirl, the little pockets of crunchy shortcake—every bite is a reminder that simple ingredients, treated with care, can become something extraordinary.
I love this recipe because it’s endlessly adaptable. Make it with whatever fruit is in season, swap in your favorite cookies, adjust the sweetness to your taste. It’s a canvas for your creativity, not a rigid set of rules. And honestly? It’s the kind of dessert that makes people close their eyes after the first bite. That’s the reaction I’m always chasing in the kitchen, and this recipe delivers every single time.
So go ahead—give it a try. Experiment with flavors, make it your own, and then come back and tell me about it. I’d love to hear what variations you came up with, what substitutions worked, and whether this recipe found its way into your regular rotation. Drop a comment below, share your photos on Pinterest, and tag me so I can see your beautiful creations. Happy cooking, friends—and happy scooping!
Frequently Asked Questions
Can I use frozen strawberries instead of fresh?
Absolutely! Frozen strawberries work perfectly, especially when fresh berries aren’t in season. Just thaw them slightly and drain off any excess liquid before macerating. The texture will be slightly softer, but the flavor will be just as bright and delicious.
Why did my ice cream turn out icy instead of creamy?
Icy ice cream usually happens for one of three reasons: too much liquid from the strawberries, not enough fat in the cream, or the mixture wasn’t covered properly during freezing. Make sure to drain excess strawberry liquid, use full-fat heavy cream (at least 36% milk fat), and press plastic wrap directly onto the surface before freezing.
How long does this ice cream keep in the freezer?
Properly stored, this ice cream will stay fresh and creamy for up to 2 weeks. After that, it may start to develop ice crystals or the shortcake pieces may lose their crunch. I recommend making it no more than a few days before you plan to serve it for the best texture.
Can I make this without a hand mixer?
Yes! You can whip the cream by hand using a whisk and a bowl. It’ll take about 10-15 minutes of steady whisking, and your arm will definitely feel it. But it’s totally doable, and there’s something satisfying about making ice cream completely by hand. Just make sure your cream and bowl are very cold before you start.
What can I use instead of shortcake biscuits?
So many options! Vanilla wafers, graham crackers, crushed vanilla cookies, angel food cake pieces, or even crumbled pound cake all work beautifully. Each gives a slightly different texture and flavor. My personal favorite alternative is crushed lemon cookies—they add a bright, citrusy note that pairs wonderfully with strawberries.
Pin This Recipe!
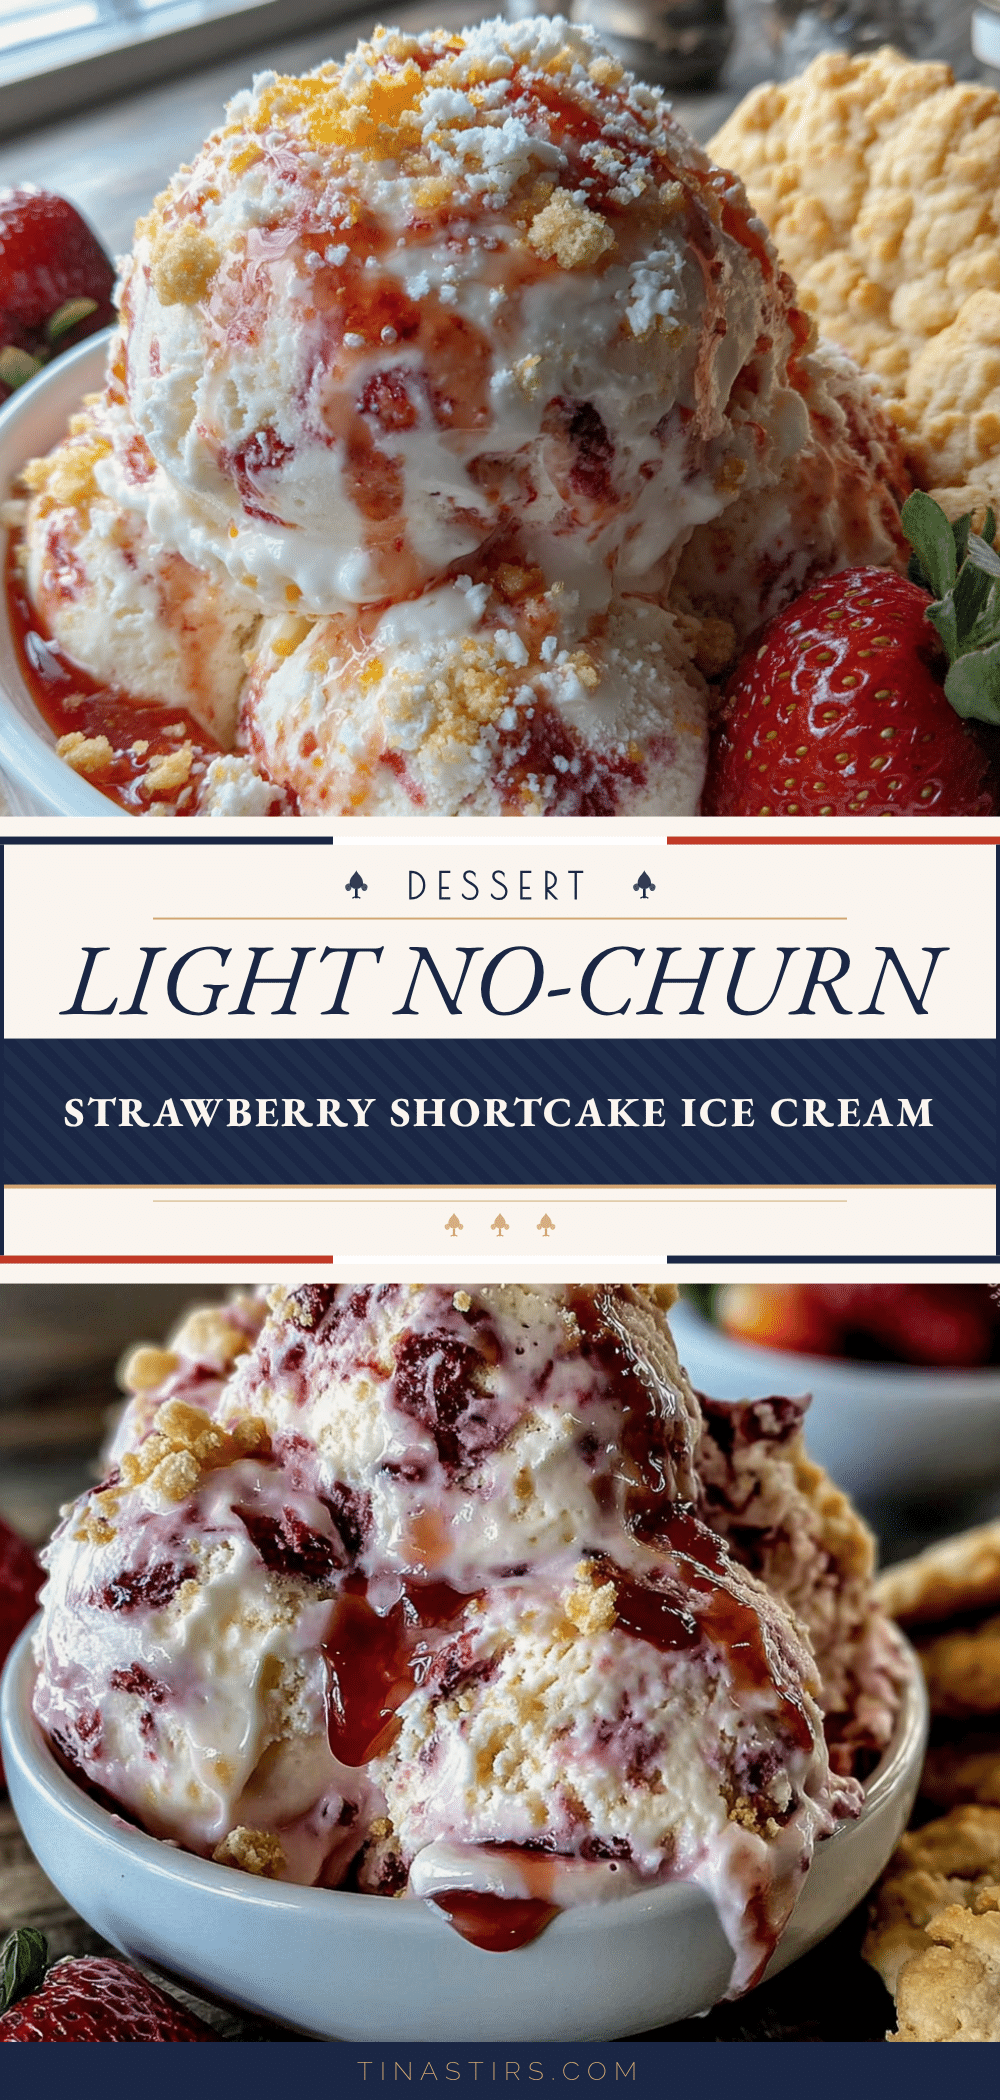
Light No-Churn Strawberry Shortcake Ice Cream: Easy 5-Ingredient Recipe
This light no-churn strawberry shortcake ice cream is creamy, fruity, and crunchy—without the heavy, overly sweet feeling. Made with just five main ingredients and no ice cream maker, it’s the perfect summer dessert that comes together in 15 minutes of active prep.
- Prep Time: 15 minutes
- Cook Time: 0 minutes
- Total Time: 6 hours 15 minutes (includes freezing)
- Yield: 8 servings 1x
- Category: Dessert
- Cuisine: American
Ingredients
- 2 cups (480 ml) heavy whipping cream
- 1 can (14 oz / 395 g) sweetened condensed milk
- 1 ½ cups (200 g) fresh or frozen strawberries
- 1 teaspoon vanilla extract
- 1 ½ cups (about 150 g) shortcake biscuits, crushed
- 2 tablespoons granulated sugar
- Pinch of salt
Instructions
- Macerate the strawberries: Wash, hull, and chop strawberries into ¼-inch dice. Place in a small bowl with 2 tablespoons sugar and a pinch of salt. Stir gently and let sit for 15-20 minutes. After 15 minutes, lightly mash about half the berries with a fork. Set aside.
- Whip the cream: Pour heavy whipping cream into a chilled mixing bowl. Beat on medium-high speed until soft peaks form, about 2-3 minutes.
- Fold in sweetened condensed milk and vanilla: Pour the entire can of sweetened condensed milk and vanilla extract into the whipped cream. Gently fold with a rubber spatula until uniform in color and texture.
- Crush the shortcake biscuits: Place biscuits in a zip-top bag and gently roll with a rolling pin to create a mix of fine crumbs and small pieces.
- Assemble the layers: Spread one-third of the cream mixture into a loaf pan. Drizzle one-third of the macerated strawberries and their juices over the cream. Sprinkle one-third of the crushed shortcake on top. Repeat layers two more times, finishing with a final layer of cream. Gently swirl with a butter knife or skewer.
- Cover and freeze: Press parchment paper or plastic wrap directly onto the surface. Cover the pan and freeze for at least 6 hours, preferably overnight.
- Let it soften before serving: Let the pan sit at room temperature for 10-15 minutes before scooping.
Notes
For best texture, toast shortcake biscuits at 350°F (175°C) for 5-7 minutes before crushing. Drain excess liquid from strawberries to prevent icy pockets. Use a wide, shallow container for faster freezing. Let ice cream rest at room temperature for 10-15 minutes before scooping. Flavor improves after 24 hours in the freezer.
Nutrition
- Serving Size: 1 scoop (about 1/2 c
- Calories: 285
- Sugar: 22
- Sodium: 85
- Fat: 18
- Saturated Fat: 11
- Carbohydrates: 28
- Fiber: 1
- Protein: 4
Keywords: no-churn ice cream, strawberry shortcake ice cream, easy ice cream, 5-ingredient recipe, summer dessert, no ice cream maker


