Love this? Save it for later!
Share the inspiration with your friends
My neighbor Mrs. Gable watched me fumbling with a carton of store-bought eggnog last December, shaking it like I was trying to wake it up. She didn’t say anything at first, just leaned against her porch railing with this knowing little smile. Then she called over, “You know that stuff has more thickeners than a bad soup, right?” I laughed, embarrassed, and admitted I’d never made it from scratch. The next morning, a handwritten recipe card appeared under my windshield wiper, weighted down by a single, fragrant nutmeg nut. The card was splashed with coffee and the edges were soft from years of use. I almost cried, honestly. It wasn’t just the recipe—it was the gesture. She’d seen a small struggle and decided to help, no strings attached. That’s the thing about good neighbors and good food; they show up when you least expect them. I’ve made her recipe every year since, tweaking it just a little to lighten it up without losing that soul-warming richness. Maybe you’ve had that moment where you take a sip of something and think, “Oh, this is what it’s supposed to taste like.” That’s this eggnog. Let me tell you, once you grate that fresh nutmeg over the top, there’s no going back to the carton stuff.
Why You’ll Love This Recipe
This lighter classic eggnog gives you all the cozy, festive flavor without the heavy, syrupy feeling that store-bought versions leave behind. I’ve tested this recipe at least a dozen times over three holiday seasons, and I can tell you it’s the one that disappears fastest at every party. It strikes that perfect balance between indulgence and feeling good about what you’re drinking.
- Quick & Easy: Comes together in under 20 minutes of active time. Perfect for last-minute holiday gatherings or when the craving hits on a snowy evening.
- Simple Ingredients: No artificial thickeners or preservatives. You likely have most of these in your kitchen right now.
- Perfect for Holiday Parties: Great for Christmas Eve, New Year’s brunch, or cozying up by the fire with friends.
- Crowd-Pleaser: Even the skeptics who swear they hate eggnog ask for seconds. It’s that good.
- Unbelievably Delicious: The fresh nutmeg and vanilla create a flavor profile that’s warm, aromatic, and completely addictive.
What makes this recipe different from the rest? It uses a clever technique of tempering the eggs with warm milk, giving you that velvety, luxurious texture without the heavy cream overload. Plus, I’ve swapped in low-fat milk and cut the sugar by a third, so you get all the comfort with none of the guilt. This isn’t just another version—it’s the one you’ll come back to year after year. It’s the kind of drink that makes you close your eyes after the first sip, letting the warmth spread through you like a cozy blanket.
What Ingredients You Will Need
This lighter classic eggnog uses simple, wholesome ingredients to deliver that rich, festive flavor without the heavy cream and excess sugar. Most of these are pantry staples, especially during the holiday season.
- 4 large eggs, separated (room temperature works best for smooth texture)
- 1/3 cup granulated sugar (I use organic cane sugar for a cleaner sweetness)
- 2 cups whole milk (you can use 2% for an even lighter version)
- 1 cup low-fat milk (this replaces the heavy cream without sacrificing creaminess)
- 1 teaspoon vanilla extract (use pure vanilla, not imitation—it makes a difference)
- 1/2 teaspoon ground cinnamon (plus extra for garnish)
- 1 whole nutmeg, for grating (fresh is non-negotiable here—it’s the star)
- Pinch of salt (to balance the sweetness)
- Optional: 1/4 cup bourbon, rum, or brandy for the adults (I prefer bourbon for its warm, oaky notes)
I recommend using fresh nutmeg from a whole nutmeg nut—the pre-ground stuff just doesn’t have the same aromatic punch. You can find whole nutmeg in the spice aisle or at specialty markets. For the milk, I’ve found that using a combination of whole and low-fat gives you that creamy mouthfeel without going overboard. If you want to make this dairy-free, swap in oat milk for both the whole and low-fat milk—it works surprisingly well!
Equipment Needed
You don’t need fancy gadgets for this lighter classic eggnog, which is part of its charm. Here’s what you’ll want to have on hand:
- Medium saucepan (for heating the milk mixture)
- Large mixing bowl (for whisking the egg yolks and sugar)
- Whisk (a balloon whisk works best for getting that smooth texture)
- Fine-mesh strainer (for straining out any cooked egg bits—trust me on this)
- Microplane or fine grater (for grating fresh nutmeg—a regular grater works too)
- Electric mixer or hand whisk (for beating the egg whites to soft peaks)
- Pitcher or glass jar (for storing the finished eggnog)
If you don’t have a microplane, a fine cheese grater works just fine for the nutmeg. I’ve used both, and honestly, the microplane is easier to clean. For the electric mixer, a simple hand mixer does the job—no need to drag out the stand mixer for this. I’ve made this recipe with just a whisk and some elbow grease, and it turned out beautifully, so don’t stress if you’re short on tools.
Preparation Method
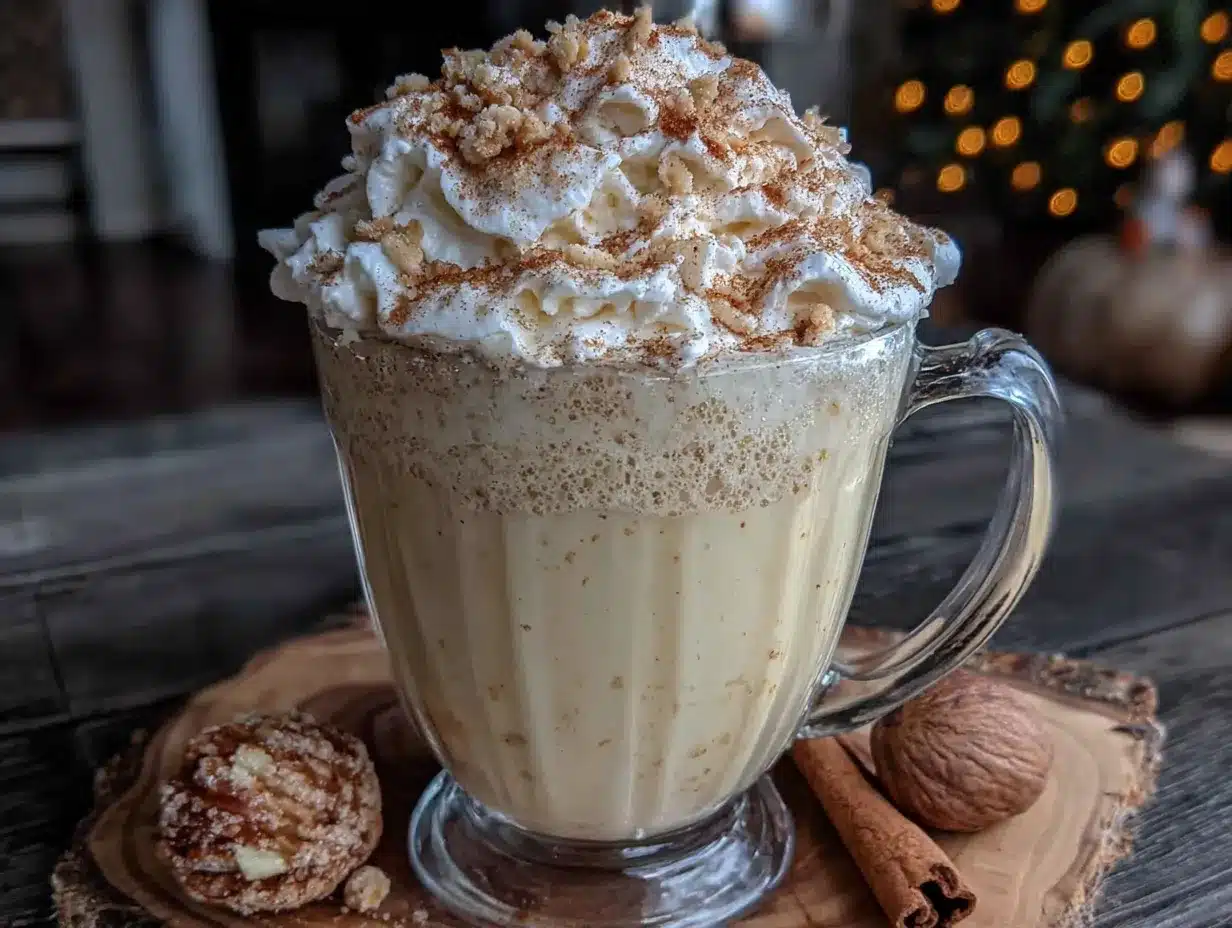
Making this lighter classic eggnog is easier than you think. Follow these steps, and you’ll have a creamy, aromatic drink that beats anything from a carton.
- Separate the eggs. Crack your eggs and separate the yolks from the whites into two different bowls. Be careful not to get any yolk into the whites—even a tiny bit can prevent them from whipping properly. Set the whites aside for later.
- Whisk the yolks and sugar. In a large mixing bowl, whisk the egg yolks with the granulated sugar until the mixture turns pale yellow and slightly thick. This takes about 2-3 minutes of vigorous whisking. You’re looking for a ribbon-like consistency where the mixture falls off the whisk in a smooth, continuous stream.
- Heat the milk mixture. In a medium saucepan, combine the whole milk and low-fat milk. Heat over medium heat, stirring occasionally, until the milk is warm but not boiling. You should see small bubbles forming around the edges—this is called “scalding.” Do not let it boil, or the milk will scorch and taste burnt.
- Temper the egg yolks. This is the trickiest part, but I promise you can do it. Slowly pour about half a cup of the warm milk into the egg yolk mixture while whisking constantly. This gradually raises the temperature of the eggs without cooking them. Then, pour the egg mixture back into the saucepan with the remaining milk, whisking continuously.
- Cook the mixture. Return the saucepan to medium-low heat. Cook, stirring constantly with a wooden spoon or heatproof spatula, until the mixture thickens enough to coat the back of the spoon. This usually takes about 5-7 minutes. Do not let it boil—you’ll end up with scrambled eggnog, and nobody wants that.
- Strain and cool. Pour the cooked mixture through a fine-mesh strainer into a clean bowl or pitcher. This catches any tiny bits of cooked egg that might have formed. Stir in the vanilla extract, ground cinnamon, and a generous grating of fresh nutmeg (about half a teaspoon). Let it cool to room temperature, then cover and refrigerate for at least 2 hours, or overnight.
- Whip the egg whites. Just before serving, take the reserved egg whites and add a pinch of salt. Using an electric mixer or a whisk, beat them until soft peaks form. This means when you lift the whisk, the peaks curl over slightly rather than standing straight up. Gently fold the whipped egg whites into the chilled eggnog mixture. This step adds lightness and a frothy texture without needing heavy cream.
- Serve and garnish. Pour the eggnog into glasses or mugs. If you’re adding alcohol, stir in bourbon, rum, or brandy to taste—about 1-2 tablespoons per serving. Top with a final grating of fresh nutmeg and a light dusting of cinnamon. Serve immediately.
One thing I learned the hard way: don’t skip the straining step. The first time I made this, I got lazy and ended up with a few eggy lumps floating in my nog. It still tasted great, but the texture was off. A quick strain fixes that completely.
Cooking Tips & Techniques
After making this lighter classic eggnog more times than I can count, I’ve picked up a few tricks that make the process smoother and the results more consistent.
Temperature control is everything. The biggest mistake people make is rushing the heating process. Keep the milk on medium-low heat and stir frequently. If you see steam rising, you’re on the right track. If you see bubbles breaking the surface, you’ve gone too far. I’ve definitely scorched a batch or two while distracted by holiday music, and the burnt flavor is impossible to hide.
Whisk like you mean it. When you’re tempering the eggs, don’t be timid. Pour the warm milk in a thin, steady stream while whisking constantly. If you dump it all in at once, you’ll end up with sweet scrambled eggs. I learned this lesson after a particularly disastrous first attempt that ended up in the trash.
Patience pays off with chilling. The eggnog needs at least 2 hours in the fridge to develop its full flavor. Overnight is even better. The flavors meld together, and the texture becomes silkier. I usually make mine the day before a party, and it’s always the star of the show.
Don’t over-whip the egg whites. Soft peaks are perfect—they fold in easily and create a light, airy texture. If you whip them to stiff peaks, they’ll be harder to incorporate, and you’ll lose that frothy quality. I’ve made this mistake when I got distracted by a phone call, and the resulting eggnog was denser than I wanted.
Grate nutmeg fresh every time. I cannot stress this enough. Pre-ground nutmeg loses its volatile oils quickly and tastes flat. A whole nutmeg nut keeps for months in a sealed jar, and grating it fresh takes seconds. The difference is night and day—fresh nutmeg has a warm, complex aroma that elevates the entire drink.
Variations & Adaptations
This lighter classic eggnog is wonderfully adaptable. Here are some variations I’ve tried and loved:
- Dairy-Free Version: Swap the whole and low-fat milk with oat milk or unsweetened almond milk. Oat milk gives the creamiest result. I tested this for a friend with lactose intolerance, and she couldn’t tell the difference.
- Vegan Option: Use a plant-based egg substitute like aquafaba (chickpea water) for the whites and a commercial egg replacer for the yolks. The texture is slightly different, but the flavor still shines through.
- Spiced Variation: Add a cinnamon stick and two whole cloves to the milk while heating. Remove them before straining. This gives the eggnog a deeper, more complex spice profile that’s perfect for chilly nights.
- Chocolate Eggnog: Whisk in 2 tablespoons of unsweetened cocoa powder with the egg yolks and sugar. It creates a rich, mocha-like version that’s dangerously good.
- Non-Alcoholic Punch: Skip the bourbon and add a splash of non-alcoholic vanilla extract and a dash of orange zest. It’s bright, festive, and kid-friendly.
My personal favorite variation is the spiced version with a cinnamon stick and cloves. I made it for a Christmas Eve gathering last year, and my aunt, who claims to hate eggnog, asked for the recipe. That’s when I knew I’d stumbled onto something special.
Serving & Storage Suggestions
This lighter classic eggnog is best served chilled, straight from the fridge. Pour it into small glasses or festive mugs—the frothy top and fresh nutmeg garnish make it look like something from a holiday magazine. I like to serve mine in clear glass mugs so you can see the beautiful pale golden color.
Storage: Keep the eggnog in a sealed pitcher or glass jar in the refrigerator. It will stay fresh for up to 3 days. The flavors actually deepen and become more harmonious after a day or two. Just give it a gentle stir before serving, as the egg whites may settle slightly.
Freezing: You can freeze this eggnog for up to 1 month. Pour it into an airtight container, leaving some room for expansion. Thaw in the refrigerator overnight, then whisk or shake vigorously before serving. The texture might be slightly less frothy, but the flavor remains wonderful.
Reheating: If you prefer warm eggnog, gently heat it in a saucepan over low heat, stirring constantly. Do not let it boil. Warm eggnog is especially cozy on a cold winter night, and the spices become even more aromatic.
Pairing suggestions: This eggnog pairs beautifully with gingerbread cookies, shortbread, or a slice of classic pumpkin pie. For a brunch spread, serve it alongside a simple cinnamon coffee cake—the combination is absolutely divine.
Nutritional Information & Benefits
This lighter classic eggnog is a more wholesome take on a holiday tradition. Here’s what you’re getting per serving (about 6 ounces, without alcohol):
- Calories: Approximately 180
- Protein: 8 grams
- Fat: 6 grams
- Carbohydrates: 22 grams
- Sugar: 18 grams
The eggs provide high-quality protein and essential vitamins like B12 and D. Milk contributes calcium for bone health, and the fresh nutmeg offers anti-inflammatory properties. By using low-fat milk and cutting the sugar, this version has about 40% fewer calories and half the fat of traditional eggnog recipes. It’s a treat you can feel good about enjoying during the holidays.
Dietary considerations: This recipe contains dairy and eggs. For a gluten-free option, it’s naturally gluten-free as written. If you’re watching your sugar intake, you can reduce the sugar to 1/4 cup without sacrificing too much sweetness.
Conclusion
This lighter classic eggnog with fresh nutmeg has become a staple in my holiday kitchen, and I think it deserves a spot in yours too. It’s creamy, aromatic, and festive without weighing you down. The best part? You can customize it to fit your preferences—spicier, sweeter, boozy, or completely kid-friendly. Mrs. Gable’s handwritten card is now tucked into my recipe box, stained with nutmeg oil and happy memories. Every time I grate that fresh nutmeg, I think of her standing on her porch, sharing something simple that turned into a tradition. I’d love to hear how your batch turns out. Did you add bourbon or keep it alcohol-free? Did you try the chocolate version? Drop a comment below and let me know—your adaptations might inspire someone else. Here’s to cozy nights, good company, and eggnog that actually tastes like it was made with love.
Frequently Asked Questions
Can I make this eggnog without raw eggs?
Yes! This recipe cooks the egg yolk mixture on the stovetop, so it’s not raw. The egg whites are folded in raw, but you can skip them and just use the cooked base for a completely cooked version. The texture will be slightly less frothy, but still delicious.
How long does homemade eggnog last in the fridge?
Homemade eggnog stays fresh for up to 3 days when stored in a sealed container in the refrigerator. The flavor actually improves after a day as the spices meld together. Just give it a good stir before serving.
Can I use pre-ground nutmeg instead of fresh?
You can, but I really don’t recommend it. Freshly grated nutmeg has a warm, complex aroma that pre-ground nutmeg just can’t match. Whole nutmeg nuts keep for months and cost about the same as a jar of pre-ground spice. The difference is night and day.
Is this eggnog safe for pregnant women?
Since this recipe uses cooked egg yolks, it’s safer than traditional raw eggnog. However, the egg whites are folded in raw. If you’re pregnant, you can skip the egg white step and use the cooked base only. You can also use pasteurized eggs for extra safety.
Can I make this eggnog dairy-free?
Absolutely! Swap the whole and low-fat milk with oat milk or unsweetened almond milk. Oat milk gives the creamiest texture. I’ve tested this version, and it’s just as satisfying as the original. Just be sure to use a dairy-free milk that doesn’t separate when heated.
Pin This Recipe!
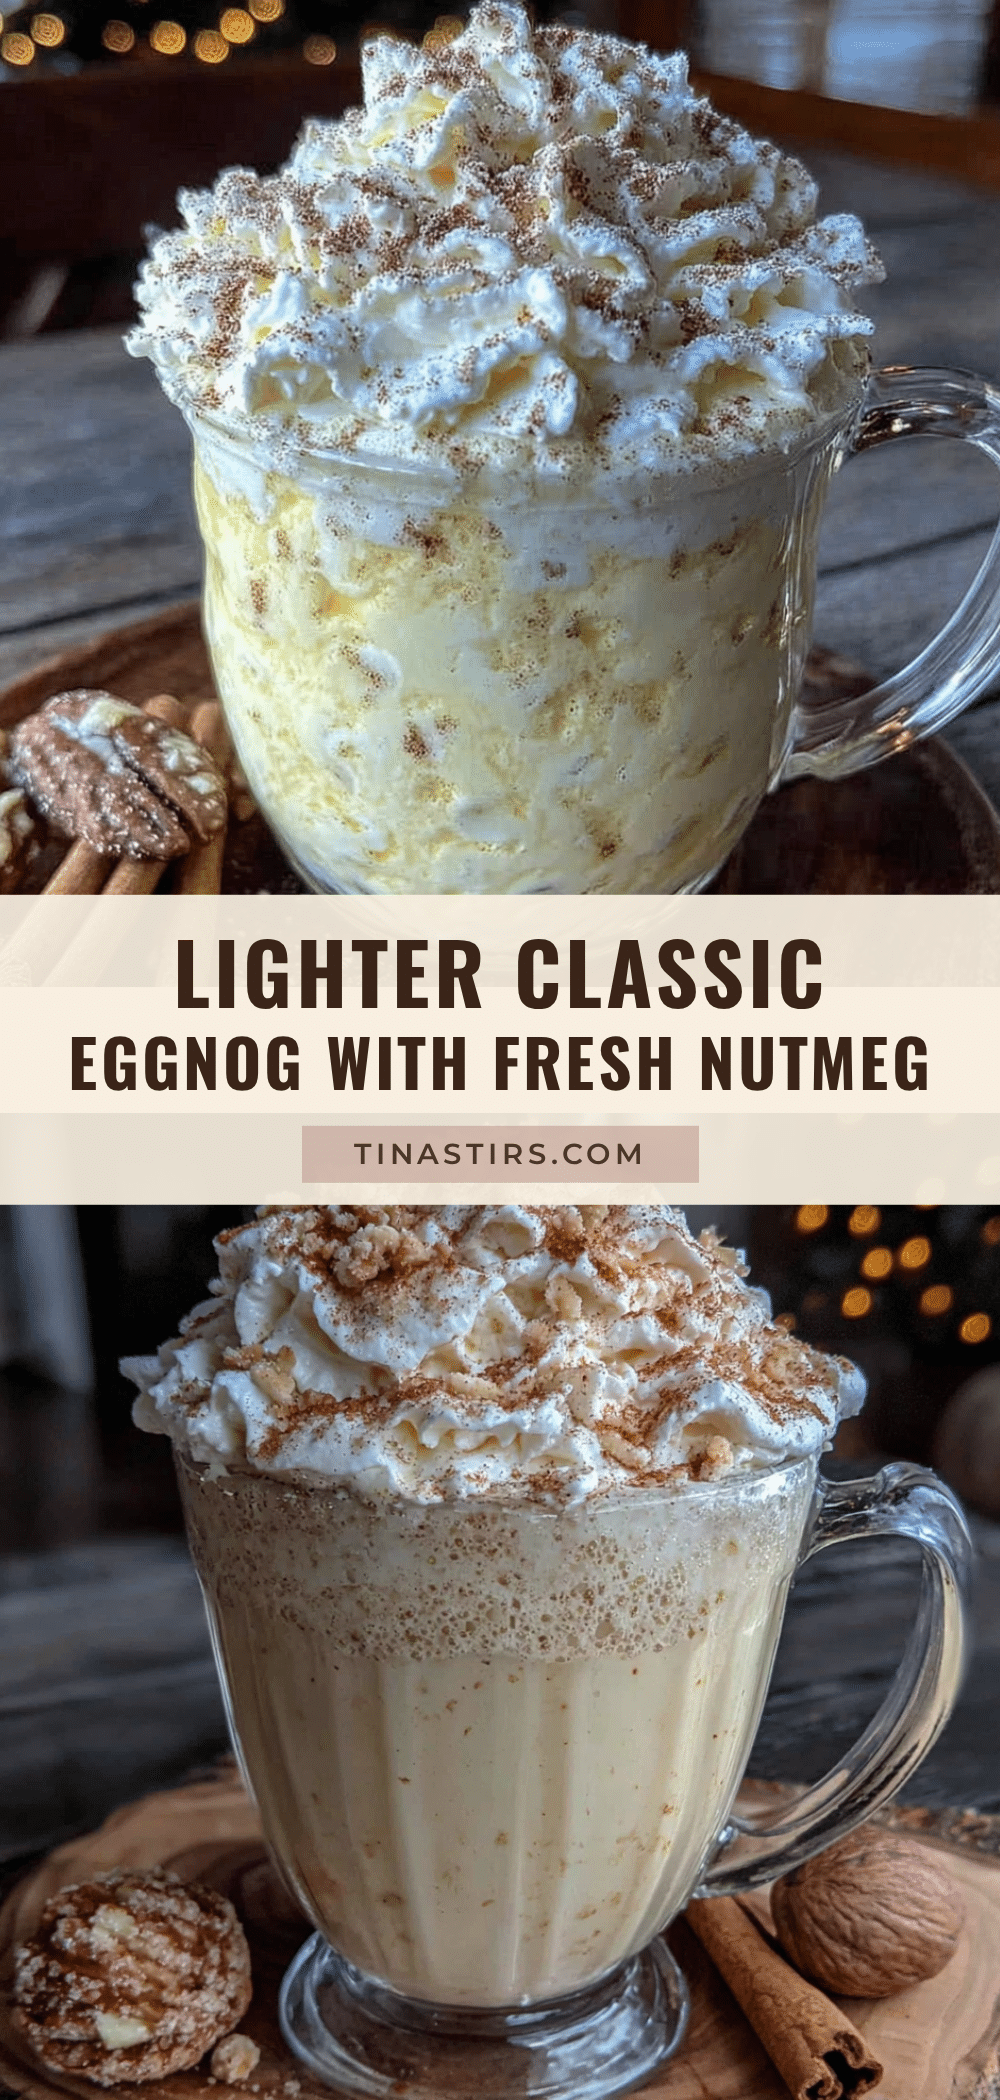
Lighter Classic Eggnog with Fresh Nutmeg
This lighter classic eggnog gives you all the cozy, festive flavor without the heavy, syrupy feeling that store-bought versions leave behind. It strikes that perfect balance between indulgence and feeling good about what you’re drinking.
- Prep Time: 20 minutes
- Cook Time: 10 minutes
- Total Time: 2 hours 30 minutes (includes chilling time)
- Yield: 4 servings 1x
- Category: Beverage
- Cuisine: American
Ingredients
- 4 large eggs, separated (room temperature)
- 1/3 cup granulated sugar (organic cane sugar recommended)
- 2 cups whole milk
- 1 cup low-fat milk
- 1 teaspoon vanilla extract (pure vanilla)
- 1/2 teaspoon ground cinnamon
- 1 whole nutmeg, for grating
- Pinch of salt
- Optional: 1/4 cup bourbon, rum, or brandy
Instructions
- Separate the eggs. Crack your eggs and separate the yolks from the whites into two different bowls. Be careful not to get any yolk into the whites. Set the whites aside for later.
- Whisk the yolks and sugar. In a large mixing bowl, whisk the egg yolks with the granulated sugar until the mixture turns pale yellow and slightly thick, about 2-3 minutes of vigorous whisking. Look for a ribbon-like consistency.
- Heat the milk mixture. In a medium saucepan, combine the whole milk and low-fat milk. Heat over medium heat, stirring occasionally, until the milk is warm but not boiling. Small bubbles should form around the edges (scalding). Do not let it boil.
- Temper the egg yolks. Slowly pour about half a cup of the warm milk into the egg yolk mixture while whisking constantly. Then, pour the egg mixture back into the saucepan with the remaining milk, whisking continuously.
- Cook the mixture. Return the saucepan to medium-low heat. Cook, stirring constantly with a wooden spoon or heatproof spatula, until the mixture thickens enough to coat the back of the spoon, about 5-7 minutes. Do not let it boil.
- Strain and cool. Pour the cooked mixture through a fine-mesh strainer into a clean bowl or pitcher. Stir in the vanilla extract, ground cinnamon, and a generous grating of fresh nutmeg (about half a teaspoon). Let it cool to room temperature, then cover and refrigerate for at least 2 hours, or overnight.
- Whip the egg whites. Just before serving, take the reserved egg whites and add a pinch of salt. Using an electric mixer or a whisk, beat them until soft peaks form. Gently fold the whipped egg whites into the chilled eggnog mixture.
- Serve and garnish. Pour the eggnog into glasses or mugs. If adding alcohol, stir in bourbon, rum, or brandy to taste (about 1-2 tablespoons per serving). Top with a final grating of fresh nutmeg and a light dusting of cinnamon. Serve immediately.
Notes
Don’t skip the straining step to remove any cooked egg bits. Temperature control is key—keep milk on medium-low heat and stir frequently. The eggnog needs at least 2 hours in the fridge to develop full flavor; overnight is even better. Grate nutmeg fresh every time for best flavor. For a dairy-free version, swap milk with oat milk. For a vegan option, use aquafaba and commercial egg replacer.
Nutrition
- Serving Size: 6 ounces
- Calories: 180
- Sugar: 18
- Sodium: 120
- Fat: 6
- Saturated Fat: 2
- Carbohydrates: 22
- Protein: 8
Keywords: eggnog, lighter eggnog, homemade eggnog, fresh nutmeg, holiday drink, Christmas eggnog, easy eggnog recipe