Love this? Save it for later!
Share the inspiration with your friends
Introduction
Last Fourth of July, I wasn’t exactly planning to bake anything fancy. I was just flipping through the channels, half-watching a cooking show while my cat knocked over yet another glass, when my quiet neighbor, Mrs. Langston, popped by unexpectedly. Now, Mrs. Langston is the kind of person you’d never peg as a baking wizard—she’s the local accountant who always seems buried in numbers and spreadsheets. But there she was, chatting away about a red velvet flag cake she made for her grandson’s school picnic. Honestly, I wasn’t expecting cooking advice from Mrs. Langston, yet there I was, scribbling down her exact steps on a napkin as she described how to get that perfect creamy frosting and those vibrant, buttery layers that somehow spell out the American flag.
It wasn’t just the cake’s look that caught me, but the story behind it—how she adapted a traditional red velvet recipe into this stunning patriotic dessert that’s as fun to make as it is to eat. You know that feeling when you bite into something and immediately want to share the recipe with everyone you know? Yeah, this cake gave me that. Maybe you’ve been there, struggling to find a crowd-pleaser that’s both impressive and doable. This red velvet flag cake is exactly that, and it’s stuck with me ever since. Even with the mess of flour on the counter and the cat’s latest escapade, it was worth every crumb.
Why You’ll Love This Recipe
I’ve made countless cakes, but this Perfect Red Velvet Flag Cake with Cream Cheese Frosting stands out for so many reasons. It’s not just about the stunning presentation; it’s about the experience and the flavor that keeps folks coming back for more. Here’s what makes this recipe a keeper:
- Quick & Easy: The whole cake comes together in under 90 minutes, perfect for busy days or last-minute celebrations.
- Simple Ingredients: No need for exotic staples—just pantry basics like cocoa powder, buttermilk, and cream cheese.
- Perfect for Patriotic Occasions: Whether it’s the Fourth of July, Memorial Day, or just a summer BBQ, this cake steals the show.
- Crowd-Pleaser: Kids and adults alike rave about that moist texture and tangy frosting combo.
- Unbelievably Delicious: The velvety crumb paired with smooth cream cheese frosting is comfort food with a festive twist.
This isn’t just another red velvet cake; the secret lies in the layering and the frosting technique that creates the flag design without stress. Plus, the cream cheese frosting is whipped just right to be fluffy but stable, so it holds those clean lines perfectly. Honestly, you’ll close your eyes after the first bite and feel like you nailed something special. It’s the kind of dessert that turns simple gatherings into memorable celebrations.
What Ingredients You Will Need
This recipe uses simple, wholesome ingredients to deliver bold flavor and satisfying texture without the fuss. Most are pantry staples, and substitutions are easy if you need them.
- For the Cake Batter:
- 2 ½ cups (315g) all-purpose flour
- 1 ½ cups (300g) granulated sugar
- 1 teaspoon baking soda
- 1 teaspoon fine salt
- 1 tablespoon unsweetened cocoa powder (I prefer Ghirardelli for richness)
- 1 ½ cups (360ml) buttermilk, room temperature (can substitute with milk + 1 tbsp vinegar)
- 1 ½ cups (360ml) vegetable oil
- 2 large eggs, room temperature
- 2 tablespoons red food coloring (gel works best for vibrant color)
- 1 teaspoon pure vanilla extract
- 1 teaspoon white vinegar
- For the Cream Cheese Frosting:
- 16 oz (450g) cream cheese, softened (Philadelphia brand is my go-to)
- ½ cup (115g) unsalted butter, softened
- 4 cups (480g) powdered sugar, sifted
- 1 teaspoon pure vanilla extract
- Pinch of salt (balances the sweetness)
- For Decoration:
- Fresh blueberries (for the blue section of the flag)
- Strawberries or raspberries, sliced (for the red stripes)
Feel free to swap all-purpose flour for a gluten-free blend if needed, or use coconut oil instead of vegetable oil for a subtle twist. The buttermilk is key for that tender crumb, but homemade versions work just fine in a pinch. Also, note the red food coloring—gel colors give the best vibrant red without thinning the batter.
Equipment Needed
- Two 9-inch (23 cm) round cake pans
- Mixing bowls (large and medium)
- Electric mixer or stand mixer (hand mixers work but take longer)
- Measuring cups and spoons (accurate measurement is crucial for cake success)
- Rubber spatula (great for scraping bowls clean)
- Cooling racks (to cool layers evenly)
- Offset spatula (for smooth frosting application)
- Piping bag and round tip (optional, for precise flag details)
If you don’t have an electric mixer, you can hand whisk, but expect a workout. I’ve tried silicone spatulas and metal ones; silicone is gentler on bowls and easier for folding. When it comes to cake pans, greasing and lining with parchment paper helps avoid sticking—don’t skip this step. For budget-friendly options, these tools can be found at most kitchen supply stores or online without breaking the bank.
Preparation Method
- Preheat and Prep: Preheat your oven to 350°F (175°C). Grease and lightly flour two 9-inch (23 cm) round cake pans, then line the bottoms with parchment paper circles. This prevents sticking and ensures clean edges. (About 10 minutes)
- Mix Dry Ingredients: In a large bowl, sift together 2 ½ cups (315g) all-purpose flour, 1 ½ cups (300g) sugar, 1 teaspoon baking soda, 1 teaspoon salt, and 1 tablespoon cocoa powder. Whisk to combine evenly. (5 minutes)
- Combine Wet Ingredients: In a separate bowl, whisk 1 ½ cups (360ml) buttermilk, 1 ½ cups (360ml) vegetable oil, 2 large eggs, 2 tablespoons red food coloring, 1 teaspoon vanilla extract, and 1 teaspoon white vinegar. Mix until smooth and uniform in color. (5 minutes)
- Blend Batter: Gradually add the wet ingredients into the dry mixture, stirring gently with a spatula or using a mixer on low speed. Mix just until combined—overmixing can make the cake dense. The batter should be smooth and vibrant red. (3-4 minutes)
- Divide and Bake: Pour the batter evenly into the two prepared pans. Smooth the tops with a spatula. Bake for 30–35 minutes or until a toothpick inserted into the center comes out clean. Rotate pans halfway through baking for even cooking. (30-35 minutes)
- Cool Layers: Remove cakes from oven and let them cool in pans for 10 minutes. Then, run a knife around edges, invert onto cooling racks, and peel off parchment paper. Allow cakes to cool completely before frosting. (At least 1 hour)
- Prepare Frosting: In a mixing bowl, beat 16 oz (450g) softened cream cheese and ½ cup (115g) softened unsalted butter together until creamy and smooth. Gradually add 4 cups (480g) powdered sugar, one cup at a time, beating well after each addition. Stir in 1 teaspoon vanilla extract and a pinch of salt. The frosting should be fluffy but firm enough to hold shape. (10-15 minutes)
- Assemble the Flag Cake: Place one cake layer on your serving plate. Spread a generous layer of cream cheese frosting evenly on top. Add the second layer and apply a thin crumb coat over the entire cake. Chill for 20 minutes to set.
- Decorate: Use the remaining frosting to create the flag design. Frost a rectangular area in the top-left corner for the “blue field.” Place fresh blueberries there. Use the sliced strawberries or raspberries to create the red stripes alternating with stripes of frosting. An offset spatula or piping bag helps with clean lines. (20-30 minutes)
- Final Chill: Refrigerate the cake for at least 30 minutes before serving to let the frosting firm up and flavors meld. Bring to room temperature 15 minutes before cutting. (45 minutes total)
Cooking Tips & Techniques
One of the trickiest parts of this red velvet flag cake is getting the layers perfect and those crisp frosting lines just right. I learned a few lessons the hard way—like how important it is to sift the dry ingredients to avoid lumps and how overmixing the batter can kill the fluffiness. Patience is key when cooling the cake layers; rushing this step leads to frosting melting and a messy design.
When mixing the cream cheese frosting, make sure both the cream cheese and butter are at room temperature to avoid lumps. Whip the frosting long enough to get a light texture but don’t overbeat, or it can become too soft and runny. I find chilling the cake between frosting layers helps keep everything tidy, especially when working on the flag details.
Also, a quick tip for the flag’s fruit placement: rinse blueberries and strawberries well, then pat completely dry. Moisture here can ruin the frosting’s grip. If you’re short on time, you can skip the crumb coat, but the cake will be messier. Lastly, keep the cake refrigerated until serving to maintain the frosting’s structure, but don’t forget to let it warm up slightly—it makes cutting easier and tasting better.
Variations & Adaptations
This red velvet flag cake is super adaptable, so feel free to put your own spin on it. Here are a few ideas I’ve tried or thought about:
- Dietary: Use almond flour or a gluten-free flour blend for a gluten-free version. Swap cream cheese with a dairy-free alternative to make it vegan-friendly, but remember to check frosting consistency.
- Seasonal: Instead of blueberries and strawberries, try blackberries and cherries for a different berry twist that still looks festive.
- Flavor: Add a teaspoon of espresso powder to the batter to deepen the chocolate notes subtly, or a hint of cinnamon for warmth.
- Cooking Method: If you prefer cupcakes, this batter works perfectly for 12 standard cupcakes—just reduce baking time to about 20 minutes.
- Personal Variation: Once, I experimented with a white chocolate cream cheese frosting instead of the classic, and it gave a sweeter, silkier finish that paired nicely with the tangy cake.
Serving & Storage Suggestions
This cake is best served at room temperature to let the cream cheese frosting soften slightly and release its full flavor. I like to present it on a simple white platter so the red, white, and blue really pop. It pairs wonderfully with a cup of black coffee or iced tea for summer gatherings.
Store leftover cake covered in the refrigerator for up to 4 days. To keep the frosting from drying out, wrap the cake loosely with plastic wrap or use a cake dome. For longer storage, you can freeze individual slices wrapped tightly in plastic and foil for up to 2 months; thaw overnight in the fridge before enjoying.
Reheating isn’t really necessary, but if you want to warm a slice, a few seconds in the microwave (10-15 seconds) helps soften the cream cheese frosting without melting it. Over time, the flavors meld beautifully, making this cake even more delicious the next day.
Nutritional Information & Benefits
Each slice of this Perfect Red Velvet Flag Cake with Cream Cheese Frosting contains approximately 380 calories, 18g fat, 48g carbohydrates, and 4g protein. The cream cheese adds a nice dose of calcium and vitamin A, while the buttermilk contributes probiotics and tenderness to the crumb.
This recipe is naturally free from nuts, but contains dairy and gluten. For those watching sugar intake, you can reduce the powdered sugar in the frosting slightly or try a sugar substitute, though it might alter texture. I appreciate this cake as an occasional treat that brings joy and a splash of color to celebrations without being overly complicated.
Conclusion
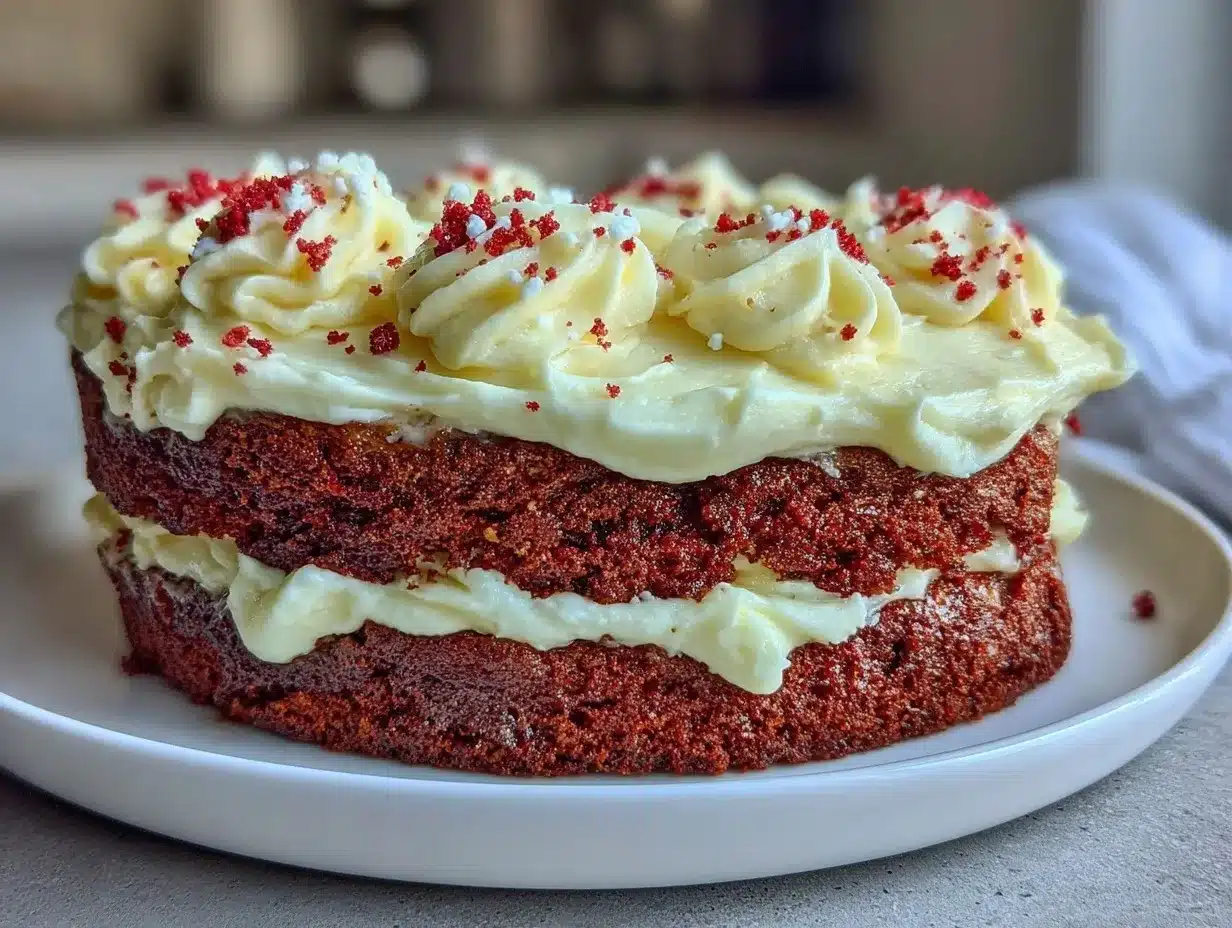
The Perfect Red Velvet Flag Cake with Cream Cheese Frosting is one of those recipes that’s both show-stopping and surprisingly easy to pull together. It’s got that classic red velvet charm with a patriotic twist that makes it ideal for holidays or any festive occasion. I love how the layers come together to create a dessert that’s as beautiful as it is delicious, and you can absolutely customize it to suit your tastes or dietary needs.
If you try this recipe, I’d love to hear how it turns out—especially if you add your own flair! Baking is all about making recipes your own, after all. So grab your mixing bowls, invite a friend (or a surprising neighbor), and get ready to impress with this fun and flavorful cake. Share your thoughts, photos, and any tweaks you make; I’m always here to chat all things baking!
Frequently Asked Questions
Can I make this red velvet flag cake ahead of time?
Yes! You can bake the cake layers up to two days ahead and store them wrapped in plastic wrap at room temperature. Assemble and frost the day you plan to serve for the best freshness.
What if I don’t have buttermilk?
Simply mix 1 ½ cups (360ml) milk with 1 tablespoon vinegar or lemon juice, let it sit for 5 minutes, then use as a buttermilk substitute in the recipe.
How do I prevent the cream cheese frosting from becoming too runny?
Make sure the cream cheese and butter are softened but not melted, and don’t overbeat the frosting. Chilling the frosting slightly before decorating can also help.
Can I use fresh fruit other than blueberries and strawberries for the flag decoration?
Absolutely! Blackberries, raspberries, or cherries can work well for the red and blue sections, depending on your preference or seasonality.
Is it possible to make this cake dairy-free?
Yes, by substituting cream cheese and butter with dairy-free alternatives and using a plant-based milk for buttermilk, you can create a dairy-free version. Just watch the frosting consistency as it may vary.
For an extra special treat with a similar rich frosting, you might enjoy the caramel pecan cake or if you’re looking for more patriotic desserts, the patriotic berry parfait is a colorful, no-bake delight.
Pin This Recipe!
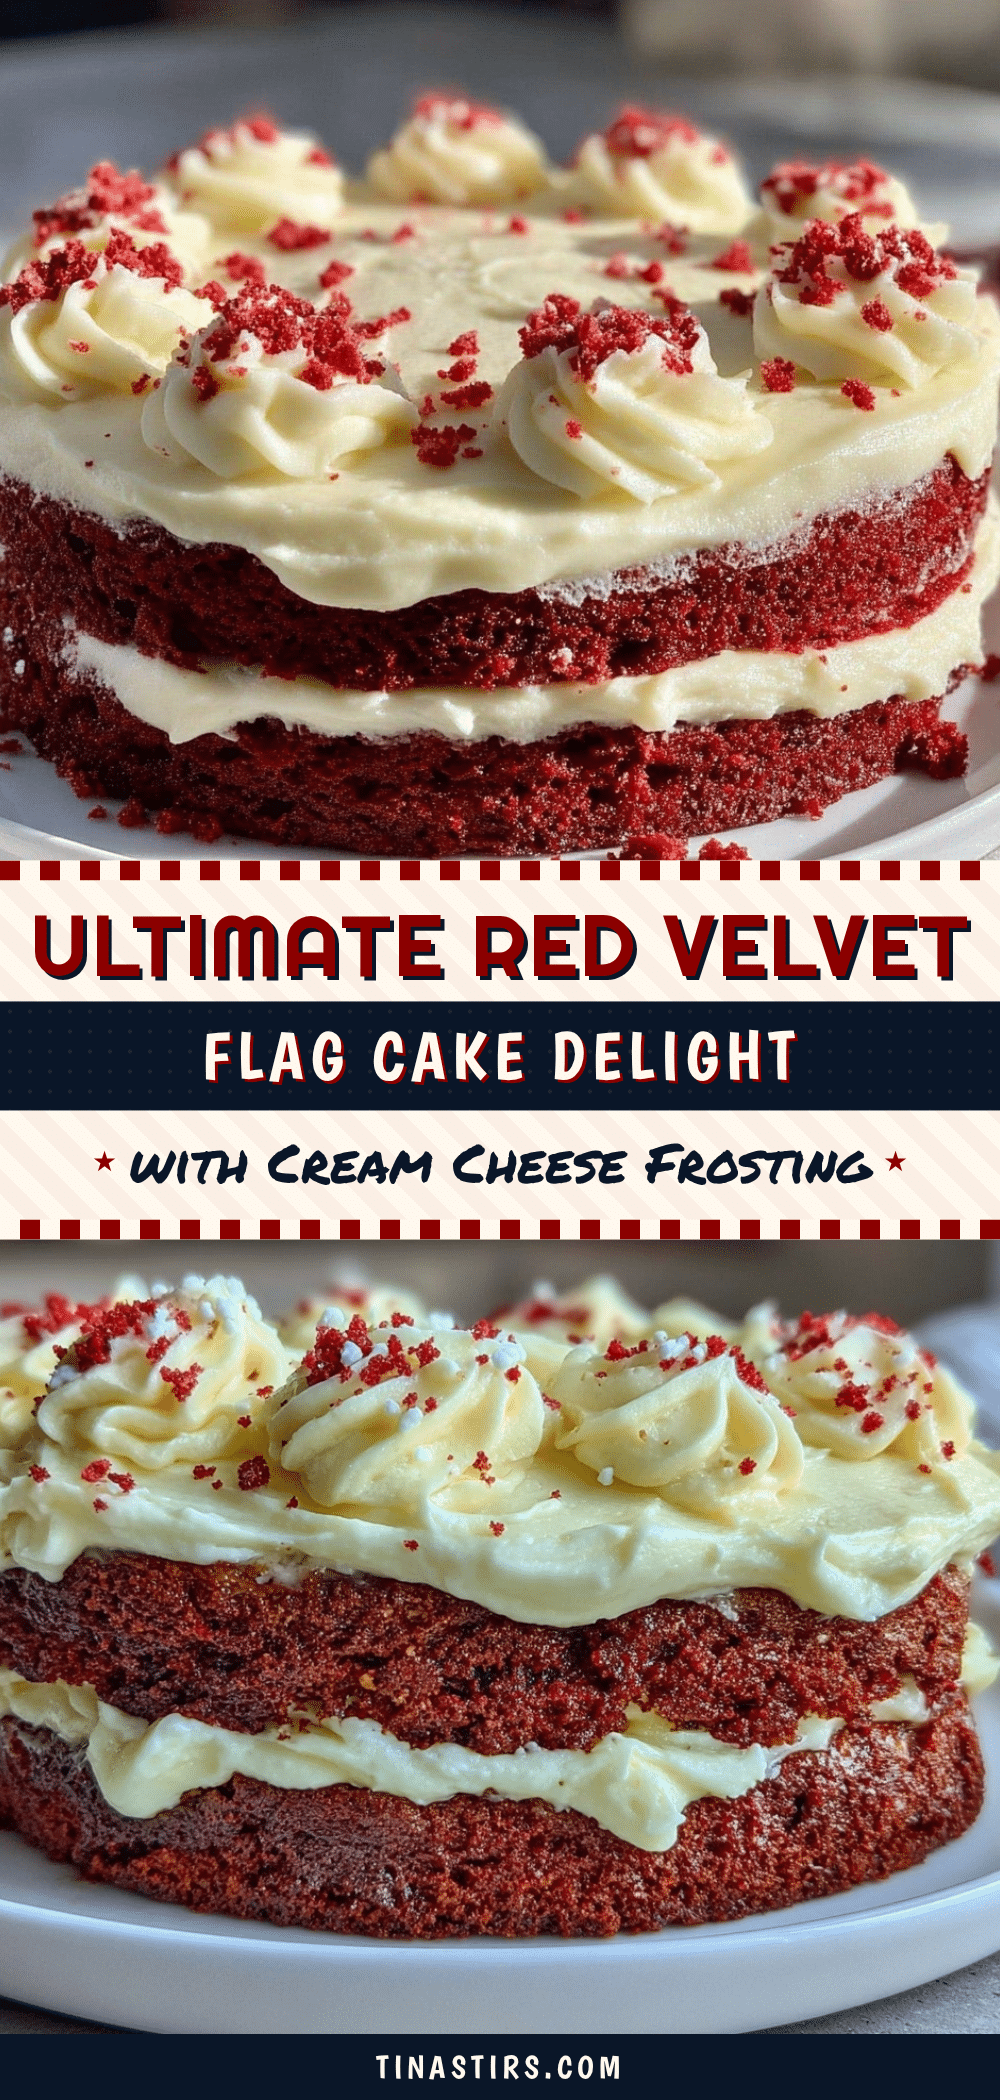
Perfect Red Velvet Flag Cake Recipe Easy Step-by-Step with Cream Cheese Frosting

A stunning and patriotic red velvet flag cake with moist layers and fluffy cream cheese frosting, perfect for Fourth of July and other celebrations.
- Prep Time: 20 minutes
- Cook Time: 30-35 minutes
- Total Time: 85-90 minutes
- Yield: 12 servings 1x
- Category: Dessert
- Cuisine: American
Ingredients
- 2 ½ cups (315g) all-purpose flour
- 1 ½ cups (300g) granulated sugar
- 1 teaspoon baking soda
- 1 teaspoon fine salt
- 1 tablespoon unsweetened cocoa powder
- 1 ½ cups (360ml) buttermilk, room temperature (or milk + 1 tbsp vinegar)
- 1 ½ cups (360ml) vegetable oil
- 2 large eggs, room temperature
- 2 tablespoons red food coloring (gel preferred)
- 1 teaspoon pure vanilla extract
- 1 teaspoon white vinegar
- 16 oz (450g) cream cheese, softened
- ½ cup (115g) unsalted butter, softened
- 4 cups (480g) powdered sugar, sifted
- 1 teaspoon pure vanilla extract (for frosting)
- Pinch of salt (for frosting)
- Fresh blueberries (for blue section of the flag)
- Strawberries or raspberries, sliced (for red stripes)
Instructions
- Preheat oven to 350°F (175°C). Grease and lightly flour two 9-inch round cake pans and line bottoms with parchment paper.
- In a large bowl, sift together flour, sugar, baking soda, salt, and cocoa powder. Whisk to combine.
- In a separate bowl, whisk buttermilk, vegetable oil, eggs, red food coloring, vanilla extract, and white vinegar until smooth.
- Gradually add wet ingredients to dry ingredients, mixing gently until just combined. Batter should be smooth and vibrant red.
- Divide batter evenly between prepared pans and smooth tops. Bake for 30–35 minutes or until a toothpick inserted comes out clean. Rotate pans halfway through baking.
- Cool cakes in pans for 10 minutes, then invert onto cooling racks and remove parchment. Cool completely before frosting.
- Beat cream cheese and butter until smooth and creamy. Gradually add powdered sugar, beating well after each addition. Stir in vanilla and salt. Frosting should be fluffy but firm.
- Place one cake layer on serving plate. Spread a generous layer of frosting on top. Add second layer and apply a thin crumb coat over entire cake. Chill for 20 minutes.
- Decorate cake with remaining frosting: frost a rectangular area in top-left corner for blue field and place blueberries. Use sliced strawberries or raspberries to create red stripes alternating with frosting stripes.
- Refrigerate cake for at least 30 minutes before serving. Bring to room temperature 15 minutes before cutting.
Notes
Sift dry ingredients to avoid lumps. Avoid overmixing batter to keep cake fluffy. Use room temperature cream cheese and butter for smooth frosting. Chill cake between frosting layers for clean lines. Rinse and dry berries thoroughly before decorating. Store cake refrigerated and bring to room temperature before serving.
Nutrition
- Serving Size: 1 slice (1/12 of cak
- Calories: 380
- Sugar: 35
- Sodium: 320
- Fat: 18
- Saturated Fat: 7
- Carbohydrates: 48
- Fiber: 1
- Protein: 4
Keywords: red velvet cake, flag cake, cream cheese frosting, patriotic dessert, Fourth of July cake, easy red velvet, berry decoration