Love this? Save it for later!
Share the inspiration with your friends
My brother asked why I couldn’t just skip the beans and use more meat. I started to explain why that wouldn’t work — then stopped. Honestly, I had no good reason. I’d been making chili the same way for years, following some unspoken rule that real Texas chili had to be complicated and take all afternoon. But standing there in my tiny kitchen on a Tuesday night, with a hungry family waiting and a fridge that was mostly empty, I decided to try it his way. No beans. Extra beef. And a timer set for thirty minutes.
The power went out halfway through cooking — just for a second, but long enough that I had to relight the burner and wonder if I’d ruined everything. I stirred the pot, tasted it, and let me tell you, I was shocked. That first bite had this deep, smoky richness that I usually only get after hours of simmering. My brother just shrugged and said, “Told you.” And he was right.
This quick no-bean Texas chili has become my go-to for those nights when I need dinner on the table fast but still want something that tastes like it took all day. Maybe you’ve been there — staring at the clock, wondering how to make something hearty without spending your whole evening in the kitchen. This recipe is the answer. It’s proof that sometimes the best cooking lessons come from being wrong.
Why You’ll Love This Recipe
This isn’t just another chili recipe — it’s the one that saves your weeknights. I’ve tested this more times than I can count, tweaking the spice blend and cooking time until it was just right. Here’s why it works so well for busy cooks:
- Quick & Easy : Comes together in under 30 minutes, perfect for busy weeknights when you’re short on time and energy.
- Simple Ingredients : No fancy grocery trips needed; you likely already have everything in your kitchen right now.
- Perfect for Weeknights : Great for those nights when everyone is hungry and you need something satisfying fast.
- Crowd-Pleaser : Always gets rave reviews from kids and adults alike — even my picky eaters ask for seconds.
- Unbelievably Delicious : The texture and flavor combo is next-level comfort food, with a rich, meaty depth that tastes like it simmered for hours.
What makes this recipe different is the technique. By browning the meat in batches and letting it develop a good crust, you get that deep, caramelized flavor without the long simmer. It’s a trick I learned from a chef friend who makes chili for competitions, and it works every single time. This recipe isn’t just good — it is the kind that makes you close your eyes after the first bite. It’s comfort food reimagined — faster, but with the same soul-soothing satisfaction.
What Ingredients You Will Need
This recipe uses simple, wholesome ingredients to deliver bold flavor and satisfying texture without the fuss. Most of these are pantry staples, which makes this perfect for last-minute cooking.
- 2 pounds ground beef (80/20 blend works best for flavor; drain excess fat if needed)
- 1 large yellow onion, diced (about 1 ½ cups)
- 4 cloves garlic, minced (or 1 teaspoon garlic powder in a pinch)
- 2 tablespoons chili powder (I prefer Gebhardt for authentic Texas flavor)
- 1 tablespoon ground cumin
- 1 teaspoon smoked paprika (adds that campfire depth)
- 1 teaspoon dried oregano
- ½ teaspoon cayenne pepper (adjust to your heat preference)
- 1 can (14.5 ounces) diced tomatoes, undrained
- 1 can (8 ounces) tomato sauce
- 1 cup beef broth (low-sodium preferred, to control salt)
- 1 tablespoon Worcestershire sauce
- Salt and black pepper to taste
- 2 tablespoons vegetable oil (for browning)
A few notes on ingredients. For the ground beef, I recommend 80/20 because the fat adds flavor and keeps the meat tender during the quick cooking time. If you use leaner meat, you might need to add a tablespoon of butter or oil for moisture. The chili powder is key here — different brands have different heat levels, so start with two tablespoons and adjust from there. I’ve tried several brands, and Gebhardt has that classic Texas chili flavor that’s hard to beat. For a milder version, use ancho chili powder instead.
If you’re out of fresh garlic, don’t worry — garlic powder works fine. Just use half a teaspoon and add it with the other spices. Same goes for the onion; you can use a tablespoon of onion powder if you’re in a real pinch, though fresh onion adds a sweetness that balances the heat nicely.
Equipment Needed
You don’t need fancy equipment for this recipe, which is part of what makes it so weeknight-friendly. Here’s what you’ll need:
- Large Dutch oven or heavy-bottomed pot (5-6 quart capacity) — This holds heat evenly and prevents scorching. My favorite is a Lodge enameled cast iron, but any heavy pot works.
- Wooden spoon or spatula for stirring and breaking up the meat
- Sharp knife and cutting board for prepping the onion and garlic
- Measuring spoons for the spices
- Can opener (unless you buy the pull-tab cans)
- Ladle for serving
If you don’t have a Dutch oven, a large stainless steel pot works fine — just keep an eye on the heat and stir more frequently to prevent sticking. I’ve even made this in a nonstick skillet in a pinch, though you lose some of the browning depth. For a budget-friendly option, a cast iron skillet works beautifully, though you’ll need to work in smaller batches to get good browning.
Preparation Method
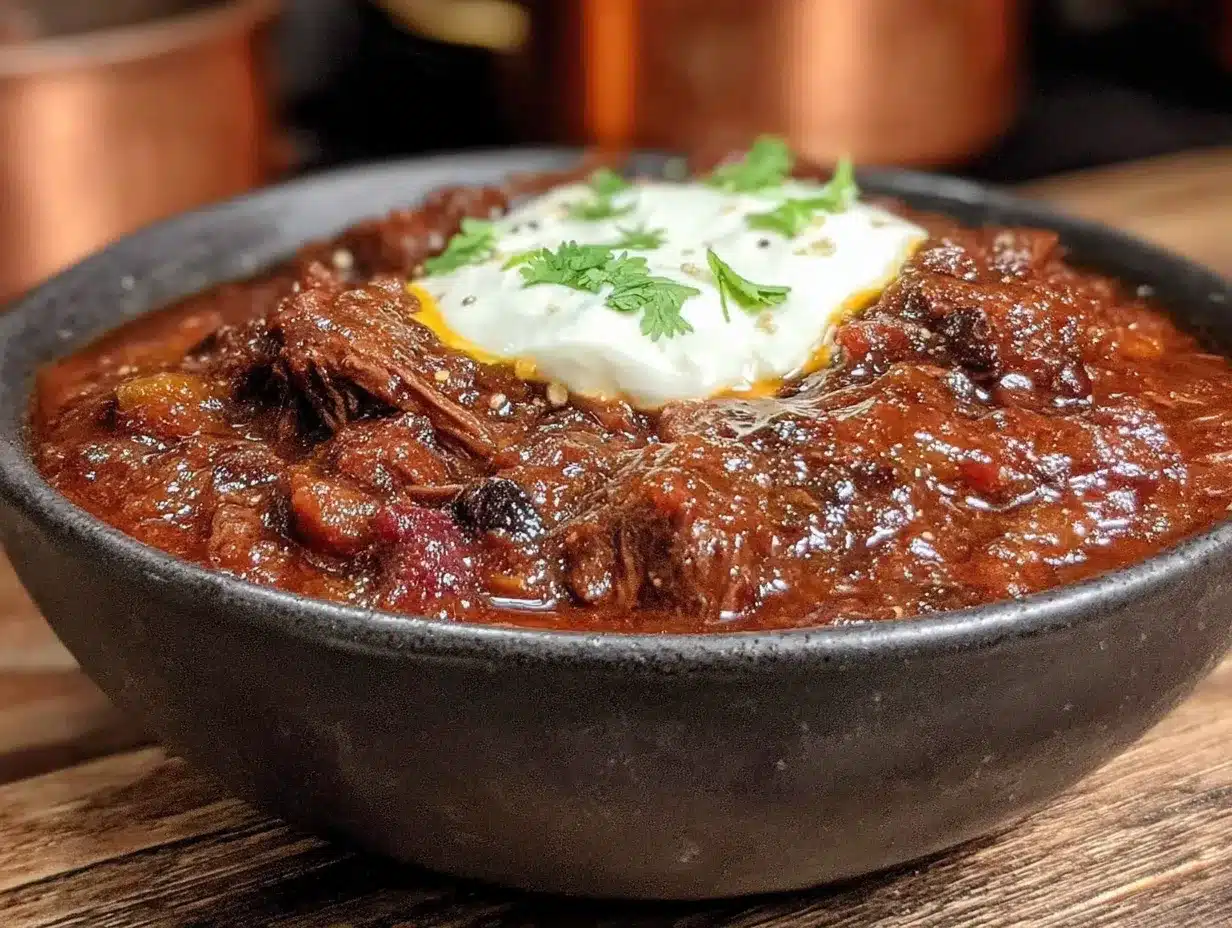
- Prep your ingredients first. Dice the onion, mince the garlic, and measure out all your spices into a small bowl. This makes the cooking process smooth and prevents burning anything while you’re scrambling for the next ingredient. Trust me, I’ve learned this the hard way.
- Heat your pot over medium-high heat. Add the vegetable oil and let it shimmer — about 30 seconds. You want it hot enough that a drop of water sizzles on contact.
- Brown the beef in two batches. Add half the ground beef to the pot and let it cook undisturbed for 3-4 minutes. This is crucial — if you stir too soon, you won’t get that nice brown crust that adds so much flavor. Break it up with your spoon after it’s browned, then transfer to a plate. Repeat with the remaining beef. Don’t skip this step, even though it takes a few extra minutes. It makes all the difference.
- Cook the aromatics. Reduce heat to medium and add the diced onion to the pot. Cook for 3-4 minutes until softened and translucent, scraping up any browned bits from the bottom of the pot. Add the minced garlic and cook for 30 seconds until fragrant — don’t let it burn or it’ll turn bitter.
- Add the spices. Sprinkle the chili powder, cumin, smoked paprika, oregano, and cayenne over the onions. Stir constantly for about 1 minute until the spices are fragrant and toasted. This blooming step wakes up the flavors and gives the chili that deep, complex taste.
- Return the beef to the pot. Add both batches of browned beef back in, along with any accumulated juices.
- Add the liquids. Pour in the diced tomatoes (undrained), tomato sauce, beef broth, and Worcestershire sauce. Stir everything together, scraping the bottom of the pot to incorporate all those flavorful browned bits.
- Bring to a simmer. Increase the heat to high and bring the chili to a gentle boil, then reduce the heat to low. Let it simmer uncovered for 15-20 minutes, stirring occasionally. The chili should be bubbling gently — too vigorous and it might scorch.
- Taste and adjust. After 15 minutes, taste the chili and add salt and pepper as needed. The amount will depend on your beef broth and tomatoes, so start with ½ teaspoon salt and go from there. If it’s too thick, add a splash more broth. If it’s too thin, let it simmer a few more minutes to reduce.
- Rest before serving. Remove the pot from heat and let it sit for 5 minutes. This allows the flavors to meld and the chili to thicken slightly. Serve hot with your favorite toppings.
One thing I always forget — taste the chili before adding salt. The canned tomatoes and broth already have salt, so you might not need much. I once oversalted a whole batch because I wasn’t paying attention, and it was a sad dinner indeed.
Cooking Tips & Techniques
Over the years, I’ve made plenty of mistakes with chili — some of them more than once. Here are the lessons I’ve learned so you don’t have to repeat them.
Don’t crowd the pan. This is the number one mistake I see home cooks make. If you add all the meat at once, it steams instead of browning. You end up with gray, sad meat and none of that deep flavor. Take the extra few minutes to brown in batches — your taste buds will thank you.
Toast your spices. This is a game-changer that takes about 60 seconds. When you add the spices to the hot oil and onions, they release their essential oils and become much more aromatic. I used to skip this step because I was in a hurry, but now I never do. It’s the difference between good chili and great chili.
Use the right meat. I know lean ground beef seems healthier, but for a quick chili that needs to develop flavor fast, you want that fat. The 80/20 blend gives you enough fat for browning and flavor without being greasy. If you use leaner meat, add a tablespoon of oil or butter to compensate.
Let it rest. I know you’re hungry, but letting the chili sit for 5 minutes off the heat makes a real difference. The flavors meld together, the texture thickens slightly, and it’s just better. Use that time to set the table or grate some cheese for topping.
Make it ahead. This chili actually tastes even better the next day. The flavors continue to develop overnight in the fridge. So if you have time, make it a day ahead and reheat it for dinner. It’s a lifesaver for busy weeks.
Variations & Adaptations
This recipe is flexible, so feel free to make it your own. Here are some variations I’ve tried and loved:
Spicy Version : Add one diced jalapeño with the onions, and increase the cayenne to 1 teaspoon. For extra heat, stir in a tablespoon of chipotle in adobo sauce at the end. My brother loves this version, though it’s a bit much for me.
Mild Version for Kids : Skip the cayenne entirely and use ancho chili powder instead of regular chili powder. The ancho is milder and slightly sweet, which kids tend to prefer. My niece asks for this version every time she visits.
Beef and Pork Blend : Use 1 pound ground beef and 1 pound ground pork for a richer flavor. The pork adds a subtle sweetness that balances the spices beautifully. I tried this after a trip to Texas where a barbecue joint served a similar blend.
Smoky Version : Add 2-3 slices of cooked, crumbled bacon along with the beef. Use an extra teaspoon of smoked paprika and consider adding a dash of liquid smoke. This version tastes like it cooked over a campfire all day.
Turkey Chili : Substitute ground turkey for the beef and use 93/7 lean turkey. Add an extra tablespoon of oil since turkey is leaner. This version is lighter but still satisfying, and it’s what I make when I’m trying to eat a bit healthier.
Slow Cooker Adaptation : Brown the beef and cook the aromatics on the stovetop as directed, then transfer everything to a slow cooker. Cook on low for 4-6 hours or high for 2-3 hours. This is great for days when you want to prep in the morning and come home to dinner ready.
Serving & Storage Suggestions
This chili is wonderful on its own, but toppings make it even better. Here’s how I like to serve it:
Serving Temperature : Serve hot, straight from the pot. Ladle into bowls and let everyone add their own toppings. I recommend setting out a little bar of options so everyone can customize.
Topping Ideas : Shredded cheddar cheese, diced white onion, sliced jalapeños, sour cream, fresh cilantro, and crushed tortilla chips. For a true Texas experience, serve with cornbread or saltine crackers on the side.
Storage : Store leftover chili in an airtight container in the refrigerator for up to 5 days. The flavors actually get better over time, so don’t be afraid to make a double batch. I often make this on Sunday and eat it for lunches all week.
Freezing : This chili freezes beautifully. Let it cool completely, then transfer to freezer-safe containers or zip-top bags. It will keep for up to 3 months. Thaw overnight in the refrigerator before reheating.
Reheating : Reheat on the stovetop over medium-low heat, stirring occasionally. Add a splash of beef broth or water if it’s too thick. You can also microwave individual portions in 30-second bursts, stirring between each. The chili tastes almost as good reheated as it does fresh.
Make-Ahead Tip : This chili is perfect for meal prep. Make a double batch on the weekend, portion it out, and you’ve got dinner ready for the week. It’s one of those recipes that just keeps giving.
Nutritional Information & Benefits
Here’s an approximate nutritional breakdown per serving (based on 6 servings, without toppings):
- Calories : 380
- Protein : 32g
- Fat : 24g
- Carbohydrates : 12g
- Fiber : 3g
- Sugar : 6g
- Sodium : 680mg
This chili is naturally high in protein thanks to the beef, which helps keep you full and satisfied. The tomatoes provide lycopene, an antioxidant that supports heart health, while the onions and garlic offer anti-inflammatory benefits. The spices — especially cumin and chili powder — are known for their digestive benefits and metabolism-boosting properties.
For those watching their carb intake, this recipe is naturally low-carb and gluten-free. Just skip the crackers and cornbread, and you’ve got a keto-friendly meal. If you’re dairy-free, use avocado or dairy-free sour cream as a topping. The chili itself contains no dairy, so it’s easy to adapt.
As always, these values are estimates and can vary based on specific brands and ingredient choices. I recommend checking labels if you have specific dietary concerns.
Conclusion
This quick no-bean Texas chili has become a staple in my kitchen for a reason. It’s fast, it’s flavorful, and it proves that you don’t need hours of simmering to get that deep, satisfying chili taste. Whether you’re feeding a hungry family on a Tuesday night or meal-prepping for the week ahead, this recipe delivers every single time.
I love that this recipe came from being wrong — from letting someone else’s idea change the way I cook. It reminds me that the best recipes often come from unexpected places. So go ahead, make this your own. Add extra spice, swap in different meat, pile on your favorite toppings. That’s the beauty of chili — it’s forgiving, flexible, and always delicious.
I’d love to hear how yours turns out! Drop a comment below and let me know what variations you tried. And if you loved it, share it with a friend who needs a quick weeknight dinner win. Happy cooking!
Frequently Asked Questions
Can I use a different type of meat?
Absolutely! Ground pork, turkey, or even ground bison work well in this recipe. Just adjust the fat content accordingly — leaner meats may need a bit of extra oil for moisture.
How do I make this chili thicker?
Let it simmer uncovered for an additional 5-10 minutes to reduce the liquid. You can also mash some of the meat against the side of the pot to release starches that naturally thicken the chili.
Can I add beans to this recipe?
Of course! While this is a no-bean Texas-style chili, you can absolutely add a can of drained and rinsed kidney beans or pinto beans if you prefer. Just stir them in during the last 5 minutes of simmering.
Is this chili spicy?
It has a mild to medium heat level as written. The cayenne adds warmth without being overwhelming. For a milder version, skip the cayenne and use ancho chili powder. For more heat, add extra cayenne or a diced jalapeño.
Can I make this in an Instant Pot?
Yes! Use the sauté function to brown the meat and cook the aromatics, then add the remaining ingredients. Pressure cook on high for 10 minutes, then do a natural release for 10 minutes before quick releasing the remaining pressure.
Pin This Recipe!
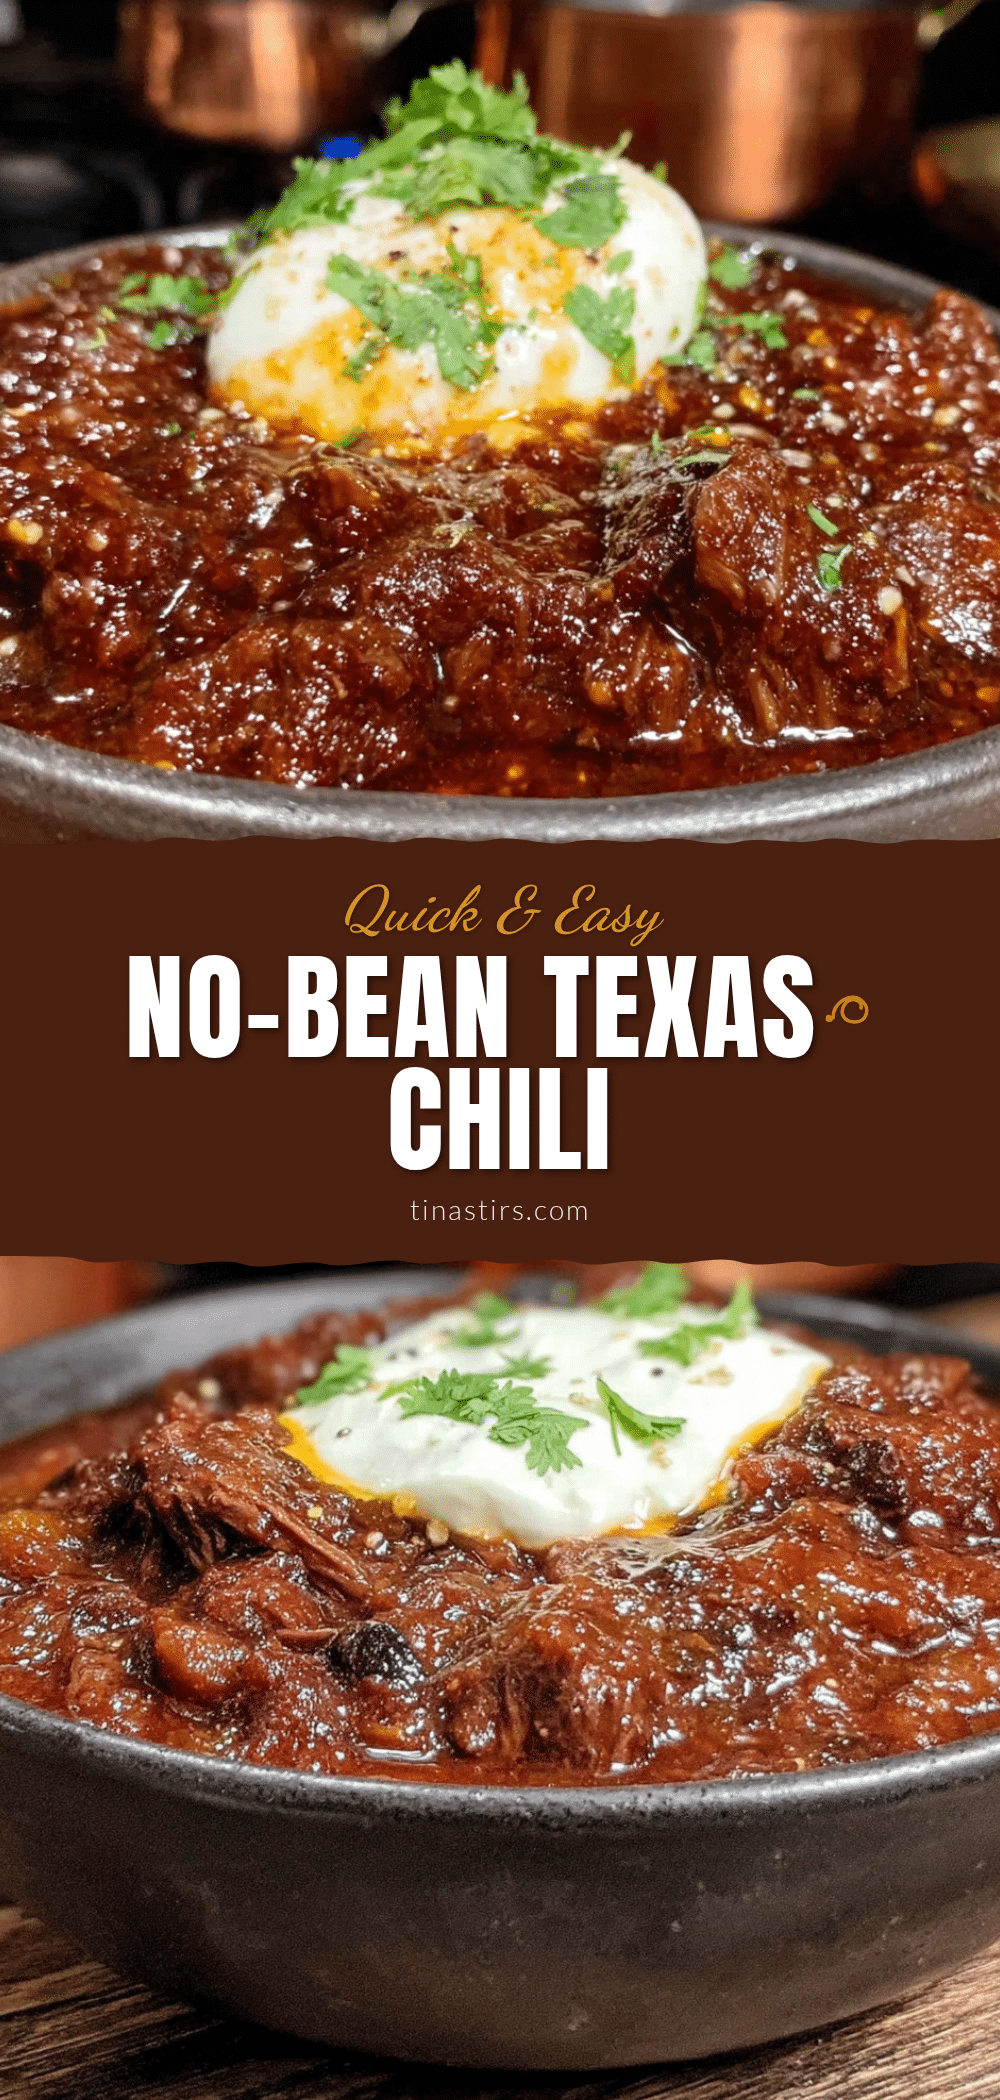
Quick No-Bean Texas Chili Recipe – Easy 30-Minute Dinner

This quick no-bean Texas chili is the perfect weeknight dinner, delivering deep, smoky richness in under 30 minutes. It’s proof that you don’t need hours of simmering to get that satisfying chili taste.
- Prep Time: 10 minutes
- Cook Time: 20 minutes
- Total Time: 30 minutes
- Yield: 6 servings 1x
- Category: Main Course
- Cuisine: American (Texas)
Ingredients
- 2 pounds ground beef (80/20 blend)
- 1 large yellow onion, diced (about 1 ½ cups)
- 4 cloves garlic, minced (or 1 teaspoon garlic powder)
- 2 tablespoons chili powder (preferably Gebhardt)
- 1 tablespoon ground cumin
- 1 teaspoon smoked paprika
- 1 teaspoon dried oregano
- ½ teaspoon cayenne pepper (adjust to taste)
- 1 can (14.5 ounces) diced tomatoes, undrained
- 1 can (8 ounces) tomato sauce
- 1 cup beef broth (low-sodium preferred)
- 1 tablespoon Worcestershire sauce
- Salt and black pepper to taste
- 2 tablespoons vegetable oil
Instructions
- Prep your ingredients first. Dice the onion, mince the garlic, and measure out all your spices into a small bowl.
- Heat your pot over medium-high heat. Add the vegetable oil and let it shimmer — about 30 seconds.
- Brown the beef in two batches. Add half the ground beef to the pot and let it cook undisturbed for 3-4 minutes. Break it up with your spoon after it’s browned, then transfer to a plate. Repeat with the remaining beef.
- Reduce heat to medium and add the diced onion to the pot. Cook for 3-4 minutes until softened and translucent, scraping up any browned bits. Add the minced garlic and cook for 30 seconds until fragrant.
- Add the spices. Sprinkle the chili powder, cumin, smoked paprika, oregano, and cayenne over the onions. Stir constantly for about 1 minute until fragrant.
- Return the beef to the pot. Add both batches of browned beef back in, along with any accumulated juices.
- Add the liquids. Pour in the diced tomatoes (undrained), tomato sauce, beef broth, and Worcestershire sauce. Stir everything together, scraping the bottom of the pot.
- Bring to a simmer. Increase the heat to high and bring the chili to a gentle boil, then reduce the heat to low. Let it simmer uncovered for 15-20 minutes, stirring occasionally.
- Taste and adjust. After 15 minutes, taste the chili and add salt and pepper as needed. If it’s too thick, add a splash more broth. If it’s too thin, let it simmer a few more minutes.
- Rest before serving. Remove the pot from heat and let it sit for 5 minutes. Serve hot with your favorite toppings.
Notes
For best flavor, brown the meat in batches to develop a good crust. Toast the spices in the hot oil and onions for about 60 seconds to release their essential oils. Let the chili rest for 5 minutes off the heat before serving to allow flavors to meld. This chili tastes even better the next day.
Nutrition
- Serving Size: 1 serving (about 1 ½
- Calories: 380
- Sugar: 6
- Sodium: 680
- Fat: 24
- Saturated Fat: 9
- Carbohydrates: 12
- Fiber: 3
- Protein: 32
Keywords: Texas chili, no-bean chili, quick chili, easy chili, weeknight dinner, ground beef chili, 30-minute meal


