Love this? Save it for later!
Share the inspiration with your friends
Introduction
The neighborhood Fourth of July block party was just a few hours away, and honestly, I was staring at an empty kitchen counter wondering what on earth I could throw together. Everyone else was bringing these elaborate, multi-layered desserts that looked like they took days to prepare. Meanwhile, I had a box of plain white cake mix and a couple of cans of jello—the bare minimum, really. You know that feeling when the clock is ticking and you’re scrambling for a last-minute dessert that looks festive but won’t have you slaving in the kitchen? Yeah, that was me, completely pressed for time and low on fancy supplies.
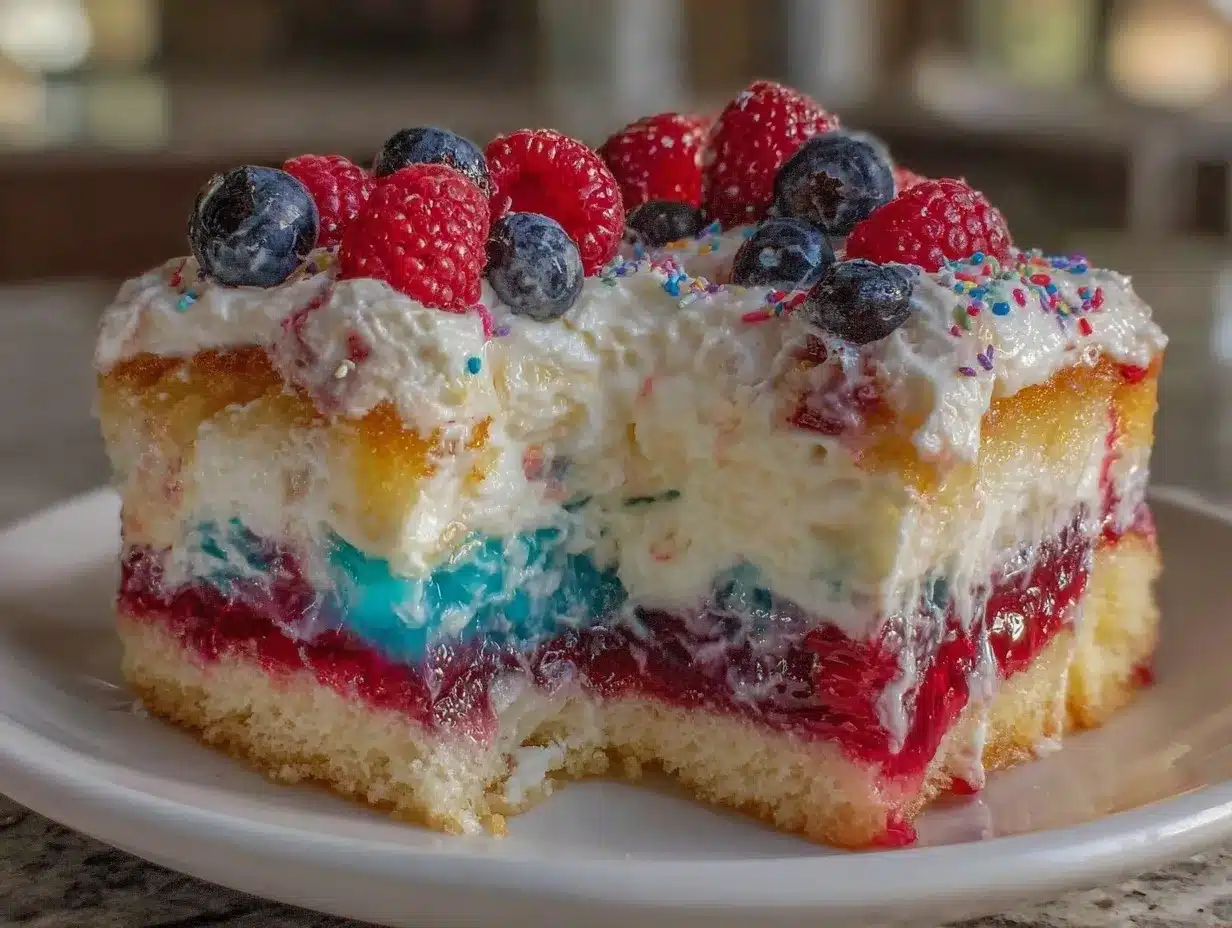
So, I decided to get creative with what I had. I poked holes in the baked cake, poured in vibrant red and blue gelatin, topped it with whipped cream, and hoped for the best. Honestly, it turned out to be a hit—refreshing, colorful, and perfectly patriotic. The way the jello seeped into the cake created this fun, wobbly texture that was surprisingly satisfying. I still remember my neighbor, Marcy, sneaking a second slice while no one was watching. That cracked mixing bowl on the counter and a quick dash to the grocery store for extra berries felt almost like part of the adventure.
Maybe you’ve been there too—racing the clock, trying to avoid the dreaded “forgot to bring dessert” scenario. This Refreshing Red White and Blue Jello Poke Cake is the kind of recipe I keep coming back to when I want something festive, easy, and crowd-pleasing without the fuss. It’s honestly a bit of a lifesaver for those moments when you want to impress but have zero time. Let me tell you, it’s as fun to make as it is to eat.
Why You’ll Love This Recipe
After making this Red White and Blue Jello Poke Cake a handful of times, I can say it really checks all the boxes for a go-to patriotic dessert. Here’s why it’s stood the test of time in my kitchen:
- Quick & Easy: Comes together in under 45 minutes, perfect when you’re juggling last-minute plans or craving a sweet treat.
- Simple Ingredients: No fancy trips to specialty stores needed; you probably already have the cake mix, gelatin, and whipped topping on hand.
- Perfect for Celebrations: Whether it’s Independence Day, Memorial Day, or any summer BBQ, this cake’s festive colors bring instant cheer.
- Crowd-Pleaser: Kids and adults alike love the juicy bursts of jello soaked into moist cake layers.
- Unbelievably Delicious: The combo of fluffy cake, fruity gelatin, and creamy topping makes every bite a little celebration of its own.
- Unique Twist: Unlike traditional poke cakes, this one layers red and blue jello separately for a striking, patriotic effect that wows without extra effort.
This recipe isn’t just a colorful dessert but also a nostalgic nod to those summer gatherings where simple ingredients come together to create magic. Honestly, it’s that kind of cake that makes you close your eyes after the first bite and smile. If you want a festive dessert that feels homemade but takes minimal effort, this one’s for you.
What Ingredients You Will Need
This recipe uses simple, wholesome ingredients to deliver bold flavor and satisfying texture without fuss. Most are pantry staples or easy to find, and you can even swap ingredients to suit your preferences.
- White cake mix (15.25 oz box) – I recommend Duncan Hines for a reliably moist texture.
- Water – as called for on the cake mix box (usually 1 cup or 240 ml).
- Vegetable oil – 1/3 cup (80 ml), adds moisture without overpowering flavor.
- Egg whites – 3 large, room temperature for better cake rise.
- Cherry or strawberry jello – 3 oz (85 g) packet, for the red layer.
- Blueberry or berry blue jello – 3 oz (85 g) packet, for the blue layer.
- Boiling water – 1 cup (240 ml) per jello flavor, to dissolve gelatin properly.
- Cold water – 1/2 cup (120 ml) per jello flavor, to mix after boiling water.
- Whipped topping – 8 oz (225 g) container, like Cool Whip, for the creamy white layer.
- Fresh berries – optional, for garnish (strawberries, blueberries, raspberries).
Substitution tips: Use dairy-free whipped topping if needed, or swap boxed cake mix for a homemade white cake batter if you prefer. In summer, fresh berries work beautifully on top for extra freshness.
Equipment Needed
- 9×13-inch baking pan: Standard glass or metal pan works well. Glass pans help monitor baking progress.
- Mixing bowls: One large for the cake batter, two medium for dissolving the jello packets.
- Electric mixer or whisk: For smooth cake batter. Hand whisking is doable but takes more elbow grease.
- Measuring cups and spoons: Essential for precise ingredient amounts.
- Fork or skewer: To poke holes in the baked cake, allowing jello to seep in.
- Cooling rack: To cool the cake before adding gelatin.
If you don’t have an electric mixer, a sturdy whisk and a bit of patience will do just fine. For budget-friendly options, glass pans from thrift stores or discount kitchenware sections can perfectly serve this recipe without breaking the bank.
Preparation Method
- Preheat the oven to 350°F (175°C). Prepare your 9×13-inch baking pan by greasing it lightly or lining it with parchment paper for easy removal.
- Mix the cake batter: In a large bowl, combine the white cake mix, 1 cup (240 ml) water, 1/3 cup (80 ml) vegetable oil, and 3 egg whites. Use an electric mixer on medium speed for about 2 minutes until smooth. The batter should be pourable but thick enough to coat the spoon.
- Pour batter into the prepared pan and bake: Transfer the batter evenly and bake for 30-35 minutes or until a toothpick inserted in the center comes out clean. Oven temperatures vary, so start checking at 30 minutes.
- Cool the cake: Once baked, remove from oven and place on a cooling rack. Let it cool for about 20 minutes—warm but not hot is perfect for the next step.
- Prepare the jello mixtures: In two separate bowls, dissolve each jello packet in 1 cup (240 ml) boiling water. Stir for about 2 minutes until fully dissolved. Then add 1/2 cup (120 ml) cold water to each and stir again. Let the jello cool to room temperature but not set.
- Poke the cake: Using a fork or skewer, poke holes all over the cake about 1 inch (2.5 cm) apart. The holes should go deep enough to reach near the bottom but not pierce through the pan.
- Pour the red jello: Carefully spoon or pour the red jello over one half of the cake, letting it seep into the holes. Spread evenly but gently.
- Pour the blue jello: Repeat the same process on the other half with the blue jello. The two colors will create a festive red and blue design.
- Chill the cake: Cover the pan with plastic wrap and refrigerate for at least 4 hours or overnight to let the jello set into the cake fully.
- Add the white layer: Once the jello is set, spread the whipped topping evenly over the entire cake for the white “layer.” Smooth it out with a spatula.
- Garnish and serve: Decorate with fresh berries if desired. Slice and serve chilled for a refreshing, colorful treat.
Tip: If you notice jello pooling too much, pour slowly to avoid overflow. Also, letting the jello cool prevents it from melting the whipped topping later. This step-by-step approach will have your Refreshing Red White and Blue Jello Poke Cake shining on any dessert table.
Cooking Tips & Techniques
Making a poke cake sounds simple, but a few tricks make all the difference between meh and wow. First off, don’t skip cooling the cake before poking. If it’s too hot, the jello will melt and become runny, ruining texture. I learned that the hard way once and ended up with a soggy mess that my dog happily cleaned up.
When poking holes, space them evenly but avoid going all the way through the pan—otherwise, you’ll lose precious jello filling. Using a fork gives you control, but a wooden skewer works well too.
For the jello, stirring until fully dissolved is key. Clumps in the gelatin make for uneven texture. Also, letting the jello cool to room temperature before pouring helps keep your whipped topping intact later.
Patience is vital—this dessert needs a good chilling time (at least 4 hours) for the layers to set properly. Multitasking helps here: bake the cake in the morning, prepare jello while it cools, and chill while you get other party prep done. Trust me, it’s worth the wait.
Lastly, when spreading the whipped topping, use gentle motions. You want a smooth, even white layer that resembles fluffy clouds. This touch really brings the patriotic colors to life.
Variations & Adaptations
Want to switch up the Red White and Blue Jello Poke Cake for different tastes or dietary needs? Here are some ideas I’ve tried or thought about:
- Dietary: Use a gluten-free white cake mix and dairy-free whipped topping for those with allergies or sensitivities.
- Seasonal: Instead of jello packets, try using homemade gelatin infused with fresh berry juices for a natural twist.
- Flavor twist: Swap the white cake for lemon cake mix to add a zesty brightness that pairs beautifully with berry jello.
- Cooking method: Make cupcakes instead of a sheet cake—poke and pour jello into individual cupcakes for portable patriotic treats.
- Sweetness level: Use sugar-free jello for a lighter option, or add a drizzle of white chocolate ganache on top for extra indulgence.
One time, I stirred in a handful of fresh blueberries directly into the blue jello before pouring it over the cake, and it added such a fresh punch of flavor and texture. Experimenting with toppings and jello flavors can keep this dessert fresh and exciting every time you make it.
Serving & Storage Suggestions
This Refreshing Red White and Blue Jello Poke Cake is best served chilled straight from the fridge. The jello and whipped topping are cool and refreshing, especially on a warm summer day. Slice into squares and serve on colorful plates for that festive flair.
Pair it with light beverages like iced tea, lemonade, or sparkling water with a splash of berry syrup to keep the flavors balanced and refreshing. I’ve also seen it served alongside grilled favorites like crispy garlic chicken to round out a summer cookout menu.
Store leftovers covered tightly in the fridge for up to 3 days. The flavors actually meld nicely overnight, making each slice tastier. Avoid freezing as the jello texture becomes grainy. To reheat slightly, just let the cake sit at room temperature for 10 minutes—no microwaving needed.
Nutritional Information & Benefits
Each serving of this poke cake provides a moderate calorie count, primarily from carbohydrates and sugars due to the cake and gelatin. The whipped topping adds some fat but keeps the texture creamy and light.
The key ingredients like gelatin contain collagen, which some find beneficial for skin and joint health, though in small amounts here. Using fresh berries on top adds antioxidants and vitamins, making this dessert a little more wholesome.
For those mindful of dietary restrictions, swapping ingredients for gluten-free or sugar-free options can make this dessert more accessible. Overall, it’s a fun celebratory treat that balances indulgence with simplicity.
Conclusion
If you’re looking for a festive, fuss-free dessert that brings a pop of color and a burst of flavor, this Refreshing Red White and Blue Jello Poke Cake is a winner. It’s quick enough for last-minute plans and has that nostalgic, homemade feel that guests love. Honestly, it’s a recipe I reach for whenever I want to impress without stress.
Feel free to customize with your favorite jello flavors or fresh fruit toppings to make it your own. I’d love to hear how your version turns out or what fun twists you add—drop a comment below and share your experience. Here’s to many delicious celebrations with this cheerful cake!
Remember, great desserts don’t always need to be complicated—sometimes, the simplest ideas turn out to be the most memorable.
Frequently Asked Questions
Can I use homemade cake instead of box mix?
Absolutely! A simple white cake recipe works great. Just ensure it’s sturdy enough to hold the jello without becoming soggy.
How long can I store the poke cake in the refrigerator?
Store it covered for up to 3 days. It’s best enjoyed chilled and fresh but can hold up well overnight.
Can I make this cake ahead of time?
Yes! Bake and poke the cake, then pour the jello and chill overnight. Add the whipped topping just before serving for best results.
What if I don’t have two different jello flavors?
You can use one flavor or mix colors creatively. For example, use strawberry and lime for a different patriotic look or just a single flavor if needed.
Is there a way to make this dessert more kid-friendly?
Kids love the fun colors and juicy jello bursts. You can add sprinkles on top of the whipped cream or use fun-shaped pans to make it extra exciting.
Pin This Recipe!
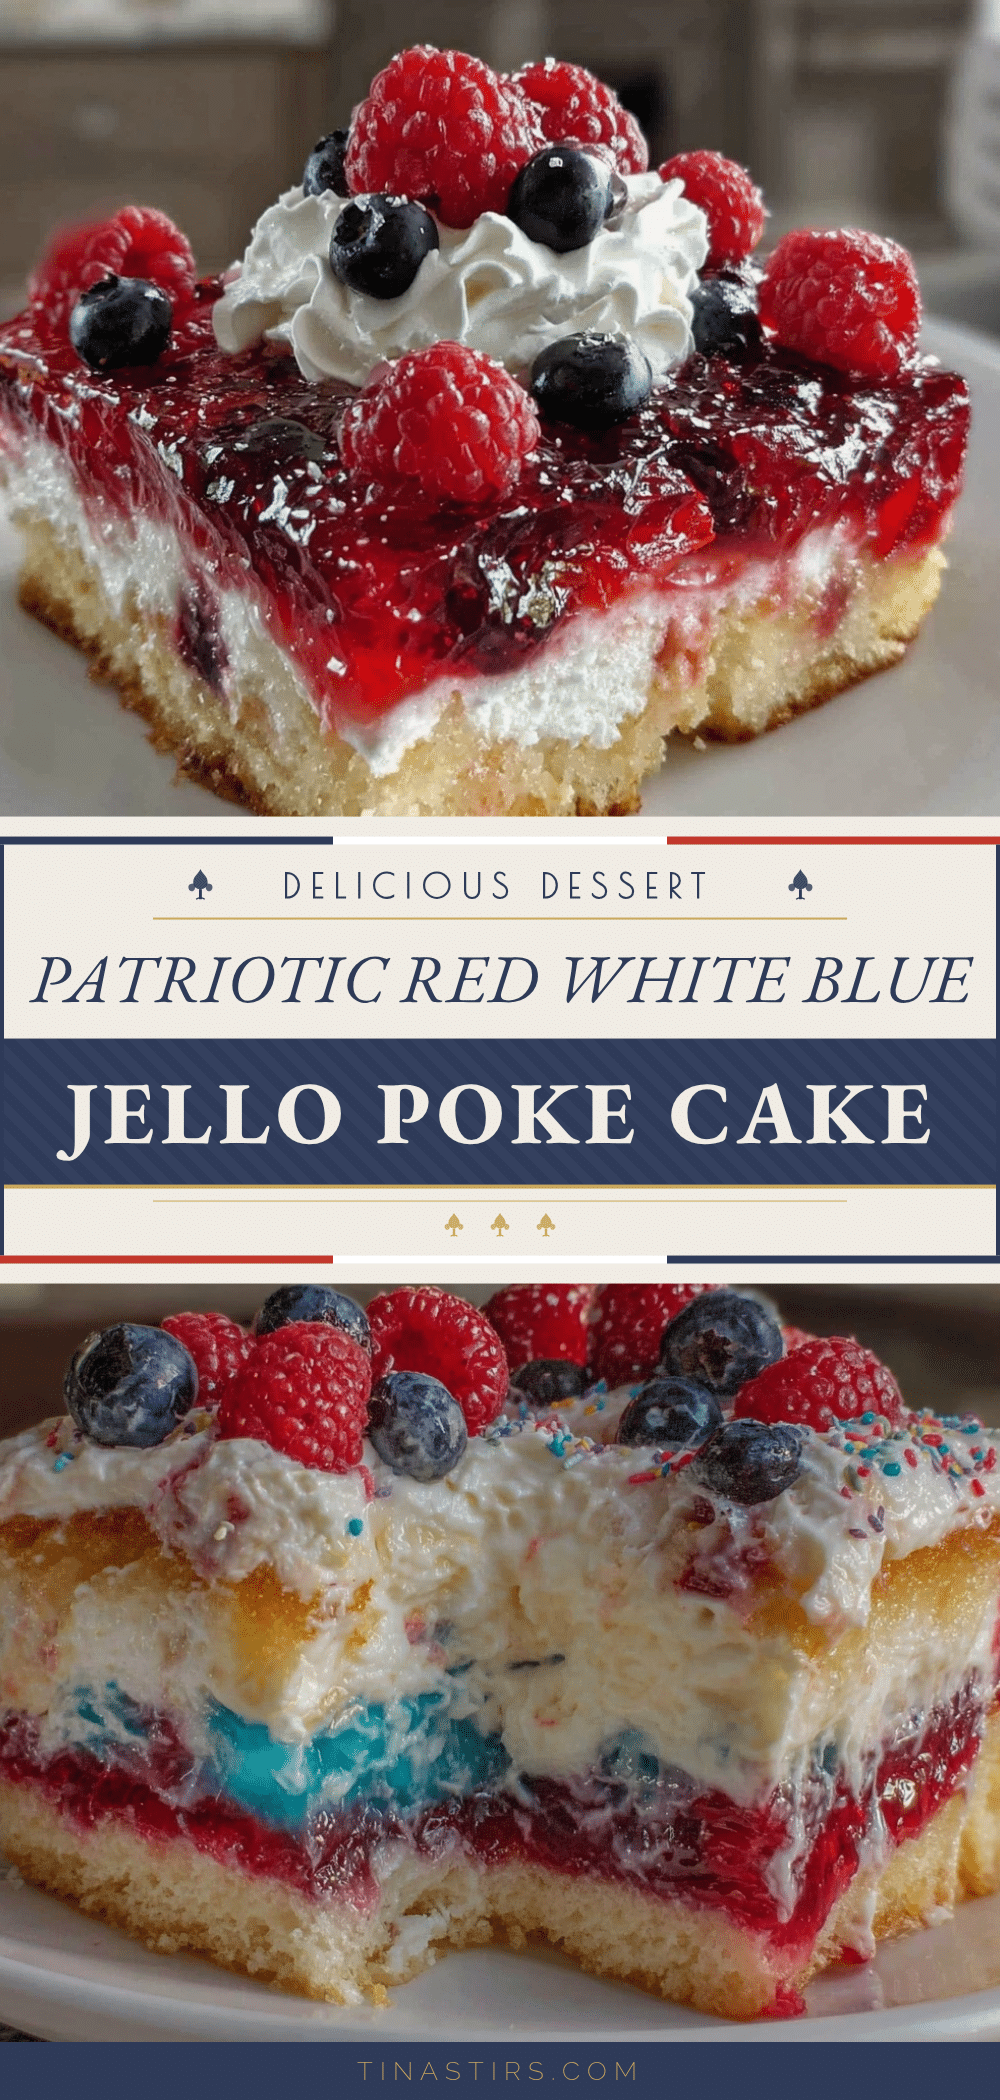
Refreshing Red White and Blue Jello Poke Cake

A quick and easy patriotic dessert featuring a moist white cake poked with red and blue jello, topped with whipped cream and fresh berries for a festive and refreshing treat.
- Prep Time: 15 minutes
- Cook Time: 35 minutes
- Total Time: 4 hours 50 minutes
- Yield: 12 servings 1x
- Category: Dessert
- Cuisine: American
Ingredients
- 1 (15.25 oz) box white cake mix (recommend Duncan Hines)
- 1 cup water (240 ml)
- 1/3 cup vegetable oil (80 ml)
- 3 large egg whites, room temperature
- 1 (3 oz) packet cherry or strawberry jello (red layer)
- 1 (3 oz) packet blueberry or berry blue jello (blue layer)
- 1 cup boiling water (240 ml) per jello flavor
- 1/2 cup cold water (120 ml) per jello flavor
- 8 oz whipped topping (like Cool Whip)
- Fresh berries (optional, for garnish: strawberries, blueberries, raspberries)
Instructions
- Preheat the oven to 350°F (175°C). Grease a 9×13-inch baking pan or line with parchment paper.
- In a large bowl, combine the white cake mix, 1 cup water, 1/3 cup vegetable oil, and 3 egg whites. Mix with an electric mixer on medium speed for about 2 minutes until smooth.
- Pour the batter evenly into the prepared pan and bake for 30-35 minutes or until a toothpick inserted in the center comes out clean.
- Remove the cake from the oven and place on a cooling rack. Let cool for about 20 minutes until warm but not hot.
- In two separate bowls, dissolve each jello packet in 1 cup boiling water. Stir for about 2 minutes until fully dissolved. Add 1/2 cup cold water to each and stir again. Let cool to room temperature but do not let set.
- Using a fork or skewer, poke holes all over the cake about 1 inch apart, deep enough to reach near the bottom but not through the pan.
- Pour the red jello carefully over one half of the cake, letting it seep into the holes evenly.
- Pour the blue jello over the other half of the cake in the same manner.
- Cover the pan with plastic wrap and refrigerate for at least 4 hours or overnight to let the jello set.
- Once set, spread the whipped topping evenly over the entire cake and smooth with a spatula.
- Garnish with fresh berries if desired. Slice and serve chilled.
Notes
Cool the cake before poking holes to prevent jello from melting the cake. Let jello cool to room temperature before pouring to avoid melting the whipped topping. Chill the cake for at least 4 hours or overnight for best results. Use gluten-free cake mix and dairy-free whipped topping for dietary adaptations. Fresh berries add antioxidants and freshness.
Nutrition
- Serving Size: 1 slice (1/12 of cak
- Calories: 250
- Sugar: 28
- Sodium: 300
- Fat: 8
- Saturated Fat: 2
- Carbohydrates: 40
- Fiber: 1
- Protein: 3
Keywords: poke cake, patriotic dessert, jello poke cake, red white and blue dessert, easy Fourth of July dessert, summer dessert, quick dessert