Love this? Save it for later!
Share the inspiration with your friends
I didn’t have a cheese board. I didn’t have fancy crackers. I didn’t even have a clean plate, honestly. But I had a half-eaten wheel of brie that was starting to sweat in the fridge, a bag of walnuts that had seen better days, and a singular, very bruised pear sitting on my counter.
The power had been flickering all evening due to the storm outside, and I was just trying to keep the lights on with a candle and sheer stubbornness. You know that feeling when you’re too tired to cook a real meal, but your soul is screaming for comfort? That was me. I stared at those sad ingredients and thought, “This is it. This is the dinner.”
So I improvised. I grabbed the biggest bowl I could find, dumped the cheese in, crumbled the walnuts over it, and sliced that pear into jagged, uneven pieces because my knife was dull. I drizzled some honey from a jar that was nearly empty, just to make it sweet. It looked messy. It looked like a disaster. But then I took a bite.
It was magic. The warm cheese, the crunchy nuts, the tart fruit, and that sticky honey—it tasted like October, even though it was November and raining sideways. I realized I had accidentally invented the best fall harvest charcuterie board. Not because it was perfect, but because it was real. It was fast, it was cheap, and it tasted like I had planned it for weeks.
I’ve made it a dozen times since. I’ve added grapes, I’ve swapped the cheese, I’ve even tried it with pumpkin seeds. But that late-night version? That’s the one that sticks. It taught me that you don’t need a fancy platter or expensive meats to create a memorable snack. You just need the right combo of salty, sweet, and crunchy. And honestly, that’s what makes this recipe so special. It’s not about impressing guests. It’s about feeding your craving when the world is loud and you just need a quiet moment with good food.
Why You’ll Love This Recipe
Let’s be real for a second. Most charcuterie board guides feel like they were written by someone who has a professional kitchen and a personal shopper. This one is different. I’ve tested this specific combination of flavors over and over, tweaking ratios until it felt just right. It’s not just a list of things to put on a plate; it’s a strategy for making a huge impact with almost zero effort.
- Quick & Easy: You can assemble this entire board in under 10 minutes. No cooking required. No heating up the oven. Just grab, slice, and arrange. It is perfect for those weeknights when you want to feel fancy but have zero energy left.
- Simple Ingredients: You likely already have 80% of these items in your kitchen. I’m talking about pantry staples like nuts, honey, and crackers, plus a few fresh items from the grocery store. No weird spices or hard-to-find ingredients that will just sit in your cabinet for months.
- Perfect for Autumn Gatherings: Whether you are hosting a small dinner party, bringing something to a potluck, or just enjoying a cozy night in, this board fits the season perfectly. The warm tones and rich flavors scream “fall.”
- Crowd-Pleaser: Kids love the honey and fruit. Adults love the cheese and wine. It bridges the gap between healthy snacking and pure indulgence. It’s the kind of food that gets devoured before you can even take a photo.
- Unbelievably Delicious: The combination of salty brie, crunchy walnuts, and sweet pear is next-level comfort food. It’s savory and sweet in equal measure, creating a flavor profile that keeps you coming back for more.
What makes this version stand out is the balance. Many boards go too heavy on the meats or too light on the sweets. This one hits the sweet spot. It’s the kind of board that makes you close your eyes after the first bite and sigh. It’s comfort food reimagined for the modern, busy home cook. You can impress your guests without spending hours in the kitchen.
What Ingredients You Will Need
This recipe relies on simple, wholesome ingredients to deliver bold flavor and satisfying texture without the fuss. The magic happens in the contrast between the creamy, salty cheese and the fresh, crisp fruit. Most of these items are common pantry staples, which makes it incredibly convenient to throw together at a moment’s notice.
- Soft Cheese: I recommend using Brie or Camembert. These soft-ripened cheeses are mild, buttery, and perfect for spreading. Look for a wheel that is slightly soft to the touch. If you can’t find Brie, a creamy goat cheese or even a high-quality cream cheese block works well too.
- Crackers: You need a sturdy base. Water crackers are classic, but I love a seeded cracker for extra texture. You could also use sliced baguette or even pretzel crisps if you want something saltier.
- Walnuts: Toasted walnuts add a crucial crunch. They provide a nutty, earthy flavor that complements the cheese beautifully. You can use raw walnuts, but toasting them in a dry pan for 3-5 minutes brings out their oils and makes them much more flavorful.
- Fresh Fruit: Pears are the star here, specifically Anjou or Bosc pears because they hold their shape well. Apples work too, but pears feel more “fall.” Grapes are a great addition for bursts of sweetness, so grab a bunch of red or green grapes.
- Honey: This is the glue that holds the flavor profile together. A good quality wildflower honey or clover honey adds a floral sweetness that balances the saltiness of the cheese. Drizzle it generously over the cheese and fruit.
- Extra Virgin Olive Oil: A tiny drizzle of high-quality olive oil adds richness and helps the honey stick to the cheese. It also adds a nice savory note that elevates the whole board.
- Fresh Herbs: Rosemary or thyme sprigs add a pop of green and an aromatic scent. They aren’t just for looks; they add a woody, pine-like flavor that pairs surprisingly well with the fruit.
- Dried Fruit: Figs or dried apricots add a chewy texture and intense sweetness. They break up the crispness of the fresh fruit and add a sophisticated touch.
If you need to substitute, you can swap the walnuts for pecans or almonds. If you’re avoiding dairy, try a vegan brie alternative. The key is to keep the balance of textures—creamy, crunchy, crisp, and chewy.
How Do I Choose the Best Cheese for a Charcuterie Board?
Look for cheese that is at room temperature. Cold cheese doesn’t release its full flavor. Let it sit out for 30 minutes before serving. Also, check for cracks or excessive moisture, which can indicate it’s past its prime.
Can I Use Store-Bought Crackers?
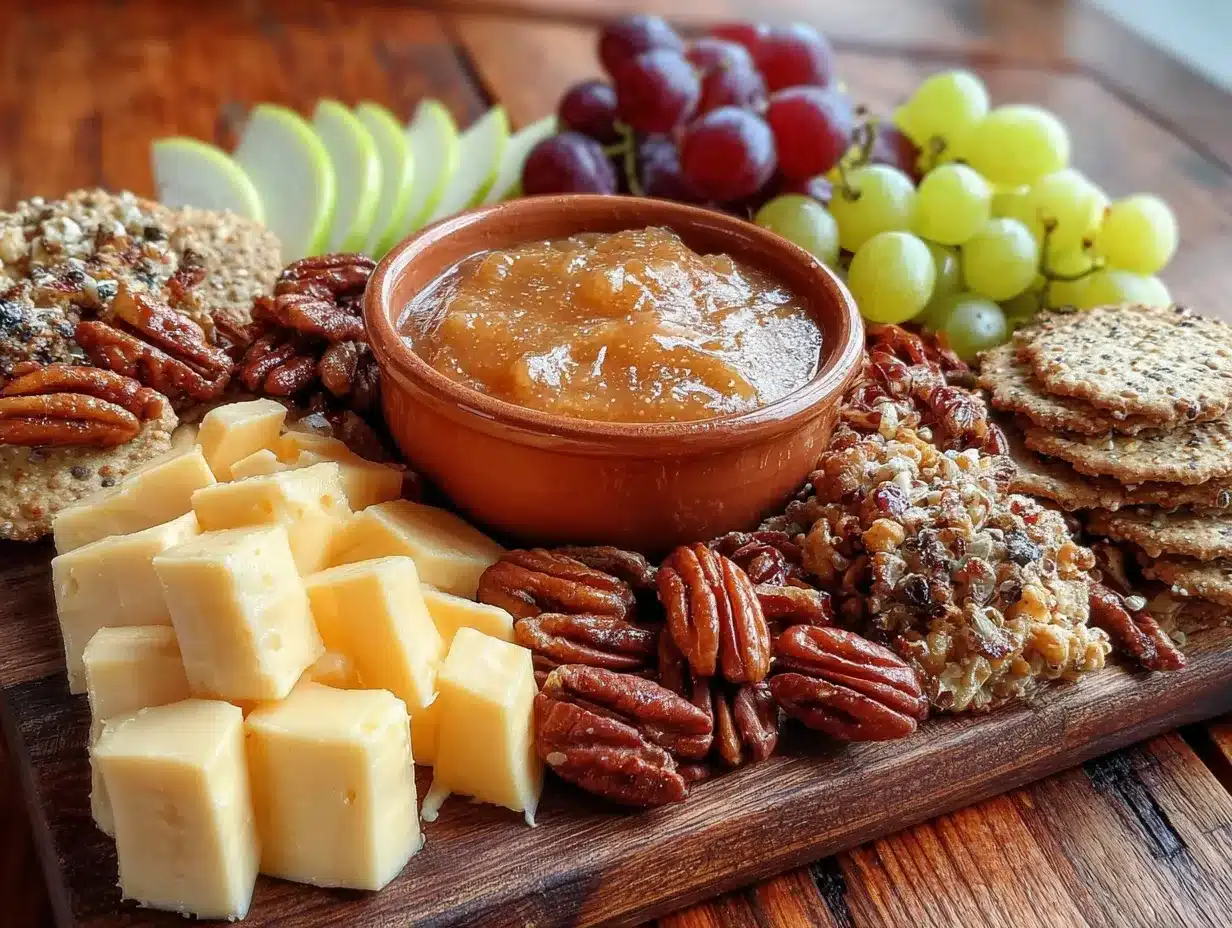
Absolutely. While homemade crackers are nice, store-bought ones are convenient and often quite good. Look for ones with a long ingredient list for better flavor, or simple water crackers for a neutral base.
Equipment Needed
You don’t need a lot of fancy gear to pull this off. The beauty of a charcuterie board is its simplicity. Here is what you’ll need:
- A Large Platter or Board: This is the most important piece. A wooden board adds warmth and rustic charm, which fits the fall theme perfectly. A large ceramic platter works too. Make sure it’s big enough so the items aren’t crowded. If you don’t have a board, a large cutting board or even a clean marble slab works.
- A Sharp Knife: You need a knife that can slice through soft cheese without squishing it. A small paring knife is perfect for cutting fruit into bite-sized pieces.
- A Cheese Spreader: If you’re serving the brie in its wheel, a small cheese knife or even a butter knife is useful for spreading the soft interior. It makes it easier for guests to serve themselves.
- A Small Bowl: For holding the honey. Pouring honey directly from the bottle can be messy and hard to control. A small ramekin or bowl gives you better precision for drizzling.
- Nutcracker or Pliers: Only needed if you are buying walnuts in the shell. Most people buy pre-shelled nuts, but if you’re feeling adventurous, cracking them yourself adds a fun element.
If you don’t have a cheese board, don’t worry. Use what you have. The presentation is nice, but the flavor is what matters. Just make sure your surface is clean and dry.
Preparation Method
Getting this board together is straightforward, but there is a right way and a wrong way to do it. If you just toss everything on the plate, it will look like a mess. Follow these steps to create a board that looks professional and tastes amazing.
- Prepare the Cheese (5 minutes): Take your brie wheel out of the fridge. Remove the wax paper. If you like, you can score the top lightly with a knife, but it’s not necessary. Place the whole wheel in the center of your board. This is your anchor point. If you are using multiple cheeses, place them in a triangle formation around the board.
- Slice the Fruit (5 minutes): Wash and dry your pears and grapes. For the pears, slice them into thin wedges or small cubes. Keep the skin on for color and texture. Arrange the fruit around the cheese. Don’t pile it up; lay it out so each piece is visible. The grapes can be left whole or halved for easier eating.
- Add the Crunch (2 minutes): Scatter the toasted walnuts around the board. You can pile them in small mounds or sprinkle them loosely. They should fill the empty spaces between the cheese and fruit. If you are using dried fruit, add those next, tucking them in where they look natural.
- Place the Crackers (2 minutes): Lean the crackers against the cheese wheel or arrange them in a fan shape on one side of the board. This makes it easy for guests to grab a cracker without disturbing the other items. Leave some space between the crackers for visual breathing room.
- Add the Herbs (1 minute): Tuck sprigs of rosemary or thyme into the gaps. They add height and color. Place them near the cheese or fruit where their scent will be noticeable.
- Drizzle the Honey and Oil (2 minutes): This is the final touch. Drizzle the honey over the cheese and some of the fruit. Then, add a very light drizzle of olive oil. Be careful not to overdo it; you want a glossy sheen, not a pool of oil. Let the board sit for 10-15 minutes to let the flavors meld.
Take your time with the arrangement. It doesn’t need to be perfect, but it should look intentional. Step back and adjust anything that looks too crowded or too sparse.
Cooking Tips & Techniques
I’ve made enough of these boards to know where people go wrong. The biggest mistake is letting the cheese get too cold. Cheese tastes bland when it’s cold. Always let it come to room temperature for at least 30 minutes before serving. This opens up the flavors and makes the texture creamy rather than waxy.
Another common error is overcrowding the board. It’s tempting to fill every inch, but that makes it hard for guests to serve themselves and looks messy. Leave some negative space. It makes the board look more elegant and allows each flavor to shine.
When toasting nuts, watch them closely. They burn quickly. Start with a dry pan over medium heat and stir constantly. You’ll know they’re done when they smell nutty and turn a shade darker. Let them cool completely before adding them to the board, or they’ll make the crackers soggy.
For the honey, if it’s too thick to drizzle, warm it up slightly. Put it in a microwave-safe bowl for 10-15 seconds. This makes it easier to spread and helps it stick to the cheese better.
Finally, taste as you go. Before you arrange everything, taste a piece of cheese with a piece of fruit. Does it need more salt? More sweetness? Adjust your seasoning or additions before you finalize the layout.
How Do I Keep the Board Fresh?
Charcuterie boards are best served fresh. If you need to prep ahead, slice the fruit and cheese up to 2 hours in advance. Store them in separate airtight containers in the fridge. Assemble the board just before serving to keep the crackers crisp and the fruit fresh.
What Wine Pairs Best with This Board?
A light red wine like Pinot Noir or a crisp white like Riesling works well. The acidity in the wine cuts through the richness of the cheese, while the fruit notes complement the pears and grapes.
Variations & Adaptations
While the classic brie and pear combo is my favorite, this board is highly adaptable. Here are a few ways to switch it up:
- Vegan Version: Swap the brie for a vegan brie alternative. Use almond or cashew crackers. Swap the honey for agave nectar or maple syrup. Add roasted chickpeas instead of nuts for protein.
- Spicy Twist: Add some spicy mustard or jalapeño slices to the board. The heat contrasts nicely with the sweet honey and creamy cheese. This is great for those who like a kick.
- Summer Variation: Swap the pears for fresh peaches or nectarines. Use basil instead of rosemary. Add prosciutto for a salty, savory element. This version feels lighter and fresher.
- Gluten-Free Option: Use gluten-free crackers or rice cakes. Make sure to check labels on nuts and dried fruit, as they can sometimes be processed in facilities with gluten.
I once made a version with blue cheese and apples, and it was surprisingly good. The strong cheese paired well with the sharp apples. Don’t be afraid to experiment with different flavor combinations.
Serving & Storage Suggestions
Serve this board at room temperature. It looks best when the colors are vibrant and the cheese is soft. Pair it with a glass of wine or a cup of tea for a complete experience. It’s also great alongside a roasted chicken or turkey for a holiday meal.
If you have leftovers, store the cheese in wax paper or an airtight container in the fridge. The fruit should be eaten within a day, as it will start to brown. The crackers should be kept in a sealed bag to maintain their crunch.
To reheat the cheese, let it sit out for 30 minutes. Do not microwave it, as it will become oily and lose its texture. The flavors will be slightly less vibrant the next day, but it’s still delicious.
Over time, the honey will crystallize if left out. This is normal. Just warm it slightly to return it to its liquid state. The overall flavor profile develops and becomes more complex after a day or two, so don’t be surprised if it tastes even better the next day.
Nutritional Information & Benefits
This board is a balanced snack that provides healthy fats, protein, and fiber. The nuts and cheese offer protein and calcium, while the fruit provides vitamins and antioxidants. The honey adds natural sweetness without refined sugars.
It is naturally gluten-free if you choose gluten-free crackers. It can be made dairy-free with vegan alternatives. It’s a great option for those watching their sugar intake, as the sweetness comes from natural sources.
From a wellness perspective, this board is a great way to get your daily serving of fruits and nuts. It’s a mindful snack that encourages slow eating and enjoyment. It’s not a meal replacement, but it’s a nutritious addition to your diet.
Conclusion
This best fall harvest charcuterie board is more than just a snack. It’s a way to bring the warmth and coziness of autumn into your home. It’s easy, it’s delicious, and it’s perfect for any occasion. I hope you try it and enjoy it as much as I do.
Feel free to customize it with your favorite ingredients. Make it your own. And if you do, I’d love to hear about it. Leave a comment below and let me know what you added. Share your photos on social media and tag me. Let’s share the love of good food.
Thanks for reading. Happy snacking!
Frequently Asked Questions
Can I make this charcuterie board ahead of time?
Yes, you can prep the ingredients up to 2 hours in advance. Store the cheese, fruit, and nuts in separate containers in the fridge. Assemble the board just before serving to keep everything fresh and crisp.
What is the best cheese for a beginner?
Brie or Camembert are excellent choices for beginners. They are soft, mild, and easy to eat. They also look elegant on the board without requiring much skill to prepare.
How do I keep the crackers from getting soggy?
Keep the crackers separate from the wet ingredients like honey and fruit until serving time. Arrange them on the board last, or place them on a separate plate if you are serving a large group.
Can I use dried fruit instead of fresh fruit?
Absolutely. Dried figs, apricots, or dates work beautifully. They add a chewy texture and intense sweetness. You can mix dried and fresh fruit for variety.
What drinks pair well with this board?
Wine is a classic choice, especially Pinot Noir or Riesling. For non-alcoholic options, try sparkling apple cider or a herbal tea like chamomile or peppermint.
Pin This Recipe!
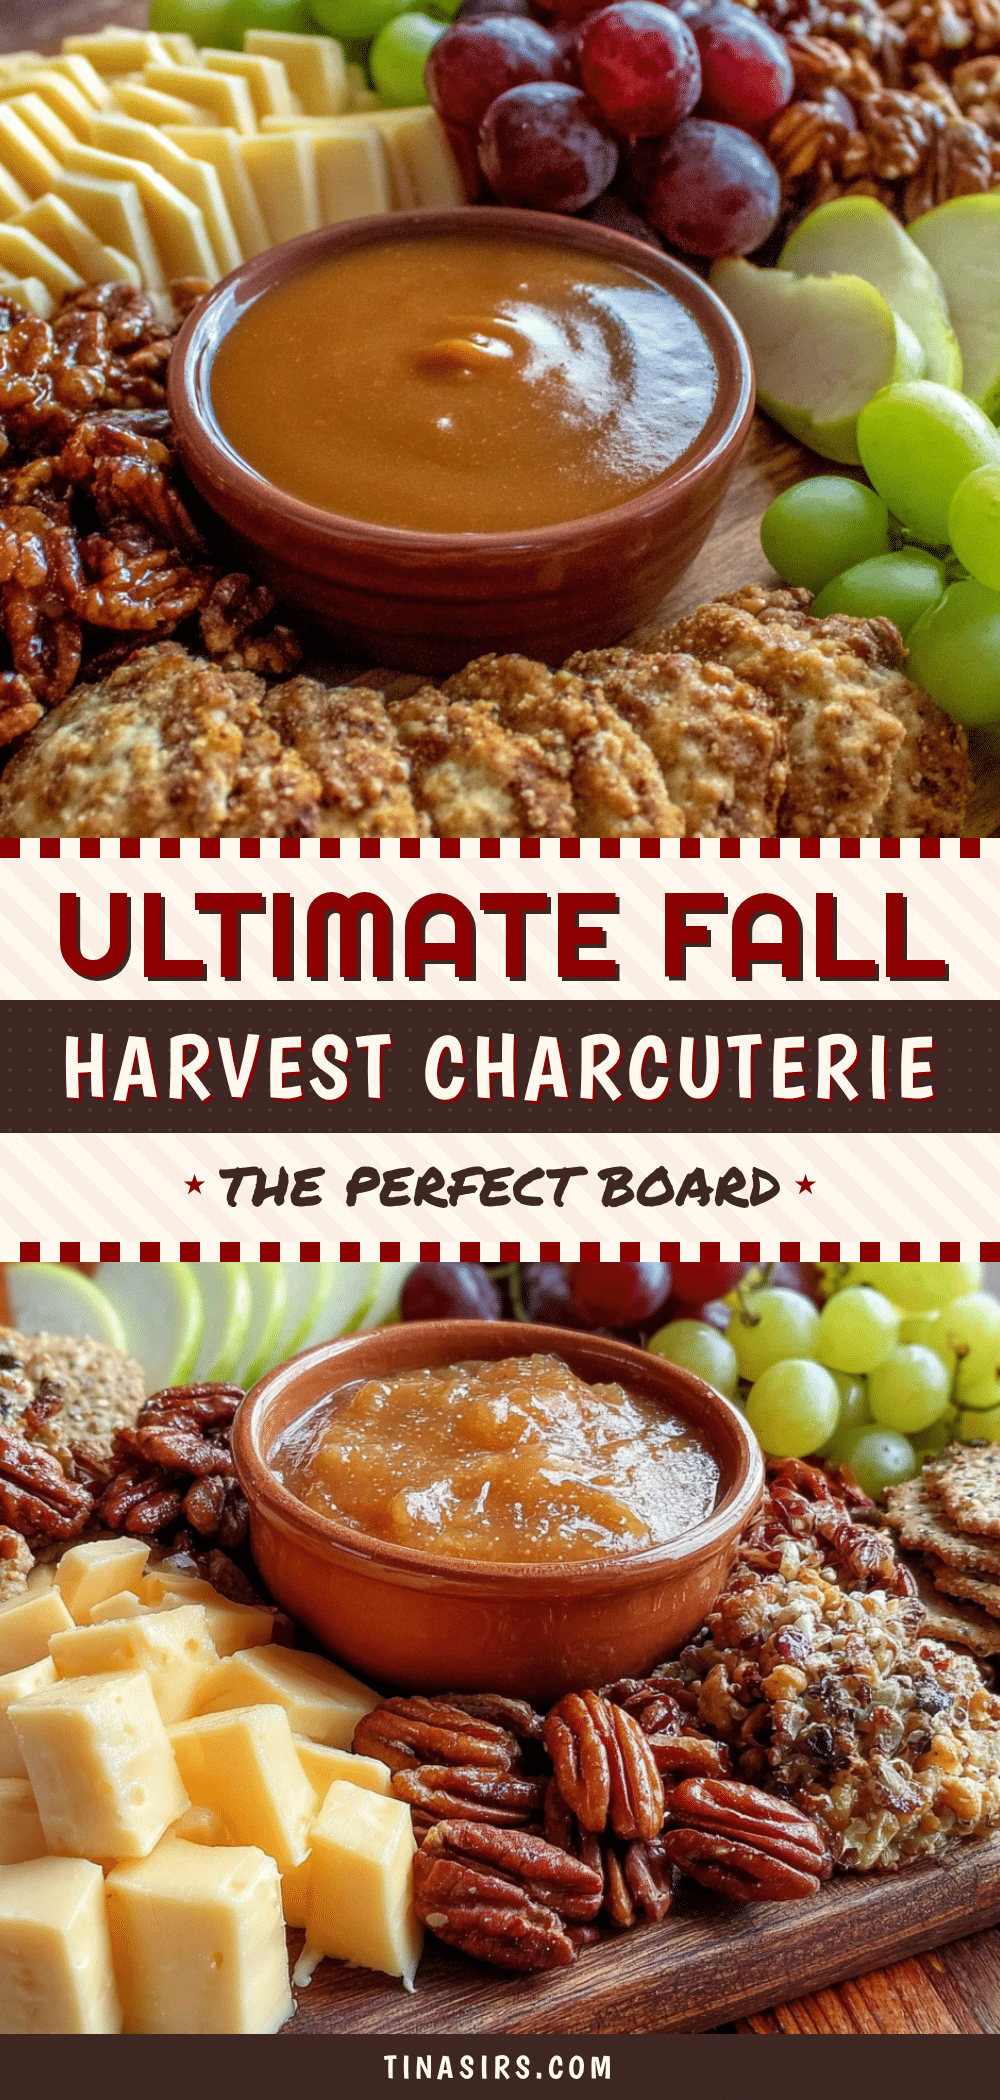
Best Fall Harvest Charcuterie Board: Easy 5-Ingredient Party Idea

A quick, no-cook fall harvest charcuterie board featuring brie, walnuts, pears, and honey. This simple recipe balances salty, sweet, and crunchy flavors for an easy party snack or cozy night-in treat.
- Prep Time: 10 minutes
- Cook Time: 5 minutes
- Total Time: 15 minutes
- Yield: 4 servings 1x
- Category: Appetizer
- Cuisine: American
Ingredients
- 1 wheel of Brie or Camembert cheese
- 1 cup walnuts (toasted)
- 2 pears (Anjou or Bosc), sliced
- 1 cup grapes
- 1/4 cup honey
- 1 tablespoon extra virgin olive oil
- Fresh rosemary or thyme sprigs
- Crackers (water crackers, seeded crackers, or gluten-free alternatives)
- Dried fruit (figs or apricots, optional)
Instructions
- Remove the brie from the fridge and let it sit at room temperature for 30 minutes before serving to enhance flavor and texture.
- Place the whole wheel of brie in the center of a large platter or board as the anchor point.
- Wash and slice the pears into thin wedges or cubes, keeping the skin on. Arrange the fruit around the cheese.
- Toast walnuts in a dry pan over medium heat for 3-5 minutes until fragrant, then let them cool completely.
- Scatter the toasted walnuts and any dried fruit around the board to fill empty spaces.
- Lean crackers against the cheese wheel or arrange them in a fan shape on one side of the board.
- Tuck sprigs of fresh rosemary or thyme into the gaps for color and aroma.
- Drizzle honey generously over the cheese and some of the fruit.
- Add a light drizzle of extra virgin olive oil over the cheese.
- Let the board sit for 10-15 minutes to allow flavors to meld before serving.
Notes
Ensure cheese is at room temperature for best flavor. Toast walnuts carefully as they burn easily. If honey is too thick, warm it slightly in the microwave for easier drizzling. Assemble crackers last to prevent sogginess.
Nutrition
- Serving Size: Approximately 1/4 of
- Calories: 350
- Sugar: 18
- Sodium: 280
- Fat: 22
- Saturated Fat: 9
- Carbohydrates: 28
- Fiber: 4
- Protein: 10
Keywords: charcuterie board, fall recipe, brie and pear, party snack, easy appetizer, no cook recipe, autumn gathering, healthy snack


