Love this? Save it for later!
Share the inspiration with your friends
My neighbor asked why I couldn’t just use honey instead of sugar. I was in the middle of explaining the science of gummy texture — how sugar crystals bond with gelatin to create that perfect bouncy chew — when I stopped. I mean, honestly? I had no real reason except that I’d always done it that way. So I tried her suggestion. And of course, it worked. Better, actually. The honey added this subtle floral depth that the plain sugar never did, and the gummies set up perfectly — maybe even better than my original recipe.
That’s the thing about homemade elderberry gummies. They seem simple, but they’ve got this way of humbling you. I’d been making them for years, convinced my method was the only way. Then a neighbor with zero kitchen pretensions casually improved my recipe in one sentence. The batch I made that afternoon was the best I’d ever produced. They had that perfect resistance when you bite into them, not too firm, not too soft, with a sweet-tart flavor that makes you forget you’re taking something for your immune system.
I’ve been making these every cold season since. They’re my go-to when I feel that first tickle in my throat or when everyone at work starts sniffling. There’s something reassuring about having a jar of these in the fridge — like a little safety net for the immune system. And honestly? They taste so good that my kids ask for them as treats. Maybe you’ve been there too, trying to find that sweet spot between something that actually works and something your family will actually take. These gummies hit that balance perfectly.
Why You’ll Love This Recipe
Let me tell you why these homemade elderberry gummies have earned a permanent spot in my kitchen. I’ve tested this recipe more times than I can count, tweaking the ratios, trying different sweeteners, and even experimenting with various gelatin brands. This version is the one I keep coming back to.
- Quick & Easy: From start to finish, you’re looking at about 15 minutes of active work. The hardest part is waiting for them to set in the fridge — and that’s just patience, not effort.
- Simple Ingredients: You need elderberry syrup (store-bought or homemade), gelatin, and a sweetener of your choice. That’s it. No weird additives or hard-to-find items.
- Perfect for Cold Season: When everyone around you starts coughing and sneezing, having a batch of these ready feels like having a secret weapon. They’re my go-to for winter wellness.
- Crowd-Pleaser: Kids actually ask for these. Adults grab them from the jar without thinking. They taste like a treat, not a supplement.
- Unbelievably Delicious: The tartness of elderberries paired with the natural sweetness of honey creates this flavor that’s genuinely addictive. I’ve had people ask for the recipe thinking they were fancy store-bought gummies.
What makes this recipe different from all the others out there? It’s the texture. So many homemade gummies end up either too hard or too soft — or worse, that weird rubbery consistency that feels wrong in your mouth. I spent months getting the gelatin-to-liquid ratio just right. The result is a gummy that has that satisfying chew without being tough. Plus, using honey instead of processed sugar adds a layer of flavor complexity that you just don’t get with plain sweeteners.
This recipe isn’t just good — it’s the kind that makes you close your eyes after the first bite. It’s comfort food reimagined as wellness, with the same soul-soothing satisfaction as your favorite childhood snack but packed with immune-supporting goodness. Perfect for sneaking into lunchboxes, keeping on your desk at work, or gifting to friends who could use a little extra support during flu season.
What Ingredients You Will Need
This recipe uses simple, wholesome ingredients to deliver powerful immune support and satisfying flavor. Most of these are pantry staples for anyone who makes their own wellness products at home.
- Elderberry Syrup: 1 cup (240 ml) — You can use store-bought or homemade. I prefer St. Francis Elderberry Syrup when I’m short on time, but homemade lets you control the sweetness. Look for syrups with minimal added sugar if you’re buying.
- Gelatin: 3 tablespoons (about 28 grams) — Use high-quality grass-fed gelatin for best results. I like Great Lakes Gelatin or Vital Proteins. Do NOT use collagen peptides — they won’t set properly and you’ll end up with elderberry juice.
- Honey: 2-3 tablespoons (30-45 ml) — Adjust based on how sweet you want your gummies. Raw, local honey adds immune benefits of its own and a beautiful floral flavor. Manuka honey works beautifully too if you have it.
- Lemon Juice: 1 tablespoon (15 ml) — Fresh squeezed is best. The acidity helps preserve the gummies and balances the sweetness. Plus, vitamin C from lemons complements the elderberry beautifully.
- Optional: Vitamin C Powder: 1 teaspoon (about 5 grams) — This is totally optional but I add it when cold season is really bad. It gives an extra immune boost and doesn’t affect the taste much.
- Silicone Gummy Molds: You’ll need these for shaping. Bear-shaped molds are fun for kids, but simple square ones work great too.
For the elderberry syrup, if you’re making your own, you’ll need dried elderberries (about 1/2 cup), water (3 cups), ginger root (a 1-inch piece, sliced), cinnamon stick (1), and cloves (3-4). Simmer everything for 45 minutes, strain, and add honey to taste. This makes about 2 cups of concentrated syrup that you can use for gummies or take by the spoonful.
A quick note on gelatin: not all gelatin is created equal. I learned this the hard way after a batch that refused to set. Look for gelatin that’s specifically labeled for gummies or desserts. The powdered form works best — sheets are harder to measure accurately for this recipe. If you’re vegetarian, you can try agar agar, but the texture will be different — more like jelly than gummy bears.
For substitutions, you can use maple syrup instead of honey for a different flavor profile. Coconut sugar won’t work as well because it doesn’t dissolve completely. If you need to avoid citrus, skip the lemon juice and add a pinch of vitamin C powder instead — it serves the same preserving function.
Equipment Needed
You don’t need a fancy kitchen setup for these gummies. Here’s what I use:
- Silicone Gummy Molds: These are non-negotiable for getting that classic gummy shape. I bought a set of bear molds on Amazon for under $10 and they’ve lasted years. Silicone is essential because the gummies pop right out without sticking.
- Small Saucepan: You need something to gently heat the elderberry syrup. A 1-quart saucepan works perfectly. Don’t use anything too large or the liquid will spread out too thin and cool unevenly.
- Whisk: A small whisk helps incorporate the gelatin without lumps. A fork works in a pinch but takes longer.
- Liquid Measuring Cup: Something with a pour spout makes transferring the mixture into molds much less messy. I use a 2-cup Pyrex measuring cup.
- Dropper or Small Spoon: For filling the molds precisely. A dropper works best for small bear-shaped molds. I’ve used a turkey baster in a pinch — not elegant but effective.
- Refrigerator Space: You need a flat spot in your fridge where the molds can sit undisturbed for at least 2 hours. Clear a shelf beforehand — trust me on this.
If you don’t have silicone molds, you can pour the mixture into a small baking dish (greased lightly with coconut oil) and cut the set gummies into squares. They won’t look as cute, but they’ll taste the same. I’ve done this when traveling and didn’t want to pack molds.
Preparation Method
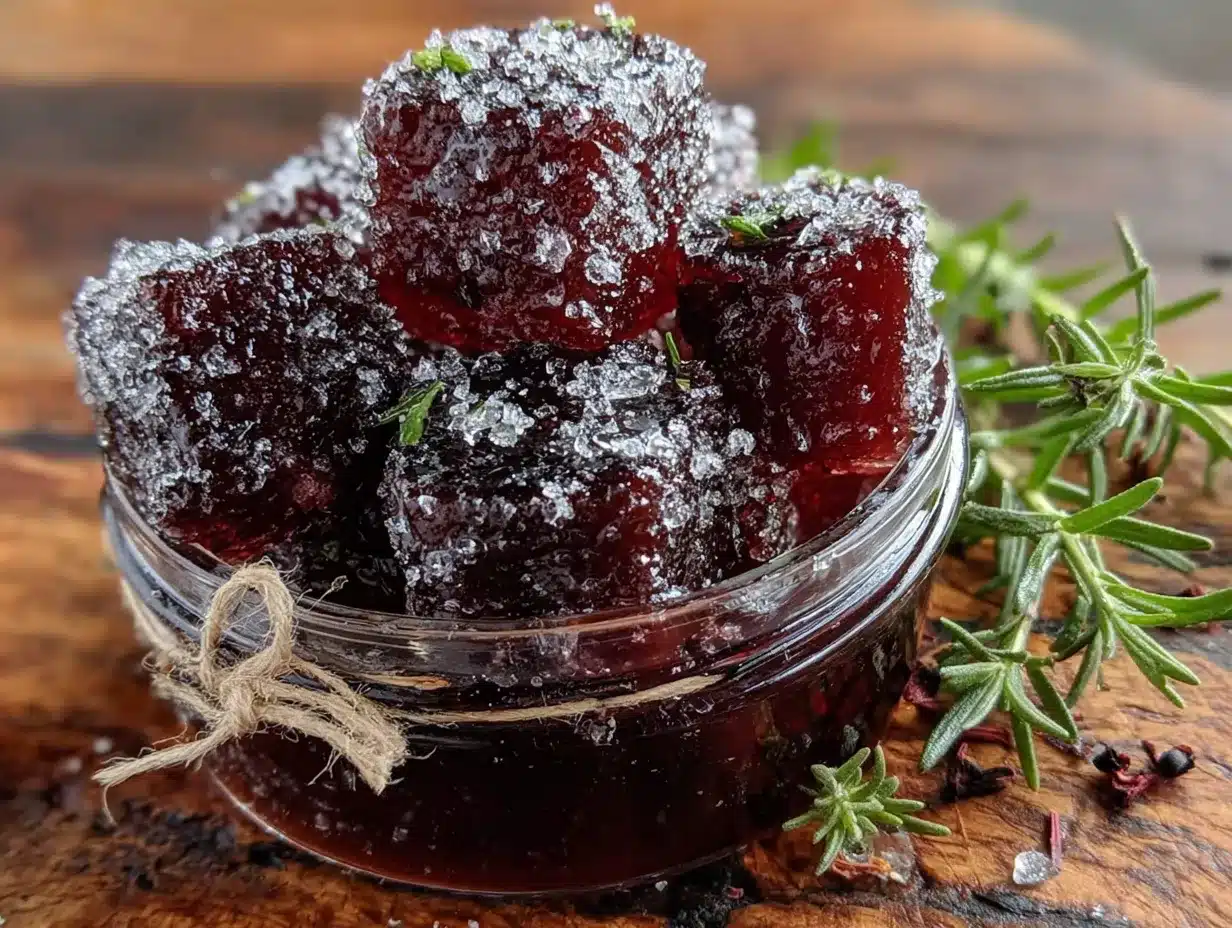
Making these gummies is straightforward, but there are a few tricks that make the difference between perfect gummies and a sticky mess. Here’s exactly how I do it:
- Prepare your workspace. Before you do anything else, place your silicone molds on a baking sheet or flat tray that fits in your fridge. This makes moving them easier. Wash and dry your molds — any residue can affect how the gummies set.
- Gently warm the elderberry syrup. Pour 1 cup of elderberry syrup into your small saucepan. Heat it over low heat — you want it warm, not hot. I aim for about 100°F (38°C), which is warm to the touch but not uncomfortable. If it starts steaming, it’s too hot. High heat can damage the immune-boosting compounds in the elderberries.
- Add the honey and lemon juice. Stir in 2-3 tablespoons of honey and 1 tablespoon of lemon juice. Whisk until the honey dissolves completely. Taste the mixture here — it should be slightly sweeter than you want the final gummies because the gelatin will mute the sweetness a bit.
- Sprinkle in the gelatin. This is the critical step. Remove the saucepan from the heat. Sprinkle the 3 tablespoons of gelatin evenly over the surface of the warm liquid. Don’t dump it all in one spot — you want it to hydrate evenly. Let it sit for about 2 minutes without stirring. The gelatin will bloom and look like a thick, spongy layer on top.
- Whisk gently. After the gelatin has bloomed, whisk it into the liquid using slow, gentle strokes. You want to incorporate the gelatin without creating bubbles. Bubbles will leave holes in your gummies and make them look unappetizing. If you see bubbles forming, let the mixture sit for 30 seconds before continuing.
- Add vitamin C powder (optional). If you’re using it, whisk in 1 teaspoon of vitamin C powder at this point. It should dissolve completely. If it clumps, you can strain the mixture through a fine-mesh sieve.
- Transfer to a measuring cup. Pour the mixture into your liquid measuring cup with a pour spout. This makes filling the molds much easier. Let it cool for 2-3 minutes — it should still be liquid but not hot.
- Fill the molds. Use your dropper or small spoon to fill each cavity in the mold. Don’t overfill — leave a tiny bit of space at the top. If you spill, wipe it off immediately before it sets. Work quickly but carefully; the mixture will start to thicken as it cools.
- Refrigerate. Place the tray of filled molds in the refrigerator. Let them set for at least 2 hours. I usually leave them overnight. Don’t rush this — under-set gummies are a disappointment.
- Unmold and store. Once set, pop the gummies out of the molds. They should release easily. If they stick, place the mold in the freezer for 5 minutes and try again. Store in an airtight container in the refrigerator.
A few things I’ve learned the hard way: if your mixture starts to set while you’re still filling molds, gently reheat it on low for 30 seconds. Don’t microwave it — that creates hot spots that can ruin the texture. Also, if your gummies come out cloudy instead of clear, your liquid was too hot when you added the gelatin. They’ll still work fine, they just won’t look as pretty.
Cooking Tips & Techniques
After dozens of batches, here are the things I wish someone had told me when I started making these:
Temperature control is everything. Elderberry syrup has immune-supporting compounds that are heat-sensitive. Keep your heat low — I never go above medium-low. If you’re using homemade syrup that you’ve already cooked, you’re just warming it enough to dissolve the honey and gelatin. The gelatin needs at least 100°F (38°C) to dissolve properly, but anything over 140°F (60°C) starts breaking down its gelling ability. I use a kitchen thermometer now after several batches that refused to set.
The bloom matters more than you think. That 2-minute rest after sprinkling the gelatin? Don’t skip it. The gelatin needs time to absorb liquid and swell before it can dissolve evenly. I once got impatient and whisked immediately — ended up with lumpy gummies that had weird hard spots. Let it bloom. Your patience will be rewarded.
Bubbles are the enemy. Air bubbles in your gummy mixture create ugly holes and weak spots. To minimize them, whisk gently and slowly. If you see bubbles forming, tap the measuring cup on the counter a few times — they’ll rise to the surface and pop. For the molds, after filling, tap the tray gently on the counter to release any trapped bubbles.
Don’t over-sweeten. I made this mistake early on. The gummies taste less sweet when they’re warm, so I kept adding honey. Then they set, and suddenly they were cloying. Remember that cold dulls sweetness perception — your gummies will taste sweeter when chilled than the mixture does when warm.
Work in batches if needed. If you only have one mold, don’t try to fill it super slowly to avoid spills. Just make the mixture, fill what you can, and pour the rest into a small baking dish. You can cut it into squares later. I’ve done this many times when making large batches for holiday gifts.
Variations & Adaptations
One of the best things about this recipe is how adaptable it is. Here are some variations I’ve tried and loved:
Berry Blend Gummies: Replace half the elderberry syrup with blackberry or blueberry juice. The flavor is more complex and kids who find elderberry too tart love this version. I make these in summer when berries are in season and freeze them for winter use.
Spiced Immune Gummies: Add 1/4 teaspoon of ground ginger and a pinch of cayenne pepper to the mixture before adding gelatin. The warmth is subtle but noticeable, and both spices have their own immune-supporting properties. My husband swears by these during cold season.
Vegan Version: Substitute the gelatin with agar agar powder. Use 1 tablespoon of agar agar for every cup of liquid. The texture is more like firm jelly than chewy gummies, but they work. The setting time is different too — agar agar sets at room temperature in about an hour.
Low-Sugar Option: Use stevia or monk fruit sweetener instead of honey. Start with a small amount and adjust to taste — these sweeteners are much more concentrated than honey. The gummies will be less shelf-stable, so eat them within a week.
Elderberry-Ginger Gummies: Add 1 teaspoon of freshly grated ginger to the syrup while warming. Strain it out before adding gelatin. The ginger gives a pleasant warmth and helps with nausea — perfect for when colds come with upset stomachs.
My personal favorite variation? I add a tablespoon of rose water and a drop of orange essential oil (food-grade, obviously). It sounds fancy, but it’s just a small twist that makes the gummies feel special. I give these as holiday gifts in little glass jars with ribbon. They’re always a hit.
Serving & Storage Suggestions
These gummies are best served cold, straight from the fridge. The texture is perfect at refrigerator temperature — firm but with that satisfying chew. If they sit out too long, they’ll soften and lose their shape.
For serving, I like to arrange them on a small plate or in a little bowl. They make a nice addition to a breakfast spread or afternoon snack. Kids love them in lunchboxes — just make sure they stay cool with an ice pack. Adults appreciate them on a desk during work hours as a healthier alternative to candy.
Storage: Keep your gummies in an airtight container in the refrigerator. They’ll last 2-3 weeks, though mine never last that long. If you want to keep them longer, you can freeze them for up to 3 months. To freeze, arrange them in a single layer on a baking sheet, freeze until solid, then transfer to a freezer bag. Thaw in the refrigerator overnight before eating.
Reheating tip: Don’t. These are meant to be eaten cold. If they’ve softened from sitting out, just pop them back in the fridge for 30 minutes.
One thing I’ve noticed: the flavors actually develop over the first few days. The elderberry and honey meld together, and the tartness mellows slightly. I actually prefer them on day 3 or 4. If you can resist eating them all immediately, give them a couple of days to mature.
Nutritional Information & Benefits
Here’s the approximate nutritional breakdown per serving (about 5 gummies):
| Nutrient | Amount |
|---|---|
| Calories | 45-60 |
| Total Carbohydrates | 10-12g |
| Sugars | 8-10g (from honey and elderberries) |
| Protein | 2-3g (from gelatin) |
| Vitamin C | 15-25% DV (with added powder) |
The real benefits go beyond the numbers. Elderberries are packed with antioxidants called anthocyanins, which give them their deep purple color. These compounds help support the immune system by protecting cells from damage. The honey adds antibacterial properties and soothes sore throats. Gelatin provides collagen and protein that support joint health and skin elasticity.
For dietary considerations: these are gluten-free, dairy-free, and nut-free. They’re not vegan unless you use agar agar. The honey content means they’re not suitable for infants under 1 year old. If you’re watching your sugar intake, use the low-sugar variation with stevia.
I personally love that these gummies let me support my family’s immune health without feeling like I’m forcing medicine on them. It’s wellness that tastes good — and that makes it sustainable.
Conclusion
These homemade elderberry gummies have become a staple in my kitchen for good reason. They’re simple to make, delicious to eat, and genuinely supportive of immune health — especially during those months when everyone seems to be coming down with something. Whether you’re making them for yourself, your kids, or as thoughtful gifts for friends, they deliver on every front.
What I love most about this recipe is how forgiving it is. You can tweak the sweetness, add different flavors, or experiment with various molds. Each batch can be a little different, and that’s part of the fun. The first time you pop a perfectly set gummy out of its mold and taste that sweet-tart elderberry flavor, you’ll understand why I keep making these year after year.
I’d love to hear how your batch turns out. Did you try a variation? Add something unexpected? Have a disaster story? Drop a comment below — I read every one and I’m always looking for new ideas. And if you found this helpful, share it with someone who could use a little immune support this season.
Here’s to staying healthy, one delicious gummy at a time.
Frequently Asked Questions
Can I use elderberry powder instead of syrup?
Yes, but you’ll need to adjust the liquid. Mix 2 tablespoons of elderberry powder with 1 cup of warm water and let it steep for 10 minutes. Strain through a fine-mesh sieve before using. The flavor will be less concentrated, so you might need extra honey.
Why did my gummies turn out too hard?
Too much gelatin or too little liquid is usually the culprit. Stick to the 3 tablespoons per 1 cup of liquid ratio. If your syrup is very thick, reduce the gelatin slightly — try 2.5 tablespoons next time.
Can I make these without a mold?
Absolutely. Pour the mixture into a small baking dish lined with parchment paper. Once set, cut into squares with a sharp knife. They won’t be as cute, but they’ll taste the same. I do this when I’m in a hurry.
How long do these gummies last at room temperature?
They’ll start to soften after about 2 hours at room temperature. If you’re taking them on the go, use a cooler bag with an ice pack. For lunchboxes, they’re fine for a few hours if kept cool.
Can I double this recipe?
Yes, but work in batches. Gelatin sets quickly, so a double batch might start solidifying before you finish filling molds. Make one batch, fill your molds, then make the second batch. It takes a bit longer but gives better results.
Pin This Recipe!
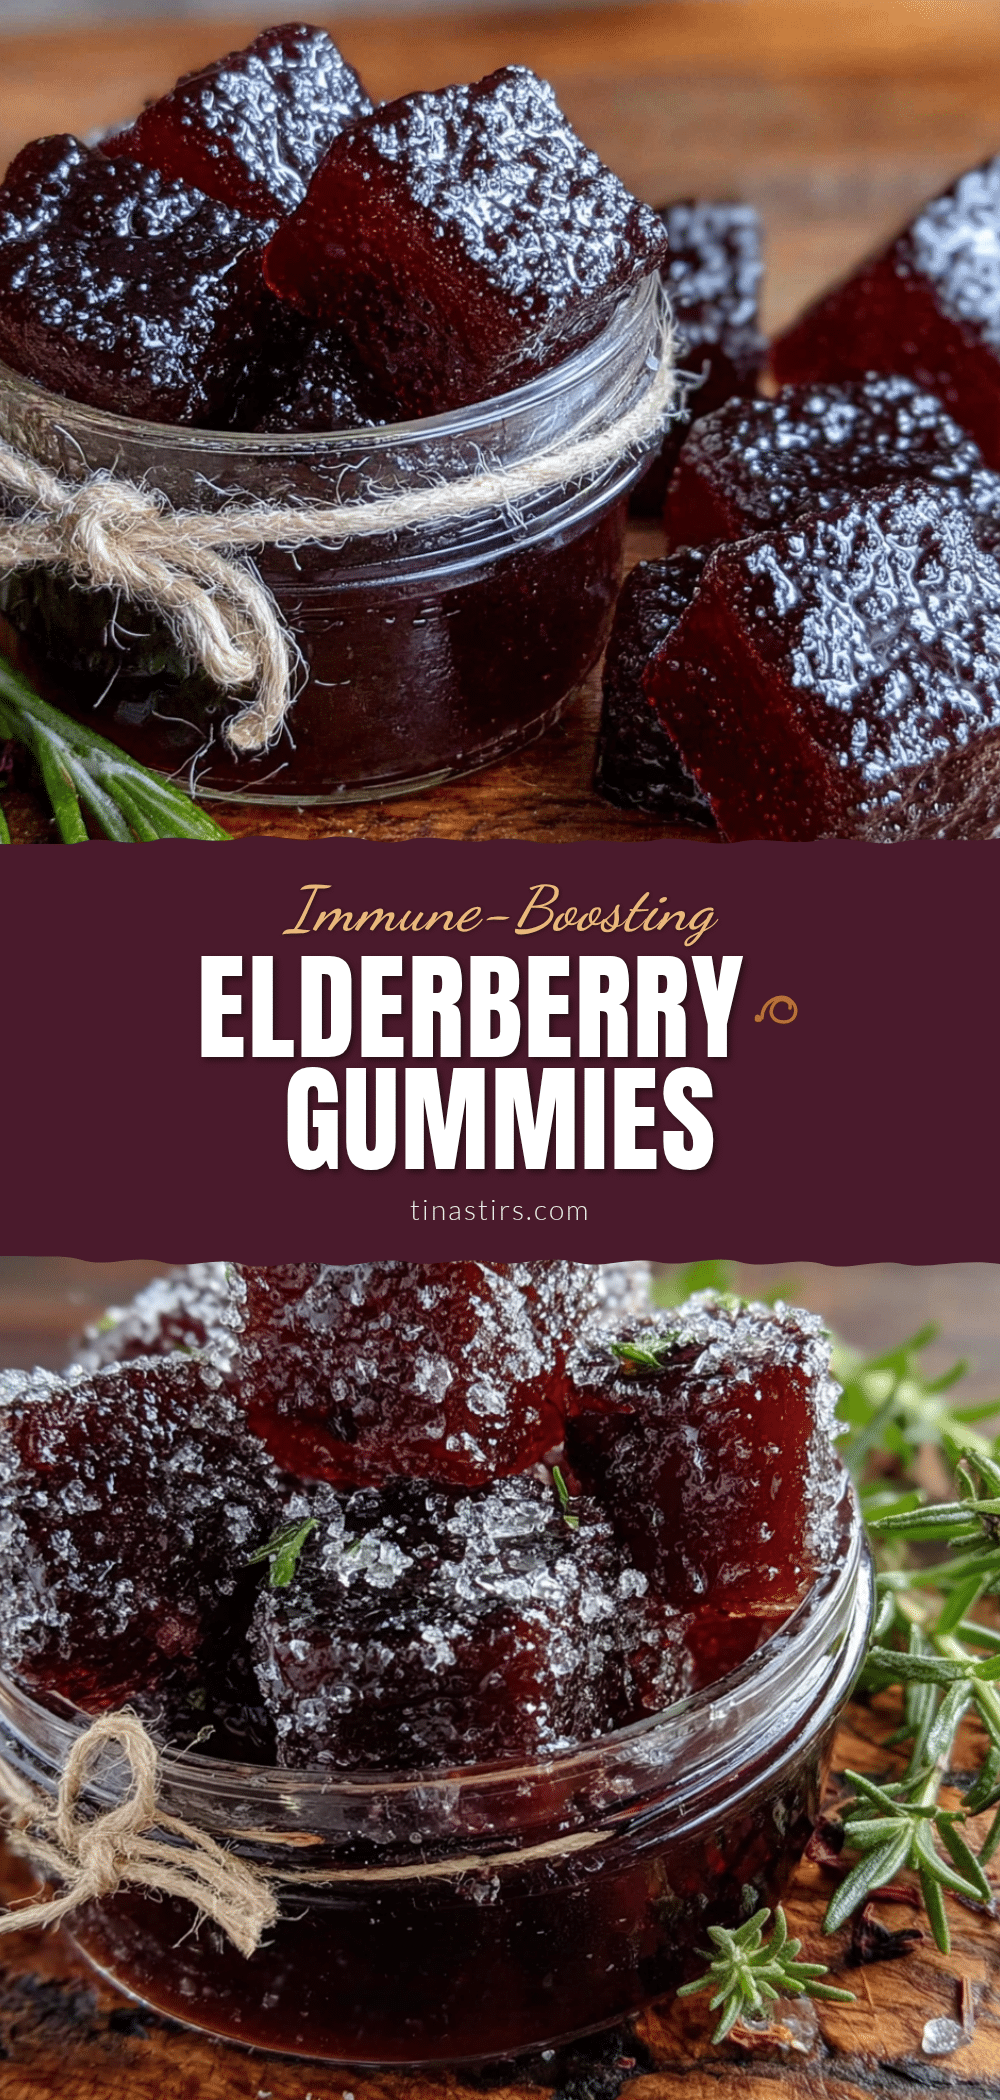
Best Homemade Elderberry Gummies for Immunity
These homemade elderberry gummies are a delicious and easy way to support your immune system during cold season. Made with simple ingredients like elderberry syrup, gelatin, and honey, they have a perfect bouncy chew and a sweet-tart flavor that both kids and adults love.
- Prep Time: 15 minutes
- Cook Time: 0 minutes
- Total Time: 2 hours 15 minutes (includes setting time)
- Yield: 4 servings 1x
- Category: Snack
- Cuisine: American
Ingredients
- 1 cup (240 ml) elderberry syrup (store-bought or homemade)
- 3 tablespoons (about 28 grams) high-quality grass-fed gelatin (e.g., Great Lakes Gelatin or Vital Proteins)
- 2–3 tablespoons (30–45 ml) honey (raw, local, or Manuka preferred)
- 1 tablespoon (15 ml) fresh lemon juice
- 1 teaspoon (about 5 grams) vitamin C powder (optional)
Instructions
- Prepare your workspace: Place silicone gummy molds on a baking sheet or flat tray that fits in your fridge. Wash and dry the molds.
- Gently warm the elderberry syrup: Pour 1 cup of elderberry syrup into a small saucepan. Heat over low heat until warm to the touch (about 100°F / 38°C). Do not let it steam or boil.
- Add honey and lemon juice: Stir in 2-3 tablespoons of honey and 1 tablespoon of lemon juice. Whisk until the honey dissolves completely. Taste and adjust sweetness if needed.
- Sprinkle in the gelatin: Remove the saucepan from the heat. Sprinkle 3 tablespoons of gelatin evenly over the surface of the warm liquid. Let it sit for about 2 minutes without stirring to allow the gelatin to bloom.
- Whisk gently: After the gelatin has bloomed, whisk it into the liquid using slow, gentle strokes to avoid creating bubbles. If bubbles form, let the mixture sit for 30 seconds.
- Add vitamin C powder (optional): If using, whisk in 1 teaspoon of vitamin C powder until completely dissolved. Strain through a fine-mesh sieve if clumps form.
- Transfer to a measuring cup: Pour the mixture into a liquid measuring cup with a pour spout. Let it cool for 2-3 minutes until it is still liquid but not hot.
- Fill the molds: Use a dropper or small spoon to fill each cavity in the silicone molds. Do not overfill. Work quickly as the mixture will start to thicken.
- Refrigerate: Place the tray of filled molds in the refrigerator. Let them set for at least 2 hours, or overnight for best results.
- Unmold and store: Once set, pop the gummies out of the molds. If they stick, place the mold in the freezer for 5 minutes. Store in an airtight container in the refrigerator.
Notes
Temperature control is key: keep the syrup warm but not hot to preserve immune-boosting compounds and ensure proper gelatin setting. Let the gelatin bloom for 2 minutes before whisking. Avoid bubbles by whisking gently. The gummies taste less sweet when warm, so do not over-sweeten. If the mixture starts to set while filling molds, gently reheat on low for 30 seconds. For best texture, serve cold straight from the fridge. Gummies will last 2-3 weeks in an airtight container in the refrigerator, or up to 3 months in the freezer.
Nutrition
- Serving Size: 5 gummies
- Calories: 4560
- Sugar: 810
- Sodium: 5
- Carbohydrates: 1012
- Protein: 23
Keywords: elderberry gummies, homemade gummies, immune support, elderberry recipe, healthy snacks, gelatin gummies, honey gummies, cold season remedy


