Love this? Save it for later!
Share the inspiration with your friends
I was folding laundry last Tuesday—a mundane Tuesday, the kind where the sky is doing that gray, indecisive thing it does in November—when the smell of warm peanut butter drifted from somewhere. Not from my kitchen, because I hadn’t baked in weeks. It was a phantom smell, the kind your brain conjures up when it misses something. And suddenly I was eight years old, standing on a step stool in my Aunt Carol’s tiny kitchen, my fingers dusted with granulated sugar, watching her pull a baking sheet from the oven. The cookies were golden, the chocolate kisses were perfectly centered, and the whole world smelled like toasted peanuts and butter. I haven’t seen Aunt Carol in maybe fifteen years. She moved to Arizona. But that smell? It was like a time machine.
Honestly, I spent the rest of that Tuesday trying to chase that memory. I made a batch of my usual peanut butter cookies, and they were fine. But they weren’t that. You know the feeling? When you’re trying to recreate a taste from your past and you just can’t quite get there? I mean, I’m a grown adult with a fully stocked pantry and a convection oven, and I couldn’t match a cookie from a woman who used a cracked Pyrex mixing bowl and never measured anything. So I did what any reasonable person would do. I called my mom.
“She browned the butter,” my mom said, like it was the most obvious thing in the world. “Your Aunt Carol always browned the butter. Said it was the only way to make a cookie that mattered.” And that was the missing piece. That nutty, almost caramelized depth that takes a simple peanut butter cookie and turns it into something you can still smell twenty-five years later. So I set to work, and let me tell you—this version, the one with the brown butter and the soft, pillowy centers and that perfect chocolate kiss on top? This is the one that finally matched the memory. This is the Cozy Brown Butter Peanut Butter Blossom Cookies recipe I’ve been chasing for years.
Why You’ll Love This Recipe
Let me be real with you for a second. There are a million peanut butter blossom cookie recipes out there. I’ve tried a bunch of them. Some are too dry, some are too crumbly, and some just taste flat. This one is different. This is the one I keep coming back to, and I think you will too.
- Browned Butter Magic: This isn’t just a gimmick. Browning the butter adds a deep, toasty, almost nutty flavor that regular melted butter just can’t touch. It makes the cookie taste like something special, even though it’s still simple to make.
- Perfectly Soft & Chewy: No one wants a rock-hard peanut butter cookie. These stay soft and tender for days, thanks to the perfect balance of brown sugar and butter. The centers are pillowy, the edges are just slightly crisp, and the whole thing is pure comfort.
- Simple, Everyday Ingredients: You probably have most of this in your pantry right now. No weird flours, no obscure extracts. Just butter, peanut butter, sugar, eggs, and flour. The kind of ingredients that make you feel like you can bake something amazing without a trip to the store.
- That Classic Kiss: Let’s be honest, the chocolate kiss is the whole point. The way it gets slightly soft and melty from the warm cookie, the way it contrasts with the salty-sweet peanut butter dough—it’s a perfect pairing. And this recipe makes sure the kiss stays put and doesn’t slide off.
- Crowd-Pleasing Comfort: I brought these to a potluck last week, and they were gone in ten minutes. I’ve also made them for a quiet night in with a mug of tea. They work for both. They’re the kind of cookie that makes people close their eyes when they take a bite, and honestly, that’s the highest compliment.
This recipe isn’t just another version of a classic. It’s the version that makes you wonder why you ever made them any other way. The brown butter adds a layer of sophistication without making it fussy, and the texture is just unbeatable. If you’re craving something warm, nostalgic, and deeply satisfying, this is your cookie.
What Ingredients You Will Need
This recipe uses simple, wholesome ingredients to create something truly special. The magic is in the technique, not in a long list of fancy items. Here’s what you’ll need to gather.
- Unsalted butter, 1 cup (2 sticks, 226g): This is the star of the show. We’ll be browning it, so don’t use salted butter—you want to control the salt level yourself. I recommend a good quality brand like Kerrygold or Plugrà for the richest flavor, but any unsalted butter works.
- Peanut butter, ¾ cup (192g): Use a creamy, conventional peanut butter like Jif or Skippy. Natural peanut butter that separates can make the cookies greasy and crumbly. You want the kind that’s already sweetened and stabilized. Trust me on this one—I learned the hard way.
- Granulated sugar, 1 cup (200g), plus extra for rolling: The sugar in the dough adds sweetness and helps with that soft, chewy texture. The extra sugar for rolling gives the cookies that classic crackly, sparkly exterior.
- Light brown sugar, ½ cup (100g), packed: Brown sugar adds moisture and a hint of molasses flavor that pairs beautifully with the brown butter. Make sure it’s packed firmly into the measuring cup.
- Large egg, 1, room temperature: The egg binds everything together. Room temperature is important—it emulsifies into the butter mixture more easily, creating a smoother dough. If you forgot to take it out of the fridge, place it in a bowl of warm water for 5 minutes.
- Vanilla extract, 1 teaspoon: Use pure vanilla extract if you can. It adds a warmth that complements the brown butter and peanut butter. Imitation vanilla works in a pinch, but pure is better.
- All-purpose flour, 1 ¾ cups (218g): Standard all-purpose flour gives these cookies the perfect structure. Spoon and level it into your measuring cup—don’t scoop directly, or you’ll end up with too much flour and dry cookies.
- Baking soda, 1 teaspoon: This helps the cookies spread just the right amount and gives them a tender crumb.
- Salt, ½ teaspoon: Salt balances the sweetness and enhances all the other flavors. If you used salted butter, reduce this to ¼ teaspoon.
- Hershey’s Kisses, about 48, unwrapped: The classic choice. You can use milk chocolate, dark chocolate, or even white chocolate kisses. I prefer milk chocolate for that nostalgic flavor, but dark chocolate is a lovely grown-up twist. Make sure they’re fully unwrapped before you start baking—you won’t have time to do it once the cookies come out of the oven.
Equipment Needed
You don’t need a professional bakery setup for these cookies, but having the right tools makes the process smoother. Here’s what I use.
- Light-colored saucepan or skillet: A light-colored pan is crucial for browning butter. Dark pans make it hard to see the color change, and you might end up with burnt butter. I use a stainless steel saucepan.
- Large mixing bowl: You’ll need room to cream the butter and sugars and then mix in the dry ingredients. A standard glass or ceramic bowl works great.
- Hand mixer or stand mixer: A hand mixer is fine, but a stand mixer with the paddle attachment makes the creaming step even easier. You can also do it by hand with a wooden spoon, but your arm will get a workout.
- Whisk and rubber spatula: A whisk for combining the dry ingredients, and a rubber spatula for scraping down the bowl and folding in the chocolate chips if you’re making variations.
- Measuring cups and spoons: Accurate measurements are key in baking. Use dry measuring cups for the flour and sugars, and liquid measuring cups for the vanilla.
- Baking sheets: I use two standard half-sheet pans. Line them with parchment paper or a silicone baking mat for easy cleanup and even baking.
- Cooling rack: A wire rack is essential for cooling the cookies properly. It allows air to circulate, preventing soggy bottoms.
- Cookie scoop (optional but recommended): A 1.5-tablespoon cookie scoop ensures all your cookies are the same size, which means they’ll bake evenly. I love my OXO scoop for this.
Preparation Method
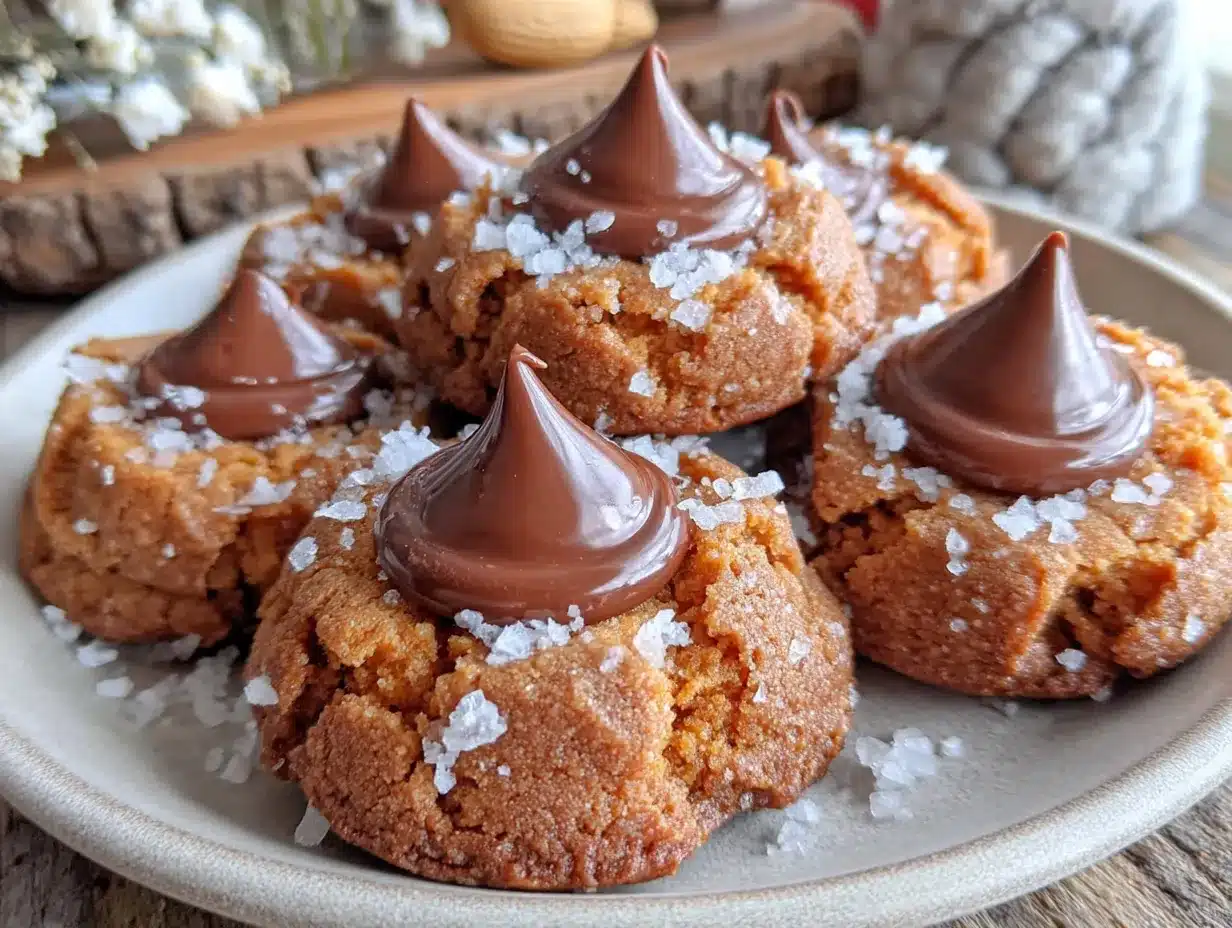
Alright, let’s get to the good part. This method might look like a lot of steps, but I promise it’s straightforward. Take your time with the brown butter—it’s the heart of this recipe.
- Brown the butter: Place the 1 cup of unsalted butter in your light-colored saucepan over medium heat. Let it melt completely, then continue cooking, swirling the pan occasionally. The butter will start to foam and sputter. After a few minutes, you’ll see brown specks forming at the bottom of the pan, and the butter will smell nutty and toasty. This takes about 5-7 minutes. Watch it carefully—it can go from browned to burnt in seconds. Once it’s a deep amber color and smells amazing, remove it from the heat immediately and pour it into a heatproof bowl to stop the cooking. Let it cool for 10-15 minutes. It should be warm but not hot when you add it to the sugars.
- Preheat and prep: While the butter cools, preheat your oven to 350°F (175°C). Line two baking sheets with parchment paper or silicone mats. Unwrap your Hershey’s Kisses and set them aside in a bowl. You’ll need them fast later.
- Mix the wet ingredients: In your large mixing bowl, combine the cooled brown butter, 1 cup granulated sugar, and ½ cup packed light brown sugar. Beat with your hand mixer or stand mixer on medium speed until well combined, about 1 minute. It won’t be fluffy like creamed butter and sugar, but it should be smooth. Add the ¾ cup peanut butter and beat until incorporated. Then add the 1 room-temperature egg and 1 teaspoon vanilla extract, and beat until the mixture is smooth and glossy, about 30 seconds.
- Combine the dry ingredients: In a separate small bowl, whisk together the 1 ¾ cups all-purpose flour, 1 teaspoon baking soda, and ½ teaspoon salt. Make sure there are no lumps.
- Mix the dough: Gradually add the dry ingredients to the wet ingredients, mixing on low speed or stirring with a rubber spatula. Mix just until the flour disappears. Don’t overmix, or the cookies will be tough. The dough will be soft and slightly sticky, but it should hold together. If it feels too sticky to handle, chill it for 15 minutes.
- Portion the dough: Place about ½ cup of granulated sugar in a shallow bowl. Using your cookie scoop or a tablespoon, scoop out rounded balls of dough, about 1.5 tablespoons each. Roll each ball between your palms until smooth, then roll it in the sugar to coat completely. Place the sugared dough balls on the prepared baking sheets, spacing them about 2 inches apart. You should get about 48 cookies, so you’ll need to bake in batches.
- Bake the cookies: Bake one sheet at a time on the center rack for 10-12 minutes. The cookies will look puffy and slightly underdone in the center when they’re ready. The edges should be set and lightly golden. Don’t overbake! They will continue to cook on the hot sheet after you take them out. For soft, chewy cookies, pull them at the 10-minute mark.
- Add the kisses: This is the critical moment. As soon as the cookies come out of the oven, working quickly, press one Hershey’s Kiss into the center of each cookie. Press down gently until the cookie cracks slightly around the edges. The kiss should be firmly seated but not completely submerged. If the kiss slides out, you pressed too hard or the cookie is too warm—let them cool for 30 seconds first.
- Cool completely: Let the cookies cool on the baking sheet for 5 minutes. This allows them to set up and the chocolate to soften. Then transfer them to a wire rack to cool completely. The chocolate kisses will firm up as they cool, but they’ll stay soft and creamy inside.
Cooking Tips & Techniques
I’ve made these cookies more times than I can count, and I’ve definitely made my share of mistakes. Here’s what I’ve learned so you don’t have to repeat my errors.
Watch the butter like a hawk. The first time I tried browning butter, I got distracted by a phone call and ended up with black, acrid butter that smelled like a campfire. It was a total loss. Stay at the stove, keep the heat at medium, and swirl the pan constantly. The moment you see those brown specks and smell that nutty aroma, pull it off the heat. It’s a quick window.
Don’t skip the cooling step. If you add hot brown butter to your sugars and egg, you’ll end up with scrambled eggs and a greasy mess. Let the butter cool for at least 10 minutes. It should be warm to the touch but not hot. I usually let it sit while I preheat the oven and unwrap the kisses.
Use a cookie scoop for uniform cookies. I know it’s an extra tool to wash, but it makes a huge difference. When all your cookies are the same size, they bake at the same rate. No more burnt edges on small cookies while the big ones are still raw in the middle. Plus, it’s faster than scooping with a spoon.
Chill the dough if it’s sticky. If your kitchen is warm or your peanut butter is a little runny, the dough can get too soft to roll. Don’t panic. Just pop the bowl in the fridge for 15-20 minutes. Chilled dough is much easier to handle and will also spread less in the oven, giving you thicker cookies.
Press the kiss in at the right moment. This is the trickiest part. If you press the kiss in when the cookie is too hot, it will melt into a puddle. If you wait too long, the cookie will be too firm and the kiss won’t stick. The sweet spot is about 30-45 seconds after the cookies come out of the oven. The cookie should be set but still soft enough to give slightly when you press.
Variations & Adaptations
One of the best things about this recipe is how flexible it is. Here are a few ways I’ve changed it up over the years.
Dark Chocolate Lovers: Swap the milk chocolate Hershey’s Kisses for dark chocolate ones. The bitterness of dark chocolate is a beautiful contrast to the sweet, nutty brown butter and peanut butter. I did this for a dinner party once, and everyone raved about how “sophisticated” the cookies were. Fancy, right?
Gluten-Free Version: I’ve made these with a 1:1 gluten-free baking flour blend (like Bob’s Red Mill or King Arthur Measure for Measure) and they turned out surprisingly well. The texture is slightly more delicate, but the flavor is spot on. Make sure your blend contains xanthan gum for structure.
Extra Crunchy: If you love texture, use chunky peanut butter instead of creamy. You’ll get little bits of peanut in every bite. I did this on a whim one afternoon and now it’s my husband’s favorite version. Just note that the dough might be a little more crumbly, so be gentle when rolling.
Holiday Twist: For Christmas, I like to use the candy cane Hershey’s Kisses. The little bits of peppermint in the chocolate add a festive touch. For Valentine’s Day, the pink and red Kisses are adorable. It’s an easy way to make the cookies feel special for any occasion.
Stuffed Blossoms: This is a fun one. Take a small piece of chocolate (like a chunk from a chocolate bar) and wrap the cookie dough around it before rolling it in sugar. Then press a kiss on top as usual. You get a double dose of chocolate in the center. It’s decadent, but sometimes you need that.
Serving & Storage Suggestions
These cookies are best served slightly warm, when the chocolate kiss is still soft and the cookie is tender. I like to enjoy them with a cold glass of milk or a hot cup of coffee. The contrast between the warm cookie and the cold drink is pure comfort. They’re also wonderful crumbled over a bowl of vanilla ice cream for a quick dessert sundae.
For storage, keep the cookies in an airtight container at room temperature. They’ll stay soft and fresh for up to 5 days. I like to layer them between sheets of parchment paper to prevent the kisses from sticking together. If you live in a humid climate, you might want to add a piece of bread to the container to absorb excess moisture and keep the cookies from getting soggy.
You can also freeze these cookies beautifully. Place the baked and cooled cookies in a single layer on a baking sheet and freeze until solid, about 1 hour. Then transfer them to a freezer-safe bag or container. They’ll keep for up to 3 months. To thaw, just leave them at room temperature for about 30 minutes. The chocolate kiss will look a little dusty when frozen, but it will regain its shine as it warms up.
If you want to freeze the dough instead, roll the dough balls and coat them in sugar, then place them on a baking sheet and freeze until solid. Transfer the frozen dough balls to a freezer bag. When you’re ready to bake, place them on a baking sheet and add 2-3 minutes to the baking time. No need to thaw first. This is a lifesaver for unexpected guests.
Nutritional Information & Benefits
Let’s be honest—this is a treat, not a health food. But knowing what’s in your food is always a good thing. Here’s the approximate nutritional breakdown for one cookie (based on 48 cookies).
| Nutrient | Amount per Cookie |
|---|---|
| Calories | 135 |
| Total Fat | 8g |
| Saturated Fat | 4g |
| Cholesterol | 18mg |
| Sodium | 85mg |
| Total Carbohydrates | 15g |
| Sugars | 10g |
| Protein | 3g |
That said, this recipe does have some redeeming qualities. Peanut butter provides a small amount of protein and healthy fats, and it’s a good source of vitamin E and magnesium. The brown butter, while high in fat, adds a depth of flavor that means you’re satisfied with one or two cookies instead of a whole batch. Everything in moderation, right? These are the kind of cookies that are worth the splurge because they’re made with real ingredients and a lot of love.
Conclusion
These Cozy Brown Butter Peanut Butter Blossom Cookies are more than just a recipe to me. They’re a connection to a memory, a taste of my childhood, and a reminder that sometimes the smallest changes—like browning the butter—can make the biggest difference. They’re the cookie I make when I need a little comfort, when I want to fill my kitchen with that nutty, warm smell, or when I just want to see someone smile after the first bite.
I hope you give them a try. Don’t be intimidated by the brown butter—it’s easier than you think, and the payoff is huge. And please, don’t be afraid to make them your own. Add a sprinkle of sea salt on top before baking. Use dark chocolate kisses. Double the batch because they’ll disappear fast. Whatever you do, I’d love to hear about it. Leave a comment below and tell me how they turned out, or share a photo on Pinterest and tag me. There’s nothing I love more than seeing someone else fall in love with a recipe.
Happy baking, friends. And remember—sometimes the best things in life come from a cracked Pyrex bowl and a little bit of patience.
Frequently Asked Questions
Can I use natural peanut butter?
I don’t recommend it. Natural peanut butter that separates can make the cookies greasy and cause them to spread too much. The stabilizers in conventional peanut butter like Jif or Skippy help the cookies hold their shape and maintain that soft, chewy texture.
Why did my cookies spread too much?
This usually happens for a few reasons. Your butter might have been too warm when you mixed the dough, or your dough wasn’t chilled before baking. Also, make sure you’re measuring your flour correctly—spoon it into the cup and level it off, don’t scoop directly from the bag. Too little flour can cause spreading.
Can I make these cookies ahead of time?
Absolutely. You can make the dough up to 3 days in advance and keep it covered in the refrigerator. Let it sit at room temperature for about 15 minutes before scooping and rolling, as it will be very firm. You can also freeze the baked cookies for up to 3 months.
How do I keep the chocolate kisses from melting completely?
The key is timing. Let the cookies cool on the baking sheet for about 30-45 seconds after coming out of the oven before pressing in the kisses. If they’re too hot, the chocolate will melt into a puddle. If you wait too long, the cookie will be too firm. Also, make sure your kisses are at room temperature, not warm.
Can I use a different type of chocolate?
Of course! Dark chocolate, white chocolate, or even caramel-filled kisses all work beautifully. You can also use chocolate chips or a chunk of a chocolate bar pressed into the center. Just keep in mind that different chocolates have different melting points, so you might need to adjust the timing slightly.
Pin This Recipe!
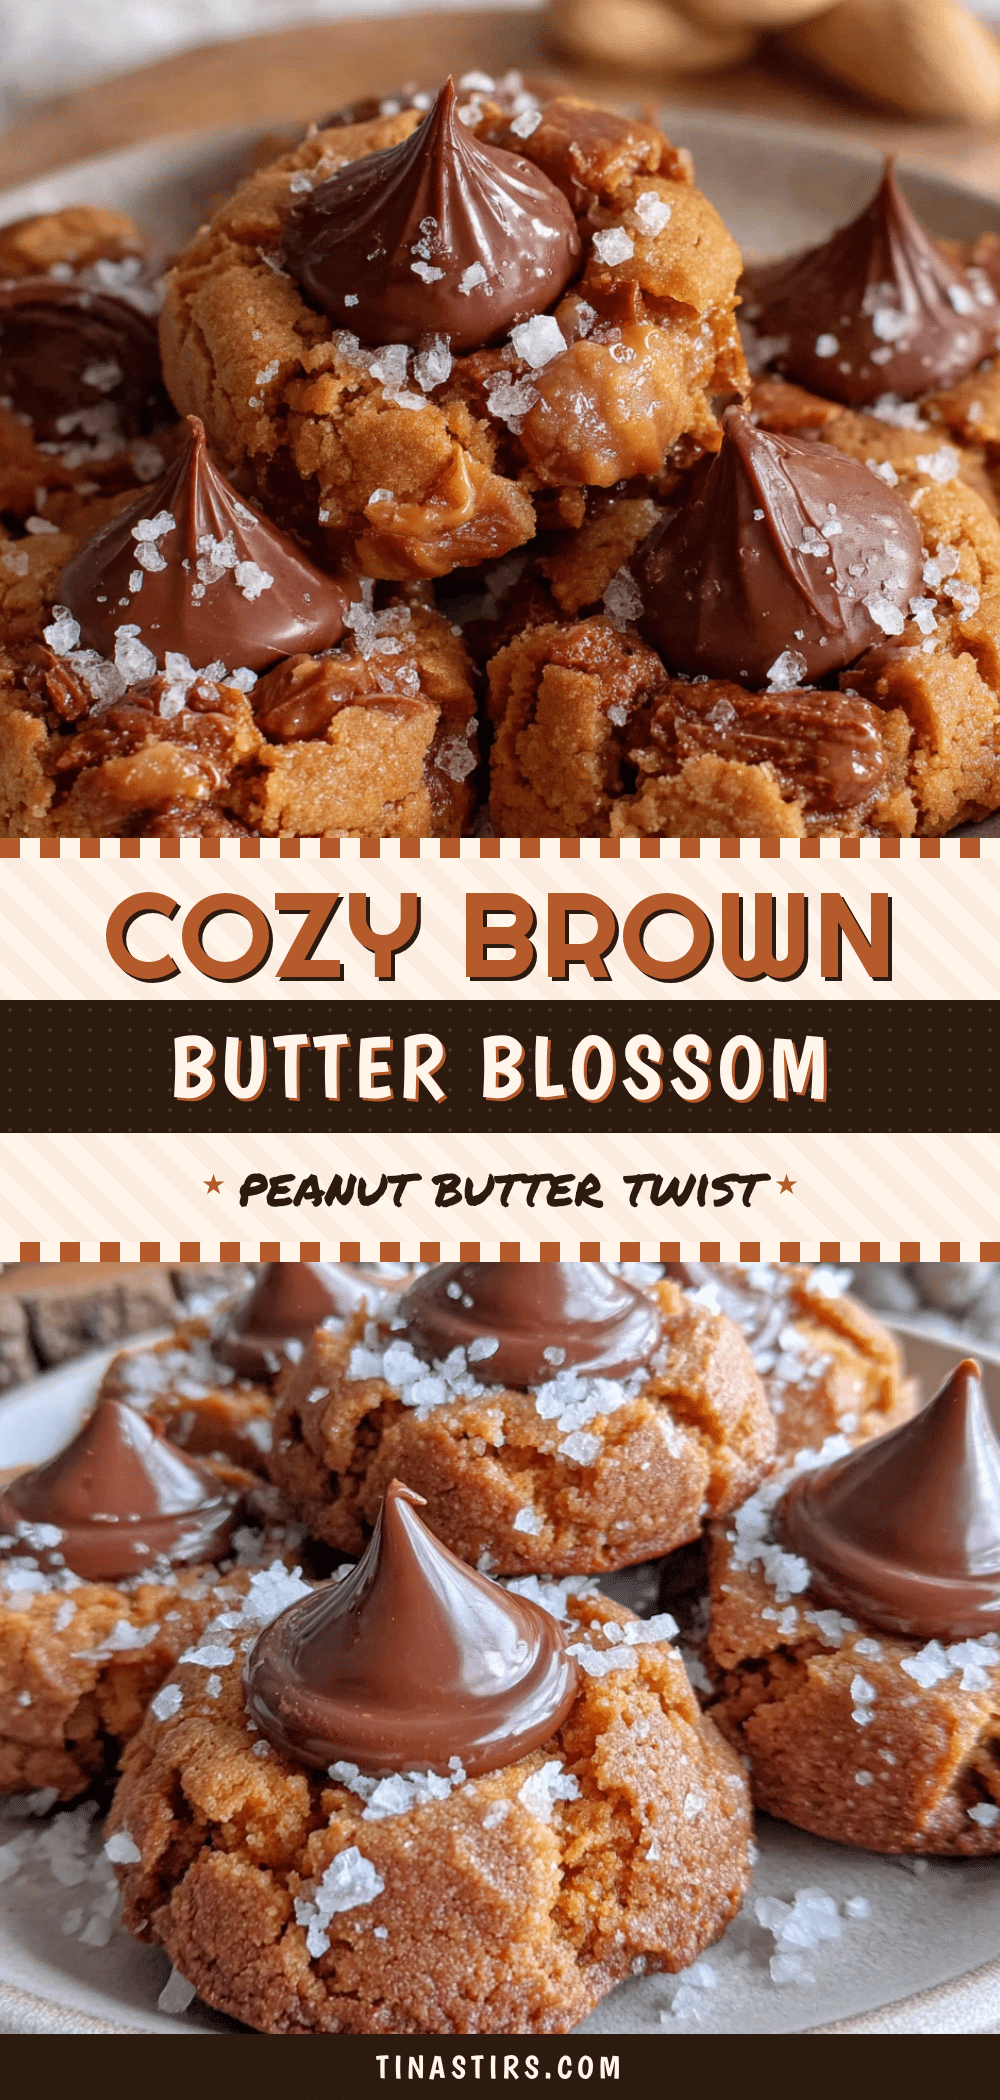
Cozy Brown Butter Peanut Butter Blossom Cookies

These soft and chewy peanut butter blossom cookies feature nutty browned butter for an extra layer of flavor, topped with a classic Hershey’s Kiss. They’re the perfect nostalgic treat that tastes even better than you remember.
- Prep Time: 20 minutes
- Cook Time: 12 minutes
- Total Time: 32 minutes
- Yield: 48 cookies 1x
- Category: Dessert
- Cuisine: American
Ingredients
- 1 cup (2 sticks, 226g) unsalted butter
- 3/4 cup (192g) creamy peanut butter (like Jif or Skippy)
- 1 cup (200g) granulated sugar, plus extra for rolling
- 1/2 cup (100g) packed light brown sugar
- 1 large egg, room temperature
- 1 teaspoon pure vanilla extract
- 1 3/4 cups (218g) all-purpose flour
- 1 teaspoon baking soda
- 1/2 teaspoon salt
- About 48 Hershey’s Kisses, unwrapped
Instructions
- Brown the butter: Place the 1 cup of unsalted butter in a light-colored saucepan over medium heat. Let it melt completely, then continue cooking, swirling the pan occasionally. The butter will foam and sputter. After a few minutes, brown specks will form at the bottom and the butter will smell nutty and toasty (about 5-7 minutes). Remove from heat immediately and pour into a heatproof bowl to stop cooking. Let cool for 10-15 minutes until warm but not hot.
- Preheat and prep: Preheat oven to 350°F (175°C). Line two baking sheets with parchment paper or silicone mats. Unwrap Hershey’s Kisses and set aside.
- Mix the wet ingredients: In a large mixing bowl, combine the cooled brown butter, 1 cup granulated sugar, and 1/2 cup packed light brown sugar. Beat with a hand mixer or stand mixer on medium speed until well combined, about 1 minute. Add the 3/4 cup peanut butter and beat until incorporated. Add the room-temperature egg and 1 teaspoon vanilla extract, and beat until smooth and glossy, about 30 seconds.
- Combine the dry ingredients: In a separate small bowl, whisk together the 1 3/4 cups all-purpose flour, 1 teaspoon baking soda, and 1/2 teaspoon salt.
- Mix the dough: Gradually add the dry ingredients to the wet ingredients, mixing on low speed or stirring with a rubber spatula. Mix just until the flour disappears. Do not overmix. The dough will be soft and slightly sticky.
- Portion the dough: Place about 1/2 cup of granulated sugar in a shallow bowl. Using a cookie scoop or tablespoon, scoop out rounded balls of dough, about 1.5 tablespoons each. Roll each ball between your palms until smooth, then roll in the sugar to coat completely. Place on prepared baking sheets, spacing about 2 inches apart. You should get about 48 cookies.
- Bake the cookies: Bake one sheet at a time on the center rack for 10-12 minutes. The cookies will look puffy and slightly underdone in the center when ready. Edges should be set and lightly golden. Do not overbake.
- Add the kisses: As soon as the cookies come out of the oven, working quickly, press one Hershey’s Kiss into the center of each cookie. Press down gently until the cookie cracks slightly around the edges. The kiss should be firmly seated but not completely submerged.
- Cool completely: Let the cookies cool on the baking sheet for 5 minutes. Then transfer to a wire rack to cool completely.
Notes
Watch the butter carefully when browning—it can go from browned to burnt in seconds. Let the butter cool for at least 10 minutes before adding to the sugars to avoid scrambling the egg. If the dough is too sticky, chill it for 15-20 minutes. Press the kisses in about 30-45 seconds after the cookies come out of the oven for best results. For uniform cookies, use a cookie scoop.
Nutrition
- Serving Size: 1 cookie
- Calories: 135
- Sugar: 10
- Sodium: 85
- Fat: 8
- Saturated Fat: 4
- Carbohydrates: 15
- Protein: 3
Keywords: peanut butter blossom cookies, brown butter cookies, Hershey's Kiss cookies, soft peanut butter cookies, chewy peanut butter cookies, classic Christmas cookies