Love this? Save it for later!
Share the inspiration with your friends
My teenage niece, who usually communicates in monosyllables and eye rolls, asked why I couldn’t just buy the frozen apple crisp at the grocery store. I started to explain why that wouldn’t work — then stopped. I looked at the half-peeled apples on my counter and the sad, stale-looking box in her hand, and I realized she was right about one thing: I was overcomplicating it. I had been stressing over the perfect apple variety, the precise ratio of spices, and whether the oats needed to be toasted before mixing. It was exhausting, honestly.
So, I just tossed everything together. I used the apples that were slightly soft, I skipped the fancy nutmeg grinder, and I didn’t even bother sifting the flour. We put it in the oven and waited. When it came out, the kitchen smelled like a bakery in October, and the topping was golden and shattering under the spoon. She took one bite, chewed slowly, and said, “Okay, that’s actually good.” It wasn’t just good; it was better than anything I’d spent an hour making. I felt a little sheepish about my earlier lectures on culinary precision, but mostly just delighted that I had been humbled by her laziness.
That moment stuck with me. It reminded me that some of the best comfort foods aren’t about perfection; they’re about presence. This crispy classic apple crisp with oat topping became my go-to for those nights when I didn’t have the energy to be a chef, but still wanted to feed my family something warm and sweet. Maybe you’ve been there, staring at a recipe that feels too complicated for a Tuesday night. You know that feeling when you just want the result without the drama? That’s exactly what this recipe delivers.
I keep making it because it’s forgiving. If the apples are too tart, I add a bit more sugar. If I run out of oats, I use more flour. It adapts to me, rather than me adapting to it. It’s become a ritual, a small moment of peace in a chaotic week. And honestly, if my niece can appreciate it, it must be doing something right.
Why You’ll Love This Recipe
Let’s be real for a second. Not every dessert is created equal, and not every crisp recipe is worth the oven heat. This one, however, is special. It’s the kind of dessert that feels like a hug in a bowl. I’ve tested dozens of variations over the years, from adding brown butter to trying different flours, and I always come back to this simple, reliable version. It’s not just about the taste; it’s about the experience. Here is why this recipe has earned a permanent spot in your rotation.
- Quick & Easy: You can have this ready in under 45 minutes, including prep time. It’s perfect for busy weeknights when you need a sweet fix but don’t have hours to spare. No complex techniques or fancy equipment required.
- Simple Ingredients: You likely already have everything in your kitchen right now. Flour, sugar, oats, butter, and apples. No obscure spices or hard-to-find ingredients. It’s pantry-friendly cooking at its finest.
- Perfect for Potlucks: This dish travels well and is always a hit at gatherings. Whether it’s a church dinner, a neighbor’s housewarming, or a casual get-together, it’s a crowd-pleaser that everyone loves.
- Crowd-Pleaser: Kids love the sweetness, and adults appreciate the hint of spice and the crunch. It bridges the gap between a healthy-ish fruit dessert and a pure indulgence.
- Unbelievably Delicious: The texture is everything. The apples get tender and juicy, while the oat topping stays crisp and buttery. It’s a contrast that keeps you coming back for more.
- Why It’s Different: Many recipes rely on cake-like toppings or excessive nuts. This version focuses on the classic oat crumble, which provides a hearty, wholesome texture that feels substantial yet light. The balance of cinnamon and apple is dialed in perfectly, so you don’t need extra ice cream to make it shine.
This recipe isn’t just good; it’s the kind that makes you close your eyes after the first bite. It’s comfort food reimagined—simpler, faster, but with the same soul-soothing satisfaction. It’s perfect for impressing guests without stress, or turning a simple meal into something memorable.
What Ingredients You Will Need
This recipe uses simple, wholesome ingredients to deliver bold flavor and satisfying texture without the fuss. The beauty of an apple crisp lies in its simplicity, so choosing quality ingredients where it counts makes a huge difference. You don’t need anything fancy, just fresh, accessible items. Here is what you’ll need to make your crispy classic apple crisp with oat topping.
- Apples (6-7 medium): You want a mix of tart and sweet for the best flavor profile. I recommend using a combination of Granny Smith and Honeycrisp. Granny Smith provides the structure and tang, while Honeycrisp adds sweetness and juiciness. Avoid using Red Delicious, as they tend to turn mushy and lack flavor.
- Old-Fashioned Rolled Oats (1 cup): Do not use instant oats or steel-cut oats. Old-fashioned oats provide the perfect chewy-crisp texture. They hold up better during baking and absorb the butter without turning into paste. If you need gluten-free, ensure you use certified gluten-free oats.
- All-Purpose Flour (1 cup): This acts as the binder for the topping. It helps create that crumbly, shortbread-like texture. I prefer Gold Medal flour for its consistent texture, but any standard brand will work fine.
- Unsalted Butter (1/2 cup): Cold, cubed butter is key. It creates pockets of steam as it melts, which helps the topping become flaky and crisp. Salted butter can be used, but you’ll need to reduce any added salt in the recipe. I like to use Kerrygold for its rich color and flavor.
- Granulated Sugar (1/2 cup): This sweetens the topping. If you prefer a less sweet dessert, you can reduce this to 1/3 cup. Brown sugar can be substituted for a deeper, molasses-like flavor, but it will make the topping slightly denser.
- Light Brown Sugar (1/2 cup): This adds moisture and a caramel-like note to the crisp. It helps the topping brown nicely in the oven. Make sure it’s not hardened; if it is, microwave it for a few seconds to soften it.
- Cinnamon (1 teaspoon): Ground cinnamon is essential for that classic apple pie flavor. Use a good quality brand like McCormick for a fresh, potent flavor. If you want to get fancy, you can add a pinch of nutmeg or allspice, but cinnamon is the star here.
- Apple Pie Spice (1/2 teaspoon): This is optional but recommended. It adds complexity with hints of clove and ginger. If you don’t have it, just increase the cinnamon to 1.5 teaspoons.
- Vanilla Extract (1 teaspoon): A splash of vanilla enhances the natural sweetness of the apples. Use pure vanilla extract, not imitation, for the best flavor.
- Lemon Juice (1 tablespoon): This prevents the apples from browning and adds a bright acidity that balances the sweetness. Freshly squeezed is best, but bottled works in a pinch.
- Salt (1/4 teaspoon): Just a pinch to balance the sweetness and bring out the flavors. Don’t skip this step.
Equipment Needed
You don’t need a lot of fancy gear to make this, but having the right tools makes the process smoother. Here is what you’ll need.
- 9×9 Inch Baking Dish: A square dish is ideal because it creates a nice ratio of topping to filling. Glass dishes like Pyrex heat evenly and let you see the browning. Ceramic dishes retain heat well, keeping the crisp warm longer. Avoid metal pans if you want a crispier bottom, as they can sometimes cause the edges to burn.
- Mixing Bowls: You’ll need two medium bowls. One for the apple mixture and one for the topping. I like to use stainless steel bowls because they are durable and easy to clean.
- Fork or Pastry Cutter: Use a fork to cut the butter into the dry ingredients. It’s simpler than a pastry cutter and gives you enough control to create chunky crumbs. If you have a pastry cutter, it works too, but be careful not to over-mix.
- Peeler and Knife: A Y-peeler is faster for peeling apples, but a paring knife gives you more control. For slicing, a sharp chef’s knife or a mandoline works well. A mandoline ensures uniform slices, which helps them cook evenly.
- Measuring Cups and Spoons: Accuracy matters, especially with the dry ingredients. Use standard measuring cups for volume and level them off with a straight edge. For spices, use measuring spoons and level them off as well.
If you don’t have a 9×9 dish, an 8×8 dish will work, but the crisp will be thicker and may need a few extra minutes in the oven. Conversely, a 10×10 dish will result in a thinner crisp that cooks faster. Adjust your baking time accordingly. Also, make sure your baking dish is clean and dry before use to prevent sticking.
Preparation Method
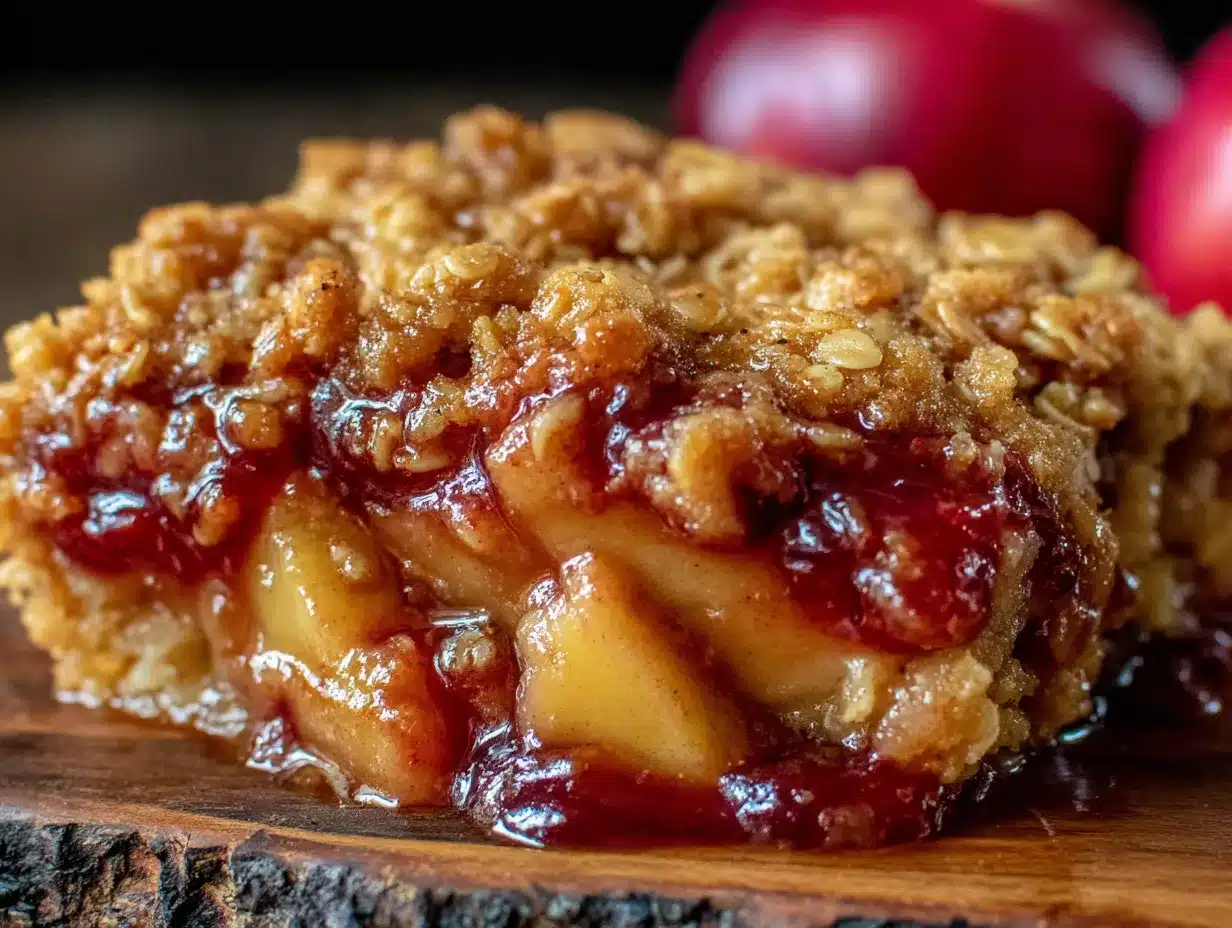
- Preheat the Oven: Start by preheating your oven to 375°F (190°C). This ensures the oven is at the right temperature when the crisp goes in, promoting even baking. While it heats up, you can start prepping the apples. This multitasking saves time.
- Prepare the Apples: Peel, core, and slice the apples into 1/4-inch thick slices. Uniformity is key here; if some slices are too thick, they won’t cook through. Place the slices in a large mixing bowl. Drizzle with lemon juice and toss gently to coat. This step prevents oxidation and adds a subtle brightness.
- Season the Apples: Add the granulated sugar, brown sugar, cinnamon, apple pie spice, vanilla extract, and salt to the apples. Toss everything together until the apples are evenly coated. Taste a slice (if you can resist); it should taste sweet and spiced. If it tastes bland, add a bit more sugar or spice. Let the apples sit for 10 minutes. This draws out some of the juices, which will thicken the sauce later.
- Transfer to Baking Dish: Pour the apple mixture into your prepared 9×9 baking dish. Spread it out evenly. If there are too many juices, you can drain a little off, but usually, the topping will absorb most of it. Smooth the top with a spatula.
- Make the Topping: In a separate bowl, combine the rolled oats, flour, brown sugar, granulated sugar, cinnamon, and salt. Mix these dry ingredients with a fork until they are well combined. The mixture should look like coarse sand.
- Cut in the Butter: Add the cold, cubed butter to the dry mixture. Use a fork or your fingers to work the butter into the flour. You want to create large, pea-sized crumbs. Don’t over-mix; you want some larger chunks of butter for flakiness. If the mixture feels too dry, add a teaspoon more of cold butter. If it’s too wet, add a sprinkle of flour.
- Assemble the Crisp: Sprinkle the oat topping evenly over the apples. Press down gently to help it adhere. This prevents the topping from sliding off when you serve it. Make sure there are no bare spots of apple visible.
- Bake: Place the dish in the preheated oven and bake for 35-40 minutes. The topping should be golden brown, and the apples should be tender when pierced with a fork. If the topping is browning too quickly, cover the edges with a piece of foil. You’ll know it’s done when you see bubbles of syrupy apple juice peeking through the topping.
- Cool and Serve: Let the crisp cool for at least 10-15 minutes before serving. This allows the juices to thicken slightly, making it easier to scoop. Serve warm with a scoop of vanilla ice cream or a dollop of whipped cream. The contrast of hot crisp and cold ice cream is pure heaven.
Cooking Tips & Techniques
Let me share a few secrets I’ve picked up along the way. First, don’t skip the resting time for the apples. It might seem like an extra step, but it really helps the flavors meld and the juices release. Second, when cutting in the butter, keep your hands cold. If the butter melts too much before it hits the oven, you lose those flaky layers. If your kitchen is warm, pop the butter in the freezer for 5 minutes before cubing it.
Another common mistake is using too many apples. Apples shrink significantly when baked. If you overfill the dish, the topping will sink, and the bottom layer might be undercooked. Stick to the 6-7 medium apples measurement. Also, if you prefer a chewier topping, press it down firmly. For a crispier topping, leave it loose and fluffy.
Taste your apples before baking. If they are very tart, add a bit more sugar. If they are sweet, reduce it. Every apple is different. I once used a batch of very sweet apples and ended up with a dessert that was cloyingly sweet. Lesson learned! Always adjust to taste. Finally, let it cool. I know it’s hard to wait, but hot apple crisp can be a burning hazard, and the texture is much better after a short cool-down.
Variations & Adaptations
This recipe is a canvas, so feel free to get creative. Here are a few variations I’ve tried.
- Gluten-Free: Swap the all-purpose flour for a 1:1 gluten-free baking flour. Ensure your oats are certified gluten-free. The texture will be slightly different but still delicious.
- Dairy-Free: Use a high-quality plant-based butter stick instead of regular butter. Coconut oil can also work, but it will change the flavor slightly. For the topping, the dairy-free butter works just as well.
- Lower Sugar: Reduce both sugars by half and use a sugar substitute like erythritol. The texture of the topping will be slightly different, but the flavor will still be good. You can also use unsweetened applesauce to add moisture without sugar.
- Extra Crunch: Add 1/2 cup of chopped pecans or walnuts to the topping. Toast them first for extra flavor. I love the addition of pecans; they add a nice earthy note.
- Spice It Up: Add a pinch of cardamom or ginger to the topping for a more complex spice profile. It’s great for winter holidays.
I also tried adding a layer of cream cheese to the bottom once, which was amazing, but it’s a bit more work. Stick to the classic version for ease, but don’t be afraid to tweak it to suit your tastes.
Serving & Storage Suggestions
Serve this warm, right out of the oven. It pairs beautifully with vanilla bean ice cream, whipped cream, or even a slice of sharp cheddar cheese if you’re feeling adventurous. For a sophisticated touch, drizzle a little caramel sauce over the top.
Store leftovers in an airtight container in the refrigerator for up to 5 days. Reheat individual portions in the microwave for 30-60 seconds, or in the oven at 350°F for 10-15 minutes to restore the crispiness. The freezing method is also great; wrap the whole dish tightly in foil and freeze for up to 3 months. Thaw overnight in the fridge before reheating.
The flavors develop over time, so it actually tastes better the next day. The apples soften, and the spices meld together. It’s perfect for meal prep or having a ready-made dessert on hand.
Nutritional Information & Benefits
This recipe contains natural sugars from the fruit, along with fiber from the oats and apples. Apples are a good source of Vitamin C and potassium. Oats provide complex carbohydrates and fiber, which help with digestion. While it is a dessert, the fruit content makes it a bit more nutritious than a cake or cookie. Of course, it’s still high in calories due to the butter and sugar, so enjoy in moderation. It’s not a health food, but it’s a wholesome treat.
Conclusion
This crispy classic apple crisp with oat topping is more than just a dessert; it’s a reminder that simple things can be extraordinary. It’s forgiving, delicious, and easy to make. I hope you try it and find your own moments of joy in the kitchen. Customize it to your liking, share it with friends, and enjoy every bite. If you make it, let me know how it turned out in the comments below. Happy baking!
Frequently Asked Questions
Can I use frozen apples?
Yes, you can use frozen apples, but they will release more juice. You may need to thicken the mixture with a little cornstarch or tapioca starch. Thaw them slightly before adding to prevent the topping from getting soggy.
How do I make the topping crispier?
Make sure your butter is cold and cut it into small, pea-sized pieces. Don’t over-mix the topping. Also, bake it until the topping is golden brown and the juices are bubbling vigorously.
Can I make this ahead of time?
Yes, you can prep the apples and topping separately and store them in the fridge. Assemble and bake just before serving. Alternatively, you can bake it ahead and reheat it.
What kind of apples are best?
A mix of tart and sweet apples works best. Granny Smith and Honeycrisp are popular choices. Avoid apples that turn mushy, like Red Delicious.
Can I use steel-cut oats?
It’s not recommended. Steel-cut oats don’t cook the same way and will remain chewy. Old-fashioned rolled oats are the standard for a reason.
Pin This Recipe!
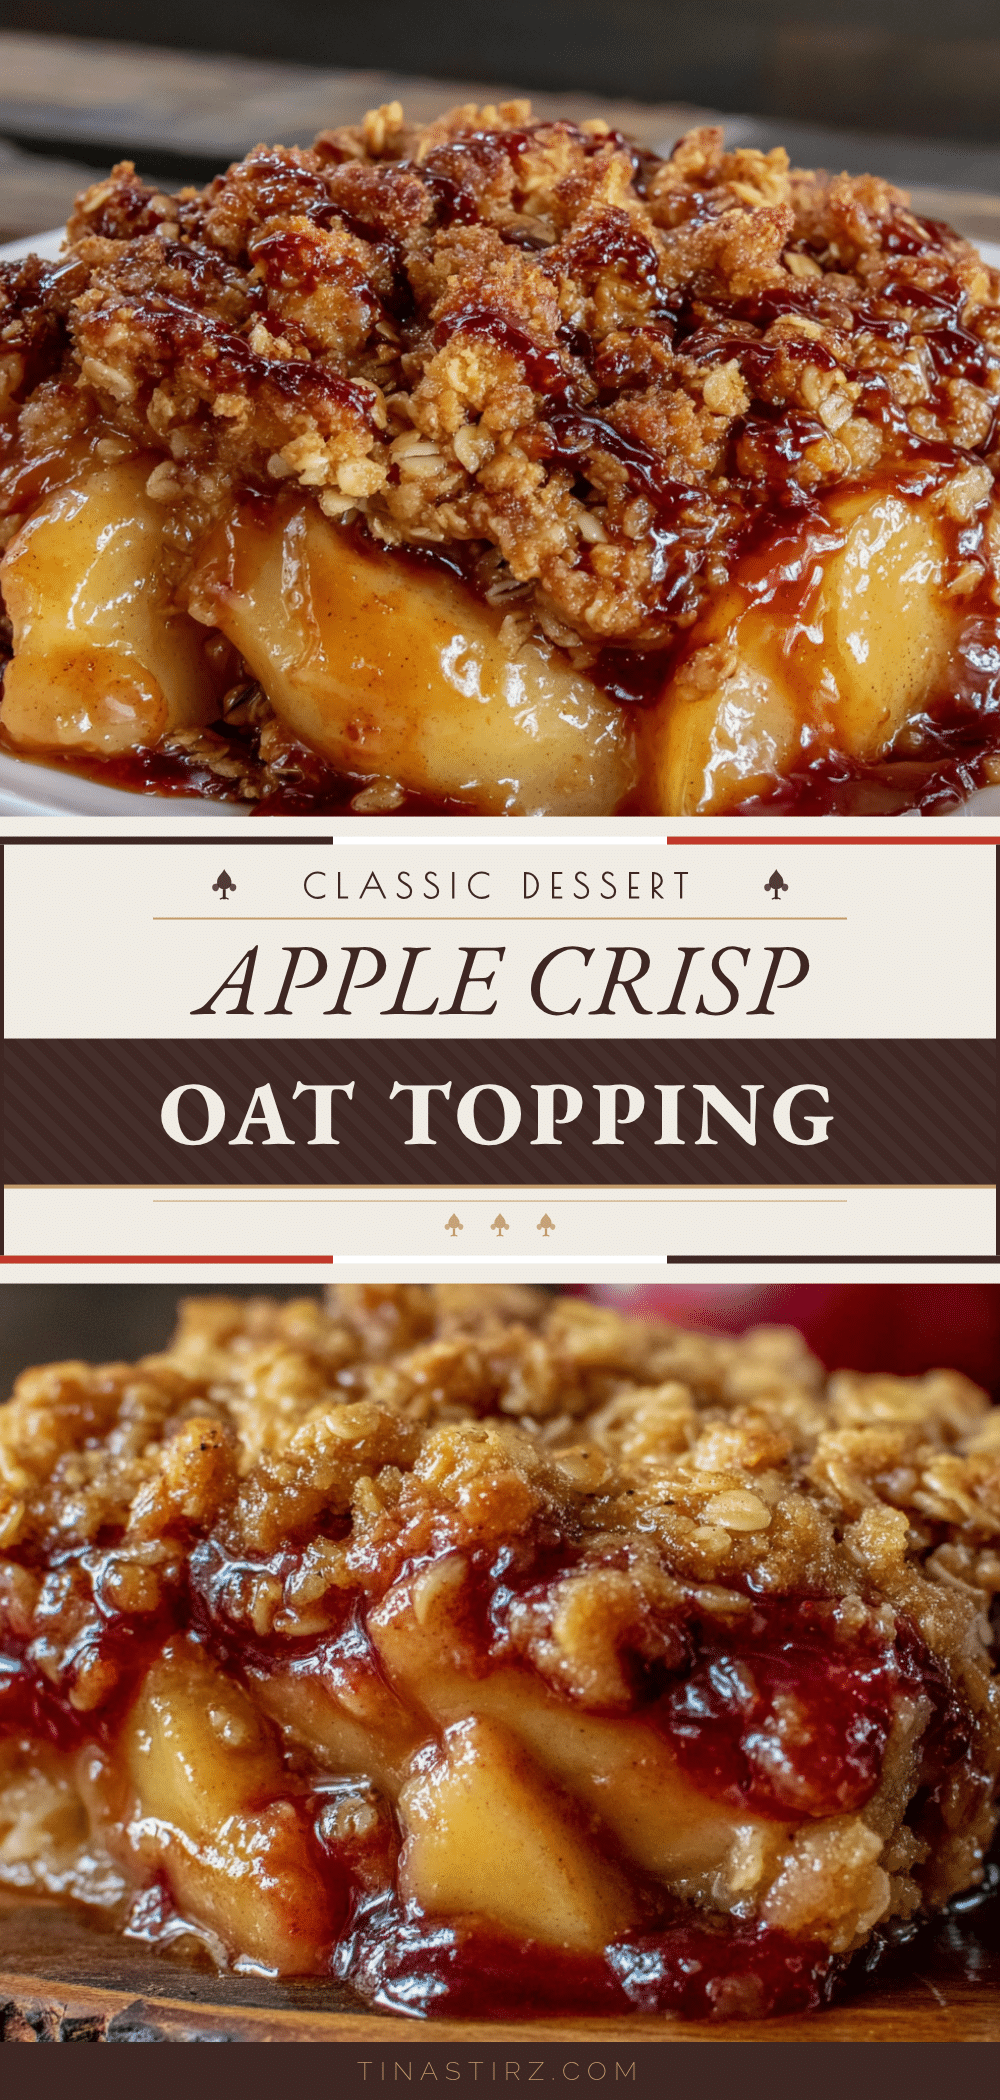
Crispy Classic Apple Crisp with Oat Topping

A simple, forgiving, and delicious 5-ingredient dessert featuring tender apples and a golden, crunchy oat topping. Perfect for busy weeknights or potlucks.
- Prep Time: 15 minutes
- Cook Time: 40 minutes
- Total Time: 55 minutes
- Yield: 8 servings 1x
- Category: Dessert
- Cuisine: American
Ingredients
- 6–7 medium apples (mix of Granny Smith and Honeycrisp), peeled, cored, and sliced
- 1 cup old-fashioned rolled oats
- 1 cup all-purpose flour
- 1/2 cup unsalted butter, cold and cubed
- 1/2 cup granulated sugar
- 1/2 cup light brown sugar
- 1 teaspoon ground cinnamon
- 1/2 teaspoon apple pie spice
- 1 teaspoon vanilla extract
- 1 tablespoon lemon juice
- 1/4 teaspoon salt
Instructions
- Preheat oven to 375°F (190°C).
- Peel, core, and slice apples into 1/4-inch thick slices. Place in a large bowl and toss with lemon juice.
- Add granulated sugar, brown sugar, cinnamon, apple pie spice, vanilla extract, and salt to the apples. Toss to coat and let sit for 10 minutes.
- Transfer the apple mixture to a 9×9 inch baking dish and spread evenly.
- In a separate bowl, combine oats, flour, brown sugar, granulated sugar, cinnamon, and salt.
- Cut the cold butter into the dry mixture using a fork or pastry cutter until it resembles coarse sand with pea-sized crumbs.
- Sprinkle the topping evenly over the apples and press down gently.
- Bake for 35-40 minutes until the topping is golden brown and the apples are tender.
- Let cool for 10-15 minutes before serving.
Notes
For a crispier topping, ensure butter is cold and do not over-mix. If apples are very tart, add more sugar. Let the crisp cool to allow juices to thicken. Can be stored in the fridge for up to 5 days or frozen for up to 3 months.
Nutrition
- Serving Size: 1 slice
- Calories: 320
- Sugar: 38
- Sodium: 150
- Fat: 12
- Saturated Fat: 7
- Carbohydrates: 52
- Fiber: 4
- Protein: 3
Keywords: apple crisp, oat topping, easy dessert, fall baking, comfort food, gluten-free option, dairy-free option


