Love this? Save it for later!
Share the inspiration with your friends
My friend Jenna swore she hated Jell-O. For years. Like, wouldn’t touch the stuff at potlucks, made a face at the mention of it, the whole deal. Then I showed up at her Halloween party last October with these little cups of layered orange, yellow, and white, and I caught her standing by the snack table, spoon halfway to her mouth, looking caught. “It’s just… creamy?” she said, like she was trying to figure out if she’d been wrong this whole time. She ate three.
Honestly, I didn’t set out to prove anyone wrong. I was just looking for something fun to bring that wasn’t another bag of chips or a store-bought pumpkin pie. I had a box of orange Jell-O in the pantry, some vanilla pudding mix, and a can of crushed pineapple that had been sitting there since summer. The idea just sort of clicked into place, you know? Three layers, three colors, zero baking. I made a mess on my counter trying to pour the first layer without sloshing it everywhere, and I definitely forgot to chill the second layer long enough the first time I tested it. But the end result? People went nuts.
What I love most about these Easy Candy Corn Layered Jello Cups is how they trick everyone. They look like you spent an afternoon fussing with fancy pastry bags and food coloring, but it’s literally three ingredients and some patience for the fridge to do its job. The layers set up clean and bright, and that creamy middle section is the surprise that keeps people coming back for another cup. Maybe you’ve been there—wanting to bring something festive to a gathering without stressing yourself out the day before. These are your answer.
Why You’ll Love This Recipe
Let me tell you why these little cups have become my go-to for every fall gathering. I’ve tested this about six times now, tweaking the chilling times and the layering order, and I can say with confidence—this version is foolproof.
- Only 3 Ingredients : You need a box of orange Jell-O, a box of instant vanilla pudding, and some whipped topping. That’s it. No fancy extracts, no food coloring beyond what’s already in the Jell-O.
- No Bake, No Sweat : The stove gets used for exactly one minute to boil water. After that, the fridge does all the heavy lifting. Perfect for hot afternoons or when you just don’t want to turn on the oven.
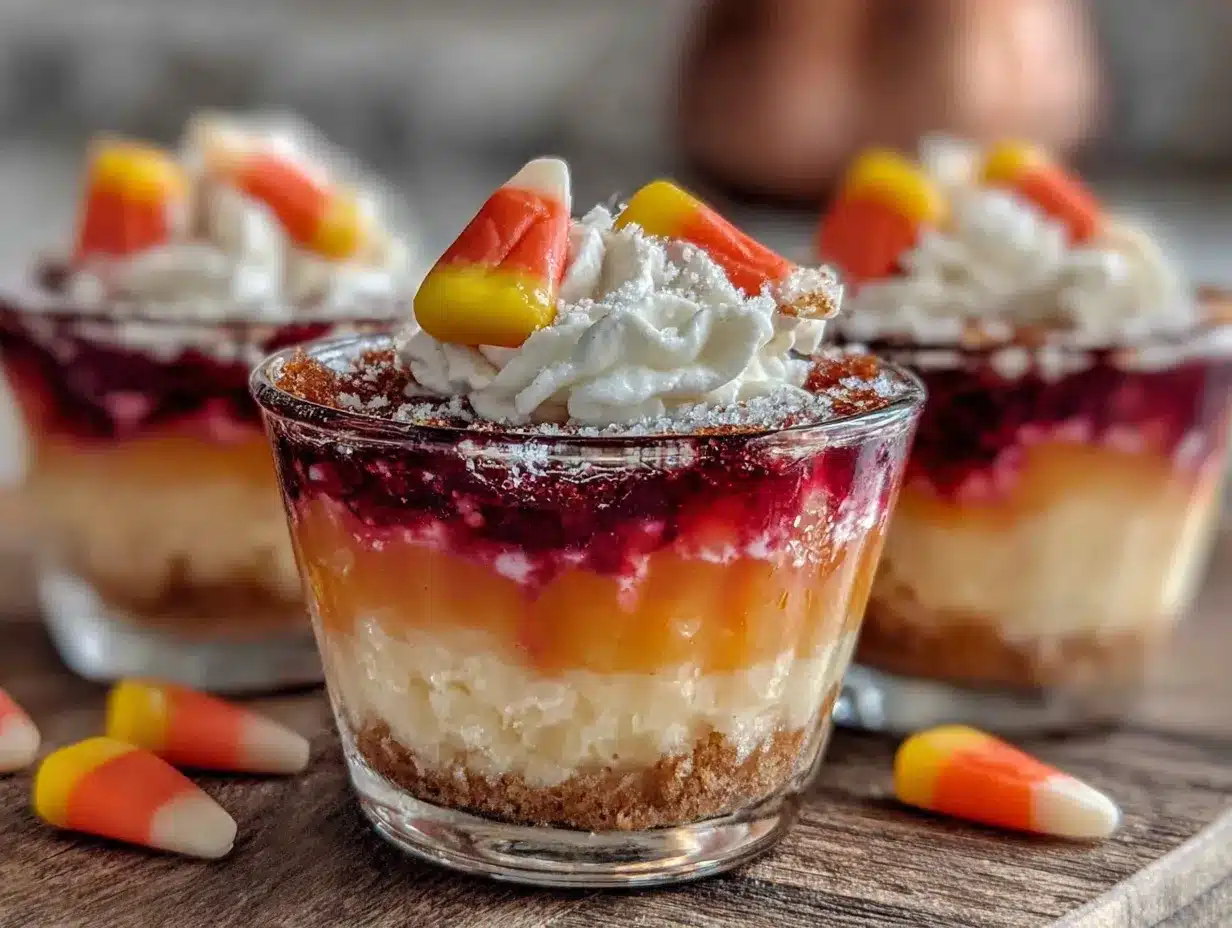
- Perfect for Halloween Parties : The orange, yellow, and white layers mimic candy corn without any of the sticky teeth situation. Kids love the colors, adults love the creamy texture.
- Crowd-Pleaser Guaranteed : I brought these to a neighborhood potluck and watched a grown man go back for a fourth cup. Fourth. People cannot stop eating them.
- Make-Ahead Friendly : You can assemble these the night before and just pull them out when guests arrive. One less thing to worry about while you’re trying to get the dip platter sorted.
What makes this recipe different from every other Jell-O dessert out there is the layering technique. Most versions turn into a muddy mess where the colors bleed together and you end up with a sad brownish-orange situation. I figured out that letting each layer set just long enough—but not too long—creates those crisp, clean lines that make people think you’re some kind of kitchen wizard. And the texture? The creamy pudding layer breaks up the bouncy Jell-O in a way that just works. It’s comfort food reimagined—faster, simpler, but with the same satisfying payoff.
This is the kind of dessert that makes you close your eyes after the first bite. Not because it’s fancy, but because it’s exactly what you wanted without knowing you wanted it. Perfect for impressing a room full of kids, or a room full of adults pretending they’re too cool for Jell-O.
What Ingredients You Will Need
This recipe uses simple, everyday ingredients to create something that looks way more complicated than it actually is. Here is what you need to grab from the store:
For the Orange Layer (Bottom)
- 1 box (3 oz) orange-flavored Jell-O (I prefer Jell-O brand for consistent setting, but store brands work fine too)
- 1 cup boiling water
For the Yellow Layer (Middle)
- 1 box (3.4 oz) instant vanilla pudding mix (Jell-O brand or store brand both work)
- 1 cup cold milk (whole milk gives the creamiest texture, but 2% works too)
- 1/2 cup frozen whipped topping, thawed (like Cool Whip—adds lightness to the pudding layer)
For the White Layer (Top)
- 1 cup frozen whipped topping, thawed (this creates that fluffy white cap that looks like the tip of a candy corn)
Ingredient Notes & Substitutions
- Orange Jell-O : You can use any orange-flavored gelatin. If you want a more natural option, look for brands that use fruit juice for coloring. I’ve tested this with generic store brand and it sets just fine, though the color is slightly less vibrant.
- Instant Vanilla Pudding : Make sure you grab the instant kind, not the cook-and-serve version. The instant sets up in the fridge without needing the stove, which is the whole point of this easy recipe. If you’re dairy-free, use almond milk or oat milk—just know the texture will be slightly less thick.
- Whipped Topping : I know some folks prefer homemade whipped cream, and you can absolutely use that for the top layer. But for the middle layer, stick with the frozen stuff—it stabilizes the pudding better and keeps the layers distinct. Thaw it in the fridge for a few hours before you start.
- Milk : Whole milk gives the richest pudding layer. If you’re watching calories, 2% works fine. Skim milk will work but the pudding won’t be as luscious. I wouldn’t recommend plant-based milks for the pudding layer unless you’ve tested them before—they can sometimes get grainy.
One thing I learned the hard way: check your Jell-O expiration date before you start. Old gelatin doesn’t set properly, and you’ll end up with a soupy mess that never firms up. Trust me on this one—I learned that lesson at 10 PM the night before a party.
Equipment Needed
You don’t need much for this recipe, which is honestly my favorite part. Here is what you’ll want to have on hand:
- Small clear cups : I use 5-ounce plastic cups from the party supply store. You can also use small glass dessert cups or even mason jars if you want to get fancy. The clear cups let people see the layers, which is half the fun.
- Two mixing bowls : One for the Jell-O, one for the pudding. Medium-sized bowls work fine.
- Whisk : For mixing the Jell-O and the pudding. A fork works in a pinch for the Jell-O, but you really want a whisk for the pudding to get out the lumps.
- Measuring cups : A 1-cup measure for the boiling water and the milk.
- Kettle or small pot : For boiling the water. I use my electric kettle because it’s faster, but a pot on the stove works too.
- Spoon or small ladle : For layering. I actually use a small cookie scoop for the pudding layer—it helps me get even amounts in each cup.
- Refrigerator space : You need room for the cups to sit undisturbed while the layers set. Clear a shelf before you start.
If you don’t have small cups, you can use a larger dish and cut it into squares later. I’ve done it in a 9×9 pan before and it works fine, though you lose the individual serving presentation. Budget tip: the plastic cups at the dollar store are perfectly fine and come in packs of 25 for like two bucks.
Preparation Method
This recipe has three main stages, and the key is patience between them. I know it’s tempting to rush, but trust the process. Here’s how it goes:
Step 1: Make the Orange Layer
Boil 1 cup of water. I use my electric kettle because it’s faster, but a pot on the stove works too. Pour the orange Jell-O powder into a medium bowl, then add the boiling water. Whisk for about 2 minutes until the powder is completely dissolved. You shouldn’t see any granules floating around. Divide the liquid evenly among your cups, filling them about one-third of the way. Pop them in the fridge for about 45 minutes to 1 hour, or until the Jell-O is set but not rock hard. You want it to be firm to the touch but still a little jiggly—if you press it gently, it should hold its shape.
Pro tip: If you’re in a hurry, put the cups in the freezer for 20 minutes instead. Just don’t forget about them—I once left them in for 45 minutes and they froze solid, which messed up the layering.
Step 2: Make the Yellow Layer
While the orange layer is setting, make the pudding. In a separate bowl, combine the instant vanilla pudding mix with 1 cup of cold milk. Whisk for about 2 minutes until it starts to thicken. It will be pretty thin at first—that’s normal. Let it sit for 5 minutes to thicken up a bit, then gently fold in 1/2 cup of the thawed whipped topping. Fold it in slowly, using a spatula, until you don’t see any white streaks. The mixture should be pale yellow and creamy.
Once the orange layer is set, spoon the pudding mixture on top. I use a small cookie scoop to get even amounts, but a spoon works fine. Fill each cup about two-thirds full, leaving room for the top layer. Gently tap the cups on the counter to settle the pudding and remove any air bubbles. Refrigerate for another 45 minutes to 1 hour, until the pudding layer is firm.
Troubleshooting: If your pudding layer seems too runny after 45 minutes, you might have used too much milk or not whisked it enough. Give it another 15 minutes—it should firm up. If it doesn’t, you can still proceed, but the layers might blend a bit.
Step 3: Add the White Layer
Once the pudding layer is set, spoon the remaining 1 cup of thawed whipped topping on top of each cup. Spread it gently to create a smooth, fluffy white cap. You want it to look like the tip of a candy corn—smooth on top, maybe a little swirl if you’re feeling fancy. Refrigerate for at least 1 more hour, or overnight if you’re making them ahead of time.
The final texture should be three distinct layers: a firm, jiggly orange bottom, a creamy, smooth yellow middle, and a light, fluffy white top. When you eat it, you get all three textures at once—it’s weirdly satisfying.
Sensory cue: When you pull a cup out of the fridge, the sides should feel cold and the top should be slightly domed. If you tilt the cup gently, nothing should slide around. That’s how you know it’s set properly.
Cooking Tips & Techniques
I’ve made these cups about a dozen times now, and I’ve picked up a few tricks that make the process smoother. Here are the things I wish someone had told me before my first attempt:
Layer temperature matters. The biggest mistake people make is pouring a warm layer over a cold layer that hasn’t set enough. The warm liquid melts the set layer and you get a muddy swirl instead of a clean line. Make sure each layer is fully set before adding the next one. I wait until the surface feels firm to a gentle touch—not sticky or liquidy.
Chill your mixing bowls. For the pudding layer, use a bowl that’s been sitting in the fridge for a bit. Cold bowls help the pudding set faster and give you a thicker texture. I just stick my mixing bowl in the fridge while the orange layer is setting.
Work in batches. If you’re making a big batch (like 20 cups for a party), make the layers in stages. Don’t try to do all the orange layers, then all the yellow layers—you’ll be waiting forever. I do 10 cups at a time, rotating them through the fridge.
Don’t overmix the pudding. Whisk it just until it comes together. Overmixing can make it grainy or cause it to separate. You’ll see it start to thicken—that’s your cue to stop and let it rest.
Use a steady hand for pouring. I hold the cup at a slight angle and pour the Jell-O down the side to avoid splashing. For the pudding layer, I spoon it in gently rather than pouring. This keeps the layers clean.
One time I got distracted by a phone call and left the orange layer in the fridge for 3 hours. It set so hard that the pudding layer wouldn’t stick to it and the whole thing slid around like a jiggly hockey puck. Don’t be me. Set a timer.
Variations & Adaptations
Once you’ve mastered the basic recipe, you can play around with it. Here are some variations I’ve tested:
Flavor Variations
- Berry Candy Corn : Use strawberry Jell-O for the bottom layer and cheesecake pudding for the middle. The pink and white layers look like Valentine’s Day candy.
- Lemon Version : Use lemon Jell-O for the bottom and lemon pudding for the middle. Top with regular whipped topping. It’s brighter and tangier.
- Green for Christmas : Lime Jell-O bottom, vanilla pudding middle, whipped topping top. Looks festive and tastes like key lime pie.
Dietary Adaptations
- Dairy-Free : Use almond milk or oat milk for the pudding layer. The texture will be slightly thinner, so let it set for an extra 15 minutes. Use coconut whipped topping for the top layer.
- Sugar-Free : Use sugar-free Jell-O and sugar-free pudding mix. The texture is almost identical—just check the package for setting times, as sugar-free versions sometimes set faster.
- Gluten-Free : This recipe is naturally gluten-free, since Jell-O and pudding mix don’t contain wheat. Just double-check your specific brands to be safe.
Presentation Twists
- Crushed Cookie Topping : Sprinkle crushed graham crackers or vanilla wafers on top of the whipped cream for some crunch.
- Halloween Sprinkles : Add orange and black sprinkles on top for extra festivity. Kids go crazy for this.
- Chocolate Drizzle : Melt some chocolate chips and drizzle over the top layer. It adds a nice contrast to the sweet Jell-O.
My personal favorite variation is the lemon version with a crushed shortbread cookie topping. It tastes like a lemon bar in cup form. I brought it to a summer barbecue and it disappeared in 10 minutes.
Serving & Storage Suggestions
These cups are best served cold, straight from the fridge. The texture is perfect when they’ve had at least 4 hours to set, but overnight is even better. The flavors meld together and the layers become more distinct.
Serving tips:
- Serve them in the clear cups so people can see the layers. That’s half the appeal.
- If you’re taking them to a party, transport them in a cooler or a box lined with ice packs. They can get wobbly if they warm up too much.
- Garnish each cup with a small candy corn on top for a cute touch. Just add the candy corn right before serving, or it will get soft.
- These pair beautifully with pumpkin spice latte cupcakes for a full fall dessert table.
Storage instructions:
- Store the cups covered in the refrigerator for up to 3 days. I cover them with plastic wrap or the lids that come with the cups.
- Do not freeze them. The texture gets weird and icy, and the layers separate when thawed.
- The whipped topping layer might deflate slightly after day two, but the flavor is still good.
- If you’re making them for a party, I recommend making them the night before. They actually taste better after sitting overnight—the flavors blend together nicely.
One thing I’ve noticed: the orange Jell-O layer gets slightly softer after day two, almost like a gel. It’s still delicious, just not as firm. So if you want that perfect jiggle, eat them within the first 48 hours.
Nutritional Information & Benefits
Let’s be real—this is a treat, not a health food. But here’s the breakdown per serving (based on 8 servings):
- Calories : Approximately 180-200 per cup
- Carbohydrates : 35g
- Sugar : 28g
- Fat : 5g
- Protein : 2g
If you’re watching your sugar intake, the sugar-free version cuts the sugar down to about 8g per serving. The dairy-free version reduces the fat content slightly, depending on which milk you use.
On the plus side, gelatin is a good source of collagen, which supports joint health and skin elasticity. The milk in the pudding layer provides calcium and vitamin D. And honestly? Sometimes you just need a fun, colorful dessert that makes you smile. That has its own benefits, if you ask me.
This recipe is suitable for gluten-free diets and can be adapted for dairy-free or sugar-free needs. It contains dairy in the pudding and whipped topping, so if you have a milk allergy, stick with the dairy-free adaptations I mentioned earlier.
Conclusion
These Easy Candy Corn Layered Jello Cups are the kind of recipe that makes you look like a hero with almost no effort. Three ingredients, a little patience, and you’ve got a dessert that stops people in their tracks. I love how they bring a little bit of whimsy to any gathering without requiring a culinary degree or a specialty store run.
Don’t be afraid to customize them to your taste. Swap the flavors, change up the toppings, or make them dairy-free if that’s your thing. The basic technique is solid, and once you’ve got it down, the possibilities are endless. I’ve already started experimenting with a red-white-and-blue version for the Fourth of July, and I’m pretty excited about it.
I’d love to hear how yours turn out. Drop a comment below and let me know if you tried any variations, or tag me in your photos if you share them online. And if you’re looking for another no-bake treat to round out your dessert table, you might enjoy my no-bake pumpkin cheesecake bites—they’re just as easy and just as addictive.
Happy layering, friends. Go make something fun.
Frequently Asked Questions
Can I use homemade whipped cream instead of Cool Whip?
Yes, you can use homemade whipped cream for the top layer. For the middle layer, stick with the frozen whipped topping because it stabilizes the pudding better. Homemade whipped cream doesn’t hold up as well in the pudding layer and can cause the layers to blend together.
How long do these cups need to set in the fridge?
Each layer needs about 45 minutes to 1 hour to set properly. So the total time is about 3 hours for all three layers, plus an extra hour at the end. I recommend making them the night before for the best results.
Can I use sugar-free Jell-O and pudding?
Absolutely. Sugar-free versions work fine, though they sometimes set a little faster. Check the package instructions for setting times. The flavor will be slightly different, but the texture is nearly identical.
Why did my layers blend together?
This usually happens when you add the next layer before the previous one is fully set. Make sure each layer is firm to the touch before adding the next one. Another cause is pouring the warm Jell-O directly onto a cold layer—let the Jell-O cool slightly before pouring if you’re worried about melting.
Can I use a different flavor of Jell-O?
Yes, any flavor works. For a candy corn look, you want a yellow or orange bottom layer. But you can make these in any color combination you like. I’ve done pink and white for Valentine’s Day and green and white for Christmas. Just keep the layering technique the same.
Pin This Recipe!
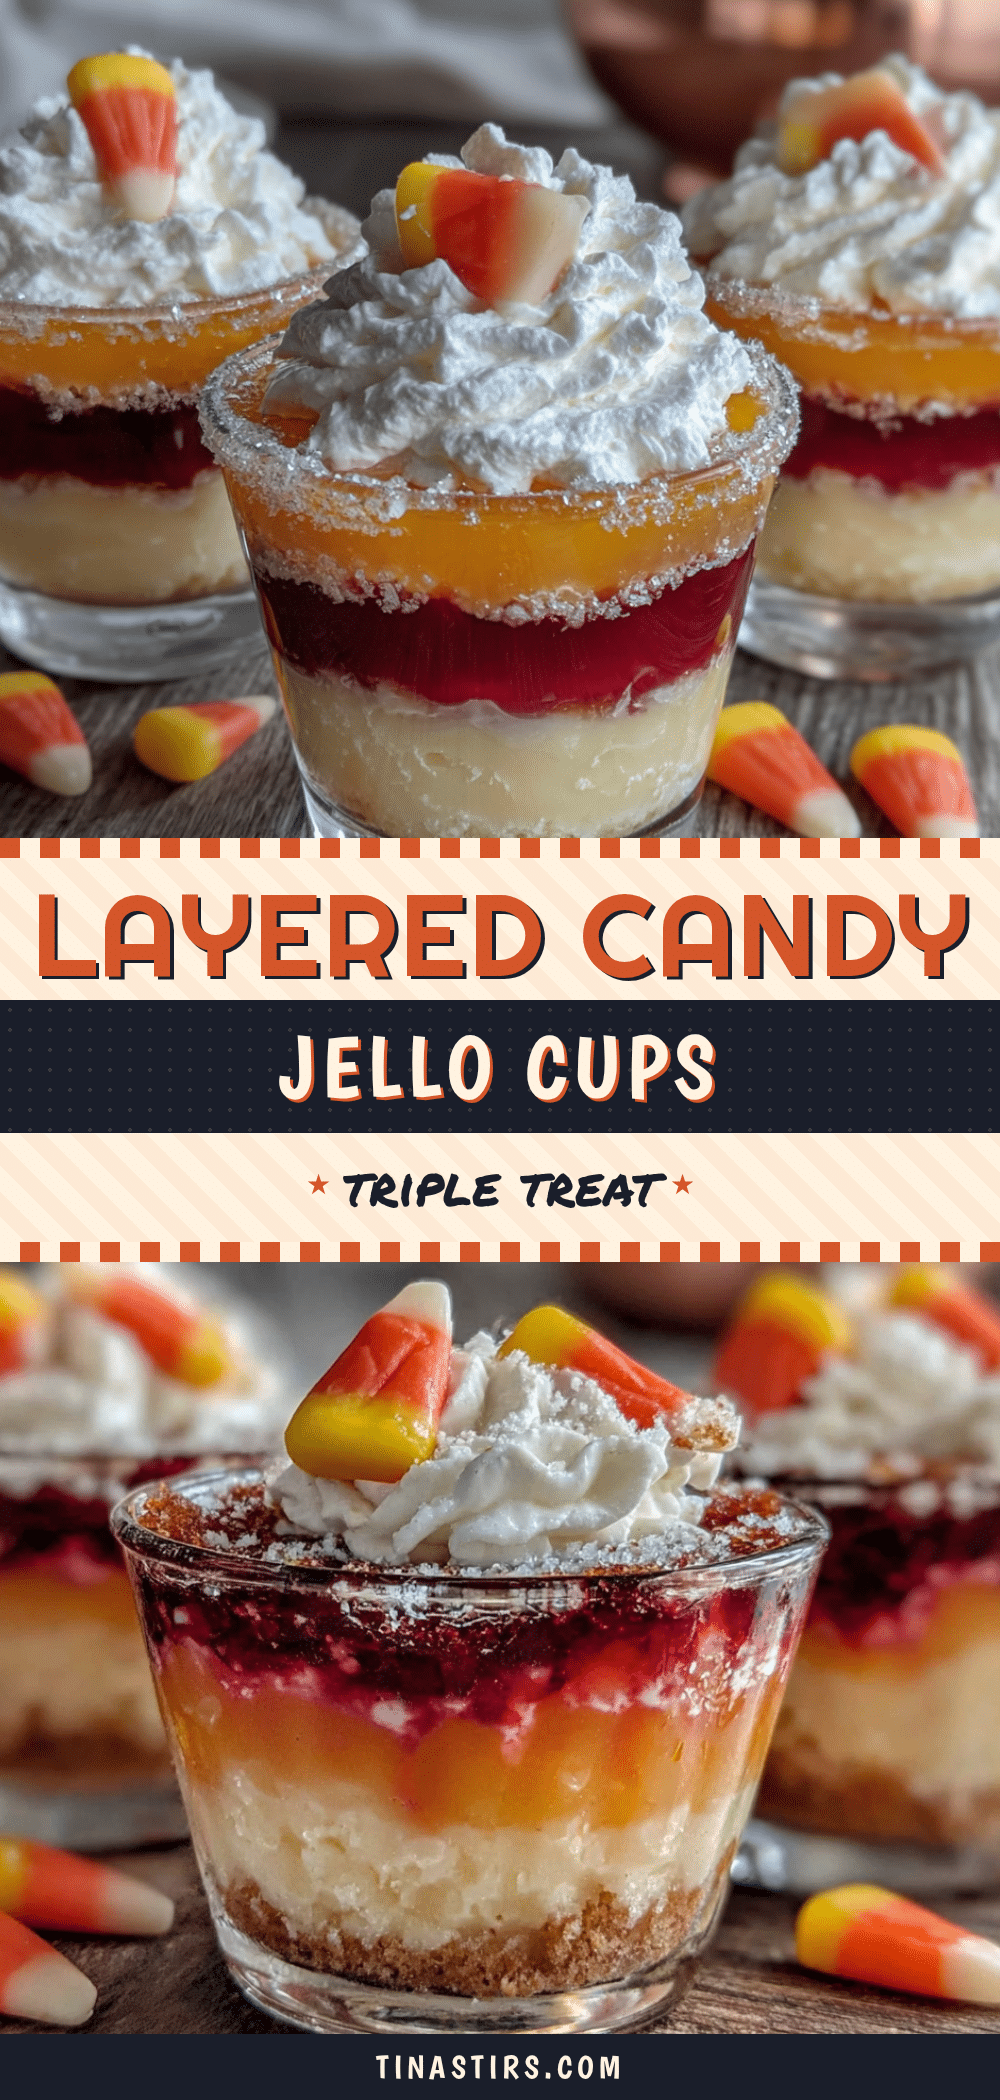
Easy Candy Corn Layered Jello Cups: Best 3-Ingredient Treat
These Easy Candy Corn Layered Jello Cups are a fun, no-bake dessert with three simple ingredients. With vibrant orange, yellow, and white layers, they mimic candy corn and are perfect for Halloween parties or any fall gathering.
- Prep Time: 15 minutes
- Cook Time: 0 minutes
- Total Time: 3 hours 15 minutes (includes chilling time)
- Yield: 8 servings 1x
- Category: Dessert
- Cuisine: American
Ingredients
- 1 box (3 oz) orange-flavored Jell-O
- 1 cup boiling water
- 1 box (3.4 oz) instant vanilla pudding mix
- 1 cup cold milk (whole milk preferred, 2% works)
- 1 1/2 cups frozen whipped topping, thawed (divided: 1/2 cup for middle layer, 1 cup for top layer)
Instructions
- Make the orange layer: Boil 1 cup of water. Pour orange Jell-O powder into a medium bowl, add boiling water, and whisk for about 2 minutes until completely dissolved. Divide liquid evenly among small clear cups, filling about one-third full. Refrigerate for 45 minutes to 1 hour, or until set but still jiggly.
- Make the yellow layer: In a separate bowl, combine instant vanilla pudding mix with 1 cup cold milk. Whisk for about 2 minutes until it starts to thicken. Let sit for 5 minutes, then gently fold in 1/2 cup thawed whipped topping until no white streaks remain.
- Once orange layer is set, spoon pudding mixture on top of each cup, filling about two-thirds full. Gently tap cups on counter to settle. Refrigerate for 45 minutes to 1 hour until firm.
- Add the white layer: Once pudding layer is set, spoon remaining 1 cup thawed whipped topping on top of each cup. Spread gently to create a smooth white cap. Refrigerate for at least 1 more hour, or overnight for best results.
Notes
Make sure each layer is fully set before adding the next to prevent colors from bleeding. For best results, make the night before. Use whole milk for creamiest pudding layer. Check Jell-O expiration date before starting. If in a hurry, you can freeze the orange layer for 20 minutes instead of refrigerating, but watch carefully to avoid freezing solid.
Nutrition
- Serving Size: 1 cup
- Calories: 190
- Sugar: 28
- Sodium: 250
- Fat: 5
- Saturated Fat: 3
- Carbohydrates: 35
- Protein: 2
Keywords: candy corn, jello cups, Halloween dessert, no-bake, 3-ingredient, layered dessert, easy treat


